Figured I'd start a thread to document my truck painting project and to ask questions for you paint pros out there.
The paint on my 99 is in really bad shape, several areas where the paint is scratched through to the primer and/or metal, and the rest of the truck has tons of clear coat scratches and rock chips. I thought about trying to repair the existing paint, but I think in the long run it's going to be better just to repaint the whole thing, plus then I get to pick whatever color I want.
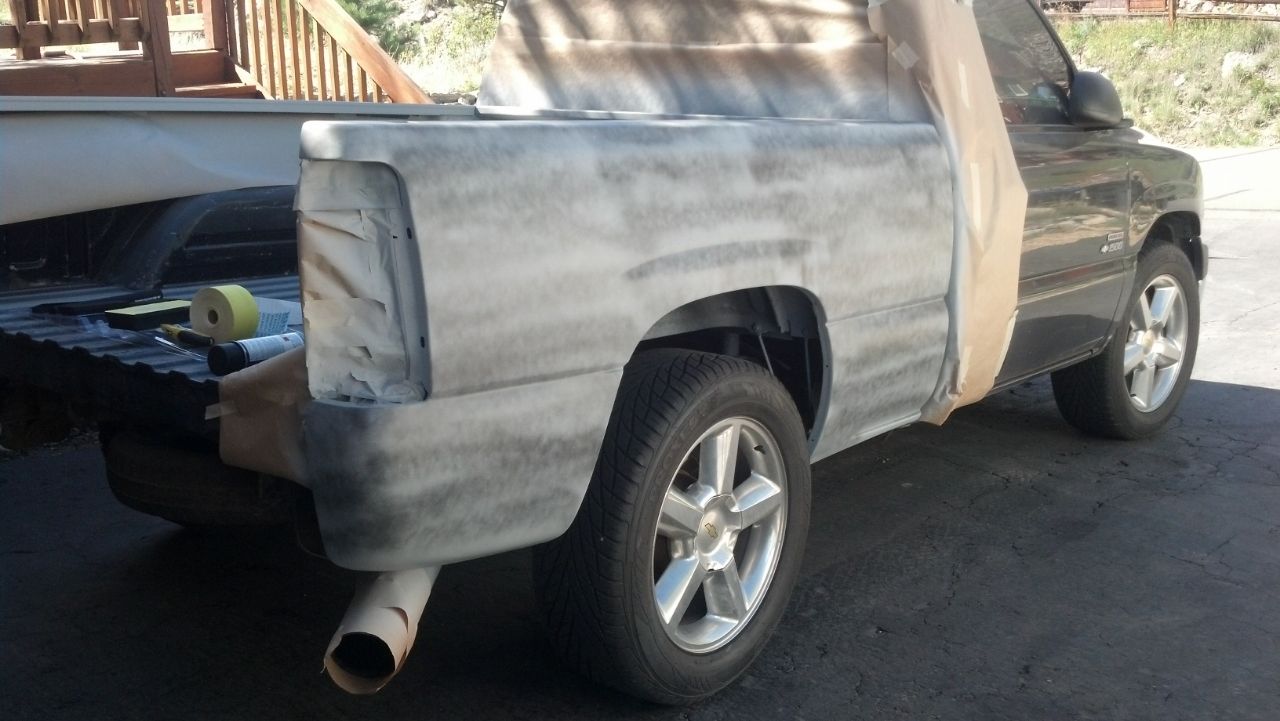
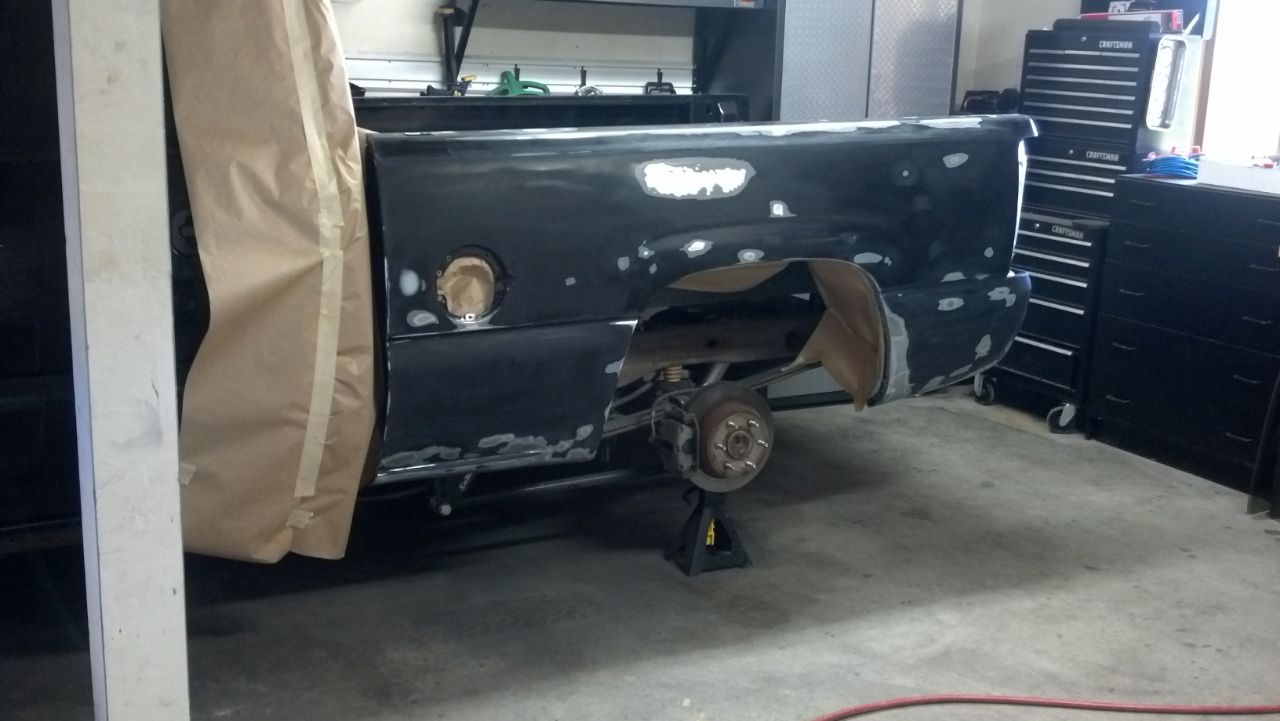
Since I don't have the time or money to paint the whole thing right now, I'll be doing the truck in phases. My plan is to prep a panel then spray it with plasti-dip to (hopefully) protect it until I can afford to finish the job. I would just prime it now with 2 part rattle can urethane primer, but from what I've read it's not UV resistant and will eventually break down over time. Once I'm ready for the next phase, I can just peel the PD off and continue on with the project. I figure if I take my time and do a little bit here and there I'll do a better job and will hopefully be able to do the whole thing myself rather than paying a shop.
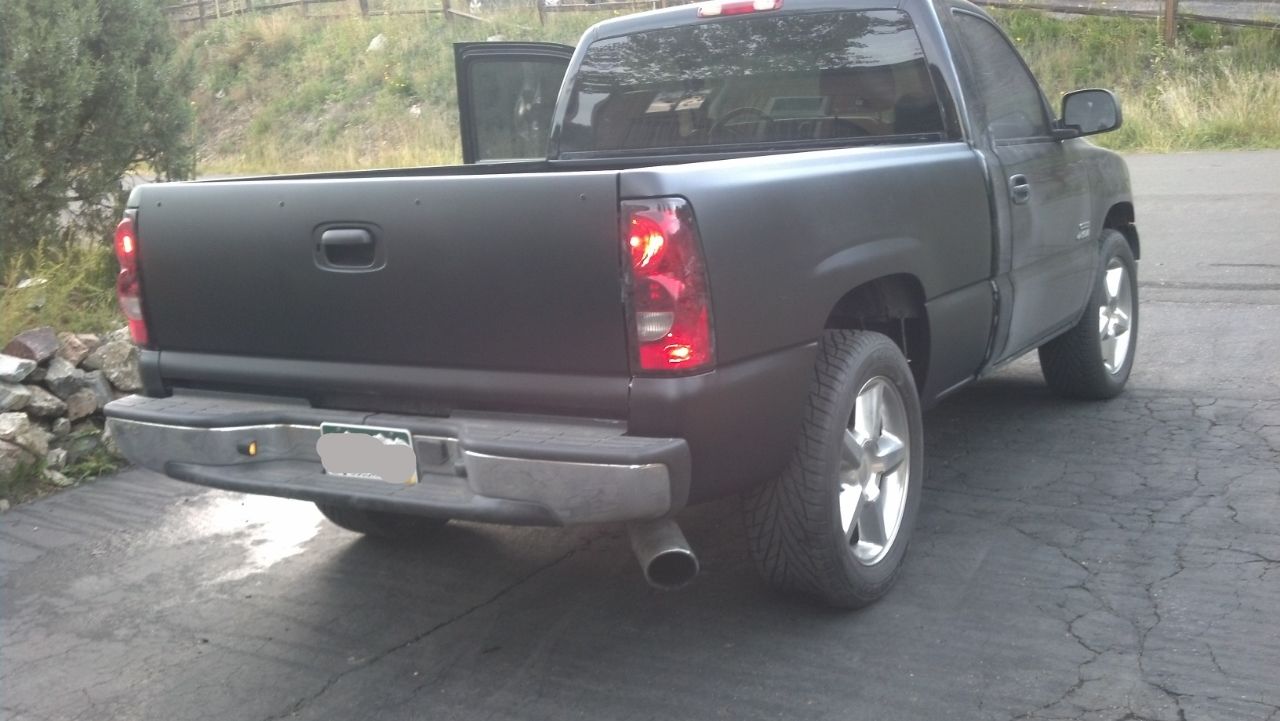
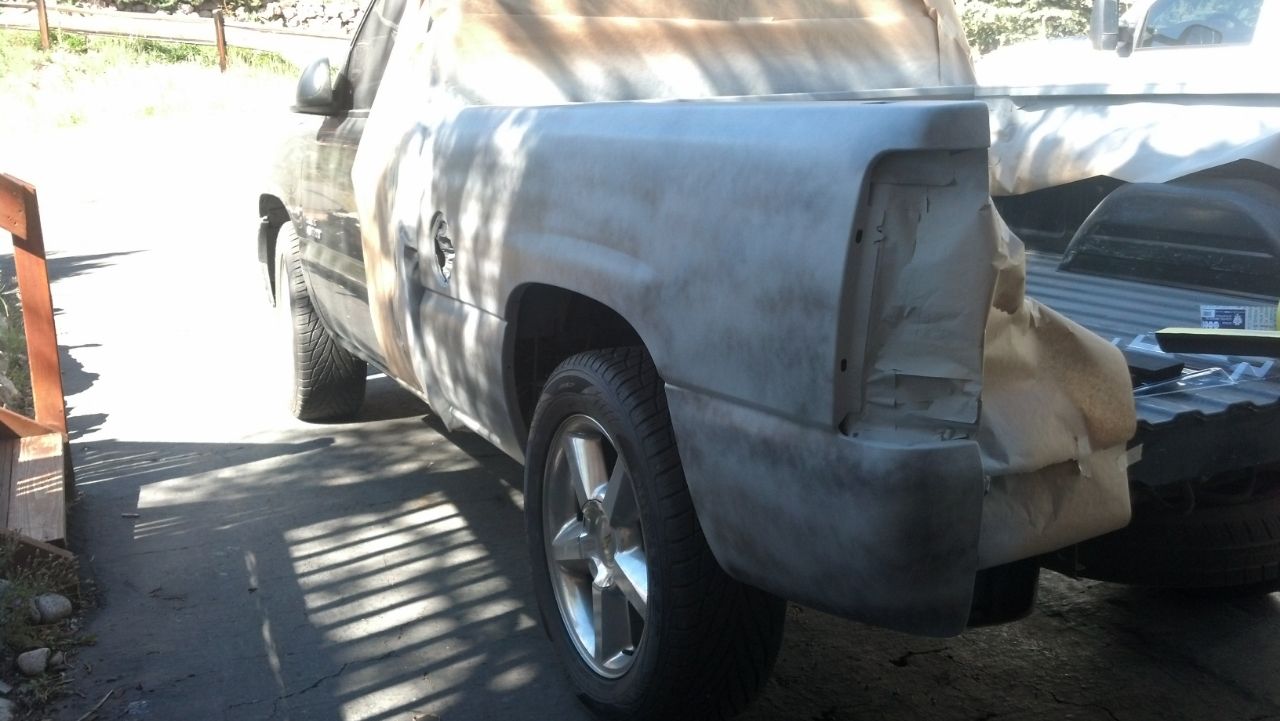
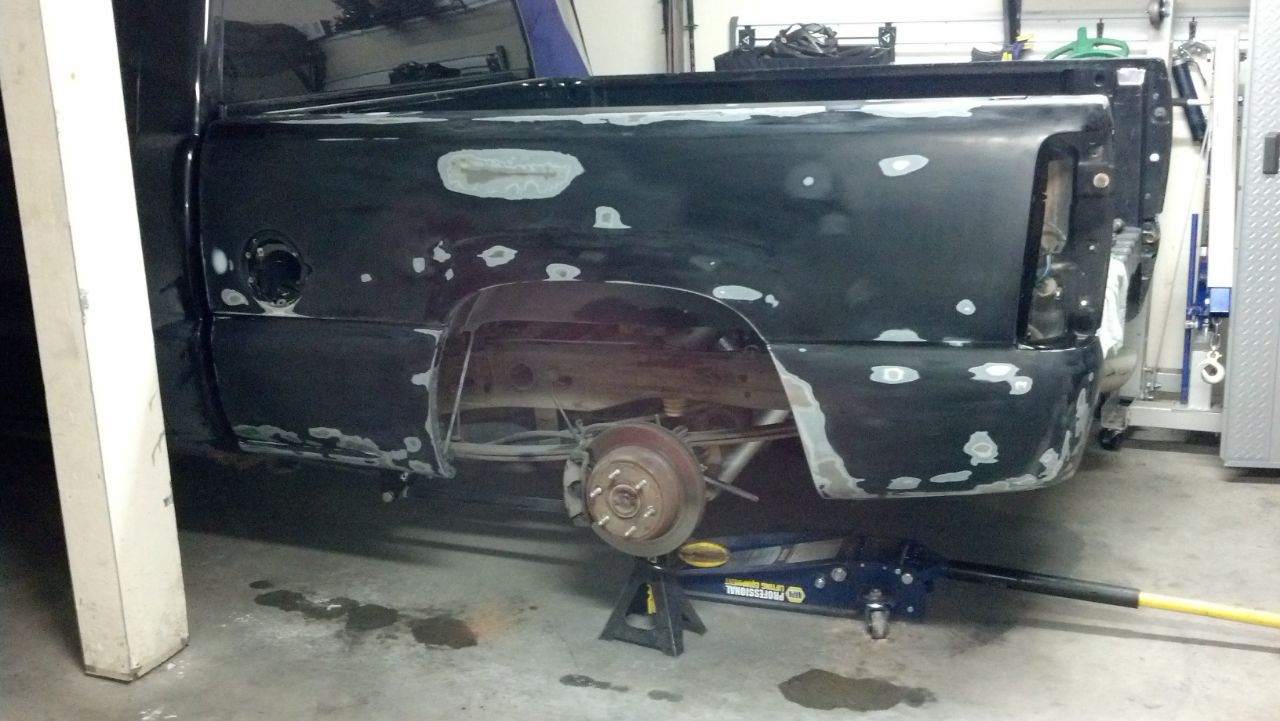
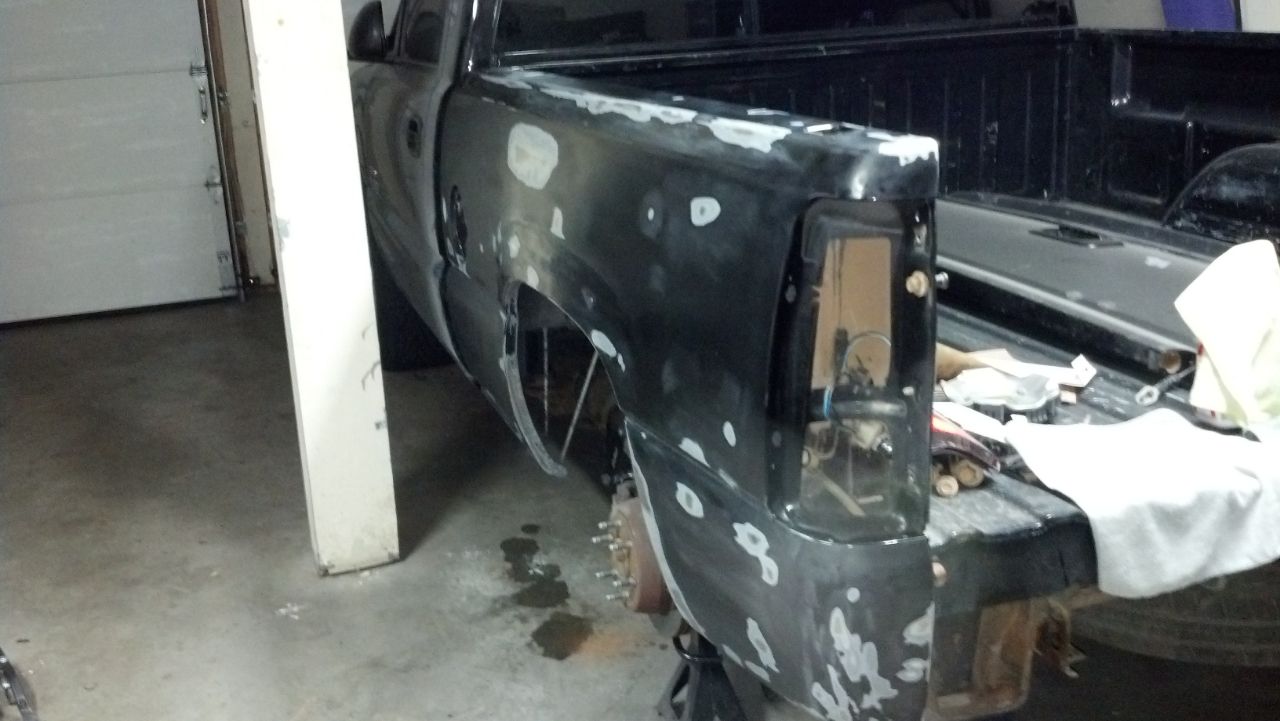
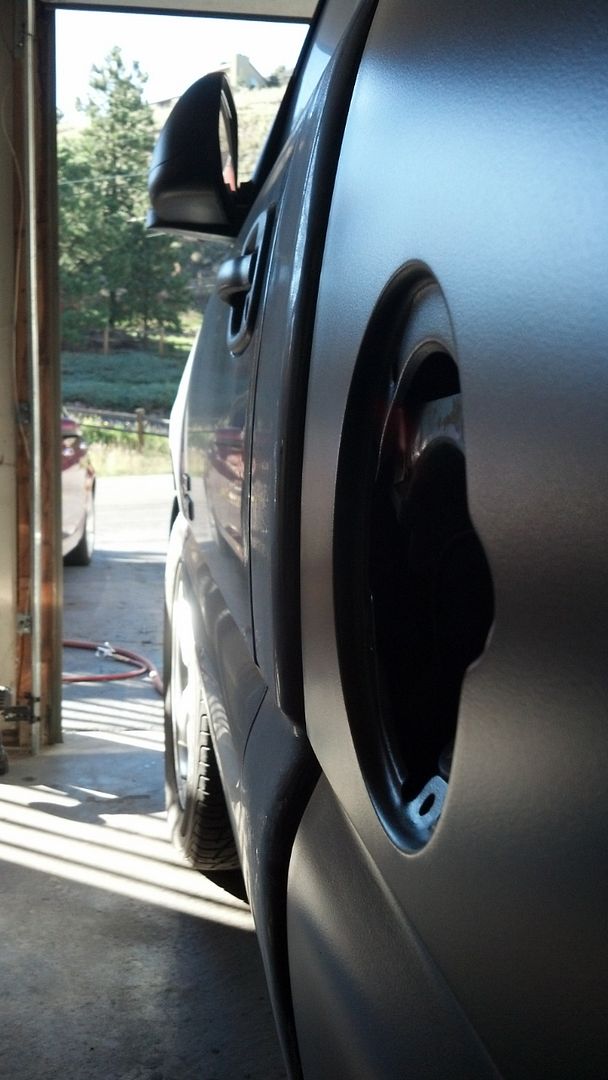
I started on the left bedside yesterday afternoon. There was a nice long scratch through the base coat into the primer, several rock chips, a small dent in front of the fuel door, screw holes in the bed rail from an old tool box, and the paint was missing where the OEM mudflaps used to be.
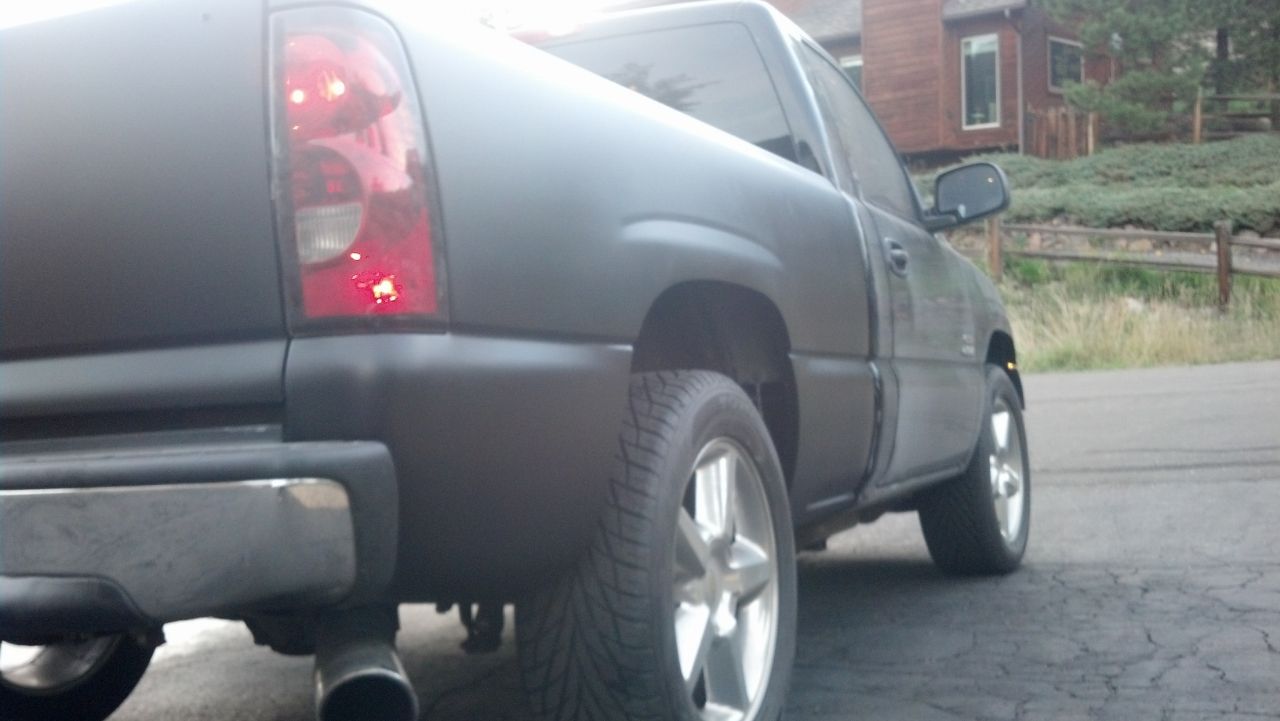
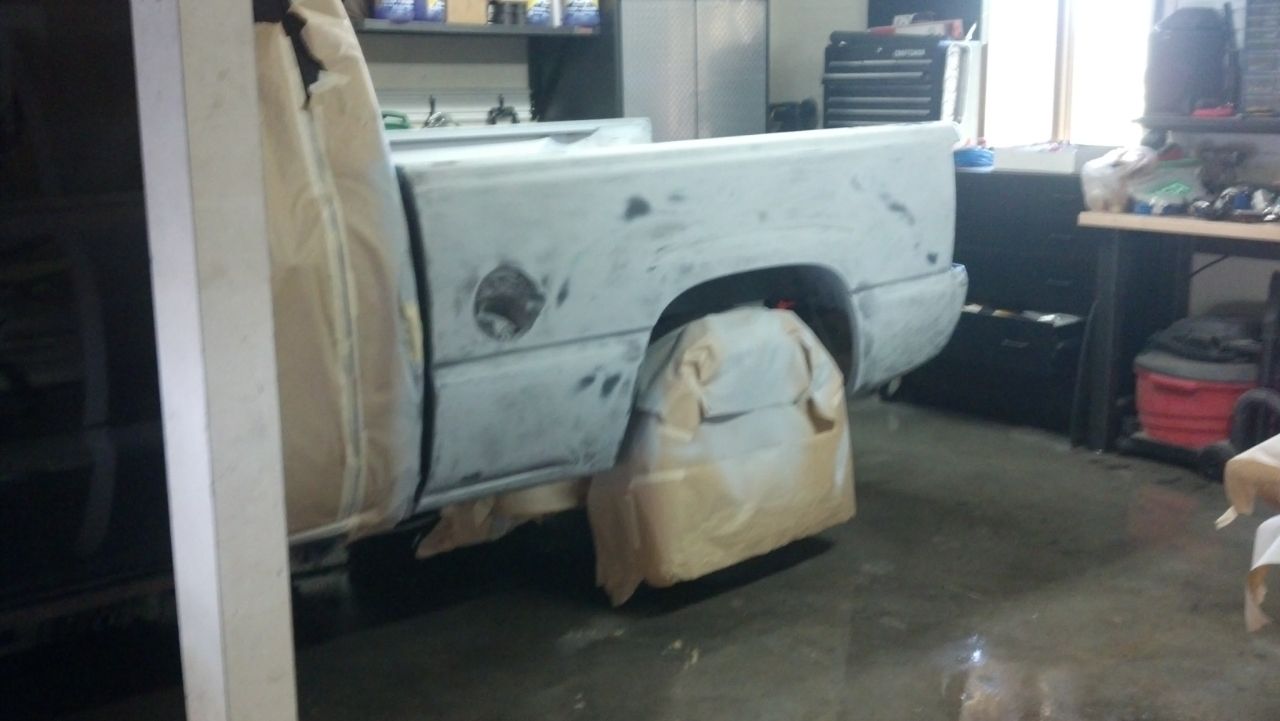
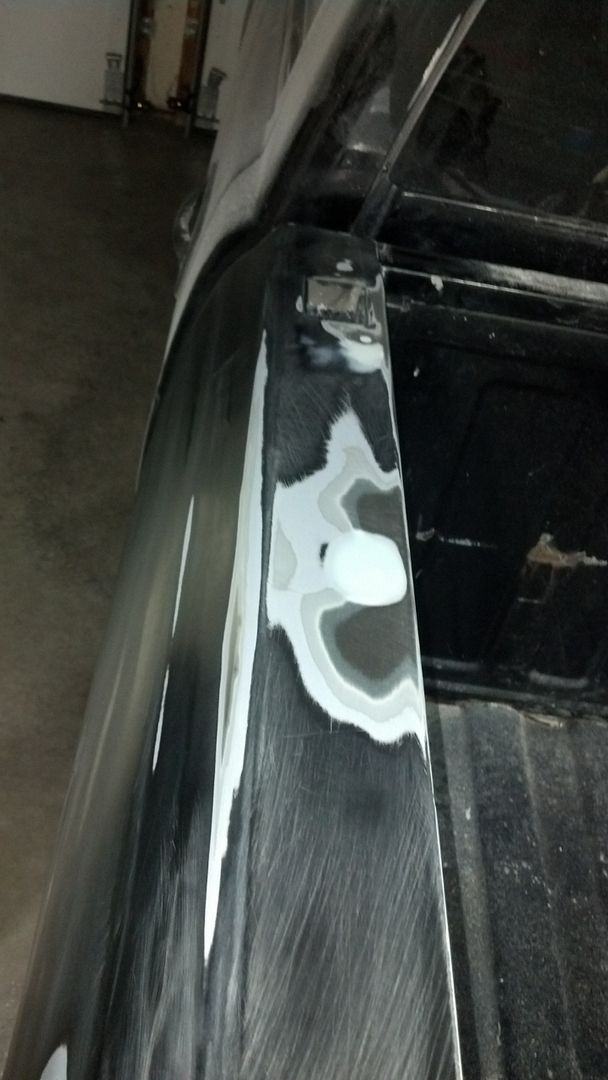
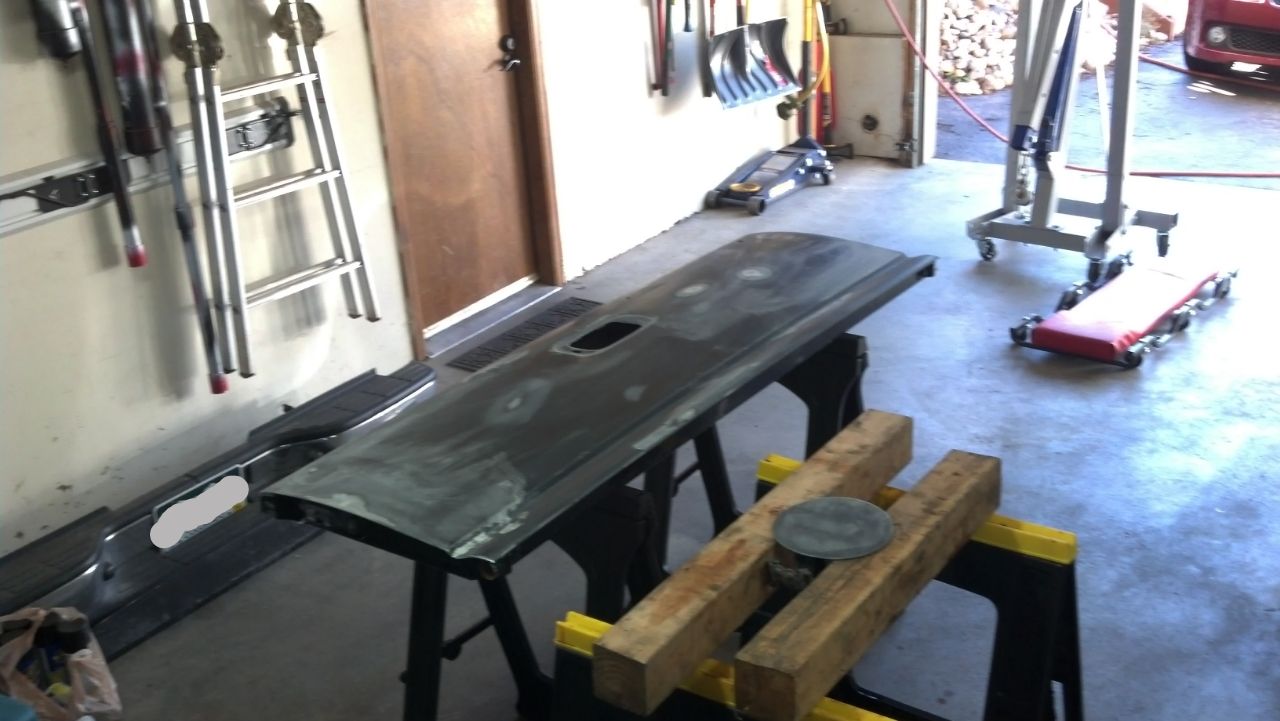
I did everything on this panel by hand yesterday, using two small sanding blocks and a combination of 100 and 220 grit paper. That sucked. I'm going this afternoon to buy an orbital sander and some larger sanding blocks (and a damn respirator, I could taste paint dust for a couple hours after I finished), hopefully will make things easier. Still have a little bit of work to do on this side.
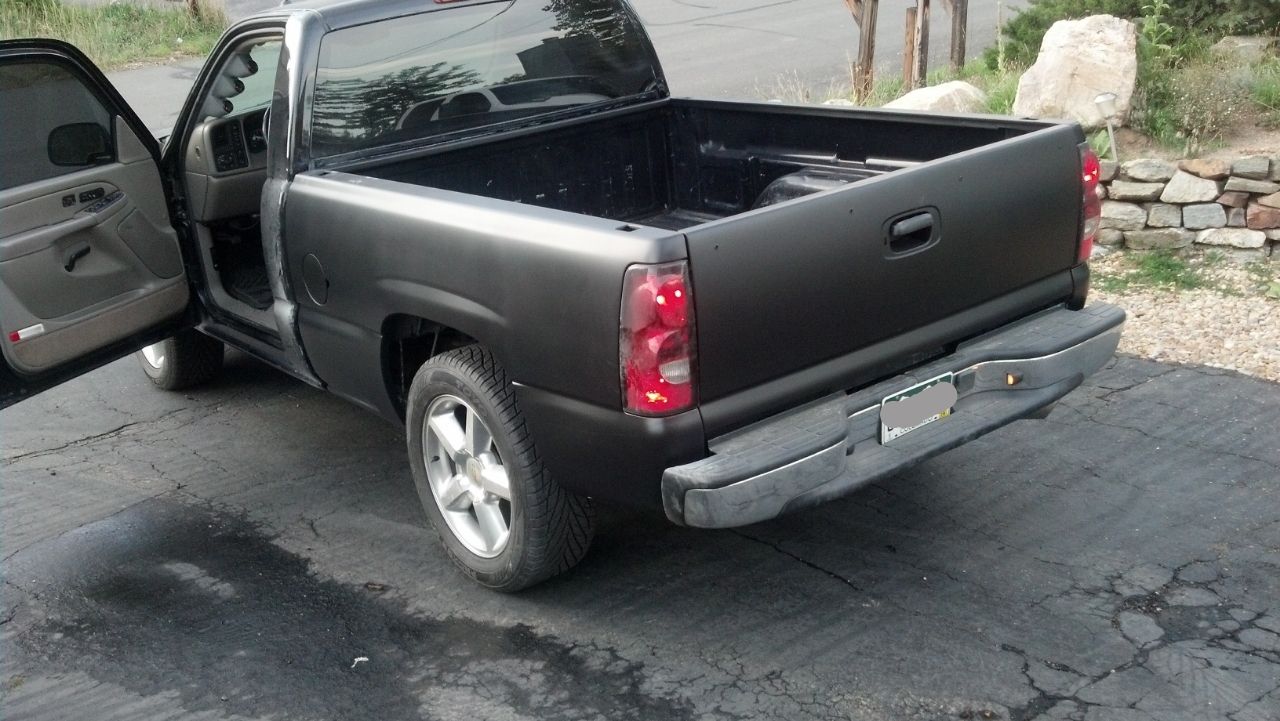
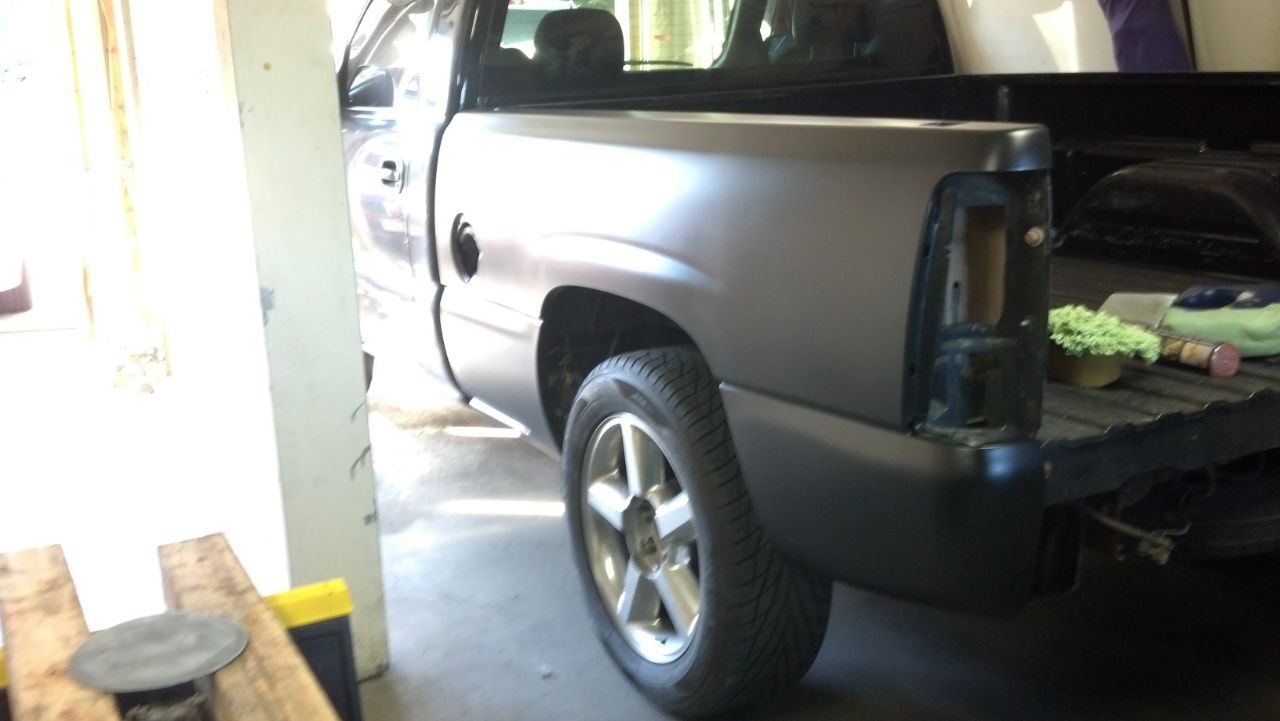
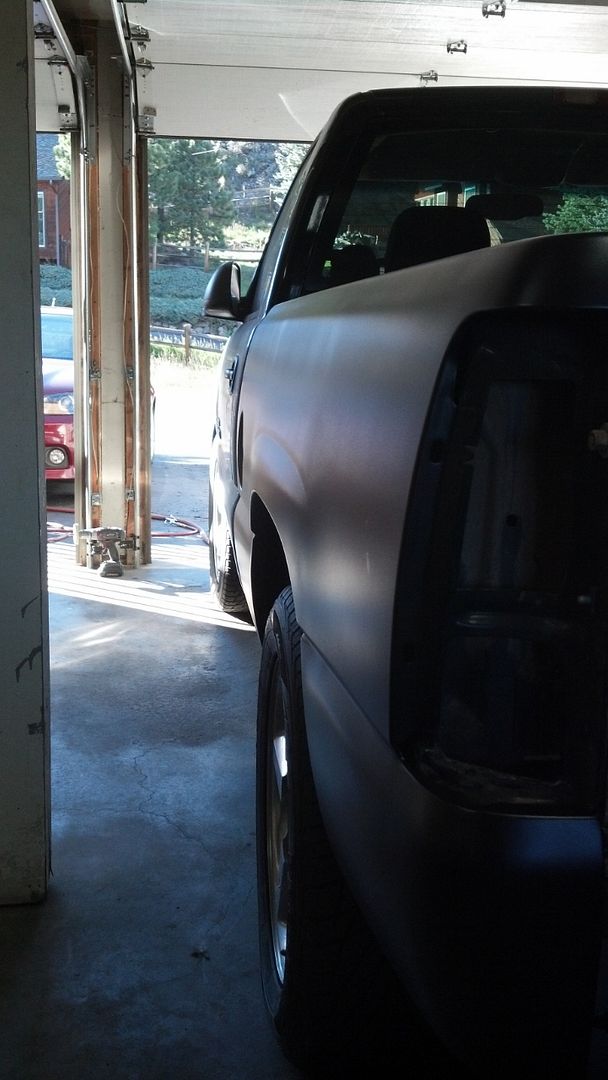
Here's last night's progress, after feathering out scratches/chips/flaking paint areas, filling the dent in front of the fuel door, and filling the two screw holes on top of the bed rail.
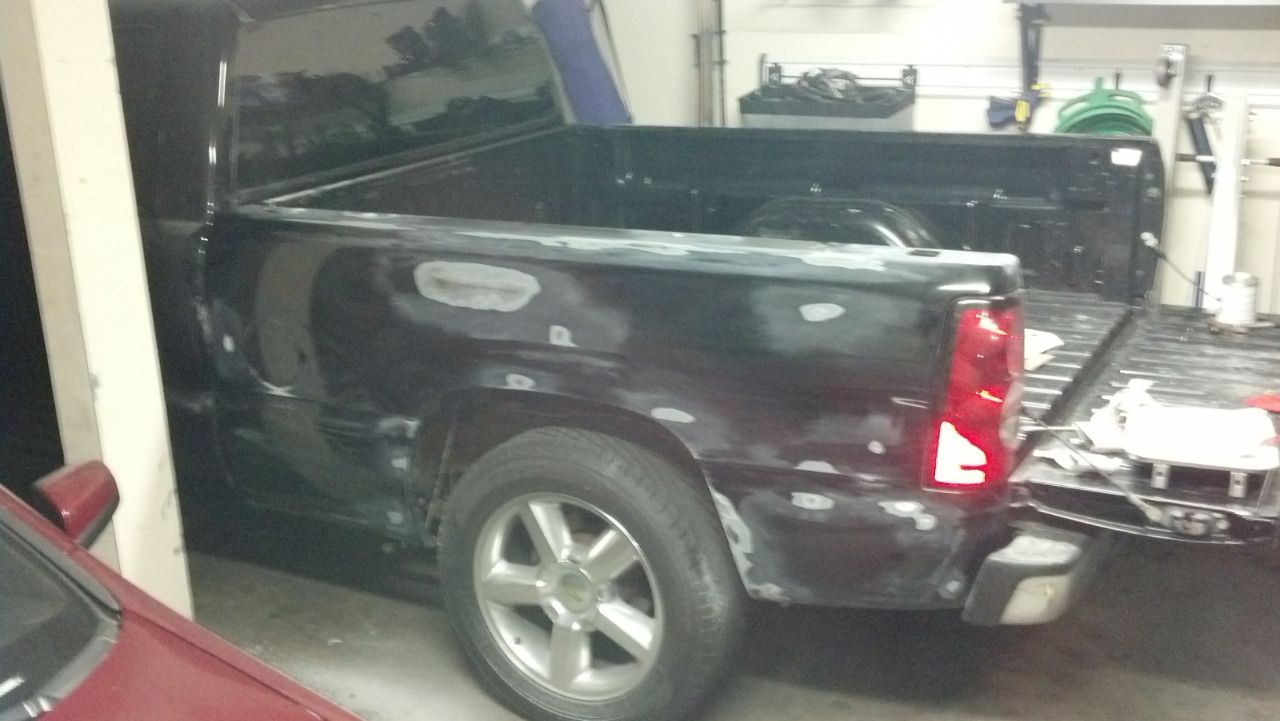
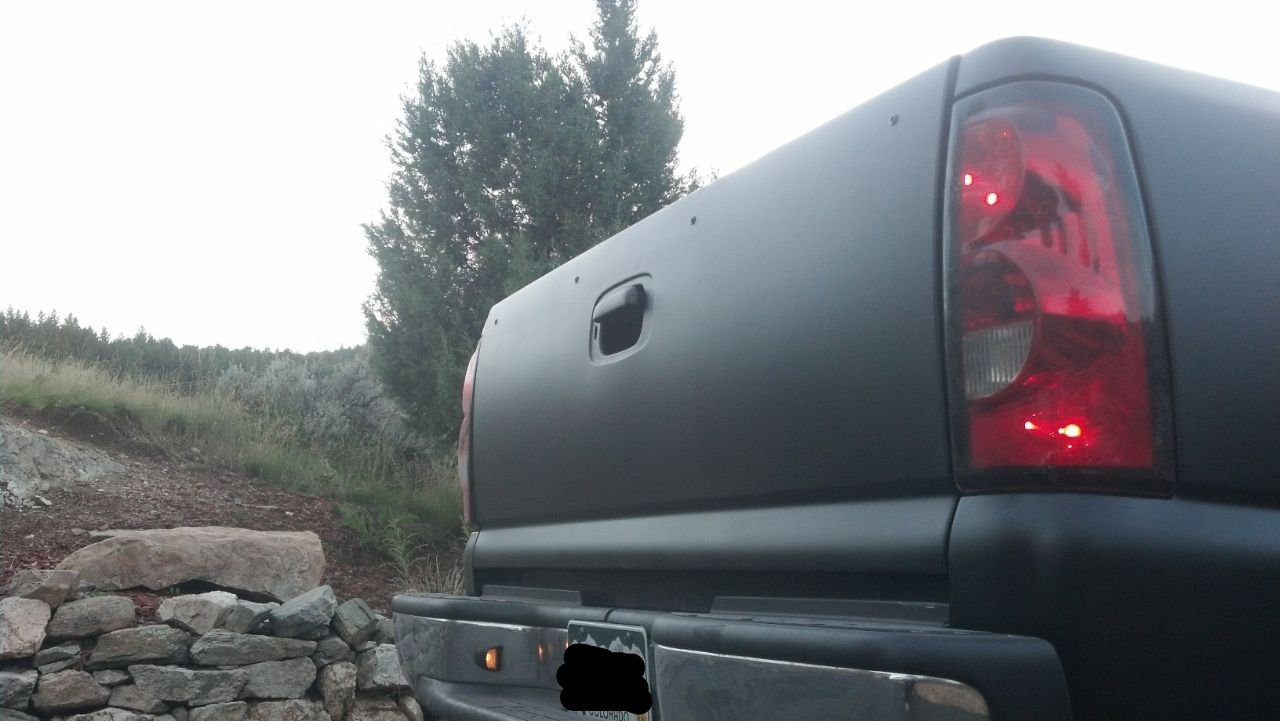
Anyway, now I understand why body shops are so expensive, this is a complete PITA. Will post more pics as the project progresses. I think I've decided on Cyber Gray as the eventual paint color, which is a factory paint color on the newer Corvettes. I'll have a cowl hood by then, still on the fence whether or not I want to do any kind of racing stripes. Maybe I can experiment with them a little bit using plasti dip.

The paint on my 99 is in really bad shape, several areas where the paint is scratched through to the primer and/or metal, and the rest of the truck has tons of clear coat scratches and rock chips. I thought about trying to repair the existing paint, but I think in the long run it's going to be better just to repaint the whole thing, plus then I get to pick whatever color I want.
Since I don't have the time or money to paint the whole thing right now, I'll be doing the truck in phases. My plan is to prep a panel then spray it with plasti-dip to (hopefully) protect it until I can afford to finish the job. I would just prime it now with 2 part rattle can urethane primer, but from what I've read it's not UV resistant and will eventually break down over time. Once I'm ready for the next phase, I can just peel the PD off and continue on with the project. I figure if I take my time and do a little bit here and there I'll do a better job and will hopefully be able to do the whole thing myself rather than paying a shop.
I started on the left bedside yesterday afternoon. There was a nice long scratch through the base coat into the primer, several rock chips, a small dent in front of the fuel door, screw holes in the bed rail from an old tool box, and the paint was missing where the OEM mudflaps used to be.
I did everything on this panel by hand yesterday, using two small sanding blocks and a combination of 100 and 220 grit paper. That sucked. I'm going this afternoon to buy an orbital sander and some larger sanding blocks (and a damn respirator, I could taste paint dust for a couple hours after I finished), hopefully will make things easier. Still have a little bit of work to do on this side.
Here's last night's progress, after feathering out scratches/chips/flaking paint areas, filling the dent in front of the fuel door, and filling the two screw holes on top of the bed rail.
Anyway, now I understand why body shops are so expensive, this is a complete PITA. Will post more pics as the project progresses. I think I've decided on Cyber Gray as the eventual paint color, which is a factory paint color on the newer Corvettes. I'll have a cowl hood by then, still on the fence whether or not I want to do any kind of racing stripes. Maybe I can experiment with them a little bit using plasti dip.

") in his garage!
in his garage!