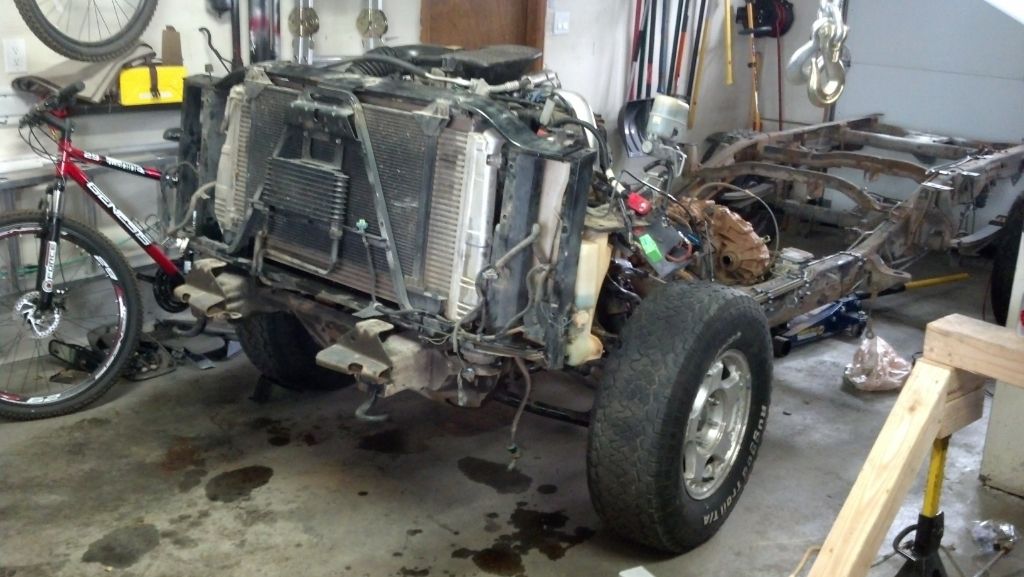
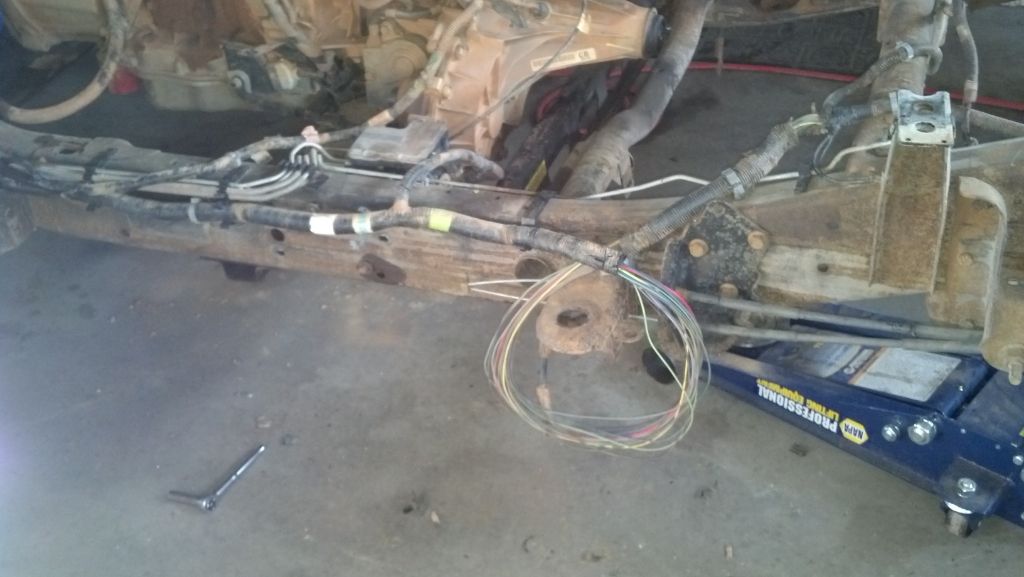
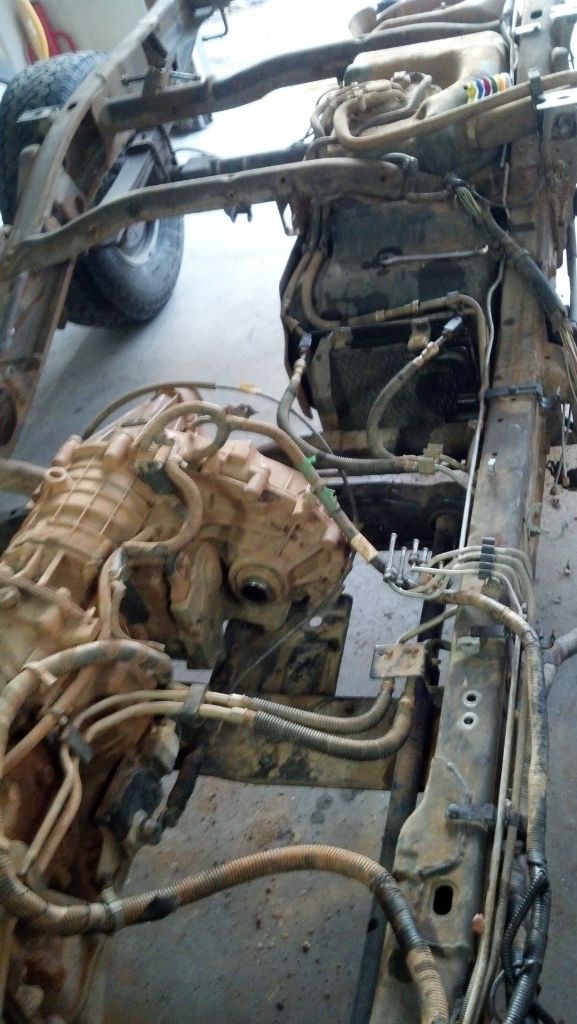
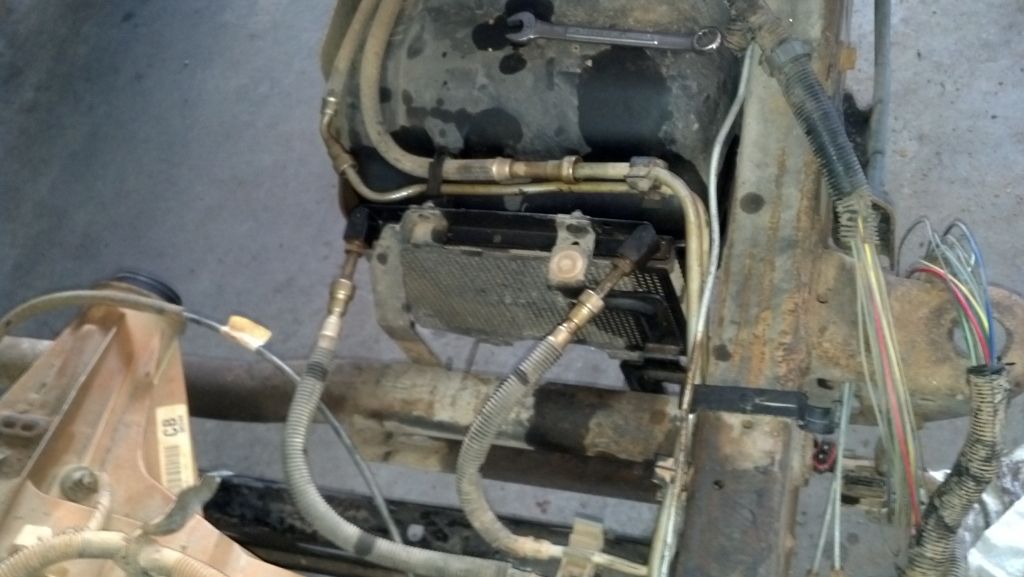
05 LLY into 99 RCSB 1500

thunder550

Active member
Apr 2, 2013
1,176
16
38
Phoenix, AZ
Well I'm not going to declare victory on the mount adapters until I get the bolt clearance issue figured out and get the trans corssmember finished, but from just checking around and looking at other clearances I think I'm close. No secrets here! :D

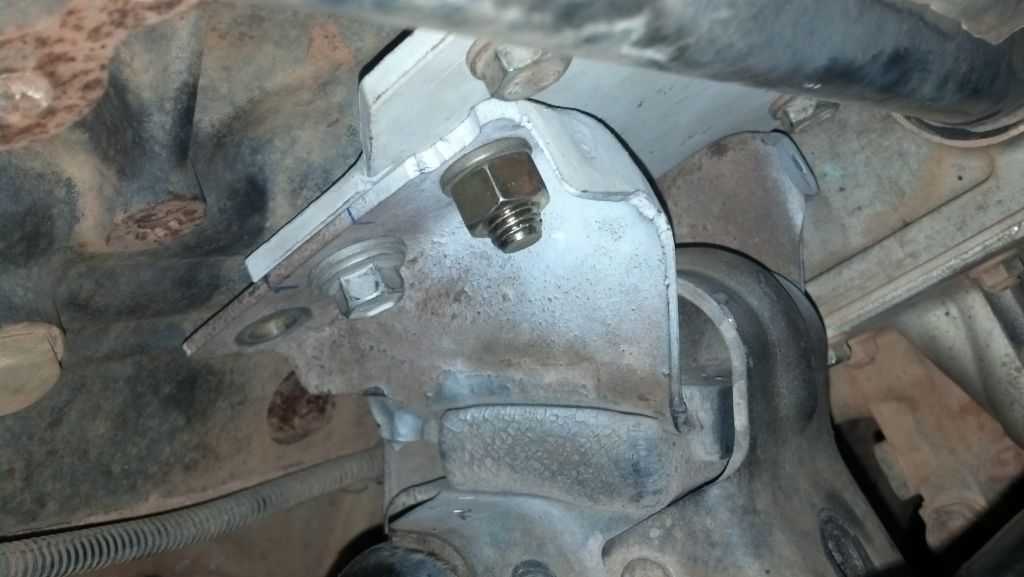
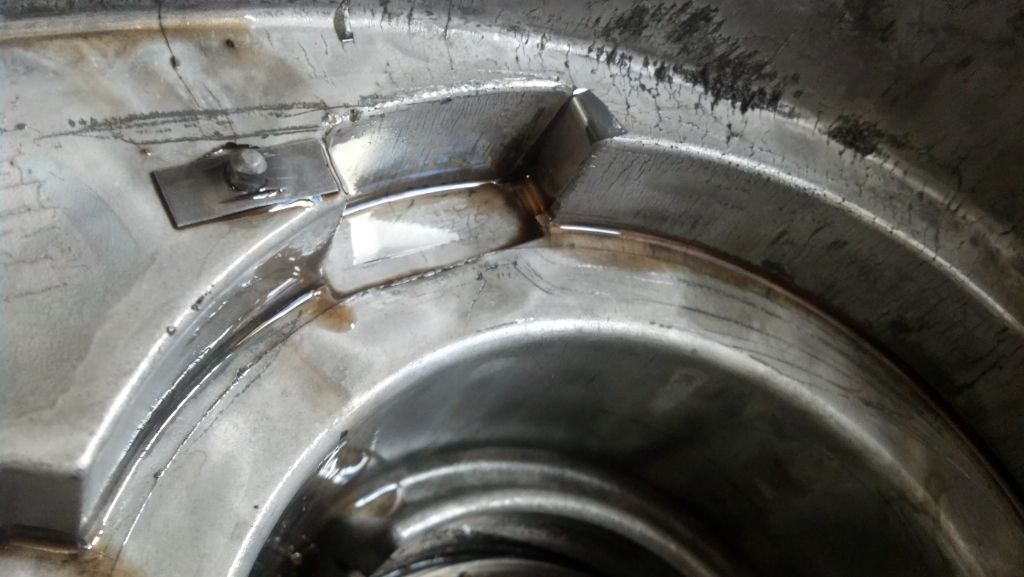
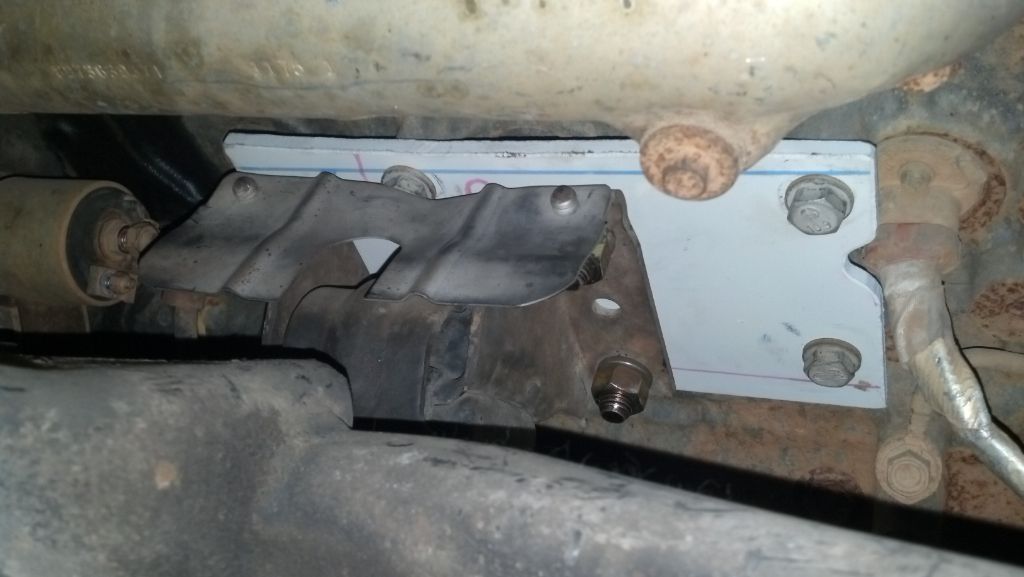
I did some hand calcs and assuming that the motor mounts mount to the block at a 45 degree angle, using 1/4" plate I added .707 inches to the width, and therefore .707 inches to the height of the engine by running 1/4" adapters on both sides. Durry SS said that his oil pan lip actually sits below that bolt I'm having issues with, but he ran a little thinner plate and said that his engine actually sits lower than the gasser did by 1/8". I'm going to try to grind the rest of the hex head off that bolt and see what happens. If that doesn't work, I may try to start trimming down part of the rubber bushing inside the front diff mounting bracket to see if I can get the head of the bolt to recess inside of it. That bolt has a small hex head on the opposite tip as well, so I don't think it's critical to have anything on the engine side that can be grabbed with a wrench.

Here's some more pics I took this morning.

Passenger side mount installed
IMG_20130409_090337_899_zps75da3bd6.jpg


Driver side mount installed.
IMG_20130409_090400_572_zps09992784.jpg


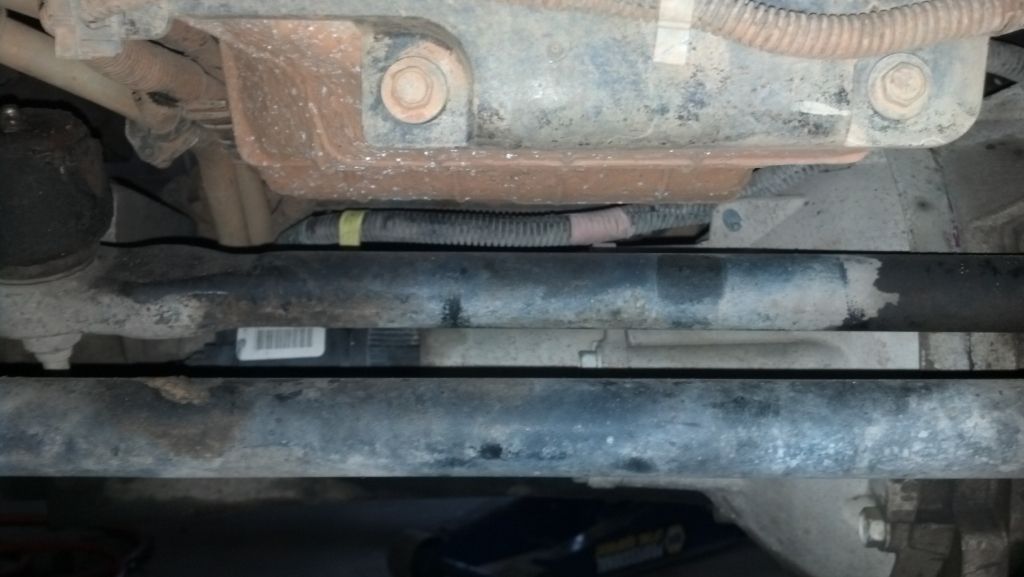
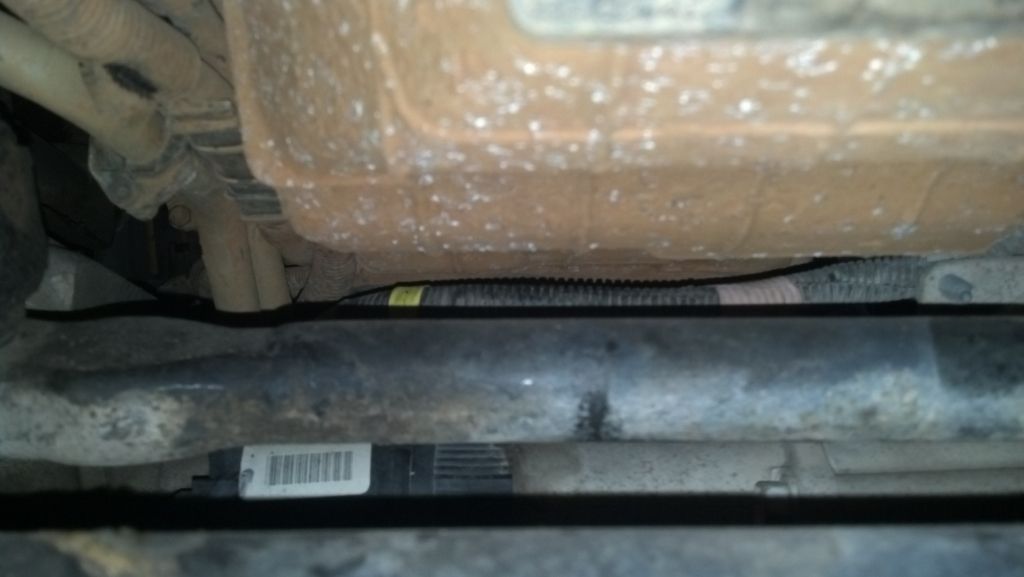
Here's a couple showing the oil pan and center link level with each other.
IMG_20130409_090525_405_zps951c81d5.jpg


IMG_20130409_090648_624_zps08cffa4a.jpg


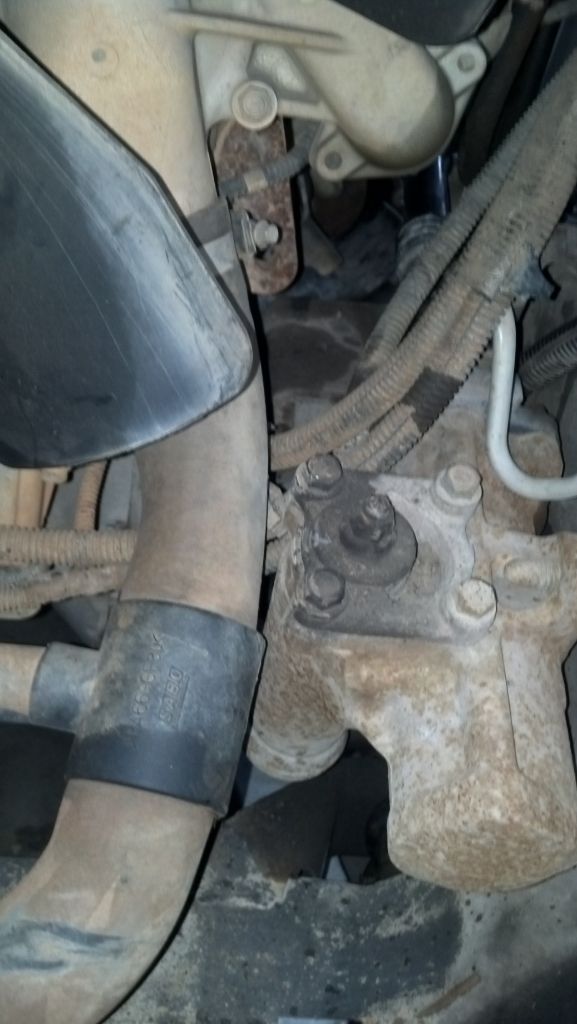
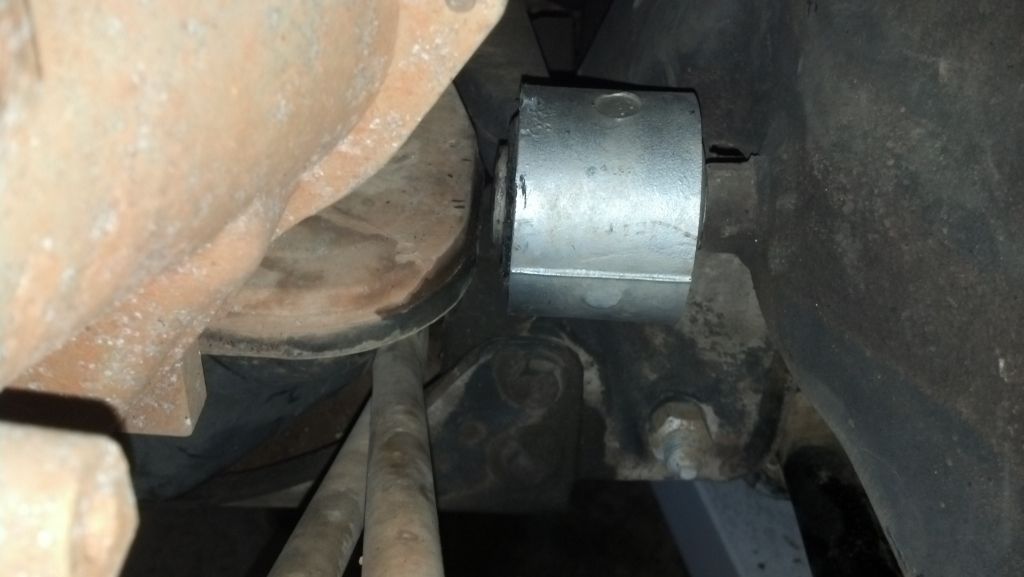
Radiator hose clears steering box
IMG_20130409_090535_333_zps5276c3d2.jpg
 

thunder550

Active member
Apr 2, 2013
1,176
16
38
Phoenix, AZ
I got the bolt to clear...had to grind the head off completely and also take a little bit off of the sleeve that goes through the front diff support. There's about 1/8" clearance there now, I hope that's enough.

IMG_20130409_132533_557_zps0a36b124.jpg


Crossmember is bolted up too. I used an existing hole for the front bolt on the driver's side, then drilled the other 3.

IMG_20130409_132605_804_zps75c3f245.jpg
 

thunder550

Active member
Apr 2, 2013
1,176
16
38
Phoenix, AZ
Cooling stack is back on.

IMG_20130409_162112_071_zpsc5a3ad06.jpg


Next step is to pull the chassis wiring harness, tank, and fuel lines from the donor truck and put them on this one. I have a pump rub kit from Merchant Automotive on order, so that will go in next, then I need to get my body lift in, then I can set the body back on.
 

thunder550

Active member
Apr 2, 2013
1,176
16
38
Phoenix, AZ
Ok...I have a question on the body lift.

The LLY radiator support is 2-3/4" taller than the gasser support. I've read that most people are running a 2" body lift. I don't want to reinvent the wheel, but if I run a 2" lift at the rear of the cab and the fender mounting holes are 2-3/4" at the front, approx 10 feet ahead, that will give me about a .35 degree up angle for the body. When comparing that to the bed, which will be flat, the gap would theoretically be 1/4" tighter at the top of the bed than at the bottom. Think that will be noticeable?
 

thunder550

Active member
Apr 2, 2013
1,176
16
38
Phoenix, AZ
Hmm..well I guess I'll have to see how it turns out.

Got the chassis and transfer case harnesses swapped over this afternoon. I have about 2 feet of length to take out of it, might try to do that tomorrow. I am currently out of heat shrink tubing and almost out of electrical tape, so tomorrow is a parts run afternoon.

Also figured out that the connectors on the ABS modules are different. Any thoughts on whether I can cut and splice the connectors, or if I need to swap the whole module over from the 05?

IMG_20130411_175912_944_zpse955e54f.jpg
 

thunder550

Active member
Apr 2, 2013
1,176
16
38
Phoenix, AZ
Sounds reasonable. I guess that won't be too big of an issue. Might as well swap over the master cylinder also while I have the brake system opened up. The one in the 05 is quite a bit bigger than the one in the 99.
 

thunder550

Active member
Apr 2, 2013
1,176
16
38
Phoenix, AZ
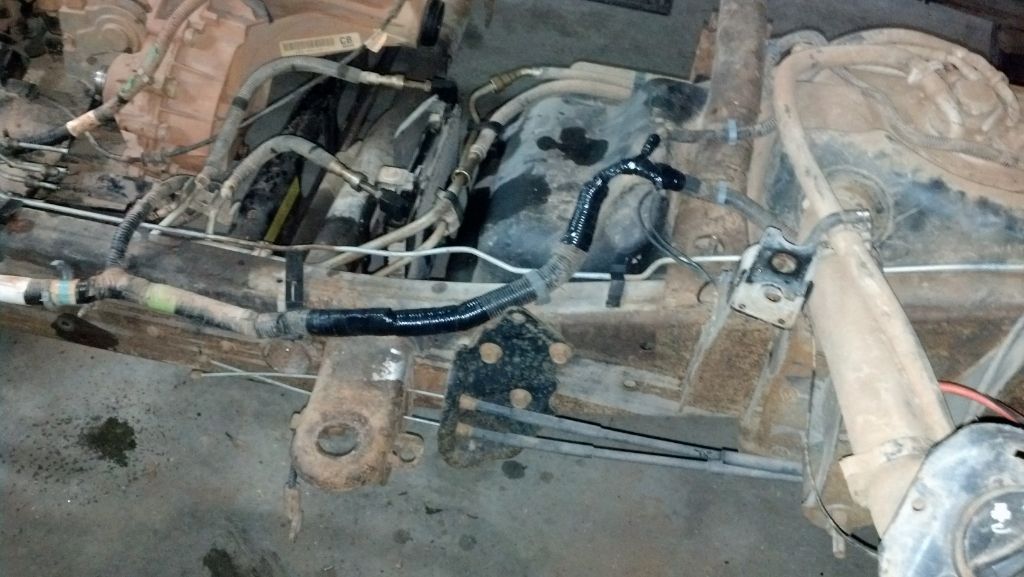
Got the fuel tank and lines swapped over today.
IMG_20130412_190015_898_zpsdb20571e.jpg


Fuel cooler bolts in place of the gasser evap system. No modifications necessary.
IMG_20130412_190022_644_zps16ef3343.jpg


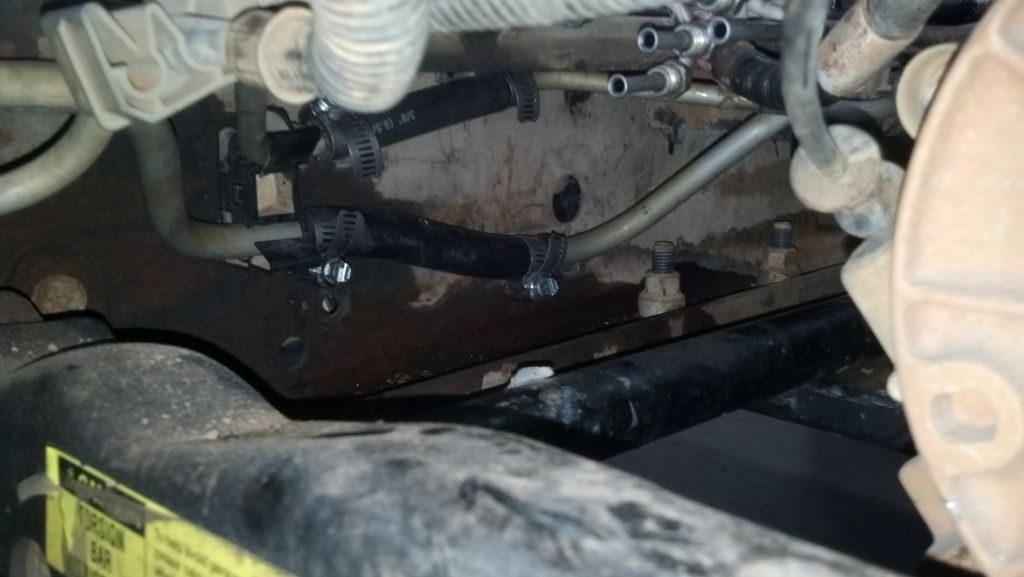
I used the factory hard lines and cut a section out of them, spliced with hose. This allowed me to use the factory hardware that mounts the lines to the frame. Everything lined up. Kind of.

IMG_20130412_190110_930_zpsbef1ca6b.jpg


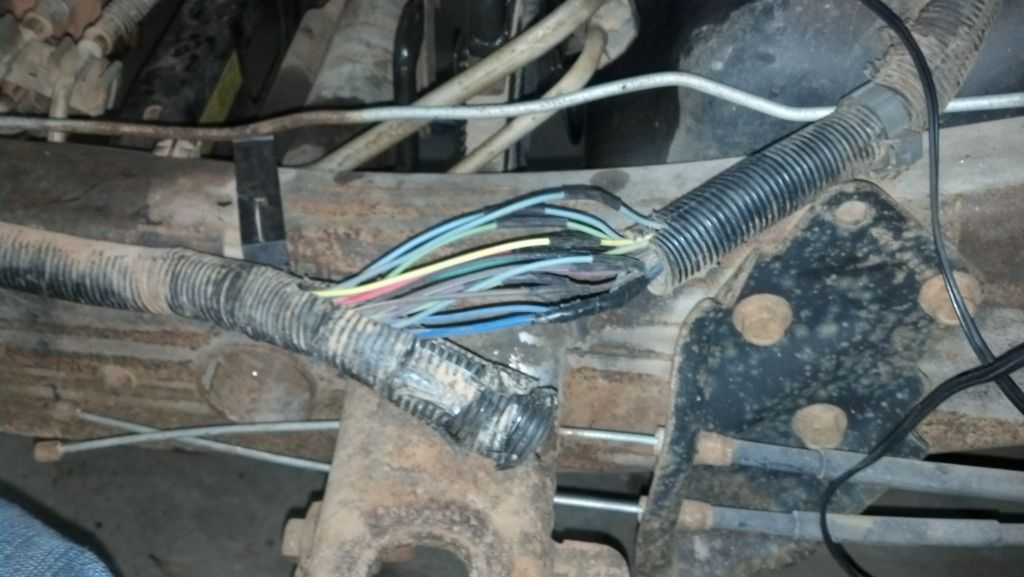
Got the crew cab chassis harness shortened also.

IMG_20130412_195059_290_zpsf90f76e1.jpg


IMG_20130412_200219_159_zps64e0c19a.jpg
 

thunder550

Active member
Apr 2, 2013
1,176
16
38
Phoenix, AZ
Today's progress:

Swapped over the 05 ABS module. It's a direct swap, everything bolts up and the brake lines all line up in the same locations.

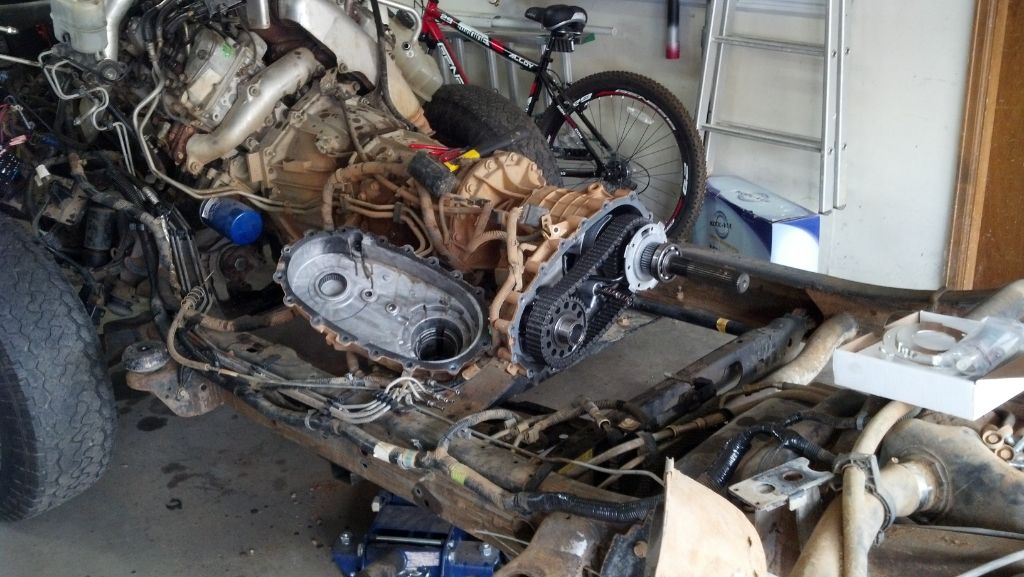
Installed the Merchant Automotive pump rub kit. This was the easiest transfer case work I've ever done :)

IMG_20130413_100924_363_zpsd9e11c7e.jpg


Glad I did this now, the factory clip was broken and there is some wear in the rear t-case half.
IMG_20130413_100907_960_zps19410096.jpg


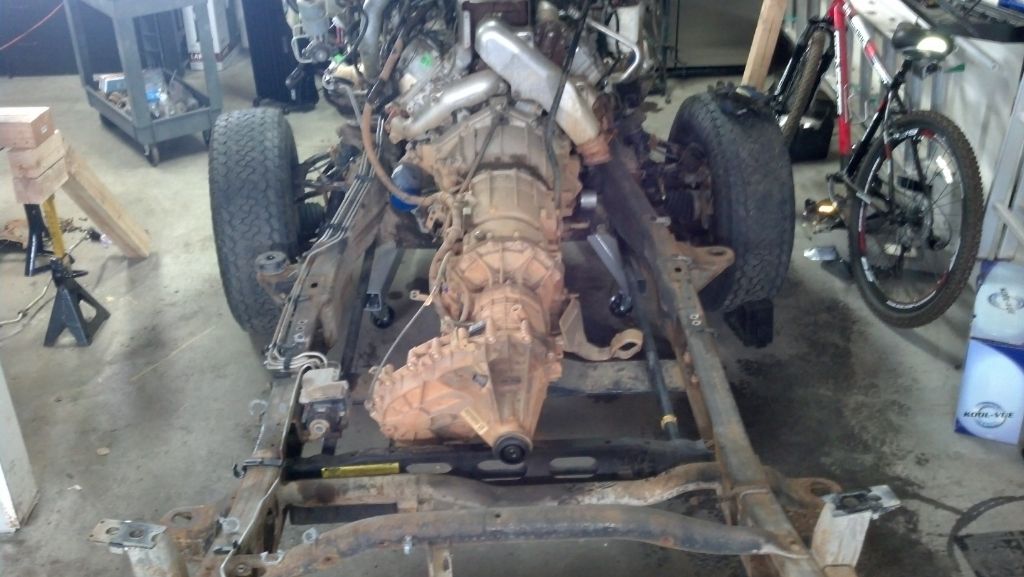
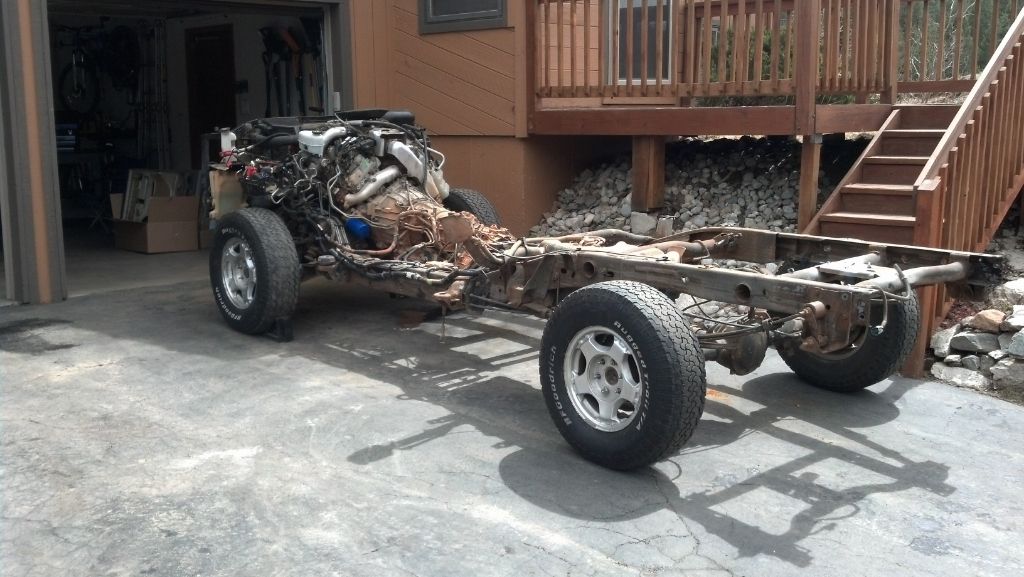
Chassis is ready to go!

IMG_20130413_134738_279_zpsfaecfccc.jpg


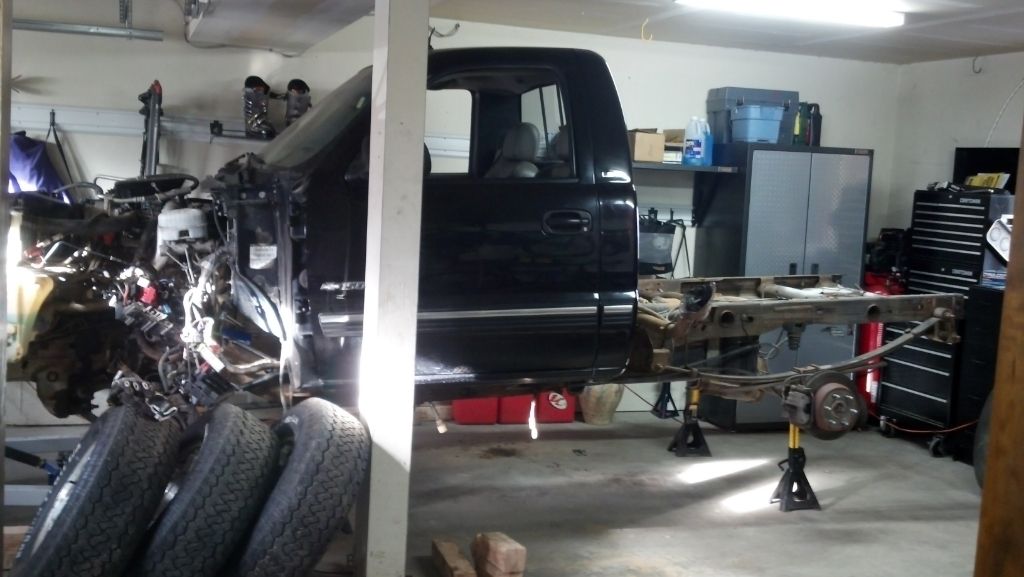
IT FITS!!! WOOHOO!

IMG_20130413_180931_030_zps214cabcc.jpg
 

yellowchevy

Well-known member
Sep 9, 2010
1,926
82
48
Louisburg, KS for now
Good work :thumb::thumb:
Kind of reminds me of when I replaced my injectors; I removed the box, dropped the tank, and painted the frame being I had it down.

Keep up the good work and looking forward to seeing/hearing it run.:woott:

Yellowchevy
 

thunder550

Active member
Apr 2, 2013
1,176
16
38
Phoenix, AZ
Got the passenger fender/battery/airbox/coolant tank put in tonight. Bled the brakes, filled and bled power steering system. It's sitting on 4 wheels now, and can move under it's own power :) My eyes are burning from running the truck in the garage with open down pipe, lol.

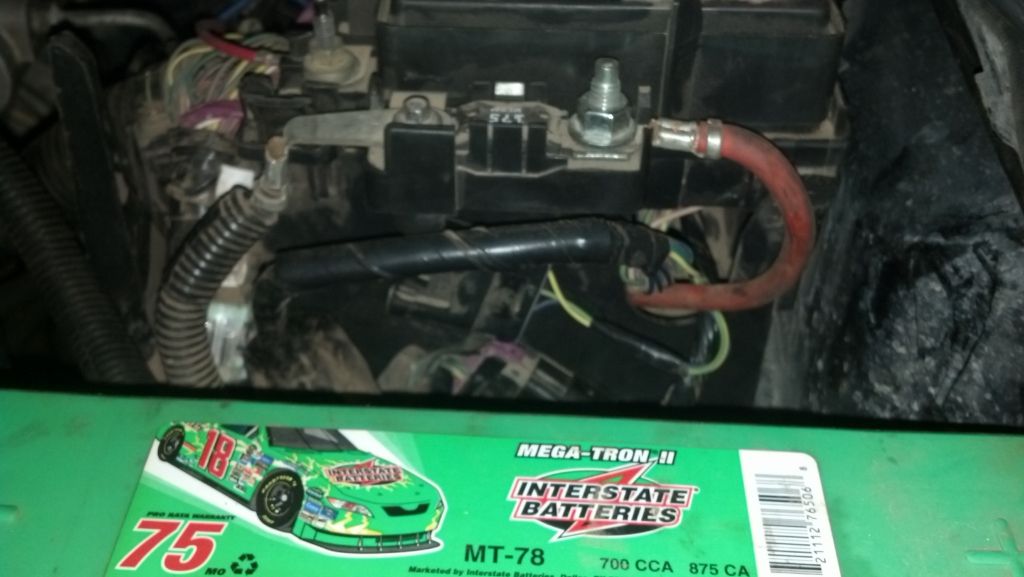
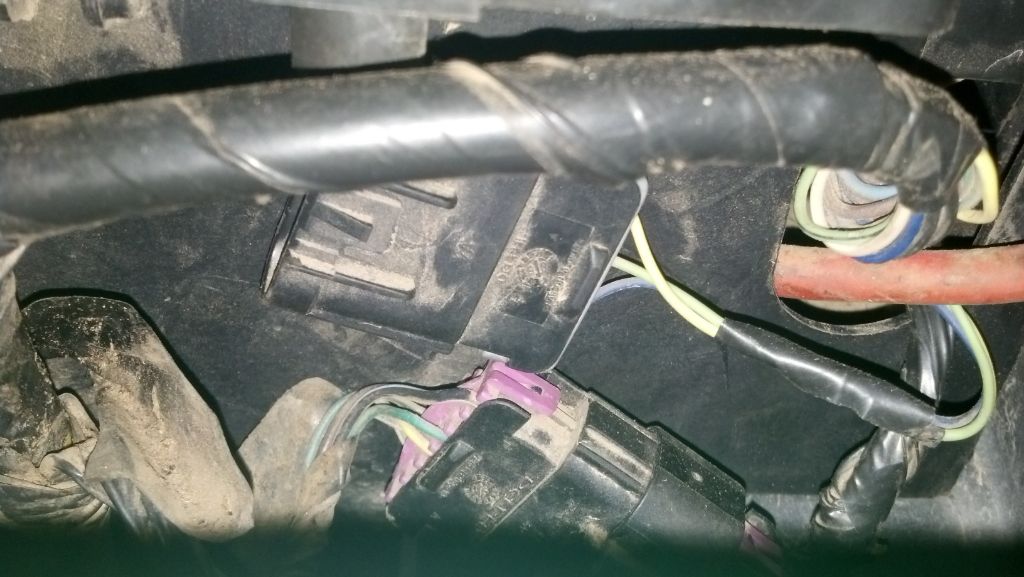
Couple things I'm hoping one of you guys can help me out with.

First, I have this connector on the underhood fuse box that I can't find a mate for. It's the only one that doesn't have something that connects to it. Anyone know if this is supposed to be this way, or did I lose a connector somewhere in the rat's nest of wiring?

IMG_20130415_170256_273_zps4773a717.jpg


IMG_20130415_170251_152_zps2751437a.jpg


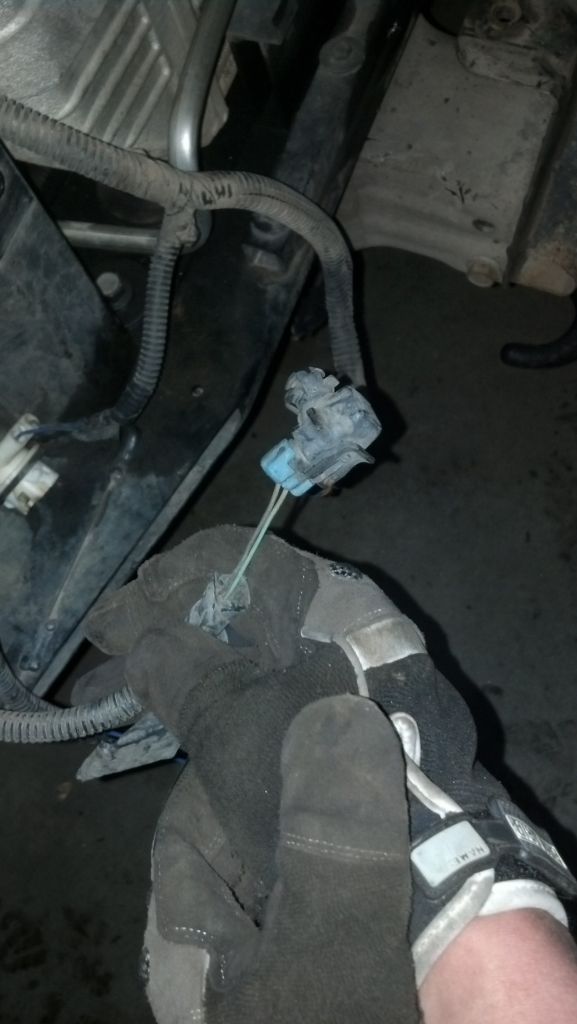
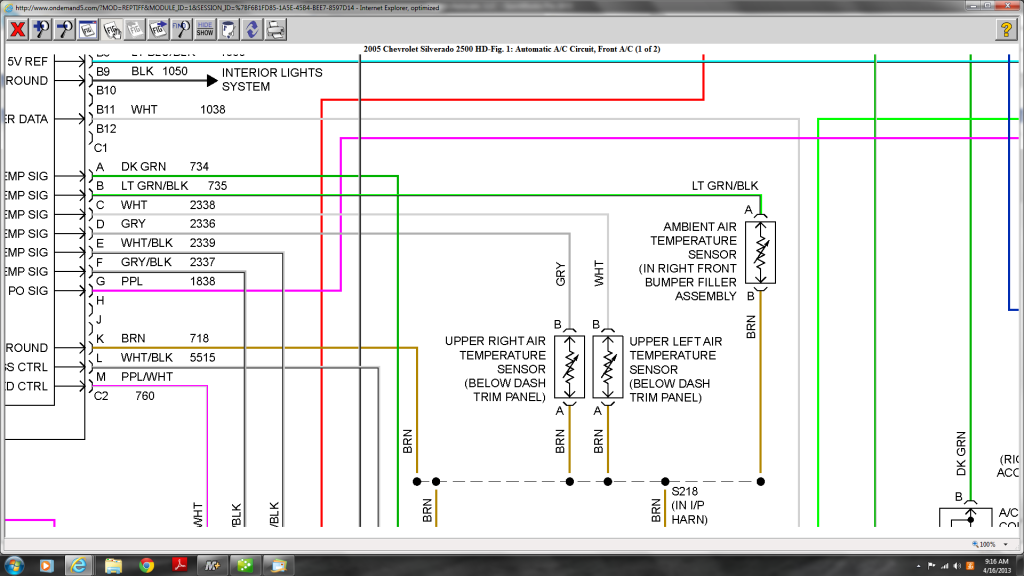
Next, I have this sensor that needs a home. It looks like a temperature probe, but it's not the external temp probe that mounts next to the trans cooler, I already have that one in place. The pigtail feeds into the same harness that the passenger side horn and lights are on. Anyone know where it goes?

IMG_20130415_184103_630_zpsdbfbacf2.jpg
 

AKlowriderZ71

New member
May 14, 2012
719
0
0
Wyoming
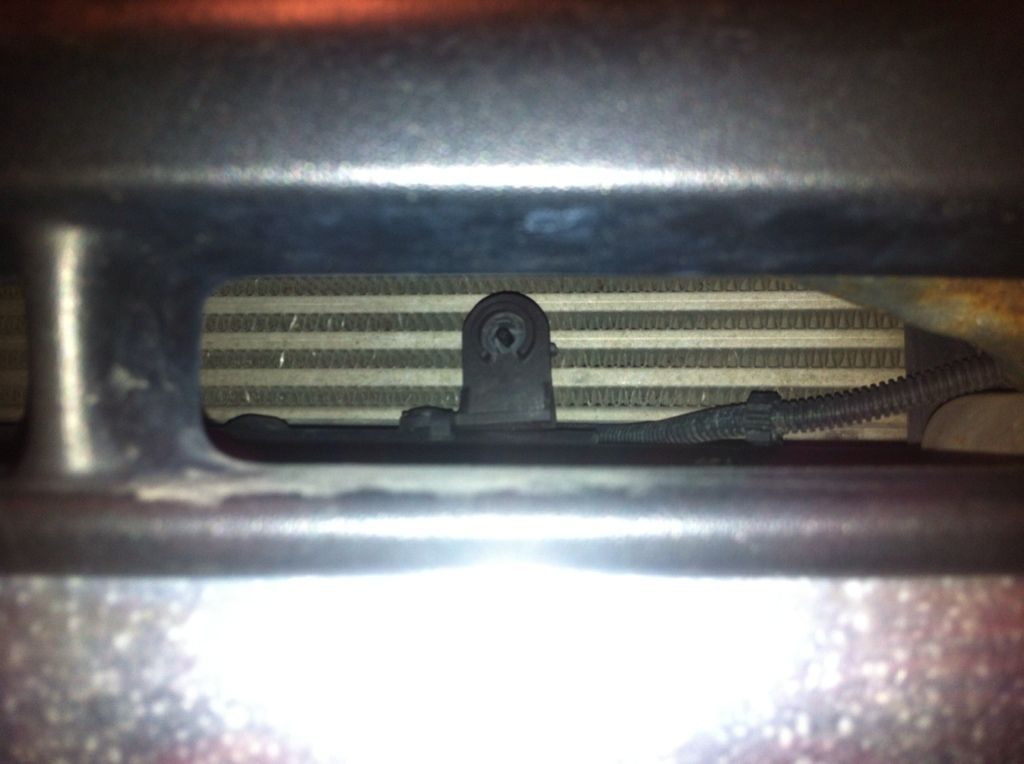
No idea about the first one Chris.

But the second pic you posted is kinda crappy..... Is it the outside ambient air temp sensor?? For your rear view mirror?? If yes, mount it somewhere out in the open. I run a cold front during the winter months (year round in AK, almost...), so I relocated it to this spot behind the front bumper.