Wired up the AEM FIC this weekend. Wasnt as bad as i figured it would be. had to ohm a few wires to make sure i was connecting to the right ones and suzuki decided to do some weird things with the cam and crank sensor that most MFG dont do (go figure) but nothing a good set of wiring schematics and a little trial/error/googling couldnt fix.
Also drilled an 1/8" npt into the intake manifold and used 5/16" hose barb and hose ran to the cab and reduced down to 1/8" stuff for the MAP sensor on the FIC. i went large as some people had issues with running 1/8" stuff that far away from the manifold to the FIC and it causing bad readings. not really sure it would have affected me that much but the 5/16" line lets me tap into it for an FMU down the road if i want.
Mounted the FIC under the stock computer. i was worried about someone kicking up and breaking the plastic MAP connector off so i angled it back far as i could. there is absolutely no space anywhere else on the passenger side to mount it unless i put it in the glove box which i didnt want OR put it under the hood which would have ment wiring everything from the engine bay (didnt like that idea). this worked out pretty clean

At this point, i dont have the wiring hooked to the FIC and have the jumper they send with installed (more on that later). the bundle of wires off the side are extra wires not needed for my setup. i have not cut them yet as im not 100% sure i have everything wired correctly to make the tuning work. i have no check engine light or codes but that doesnt mean its all working right.
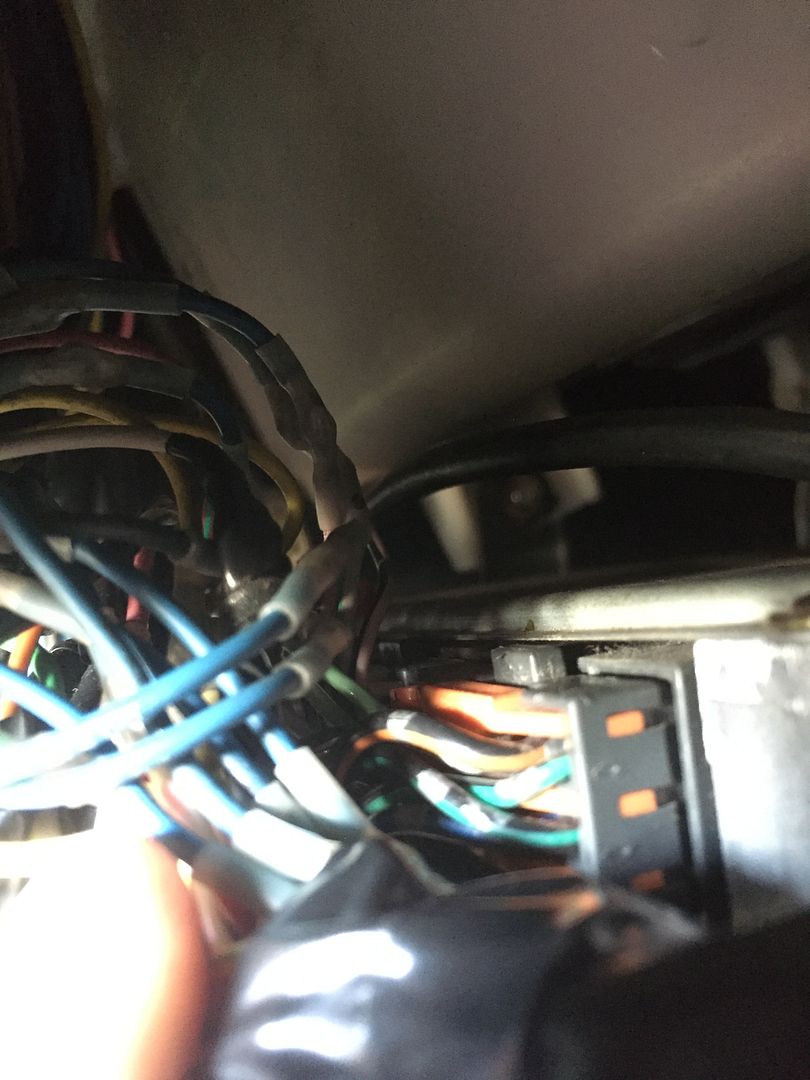
(most time consuming part here. cut, soldier, heat shrink and repeat.)
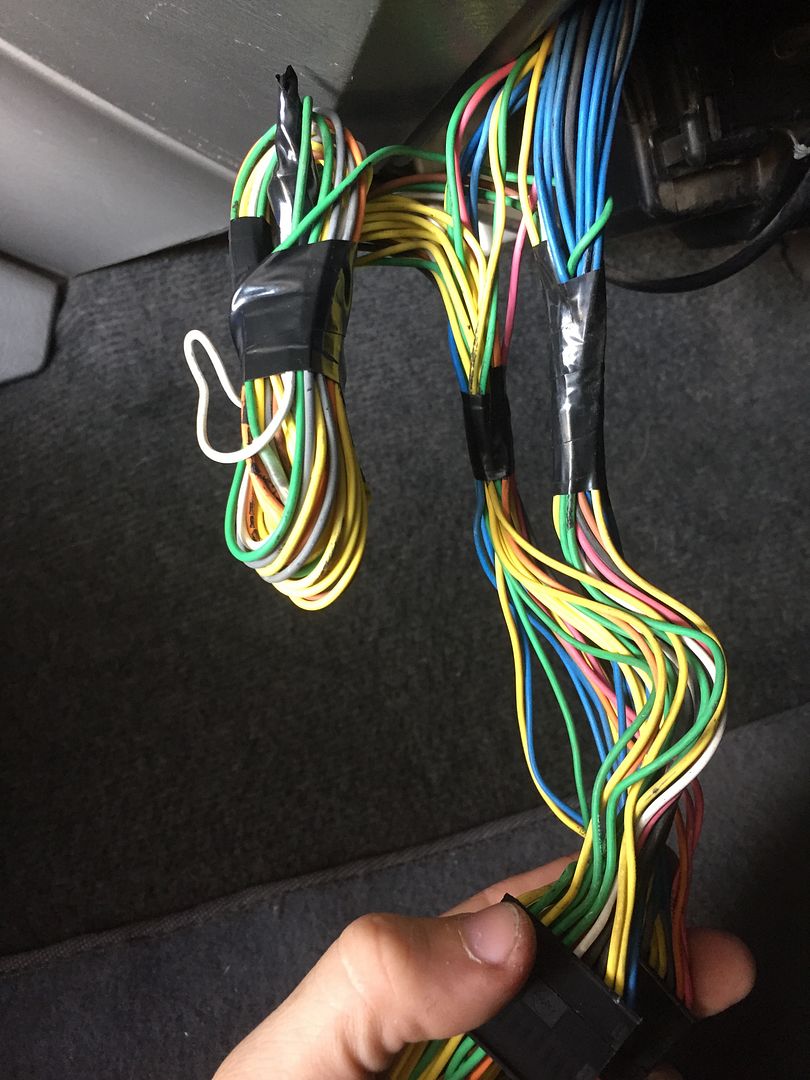
(bundle of extra wires)
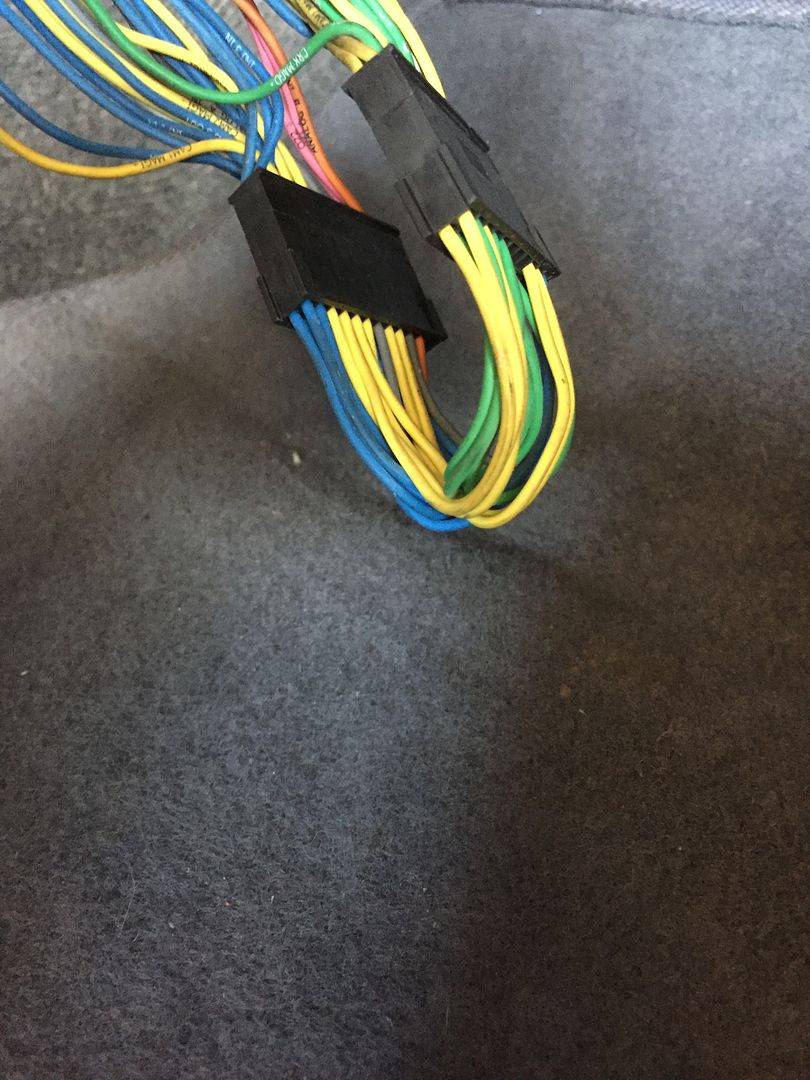
(jumper)
So once everything was hooked up how i though it should be, i started the rig and she fired right up..... then she threw a check engine light. Light was for the crank sensor. The sensor has 3 wires coming off it and based on AEM and google, that means its a hall effect sensor. well when i was searching for the "5v signal wire" to the CKP, i couldnt find any voltage. looking at the wiring diagram, two wires come out of the ECM direct to the sensor and the third goes to ground. Started thinking about it and looking at the wiring diagram... the ground wire also encompasses the shielding wire that goes around the O2 sensor wiring. if you take that wire out of the equation, all signs point to the CKP as a magnetic sensor. interesting considering the CMP is hall effect. So i rewire the CKP for a magnetic pick up and bye bye check engine light.
Take her out on her first test drive and notice im getting a hesitation at about 3k rpm and starts cutting out at 4500ish rpm. kinda looked over the tune but im still trying to understand how the tables coincide with one another and its not making much sense at that point in time. Plus its hot out (2 in the afternoon on sunday) and im over it. So plug the jumper in and shes back to running good.
I have a better grasp of how its all setup now so ill try some thing when i get time. I did find a "resistor mod" guys do on the mag pickups for crank signal to clean up the incoming voltage. i guess the FIC is sensitive enough that if the incoming signal is not clean, it will think the vehicle is adding/removing timing and it will adjust for it.
some of the tables i get to play with

extremely simple compared to tuning with EFI Live. reminds me of cummins UDC tuning :roflmao:. even has an onboard logging setup. only issue is ill have to build conversion tables in excel to convert the logged excel data into a graph i can relate to.
its definitely interesting how it works tweaks stock tables with lots of adjustability. biggest thing is figuring out how each table is receiving its data and setting it up accordingly, then plugging in numbers to the tables is the easy part. only thing i cant do is ADD timing, you can take it away for boost conditions but i was hoping to add timing to increase mpg and power some while N/A. i have found a few guys that have tricked the stock computer using the FIC to add timing but ill have to see if i can set my tables up to do that.
Also drilled an 1/8" npt into the intake manifold and used 5/16" hose barb and hose ran to the cab and reduced down to 1/8" stuff for the MAP sensor on the FIC. i went large as some people had issues with running 1/8" stuff that far away from the manifold to the FIC and it causing bad readings. not really sure it would have affected me that much but the 5/16" line lets me tap into it for an FMU down the road if i want.
Mounted the FIC under the stock computer. i was worried about someone kicking up and breaking the plastic MAP connector off so i angled it back far as i could. there is absolutely no space anywhere else on the passenger side to mount it unless i put it in the glove box which i didnt want OR put it under the hood which would have ment wiring everything from the engine bay (didnt like that idea). this worked out pretty clean

At this point, i dont have the wiring hooked to the FIC and have the jumper they send with installed (more on that later). the bundle of wires off the side are extra wires not needed for my setup. i have not cut them yet as im not 100% sure i have everything wired correctly to make the tuning work. i have no check engine light or codes but that doesnt mean its all working right.
(most time consuming part here. cut, soldier, heat shrink and repeat.)

(bundle of extra wires)

(jumper)

So once everything was hooked up how i though it should be, i started the rig and she fired right up..... then she threw a check engine light. Light was for the crank sensor. The sensor has 3 wires coming off it and based on AEM and google, that means its a hall effect sensor. well when i was searching for the "5v signal wire" to the CKP, i couldnt find any voltage. looking at the wiring diagram, two wires come out of the ECM direct to the sensor and the third goes to ground. Started thinking about it and looking at the wiring diagram... the ground wire also encompasses the shielding wire that goes around the O2 sensor wiring. if you take that wire out of the equation, all signs point to the CKP as a magnetic sensor. interesting considering the CMP is hall effect. So i rewire the CKP for a magnetic pick up and bye bye check engine light.
Take her out on her first test drive and notice im getting a hesitation at about 3k rpm and starts cutting out at 4500ish rpm. kinda looked over the tune but im still trying to understand how the tables coincide with one another and its not making much sense at that point in time. Plus its hot out (2 in the afternoon on sunday) and im over it. So plug the jumper in and shes back to running good.
I have a better grasp of how its all setup now so ill try some thing when i get time. I did find a "resistor mod" guys do on the mag pickups for crank signal to clean up the incoming voltage. i guess the FIC is sensitive enough that if the incoming signal is not clean, it will think the vehicle is adding/removing timing and it will adjust for it.
some of the tables i get to play with

extremely simple compared to tuning with EFI Live. reminds me of cummins UDC tuning :roflmao:. even has an onboard logging setup. only issue is ill have to build conversion tables in excel to convert the logged excel data into a graph i can relate to.
its definitely interesting how it works tweaks stock tables with lots of adjustability. biggest thing is figuring out how each table is receiving its data and setting it up accordingly, then plugging in numbers to the tables is the easy part. only thing i cant do is ADD timing, you can take it away for boost conditions but i was hoping to add timing to increase mpg and power some while N/A. i have found a few guys that have tricked the stock computer using the FIC to add timing but ill have to see if i can set my tables up to do that.


