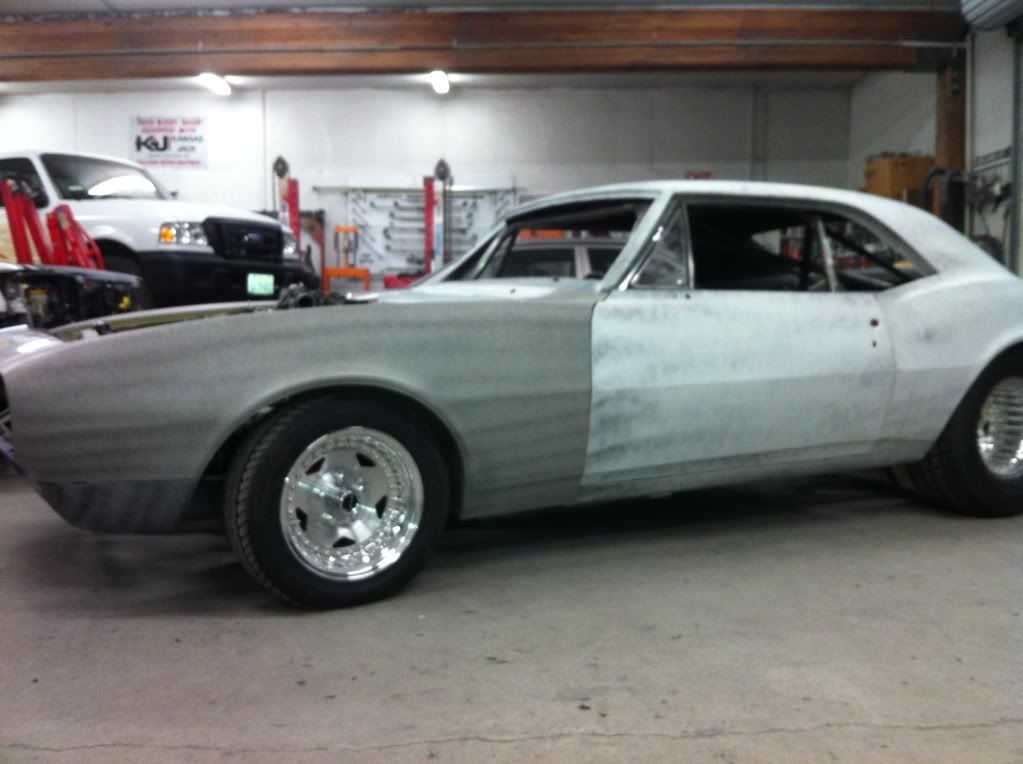
1967 RS Duramax Camaro
- Thread starter dslhtrdr
- Start date
You are using an out of date browser. It may not display this or other websites correctly.
You should upgrade or use an alternative browser.
You should upgrade or use an alternative browser.
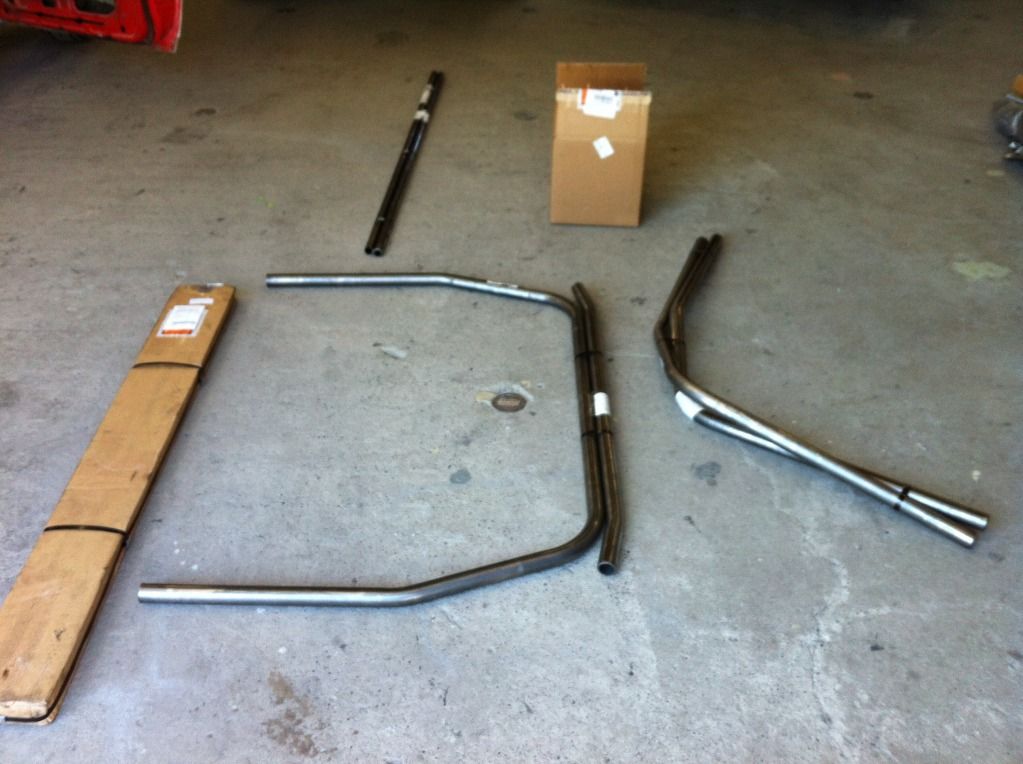
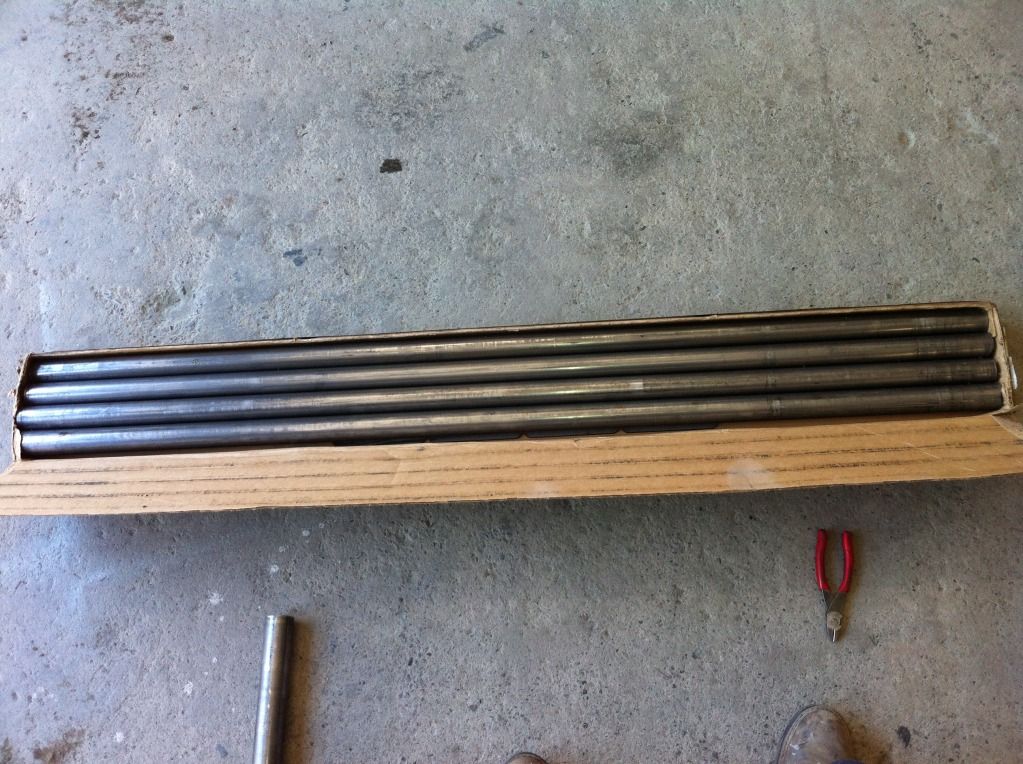
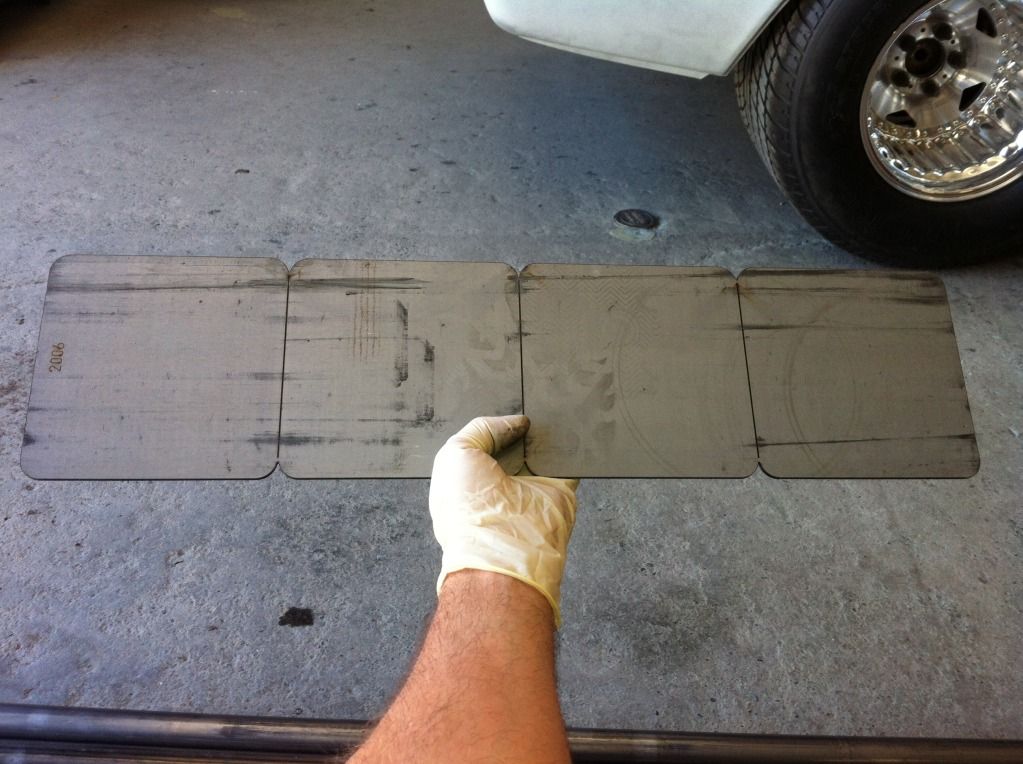
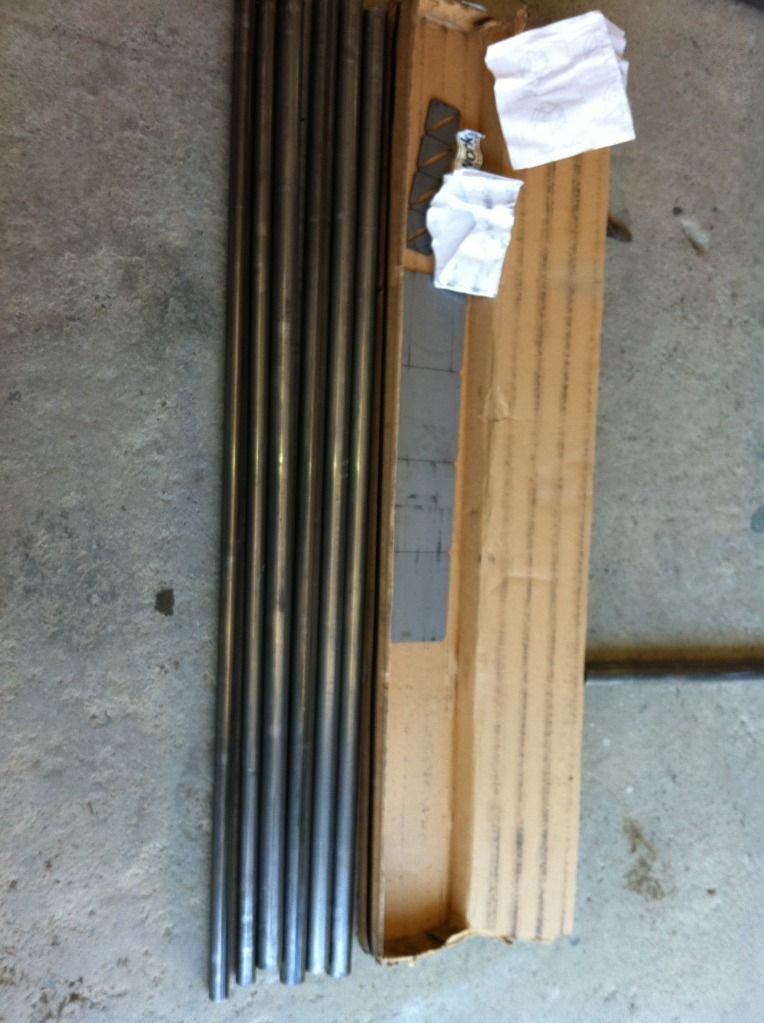
Here's the 10 point roll cage kit that I bought from Chassisworks. A very nice quality kit IMO.
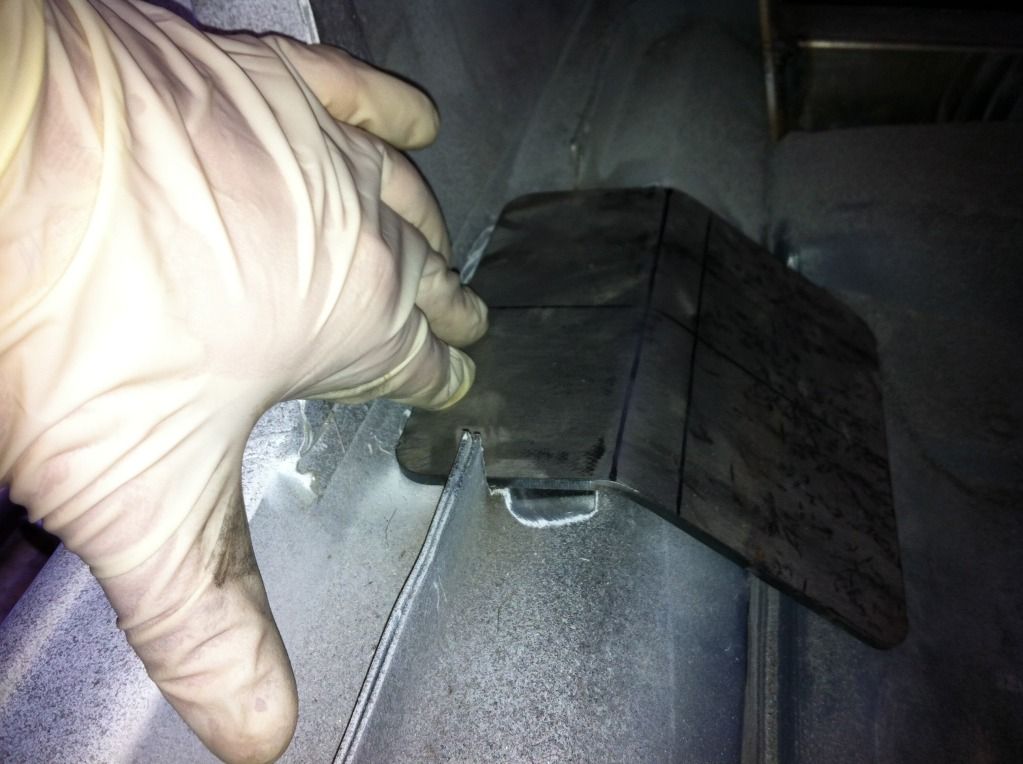
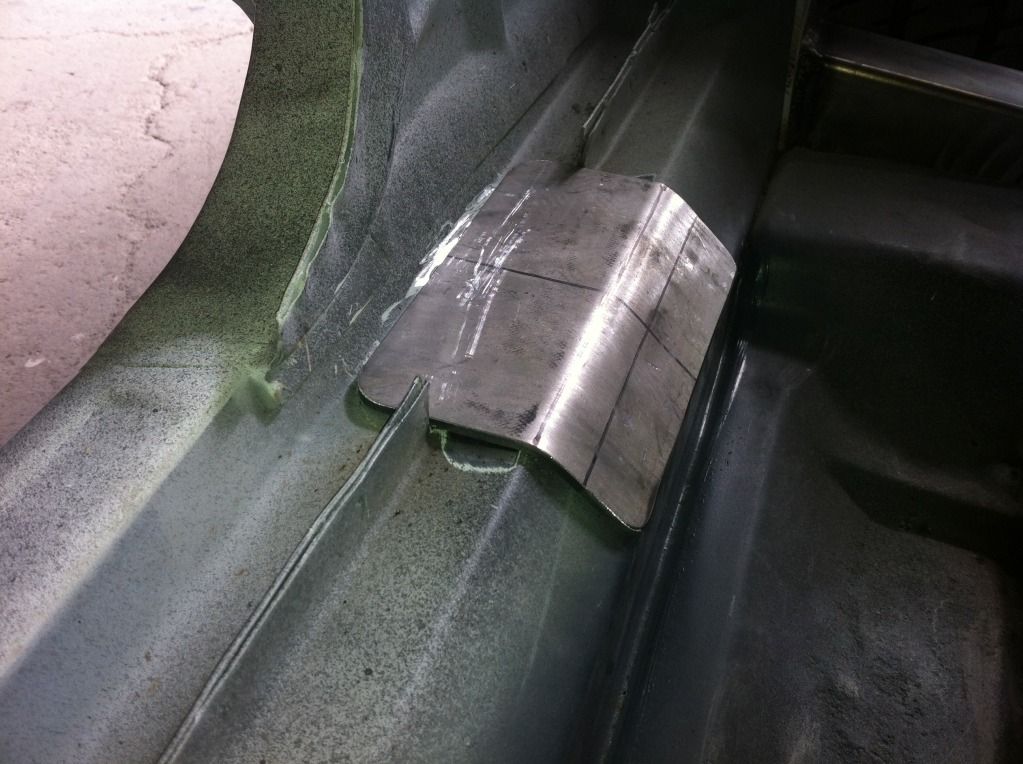
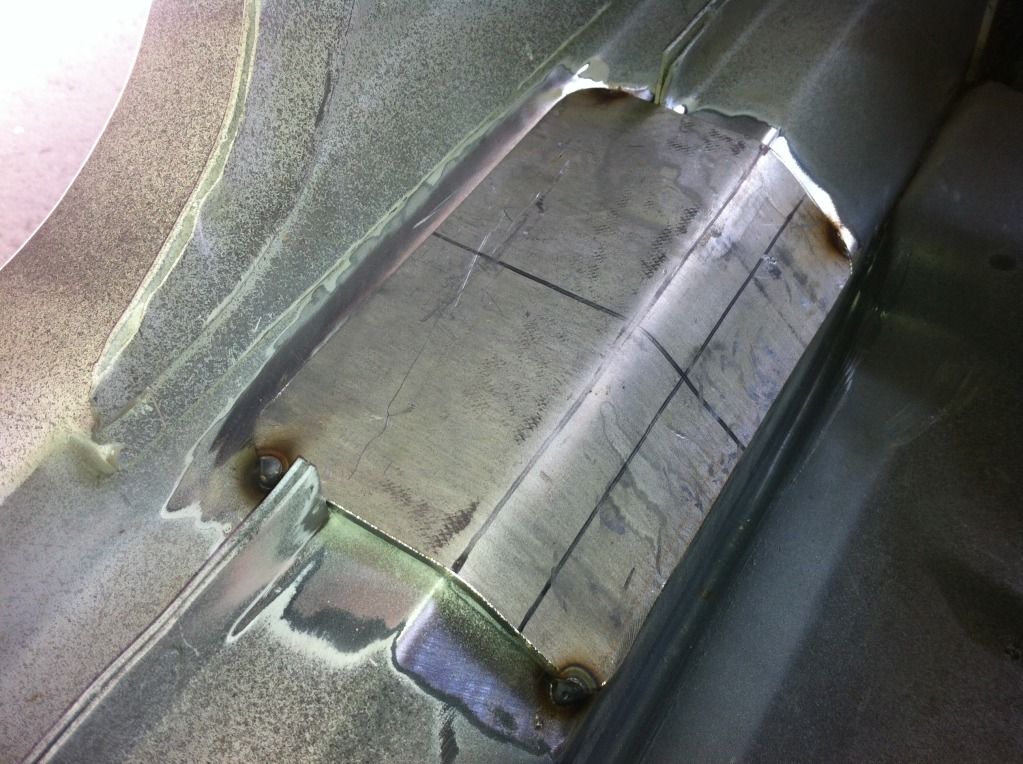
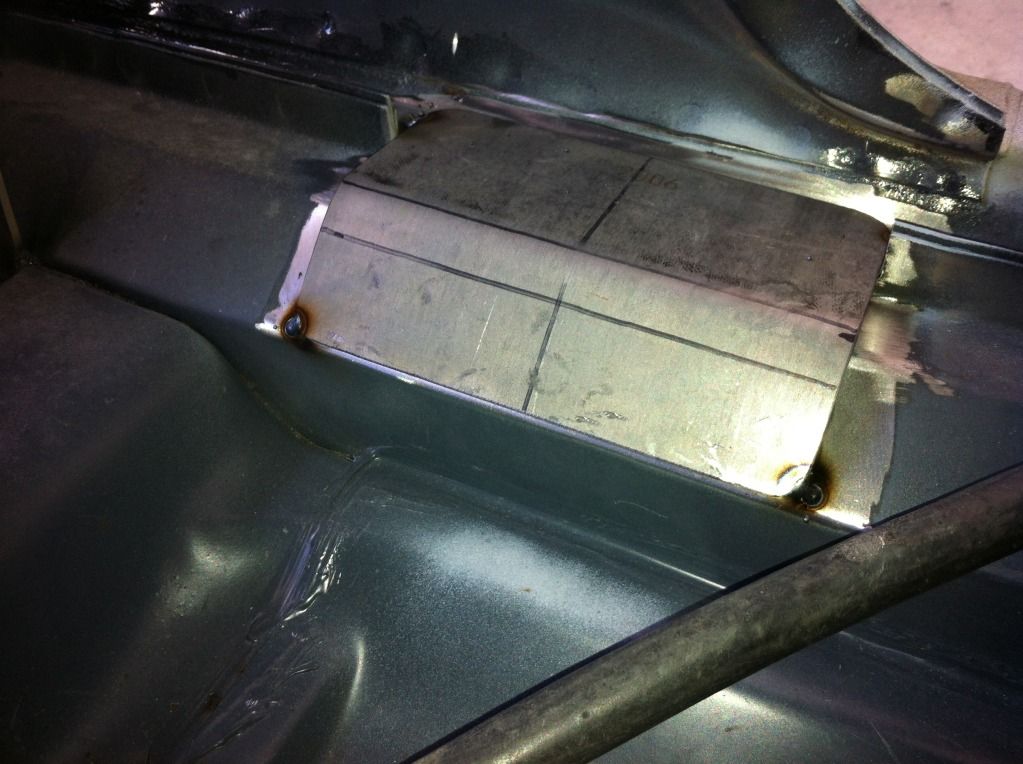
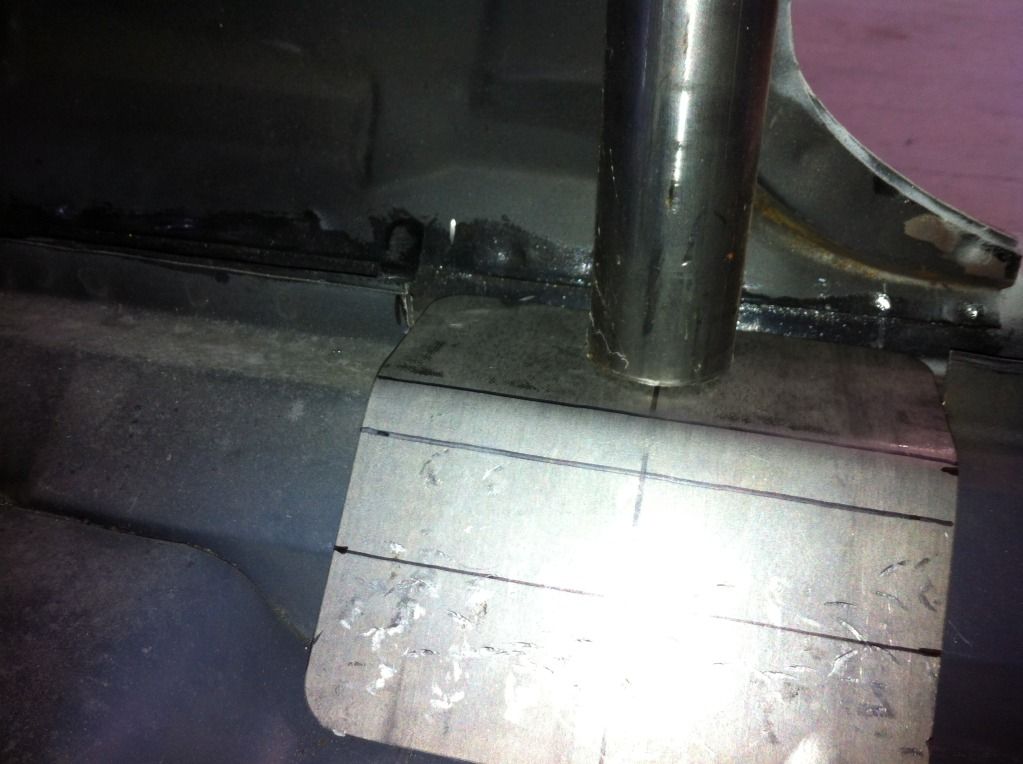
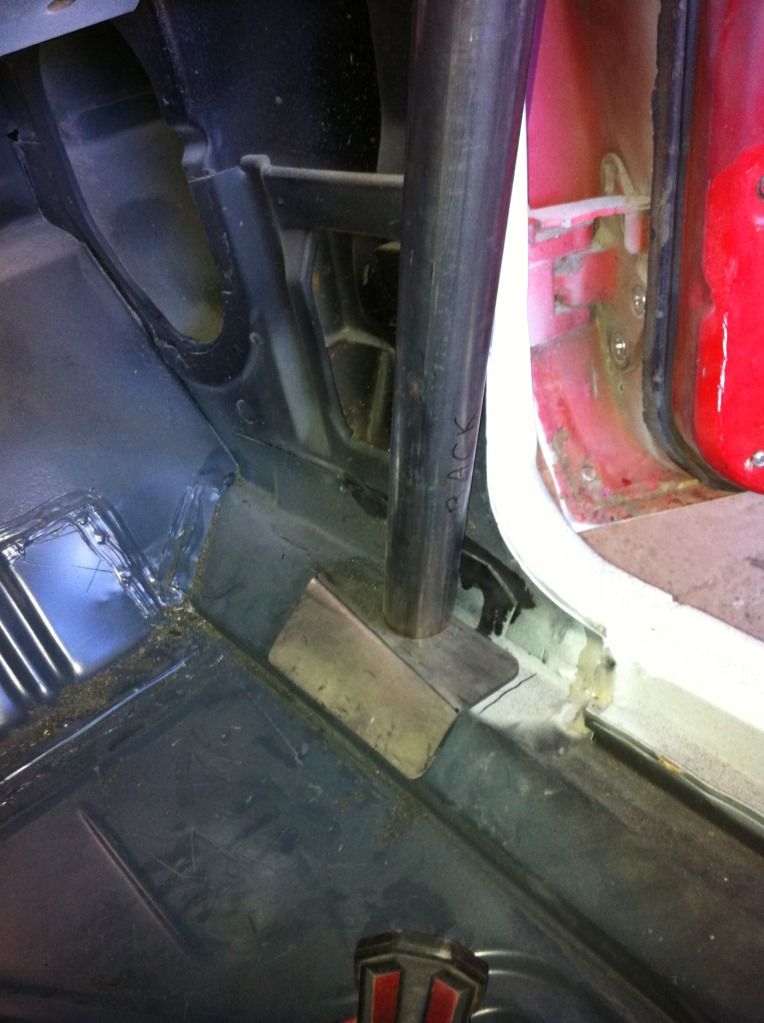
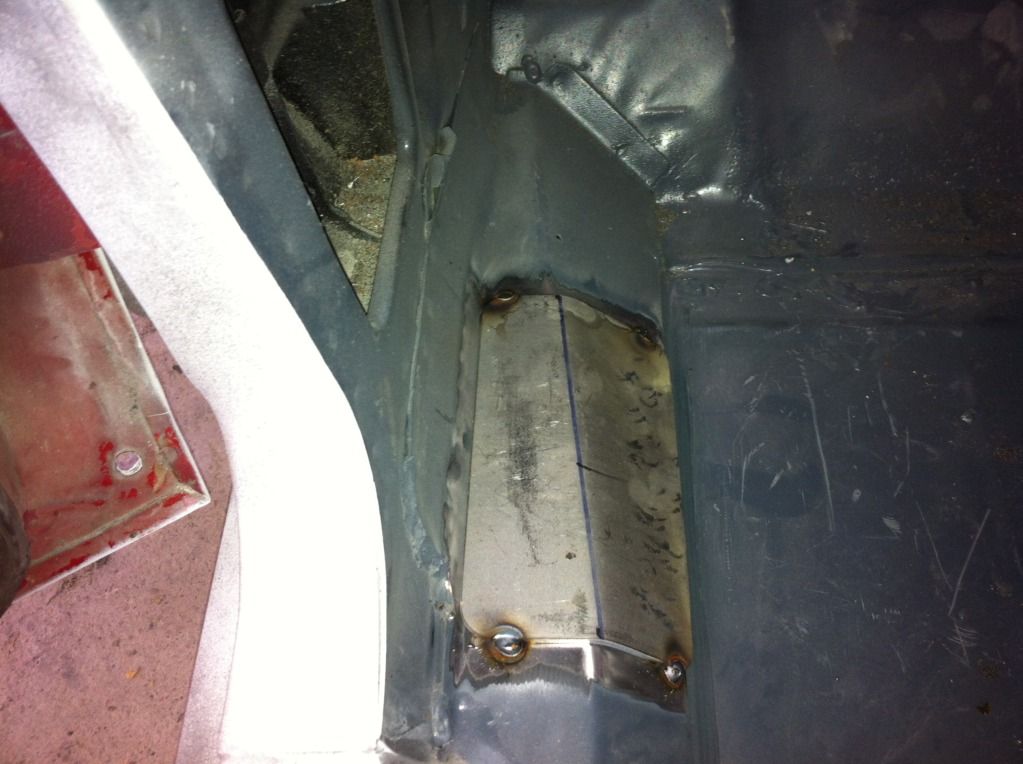
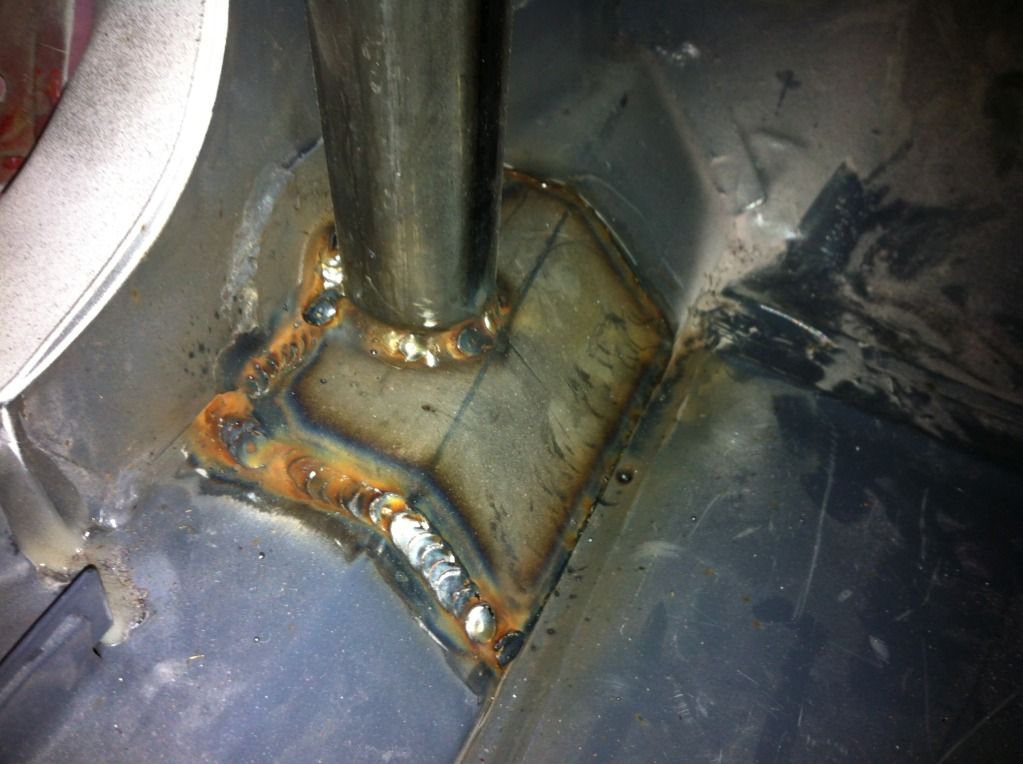
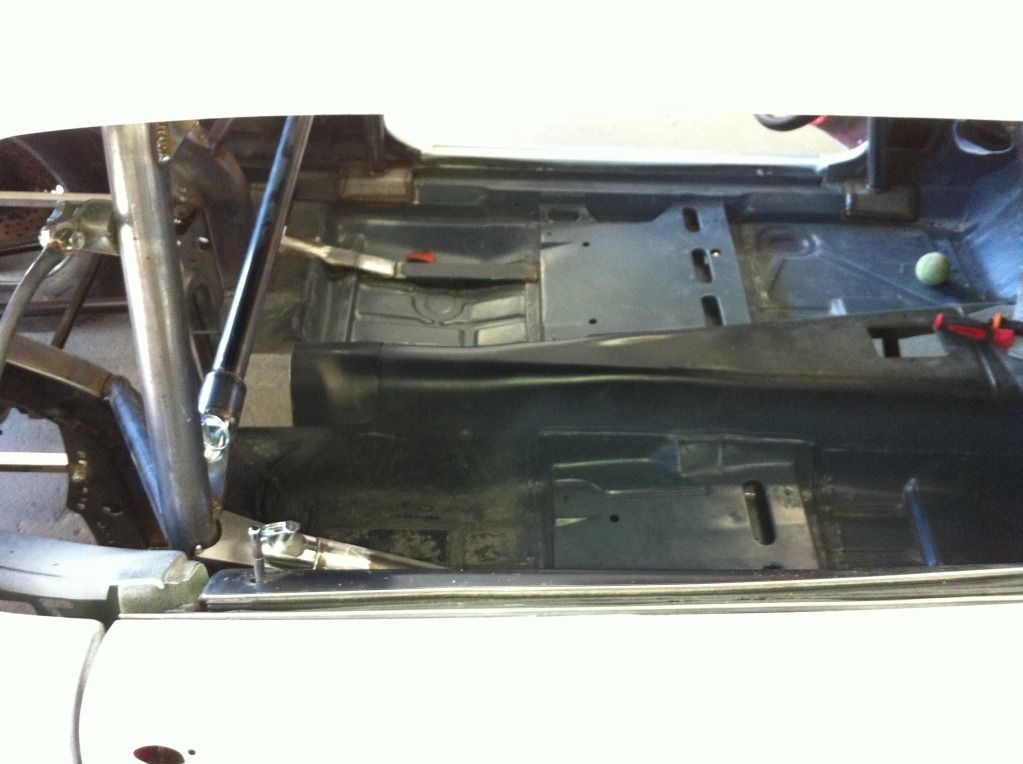
The main hoop needs to be test fit first. It is supposed to be mounted on top of the rocker, but the seam for the inner and outer rocker panels was in the way.

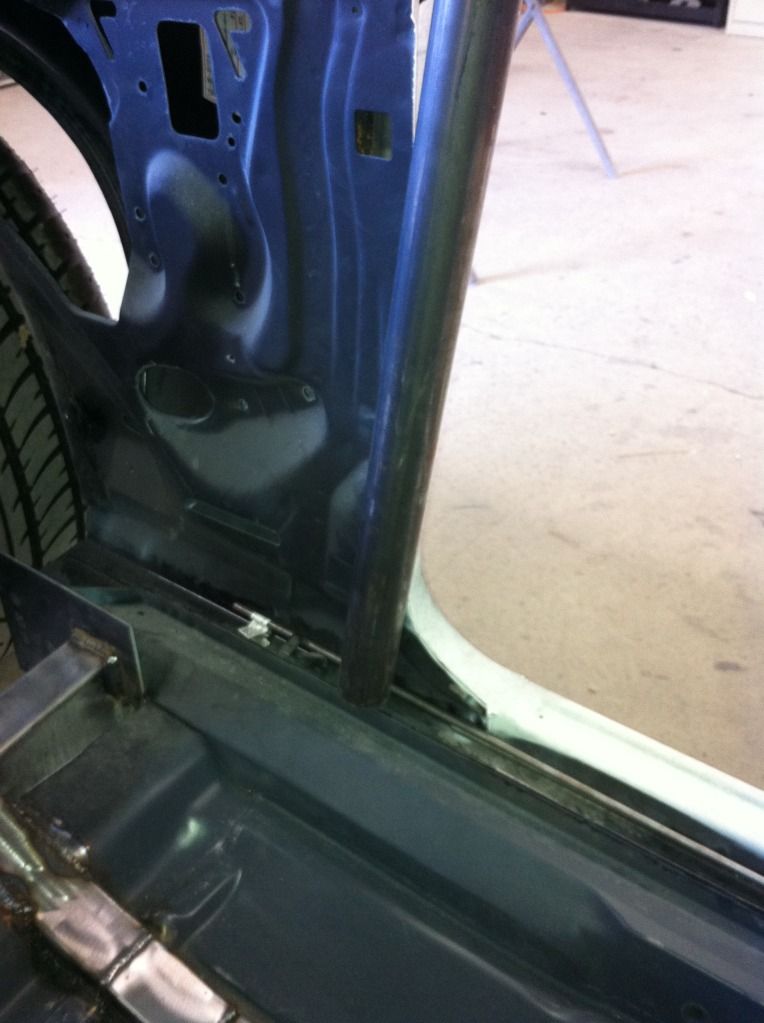
So I cut the seam off the width of the floor plate and welded it closed. Then it was ready for the new floor plate.
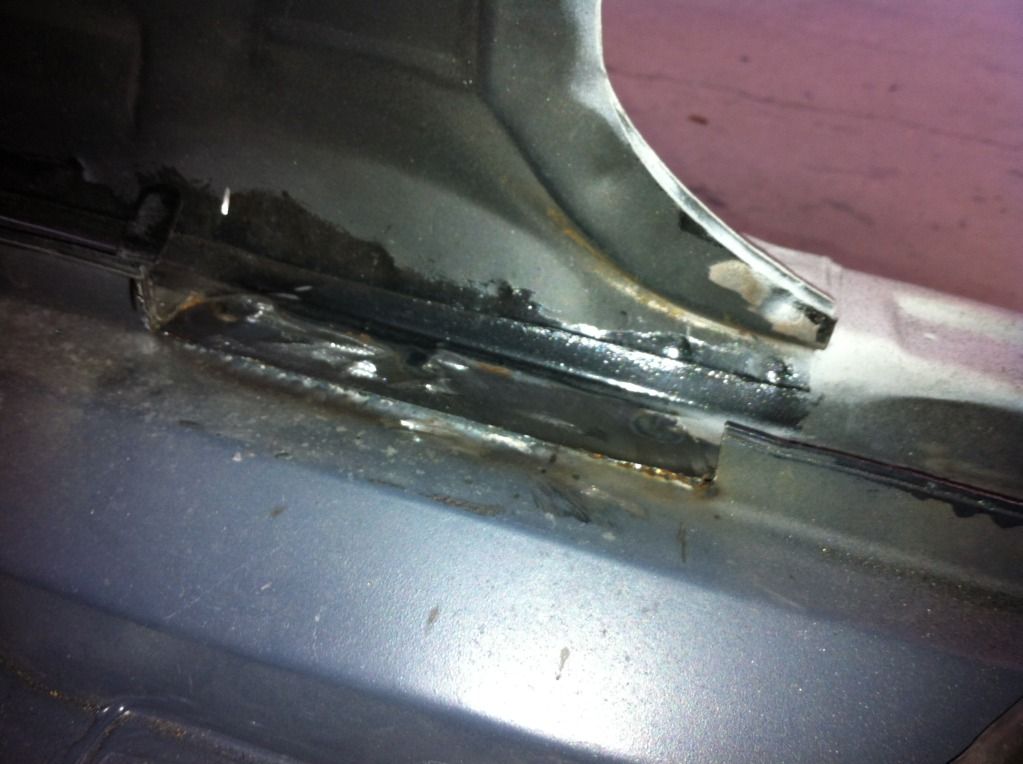

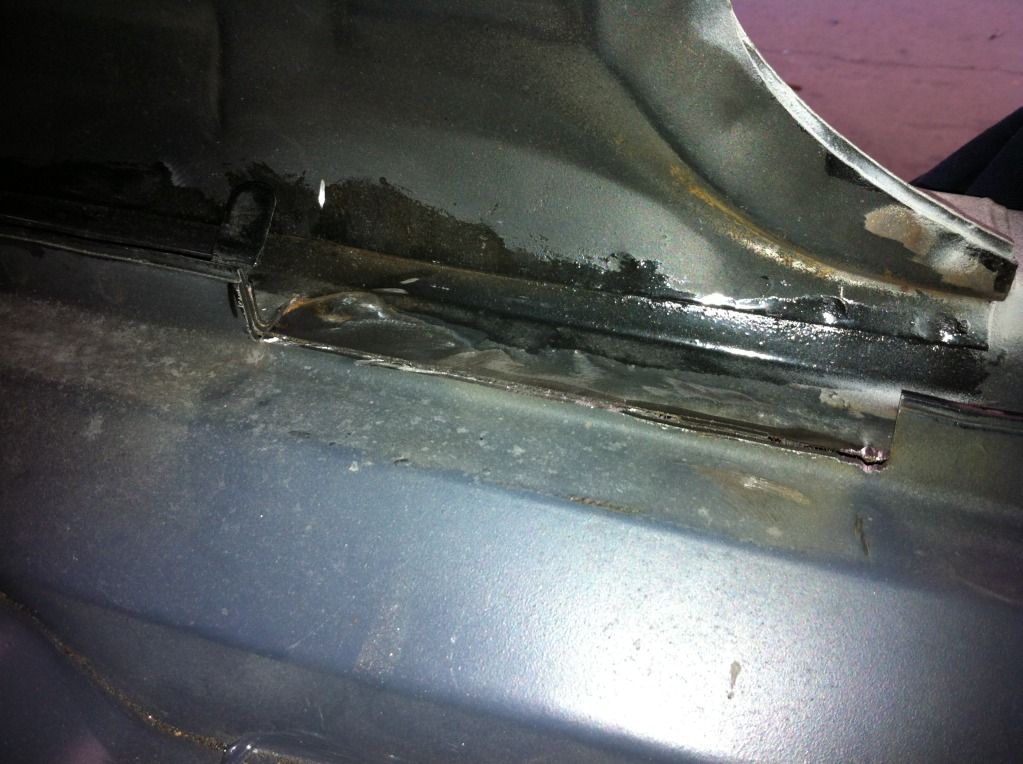
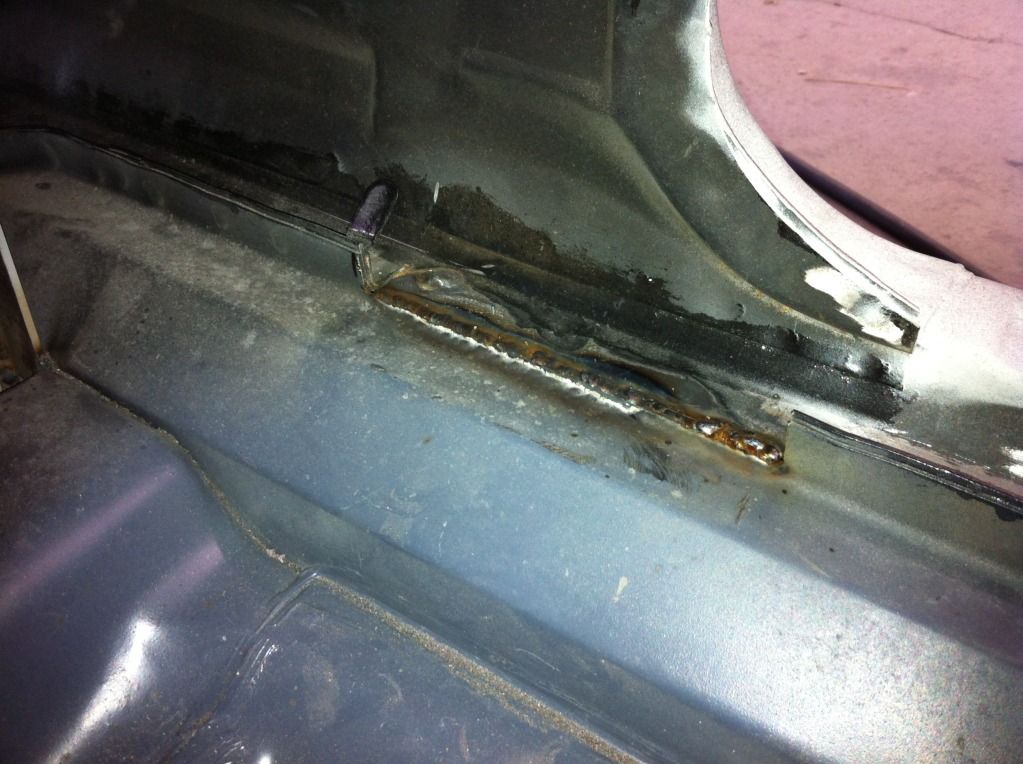
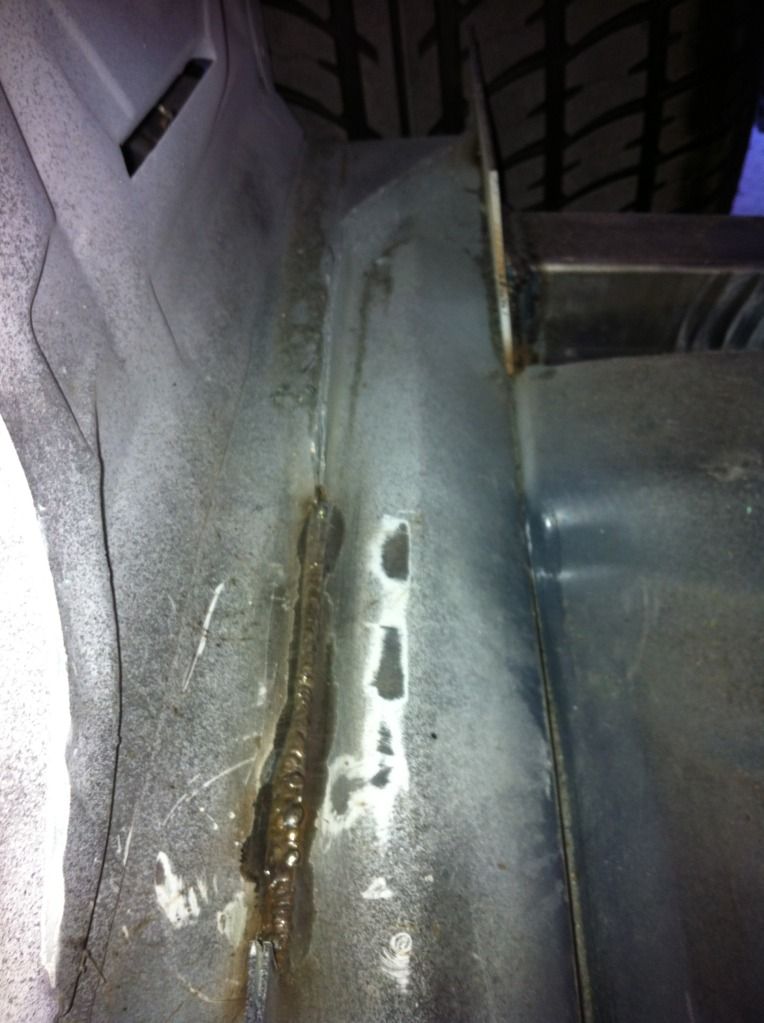
The main hoop needs to be test fit first. It is supposed to be mounted on top of the rocker, but the seam for the inner and outer rocker panels was in the way.
So I cut the seam off the width of the floor plate and welded it closed. Then it was ready for the new floor plate.
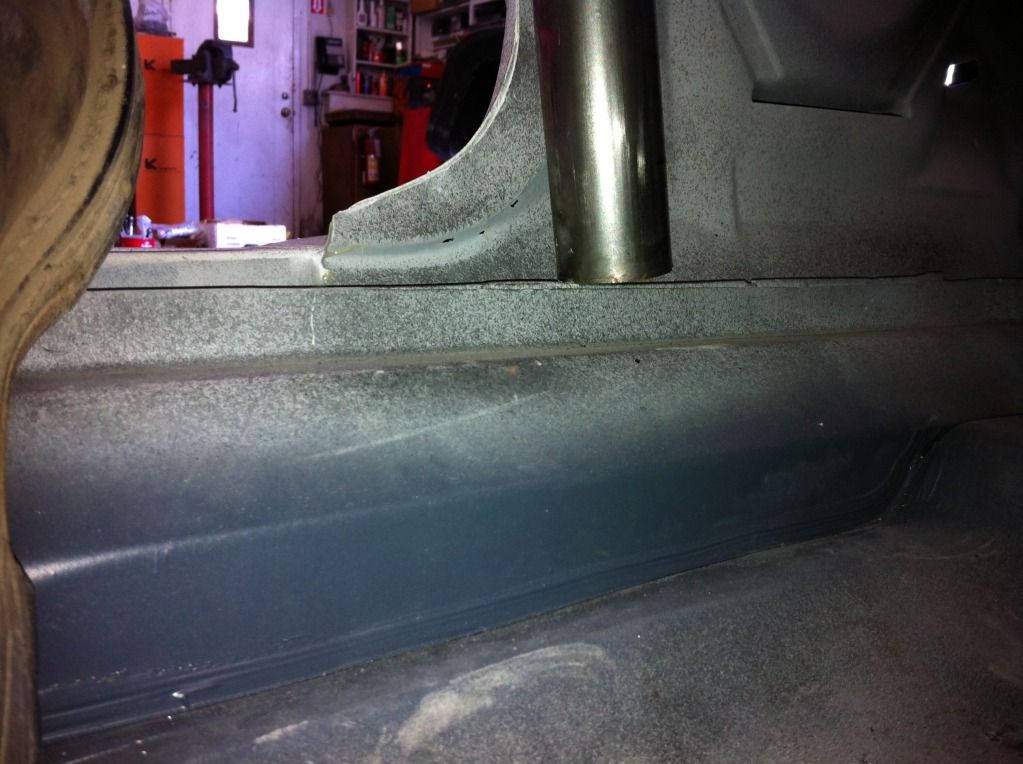
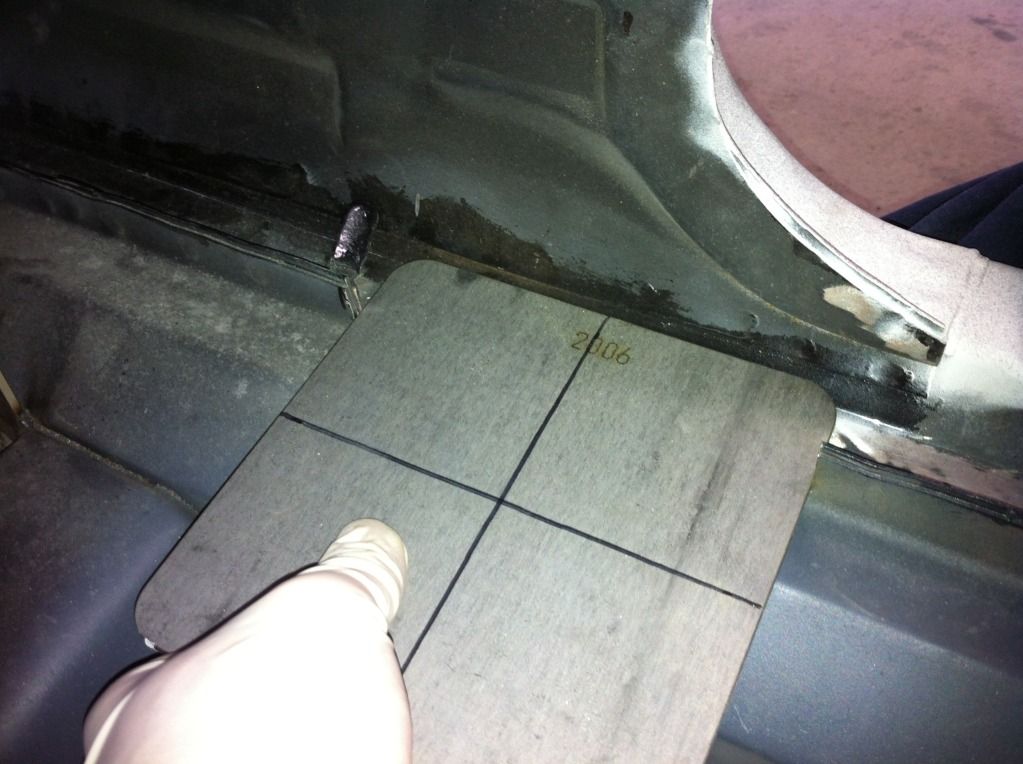
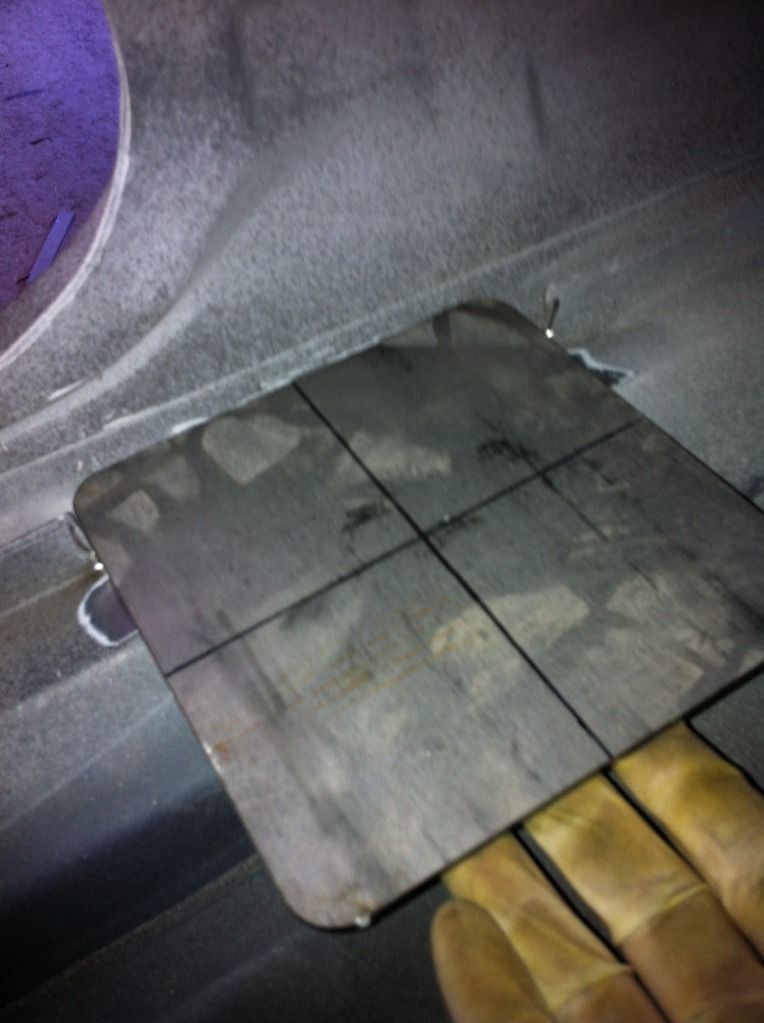
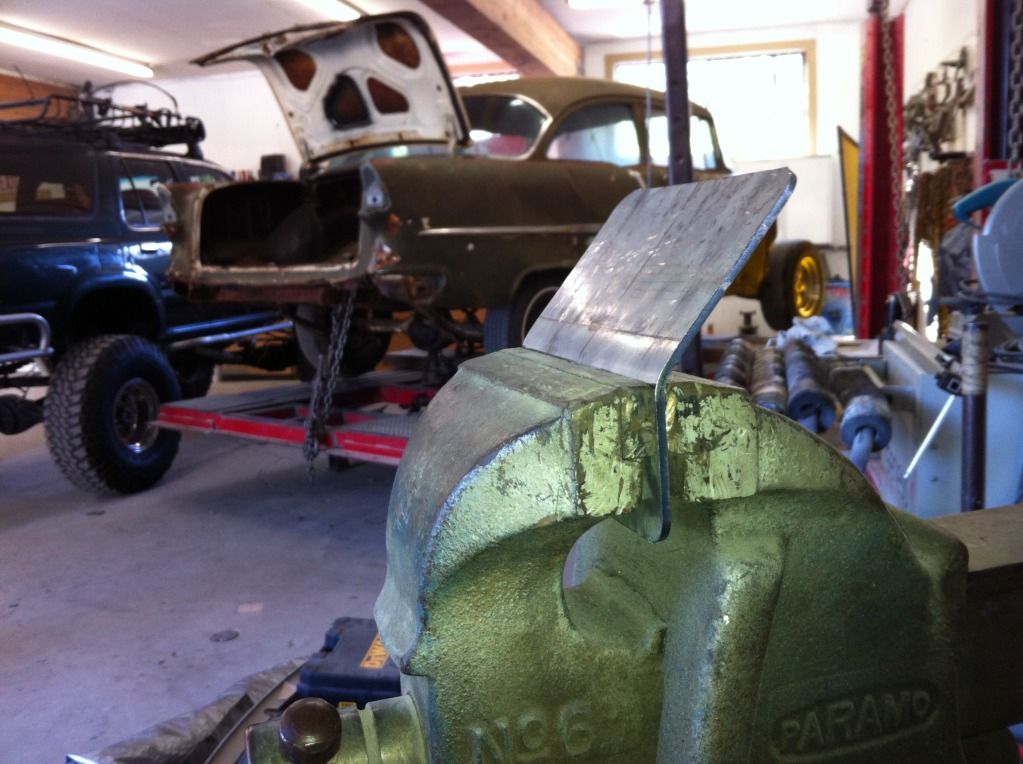
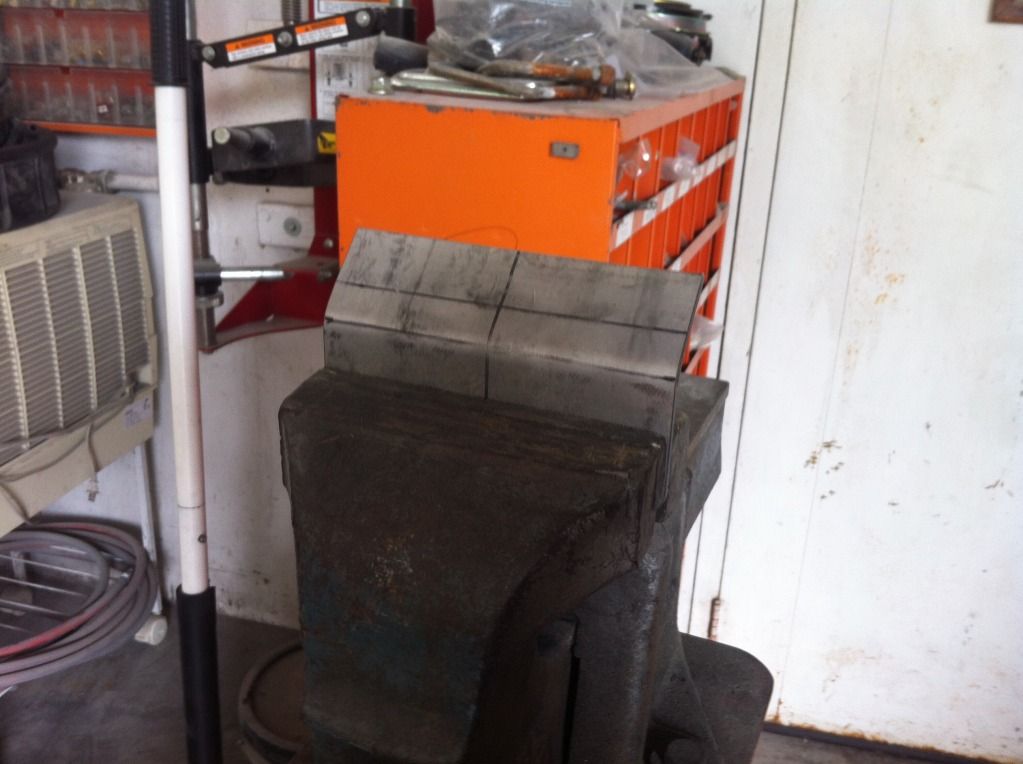
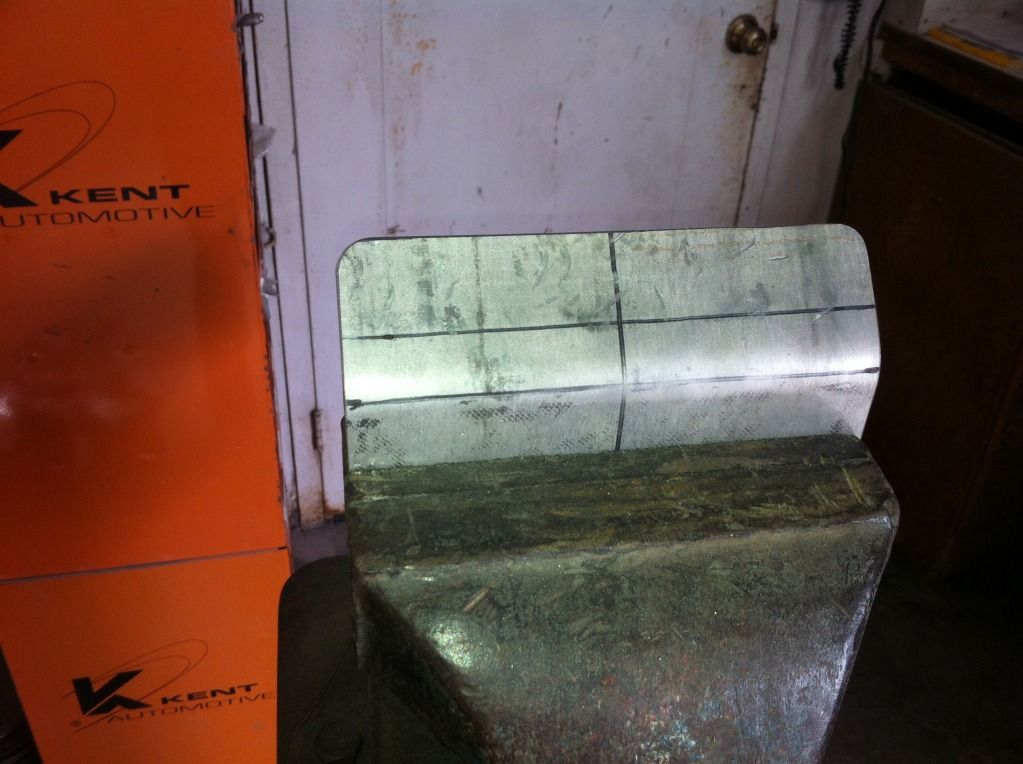
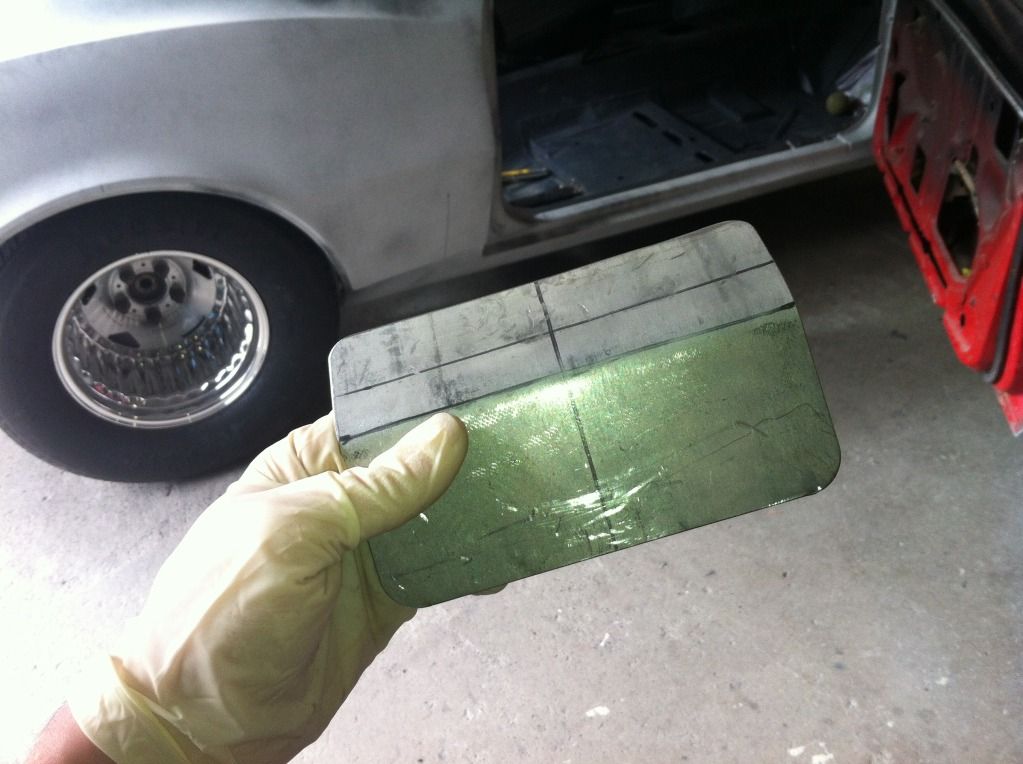
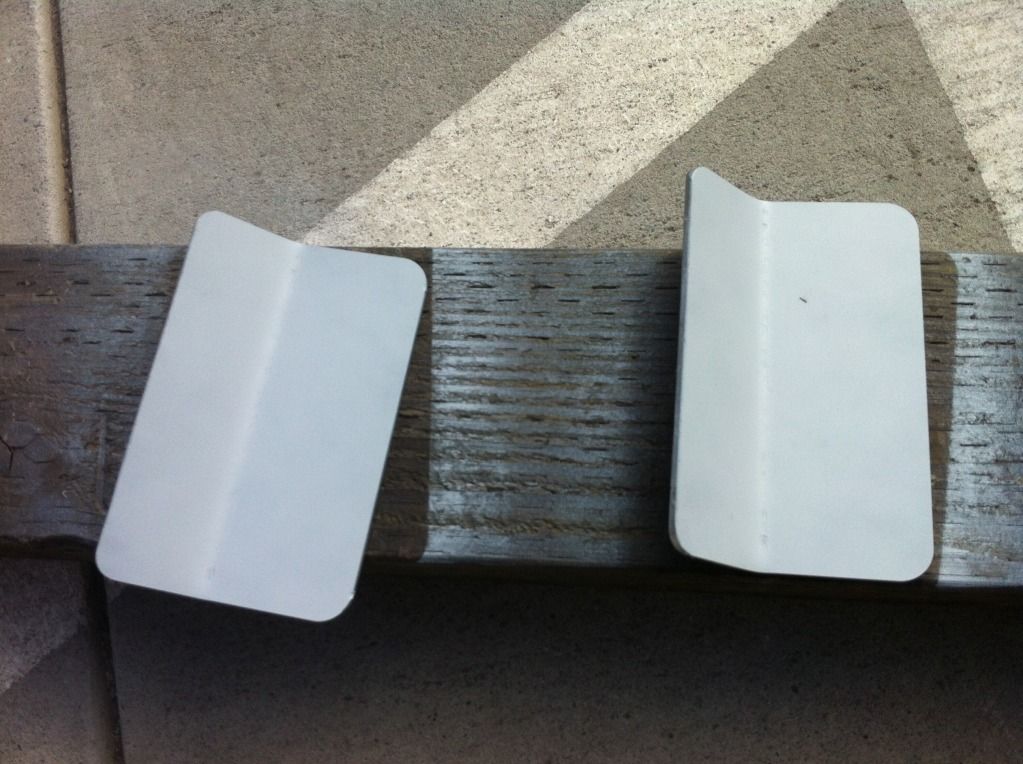
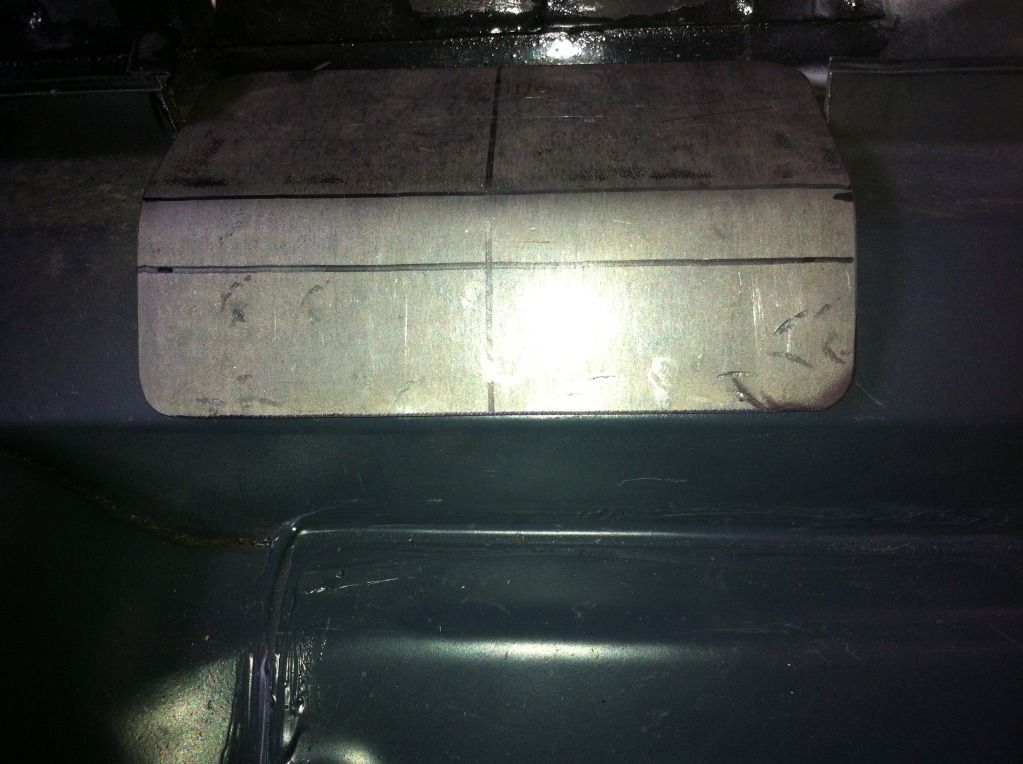
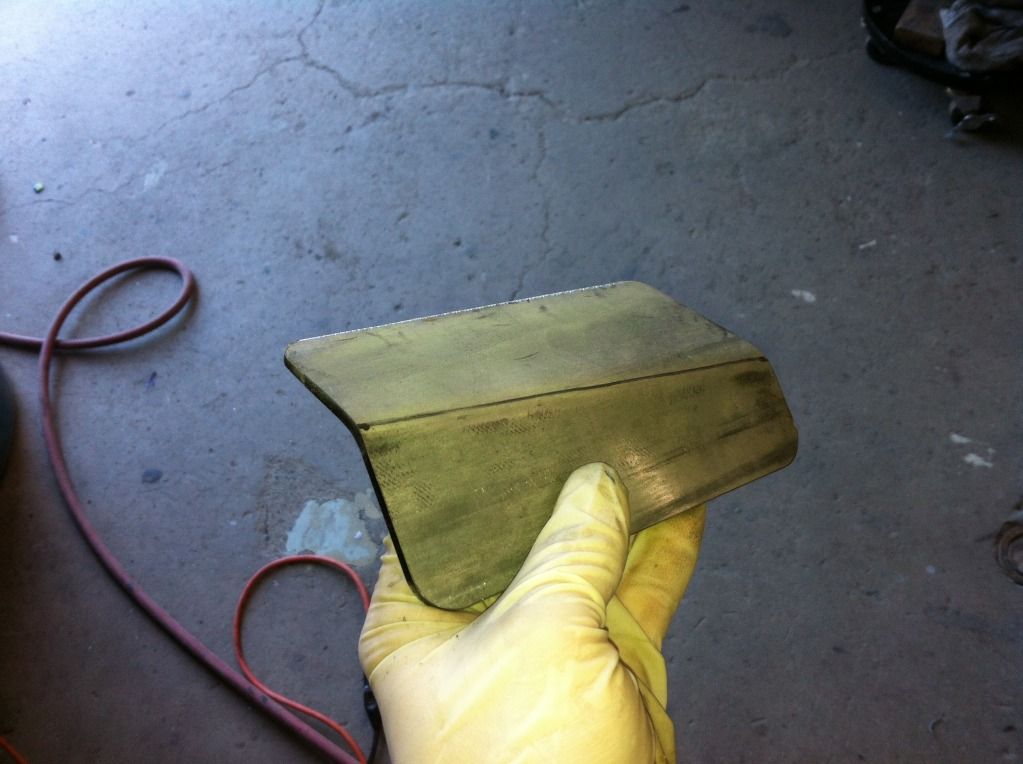
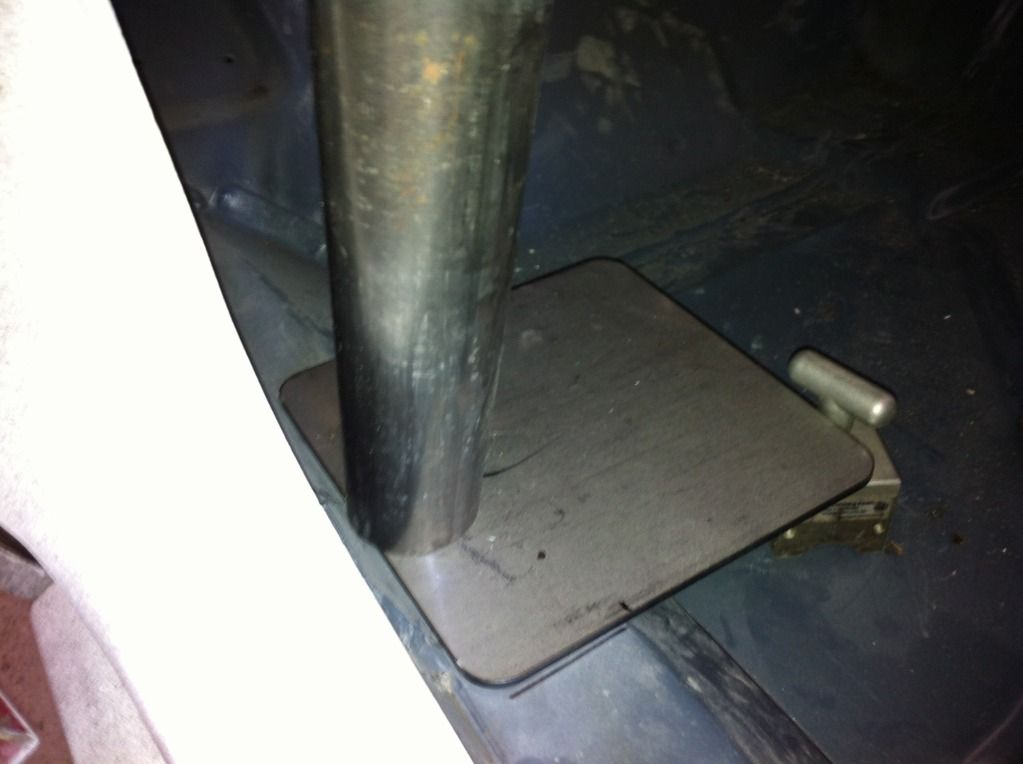
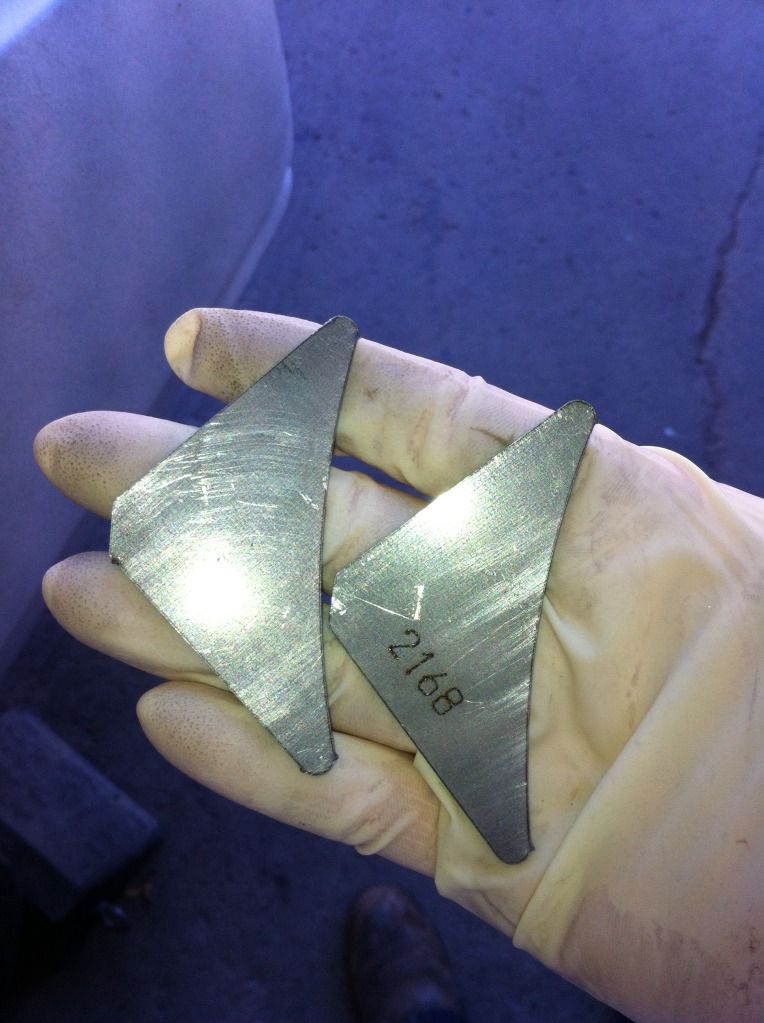
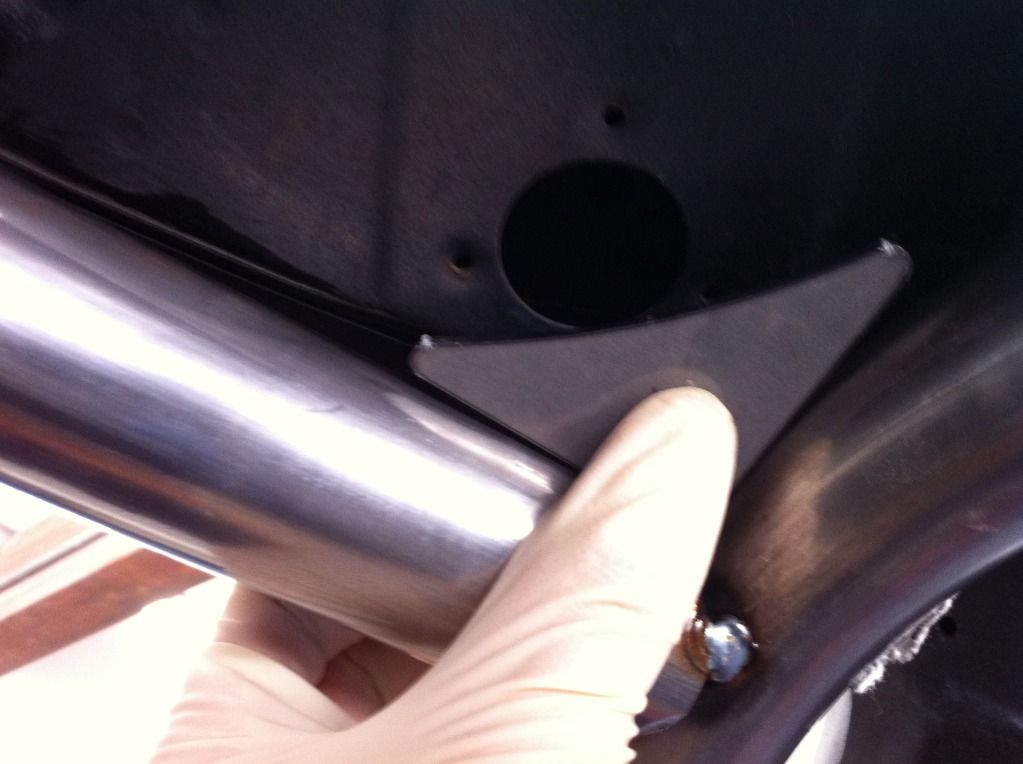
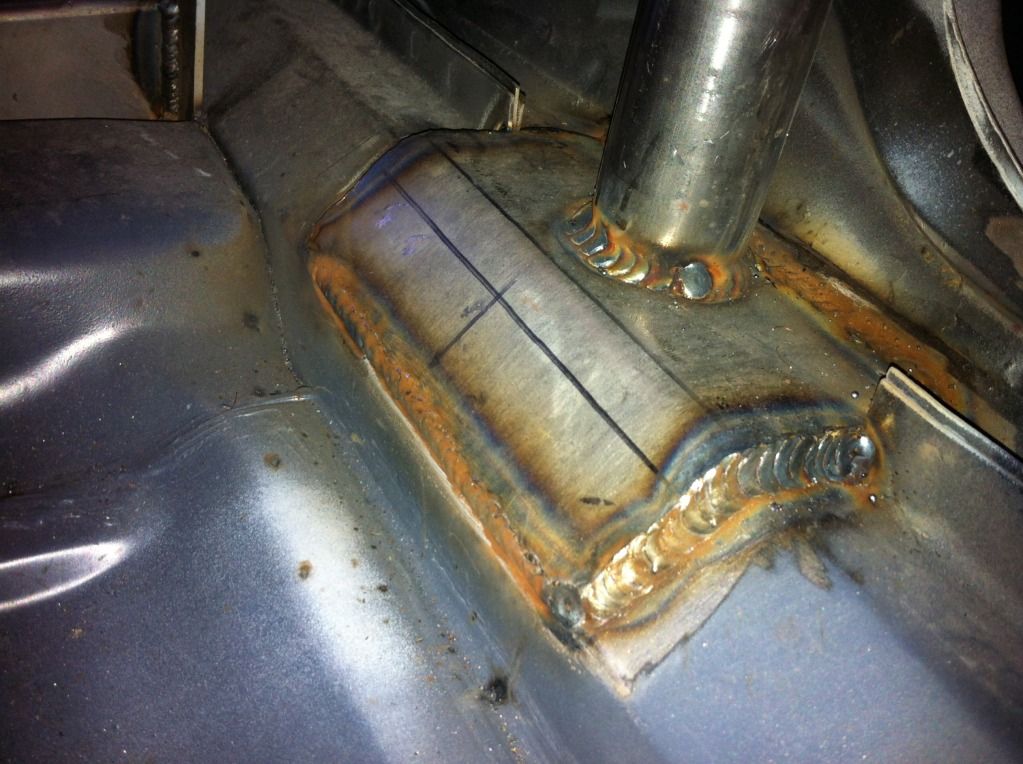
The floor plates need to be formed to the floor of the car. So I clamped the 2 main hoop floor plates in a vise and beat them to the proper shape. Then I cut off the excess and grinded a nice new round edge.

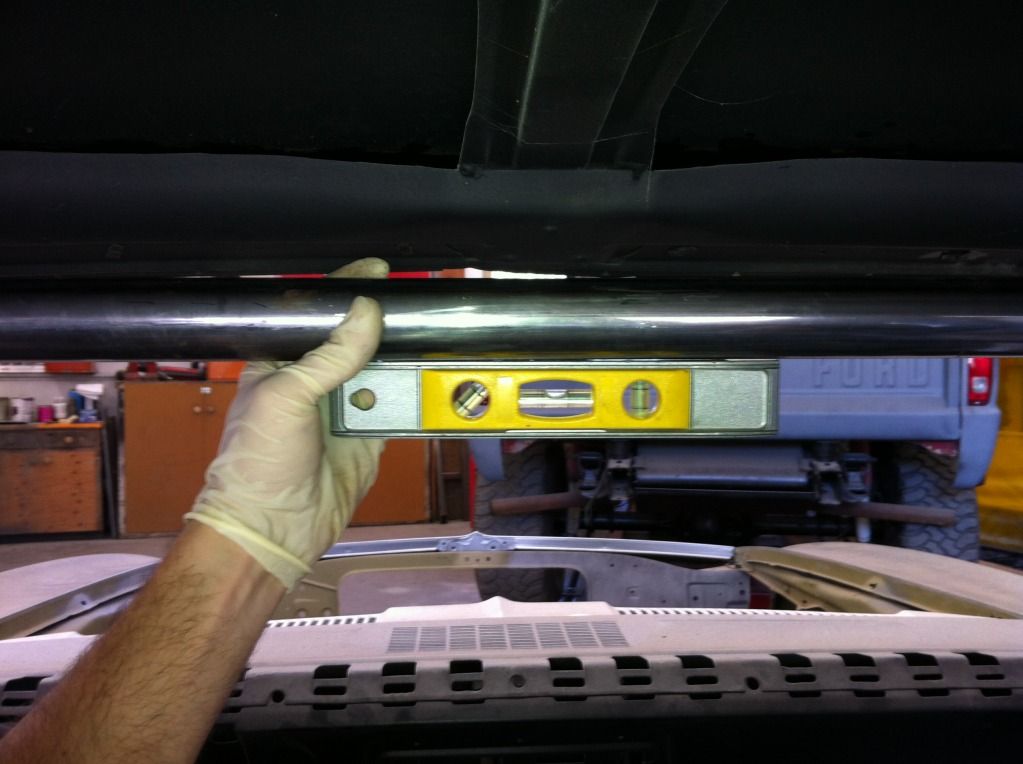
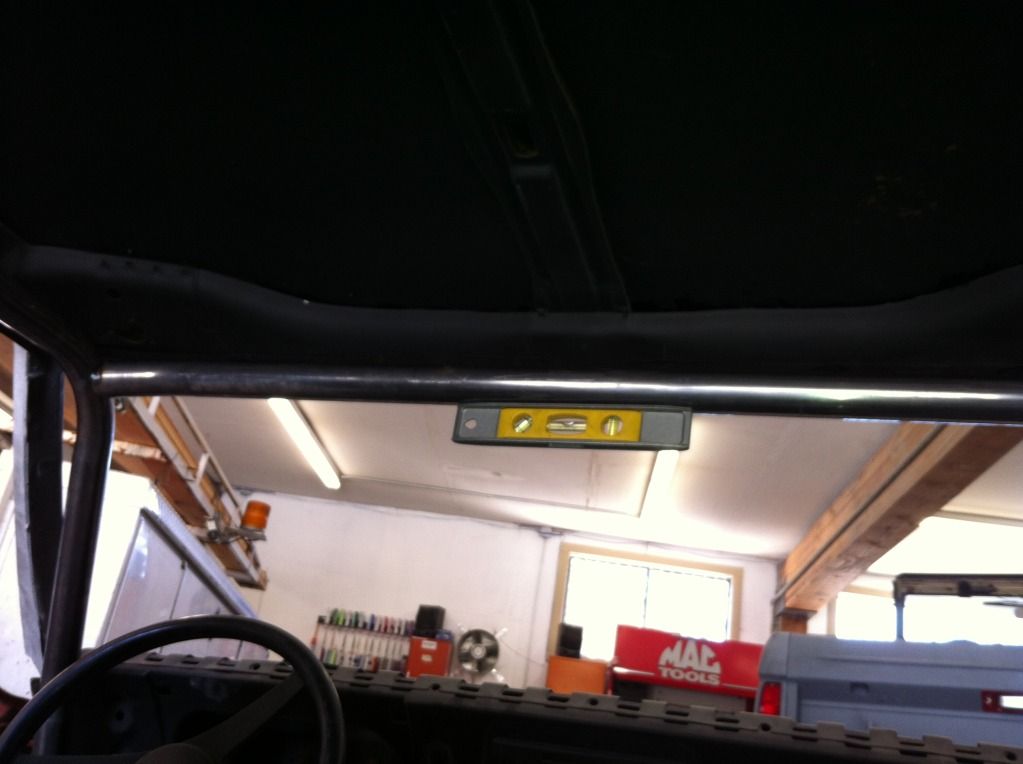
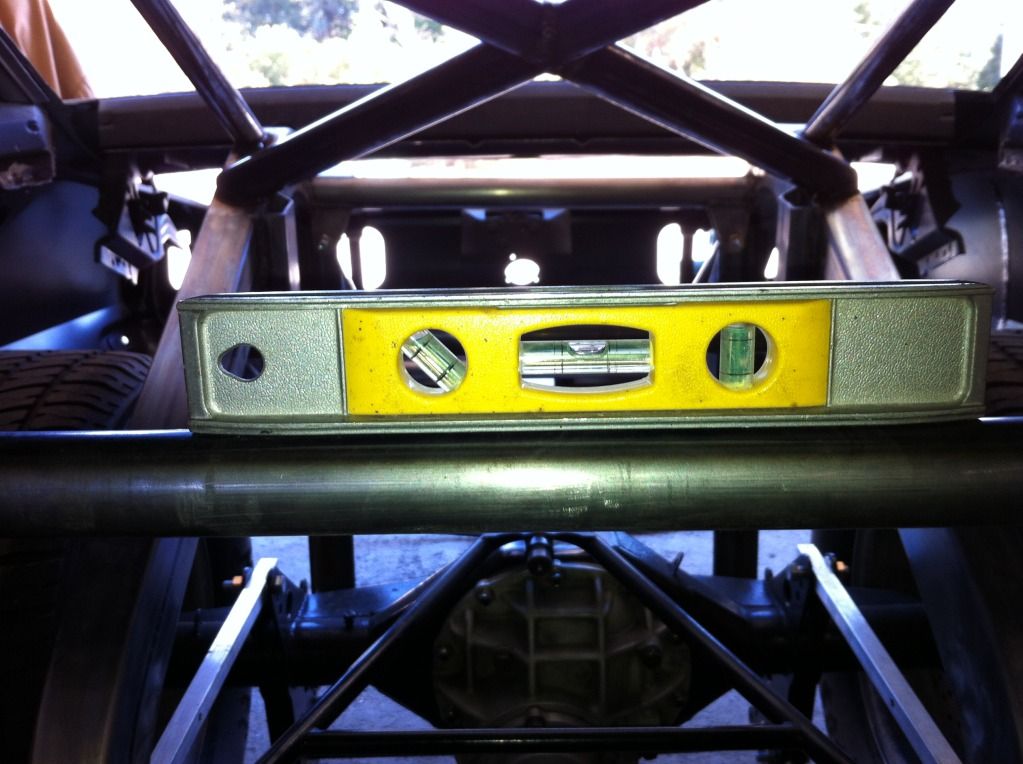
I had to cut the main hoop down a little because it was too long and tacked it in place. It needs to be even with the forward edge of the B post. It's also pretty important that everything is level.
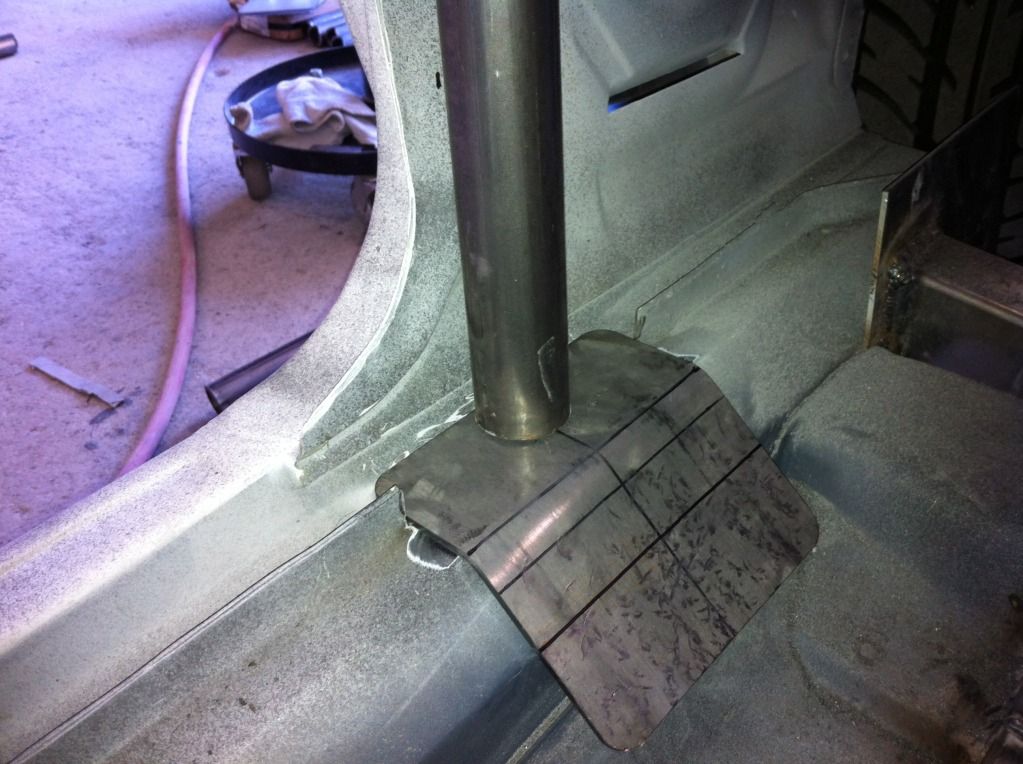

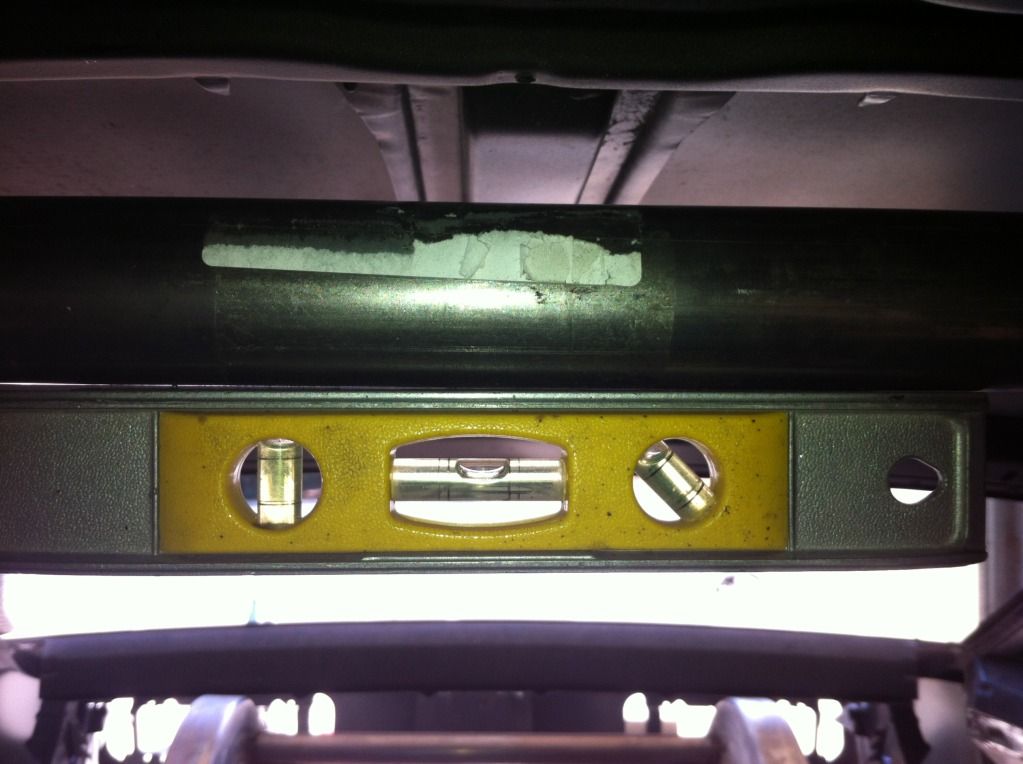
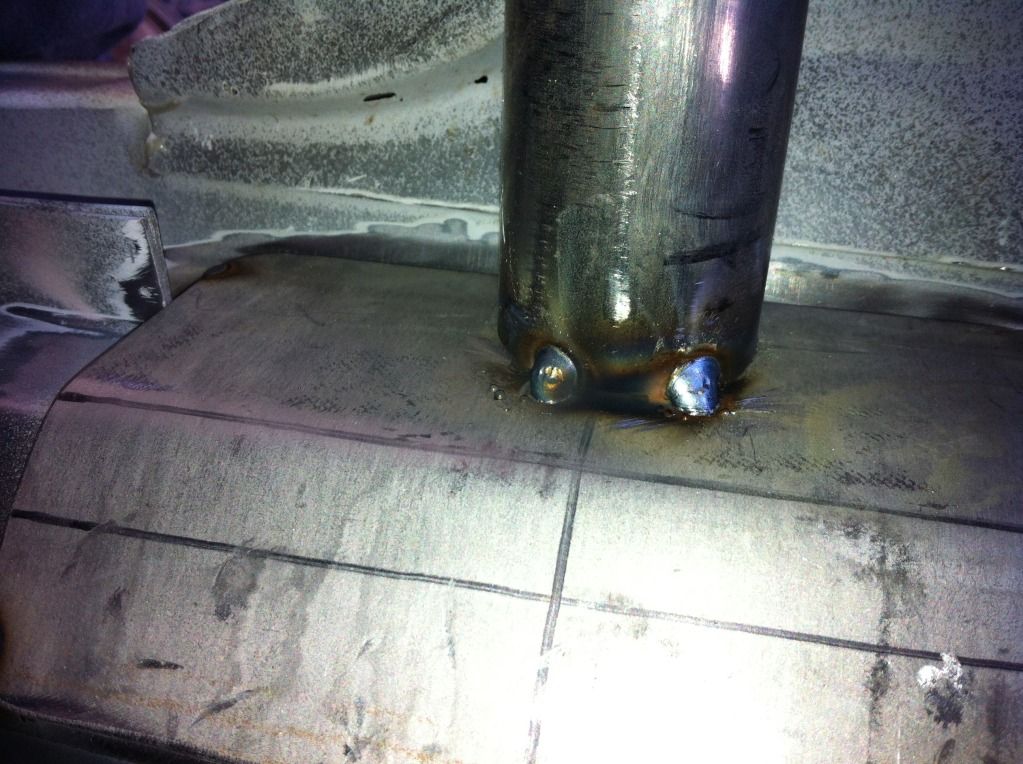
I had to cut the main hoop down a little because it was too long and tacked it in place. It needs to be even with the forward edge of the B post. It's also pretty important that everything is level.
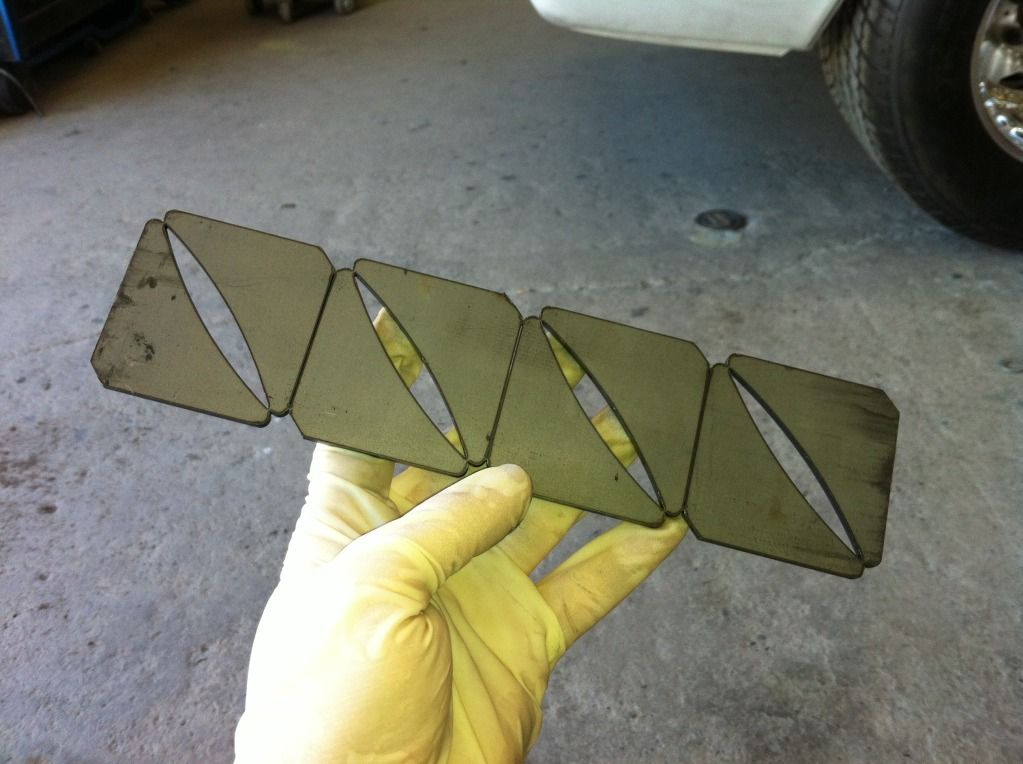
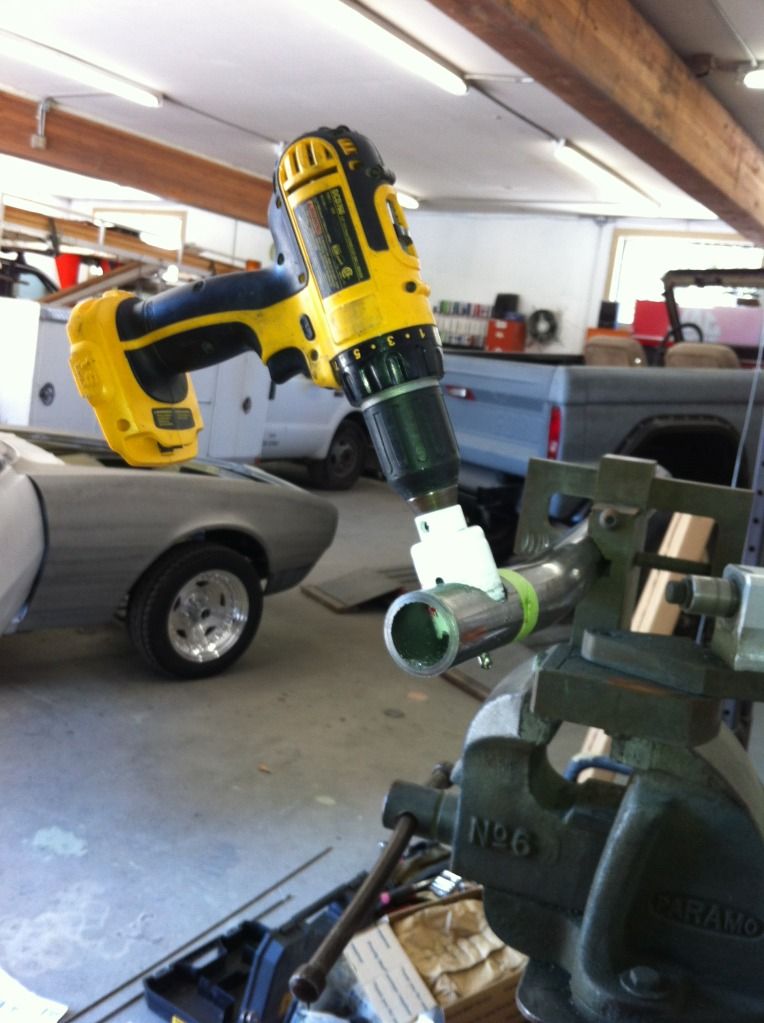
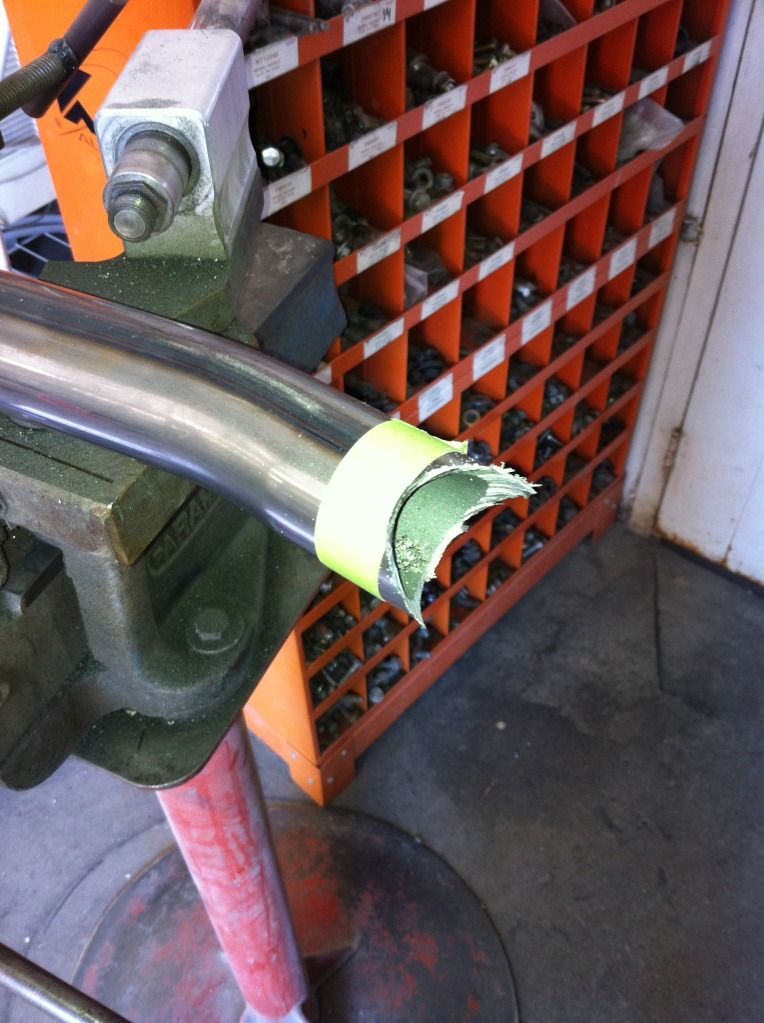
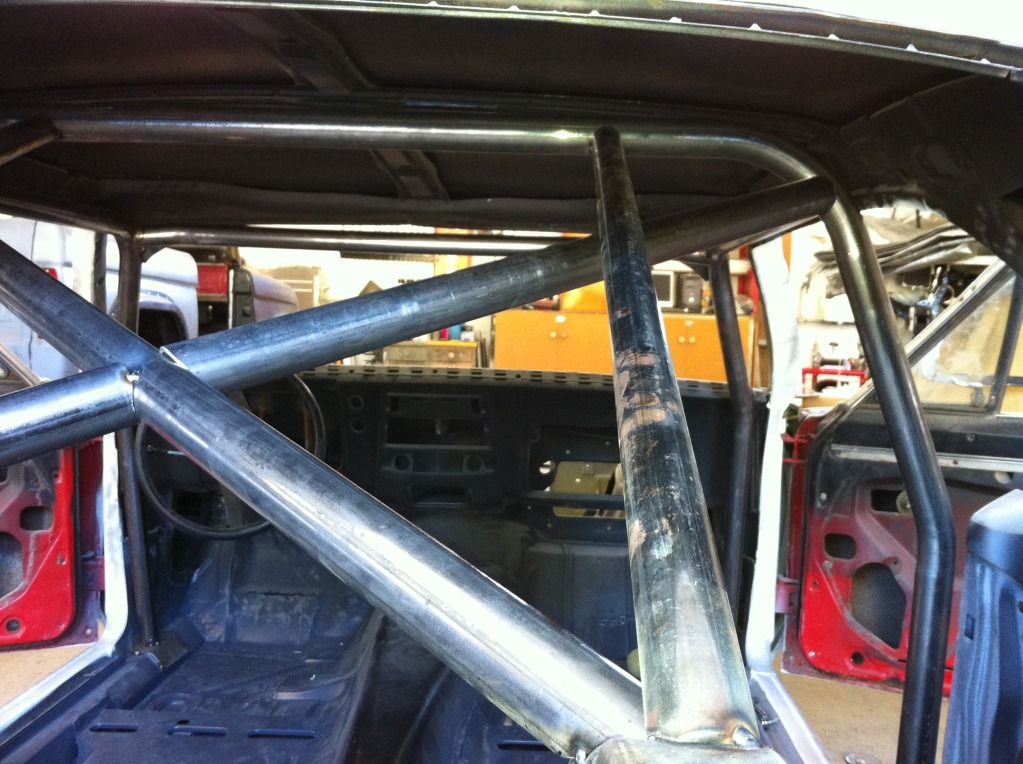
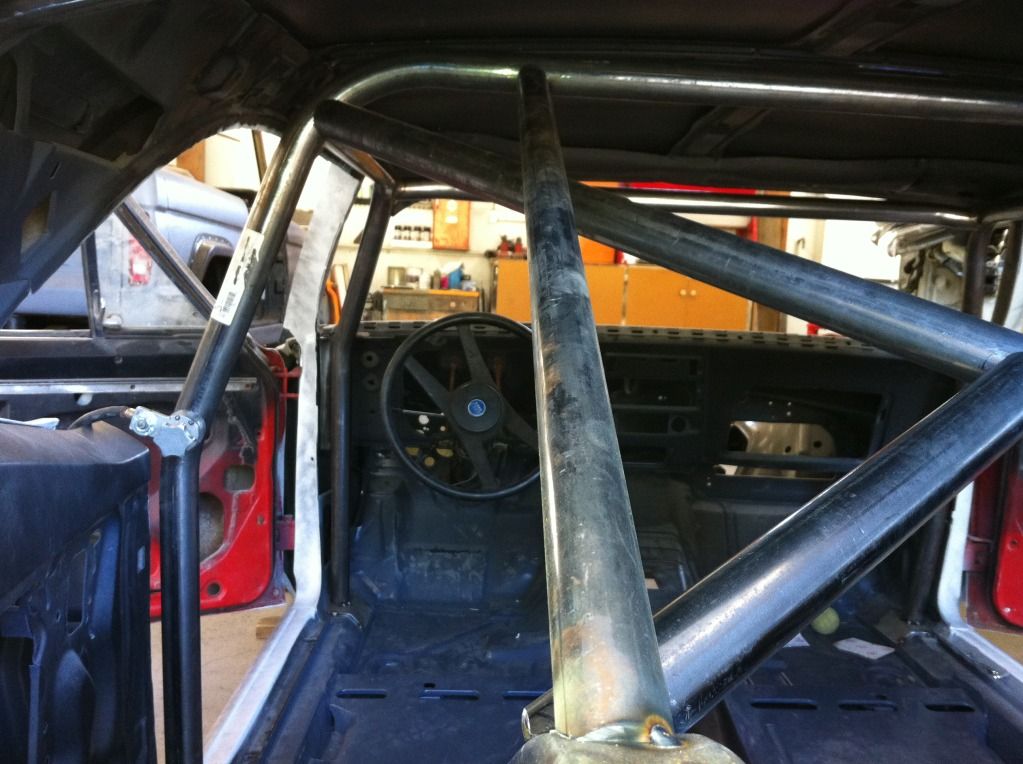
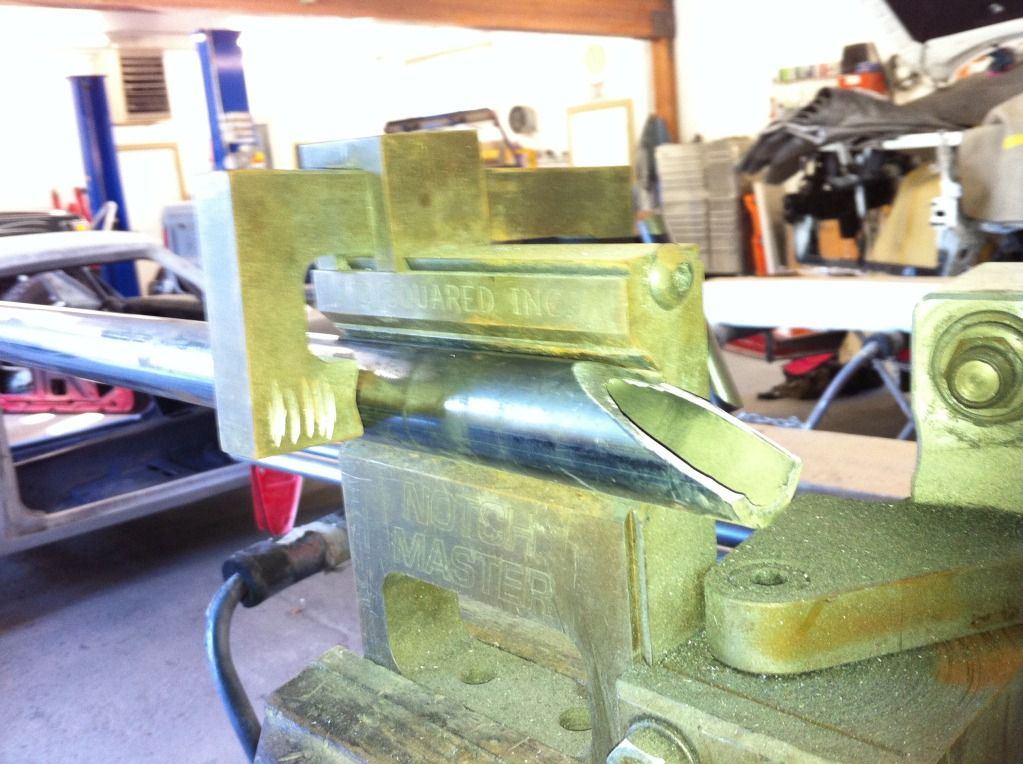
The cage sides were next to be installed. These took me a helluva long time to notch and fit. My buddy Ed let me borrow his tubing notcher that you clamp into a vise, but I didn't have the proper style hole saw, so I had to notch each tube free hand with my 18v dewalt drill.
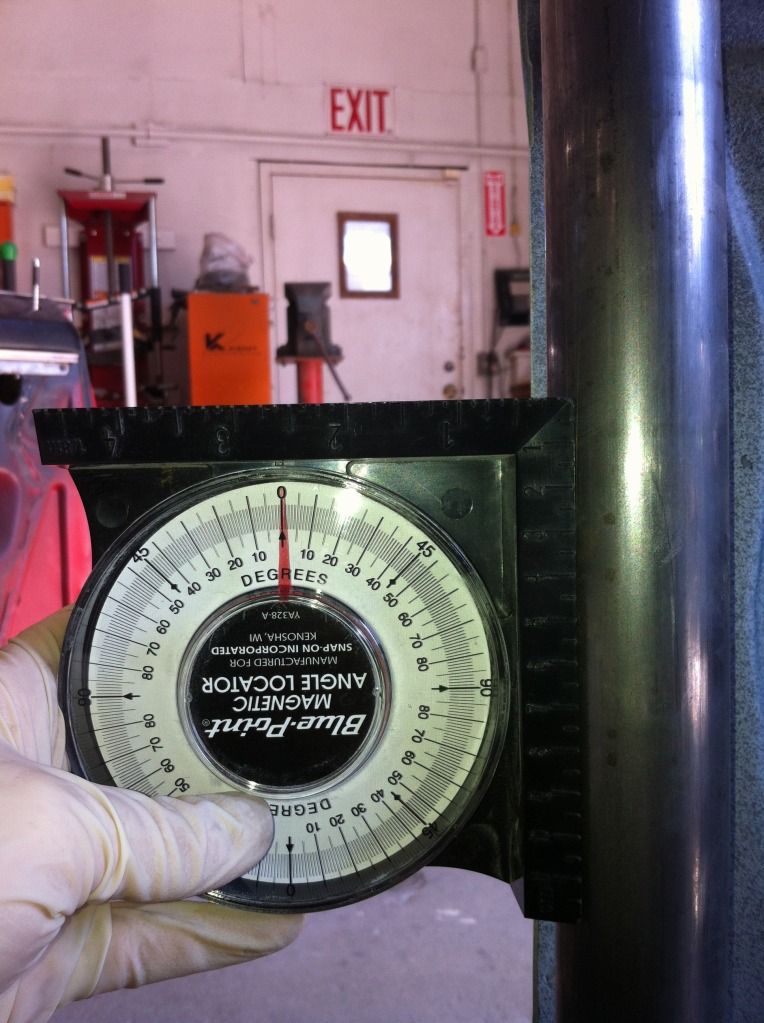
The cage sides determine where the front floor plates mount. I had to keep the cage sides level, as high as possible, and close to the dash.


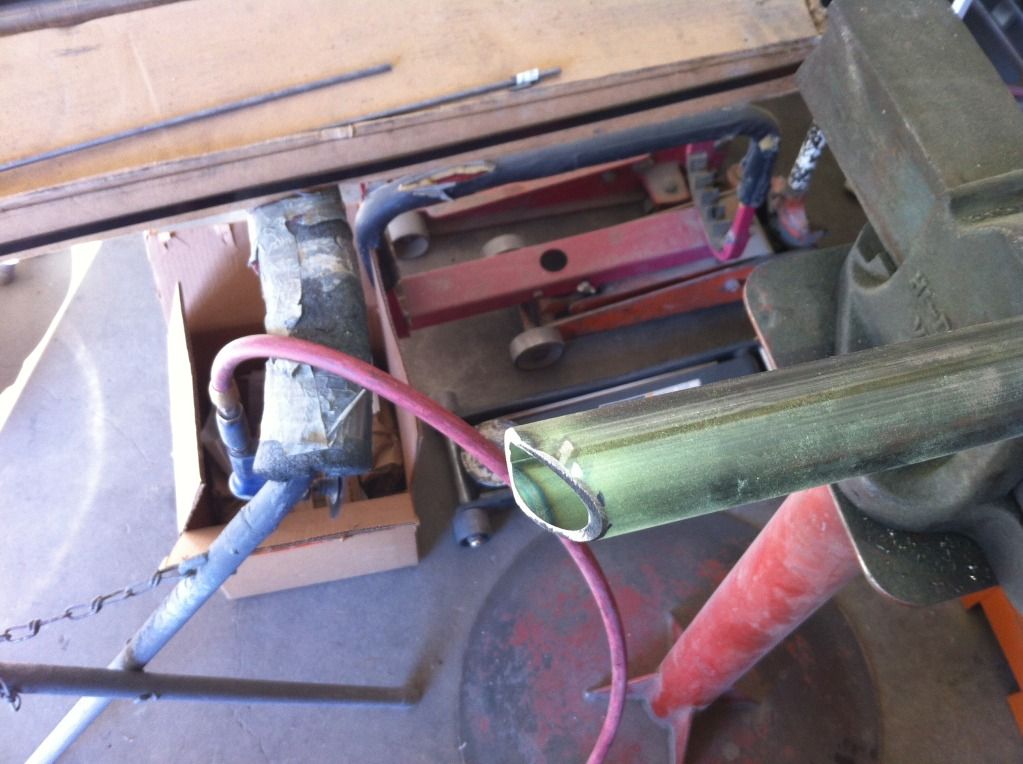
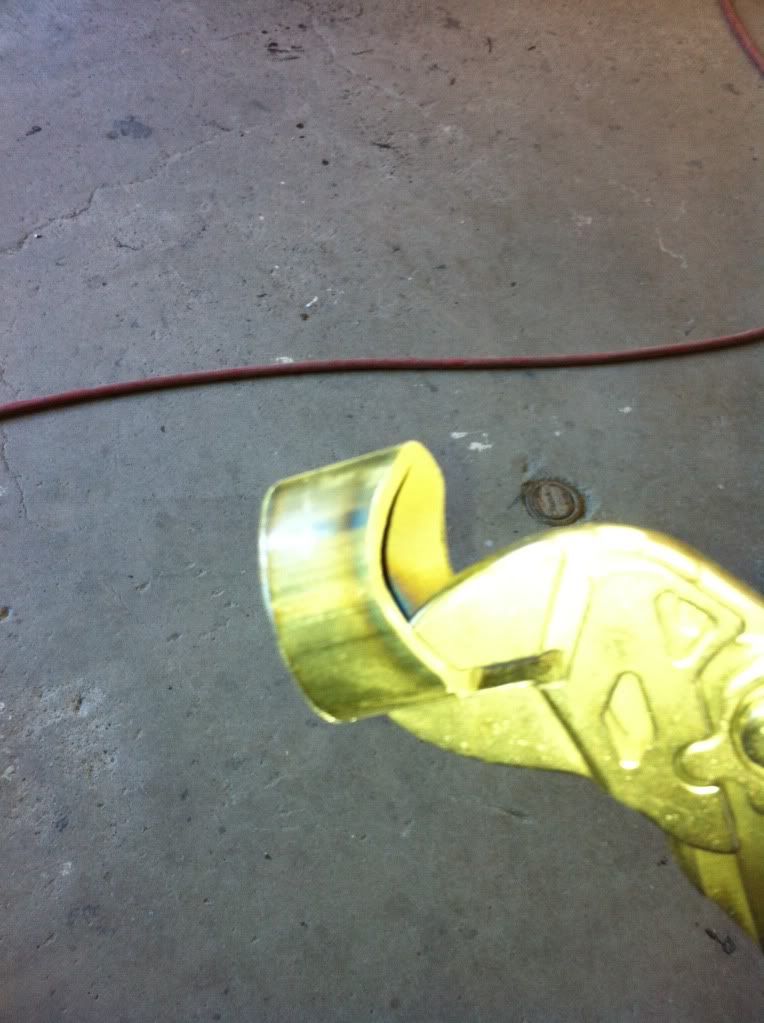
Decided to snap a picture of my drill after my battery went dead. Not too long after I took this I was notching that tube and the hole saw caught an edge, whipped around and smacked me in the face, giving me a minor black eye and a cut on my cheek. I felt like a friggin idiot.
The cage sides determine where the front floor plates mount. I had to keep the cage sides level, as high as possible, and close to the dash.
Decided to snap a picture of my drill after my battery went dead. Not too long after I took this I was notching that tube and the hole saw caught an edge, whipped around and smacked me in the face, giving me a minor black eye and a cut on my cheek. I felt like a friggin idiot.
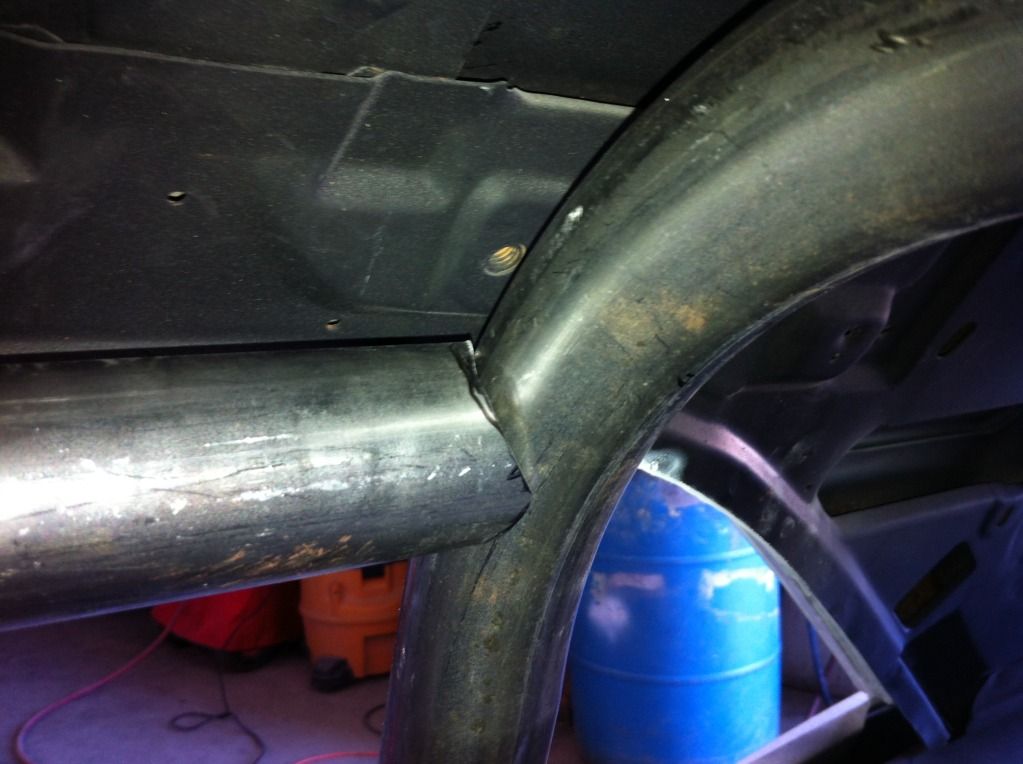
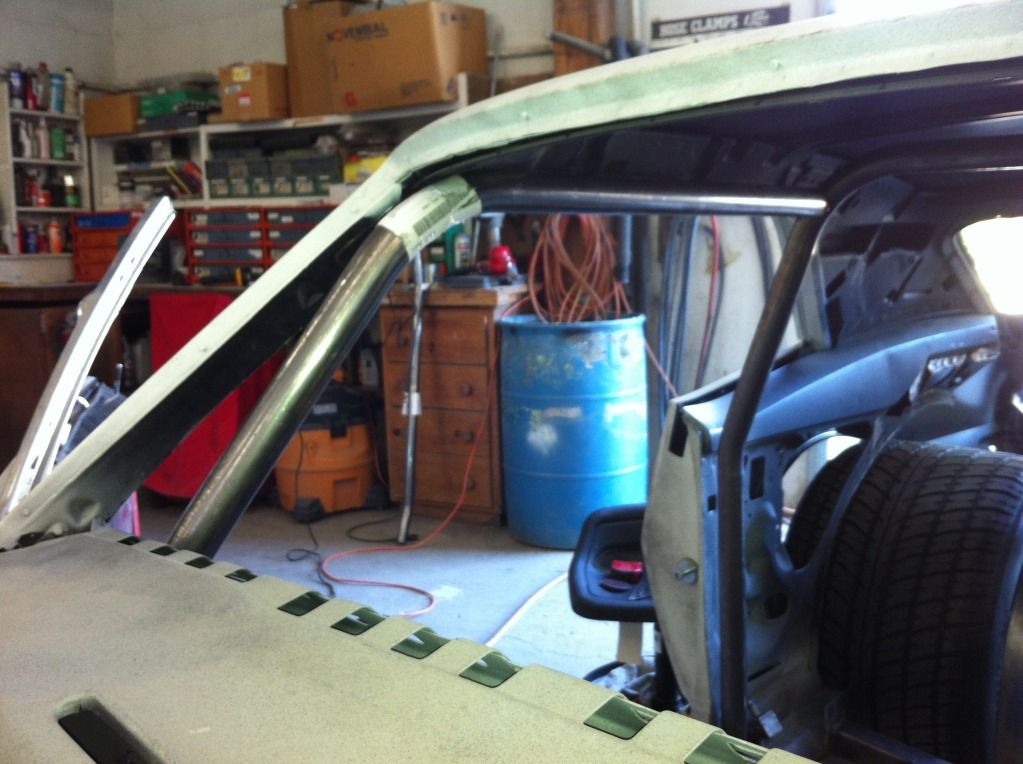
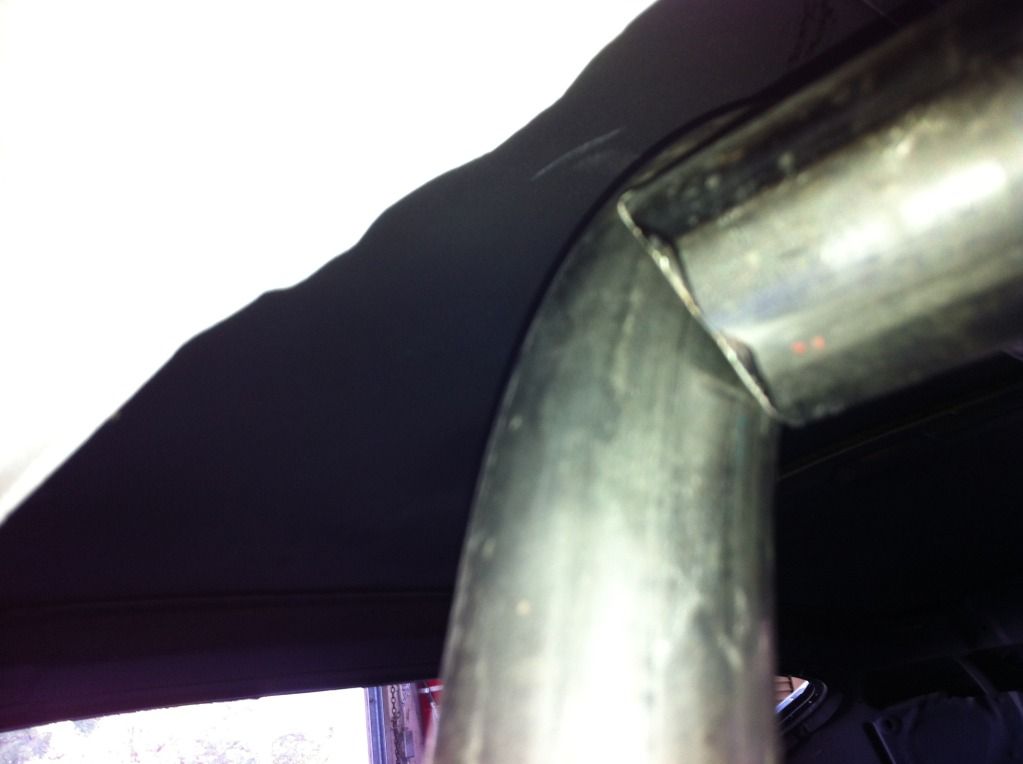
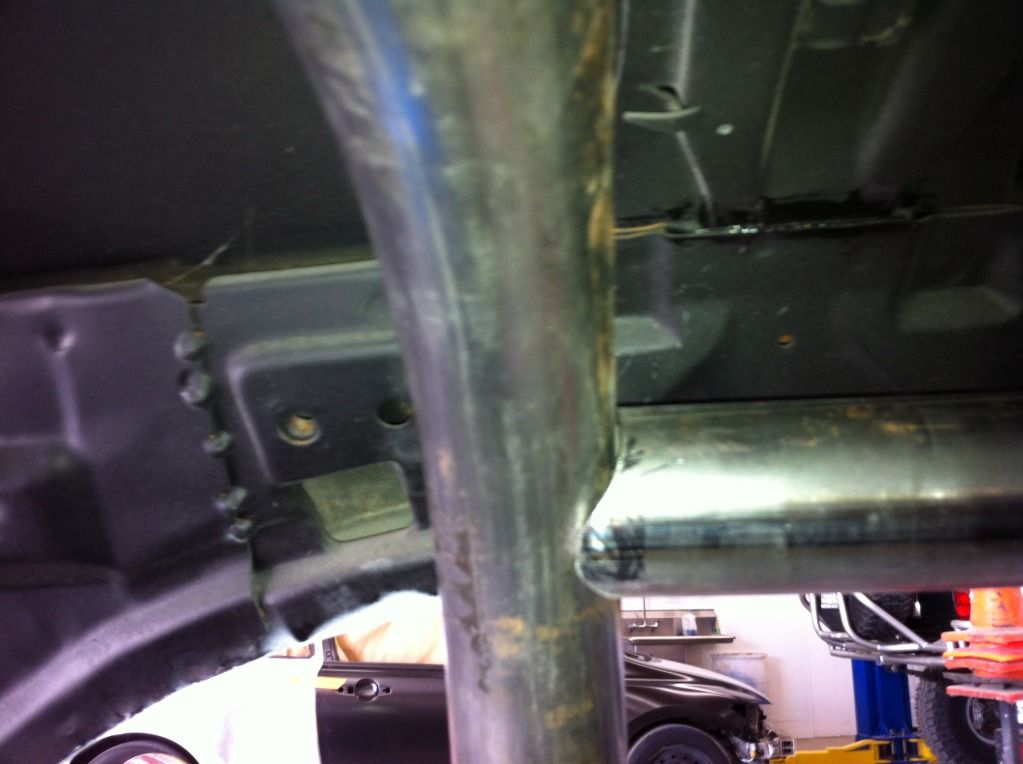
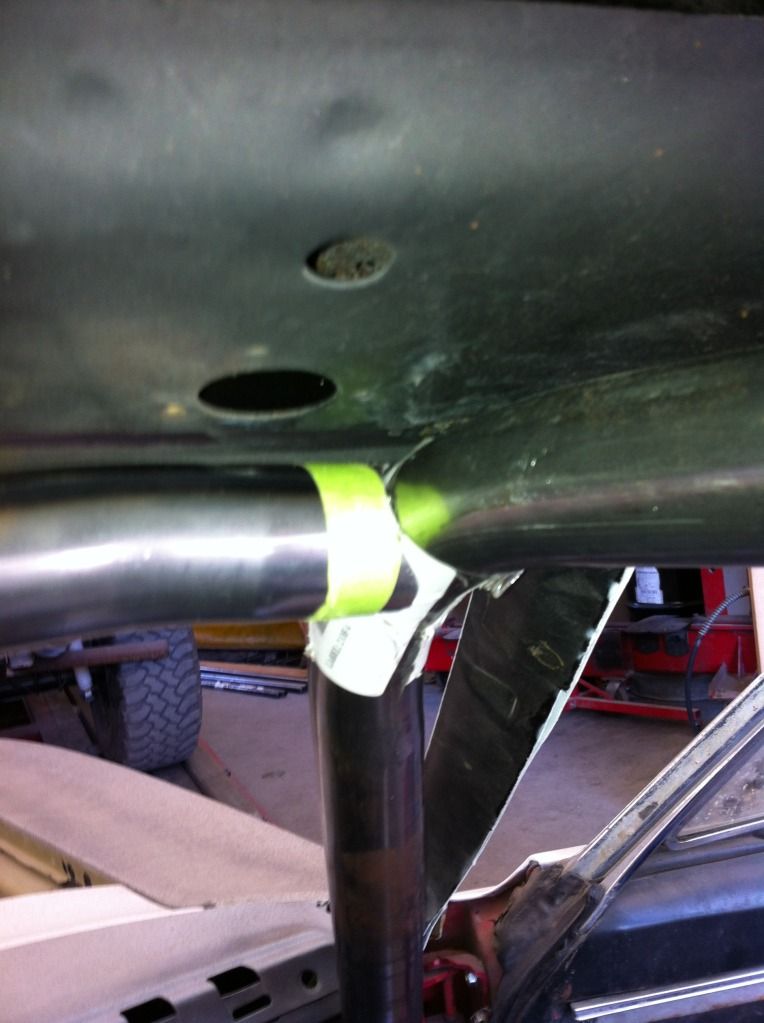
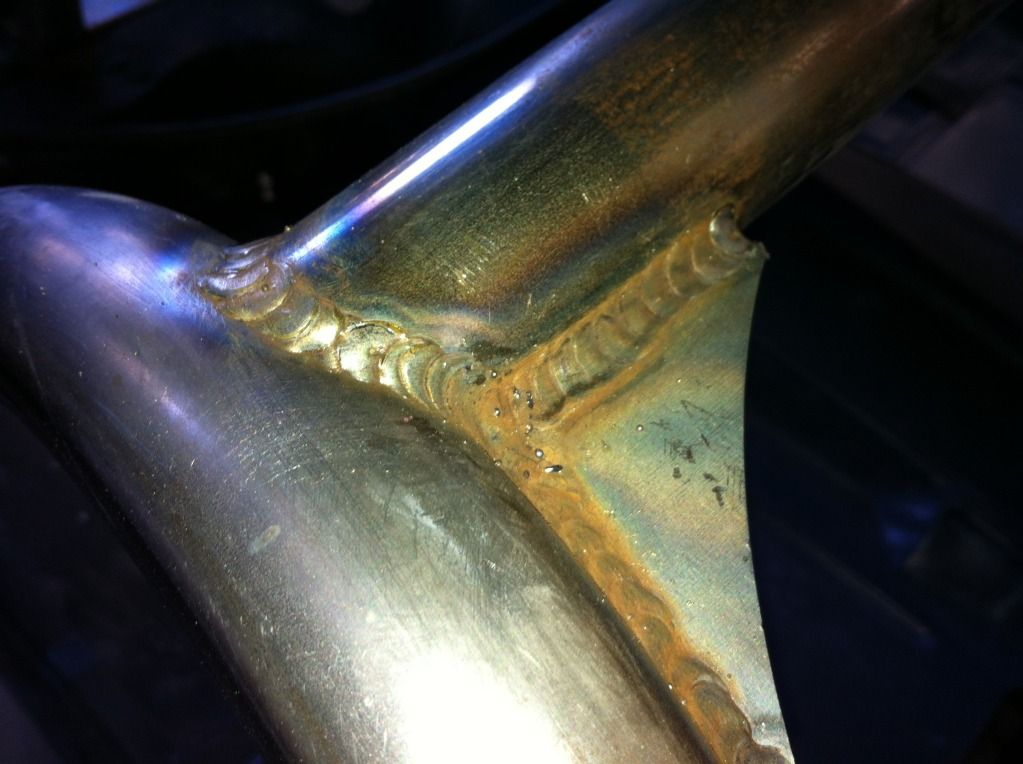
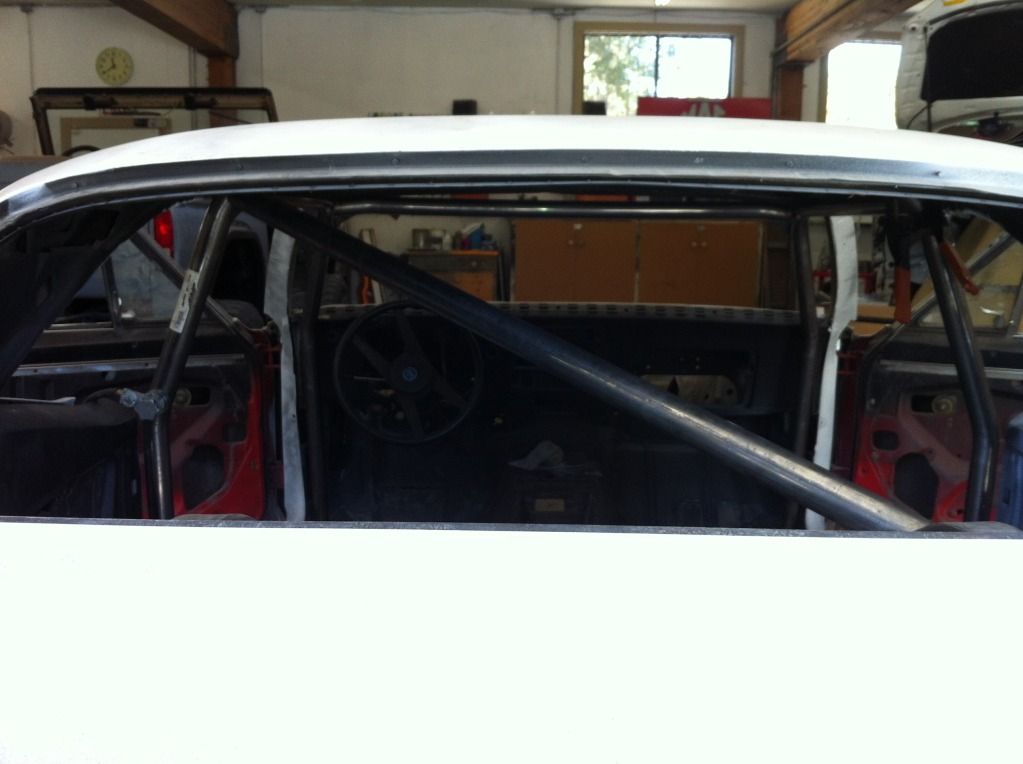
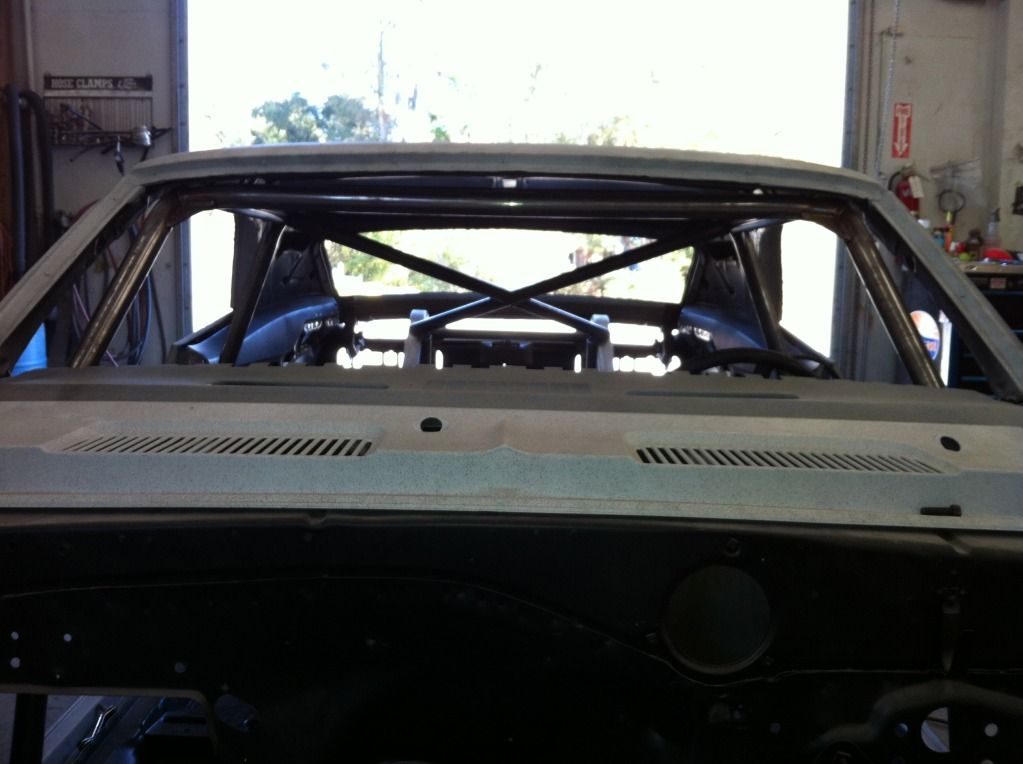
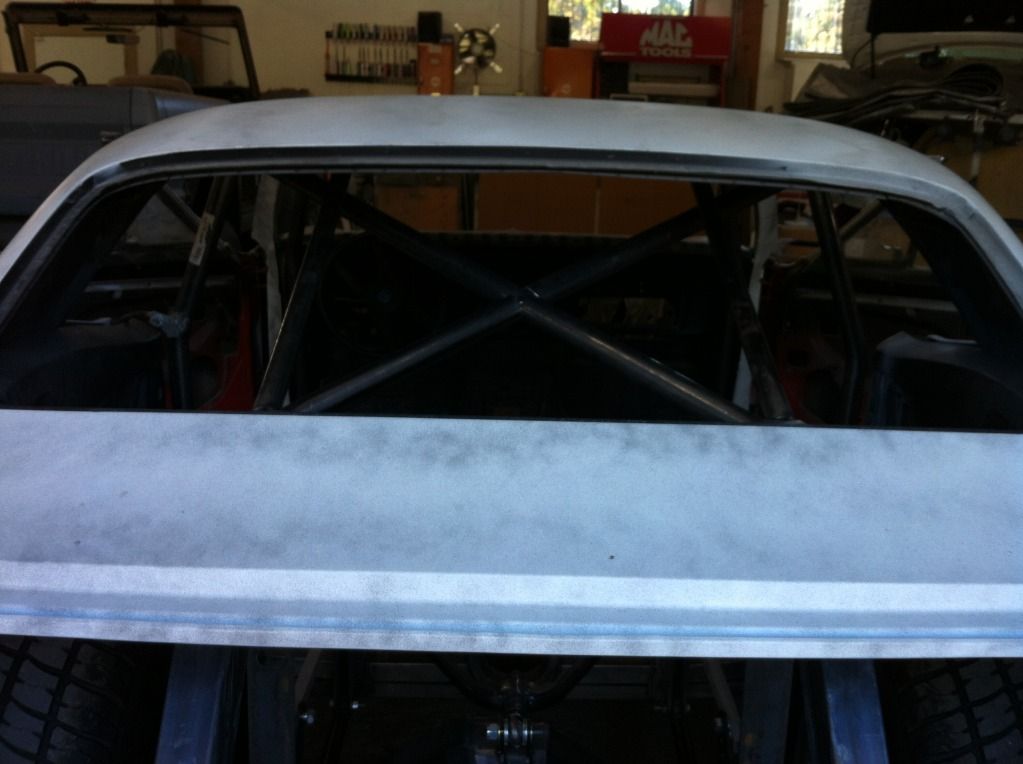
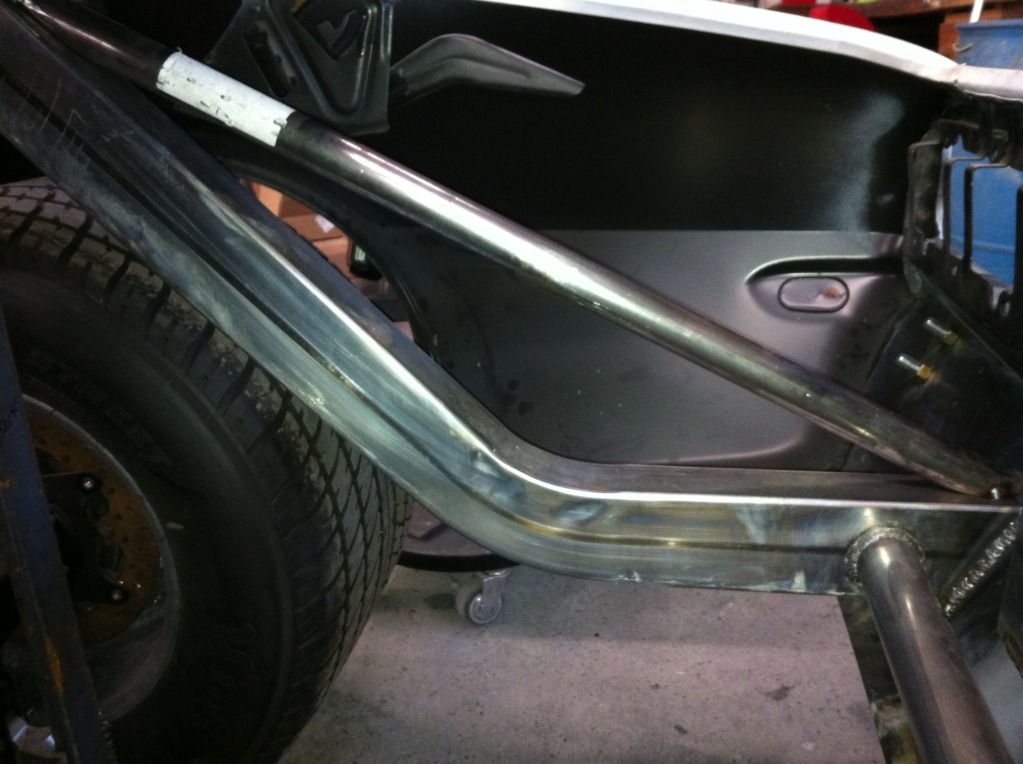
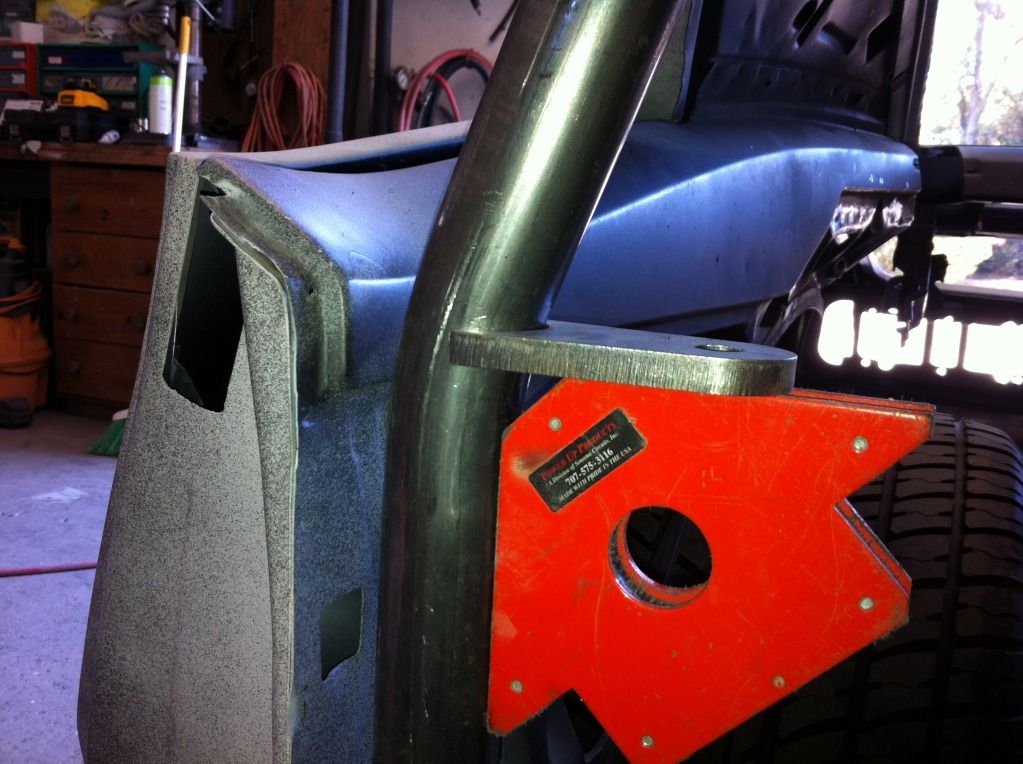
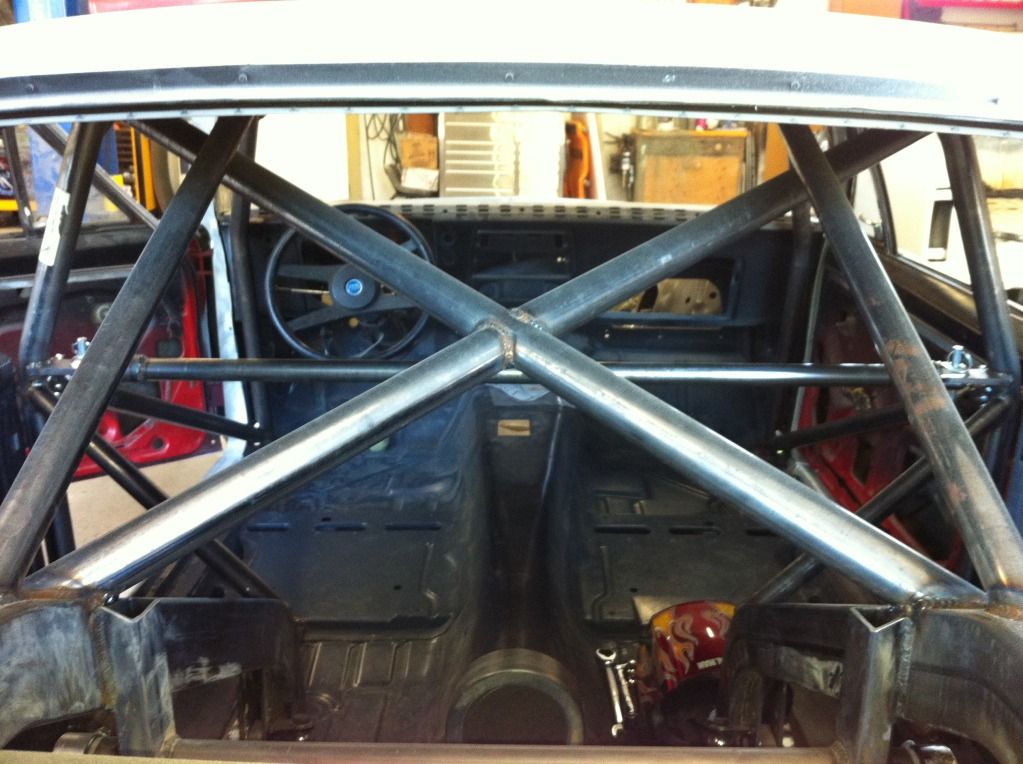
Next was the windshield tube. It needs to be mounted high and forward enough to not obstruct vision. I want to be able to use my sun visors when the build is done so I took that into account. I mounted the gussets on the lower corner of the cage sides, and they don't get in the way of my vision anymore than the triple pod in my 12v.
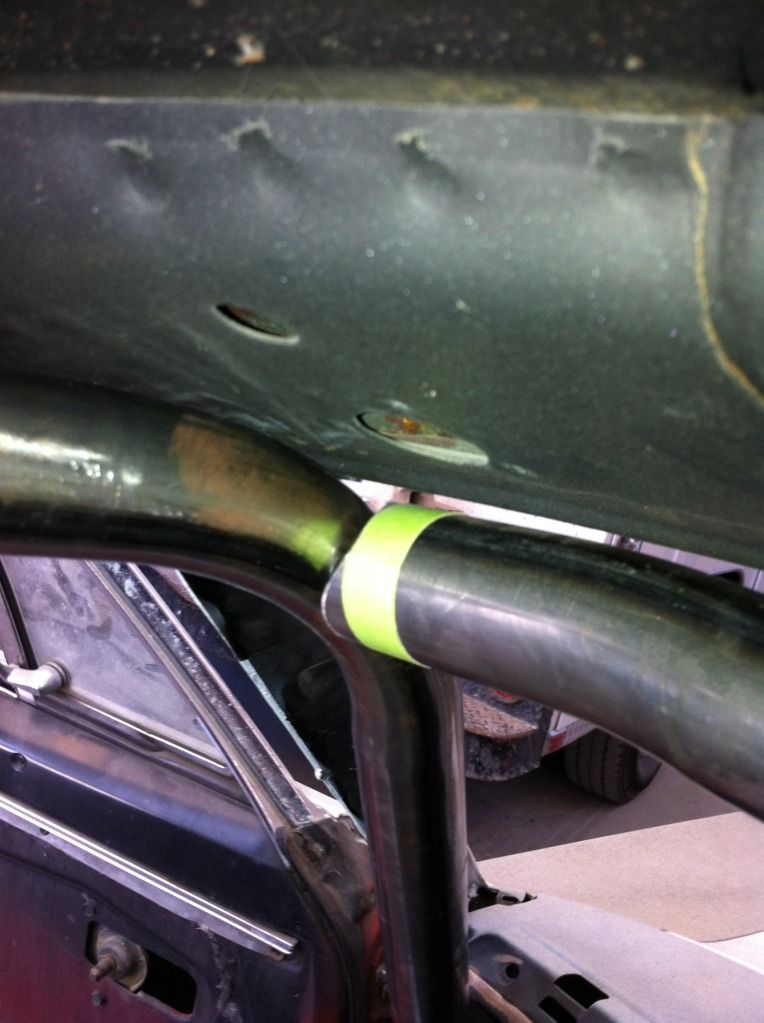
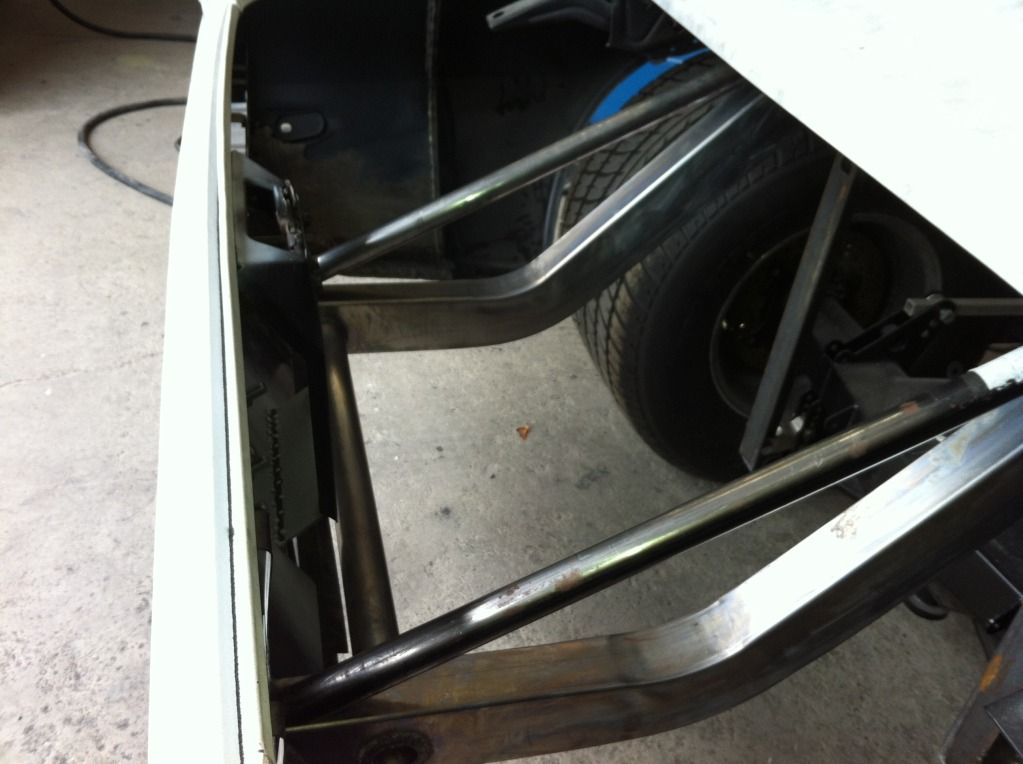
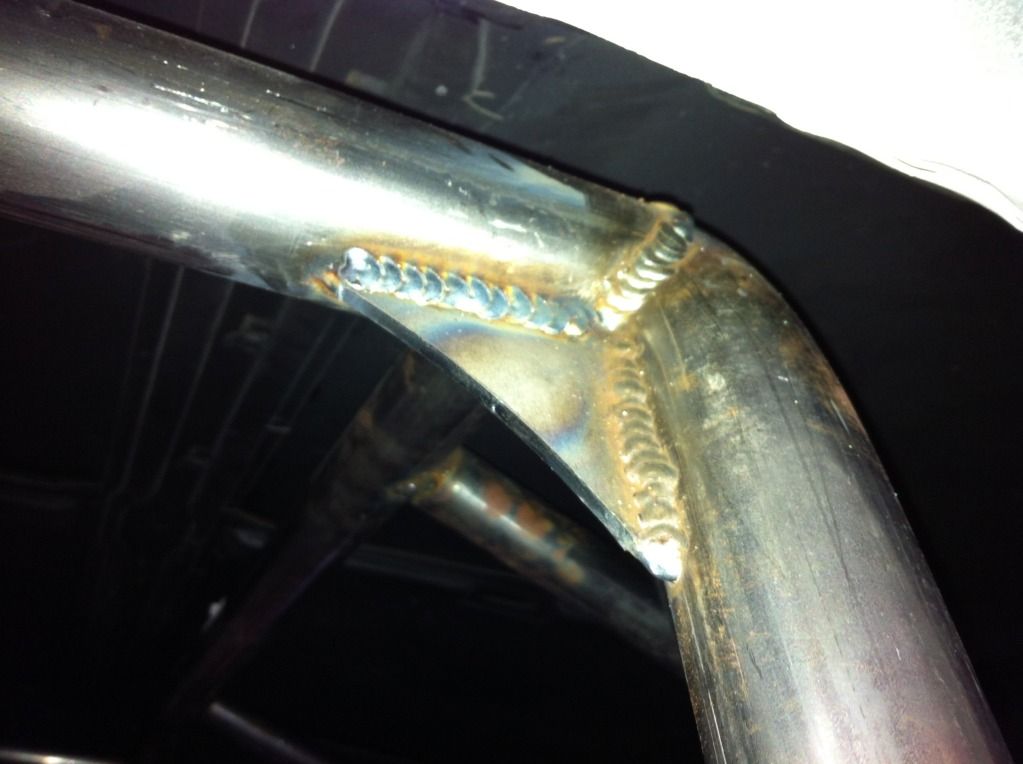
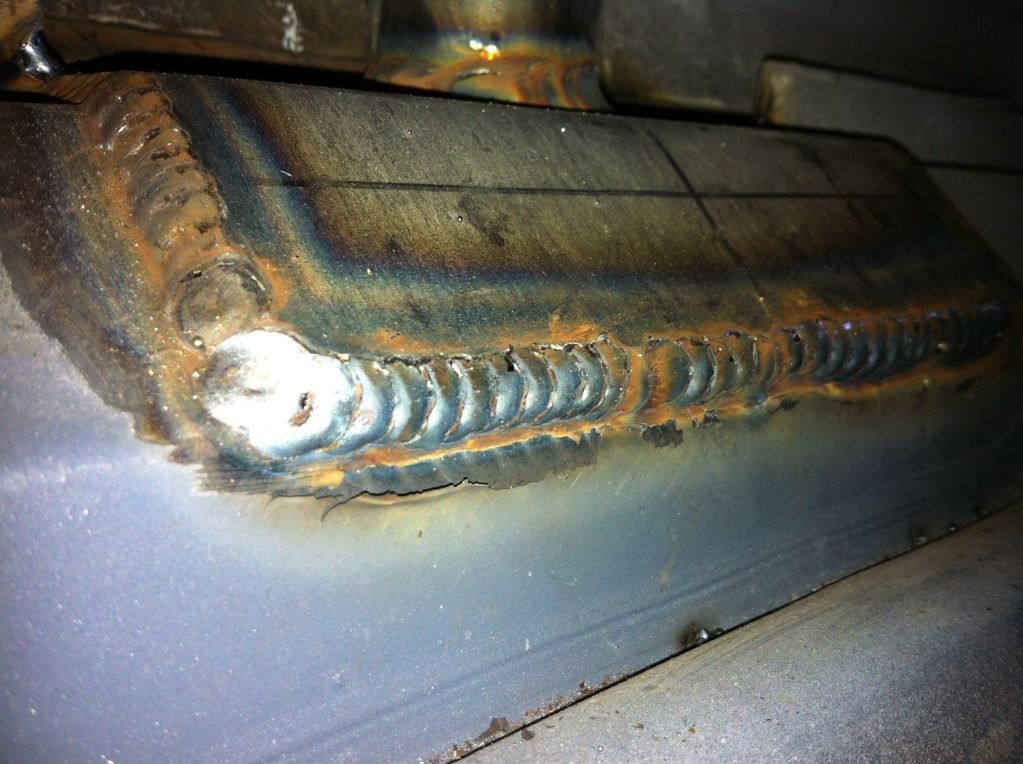
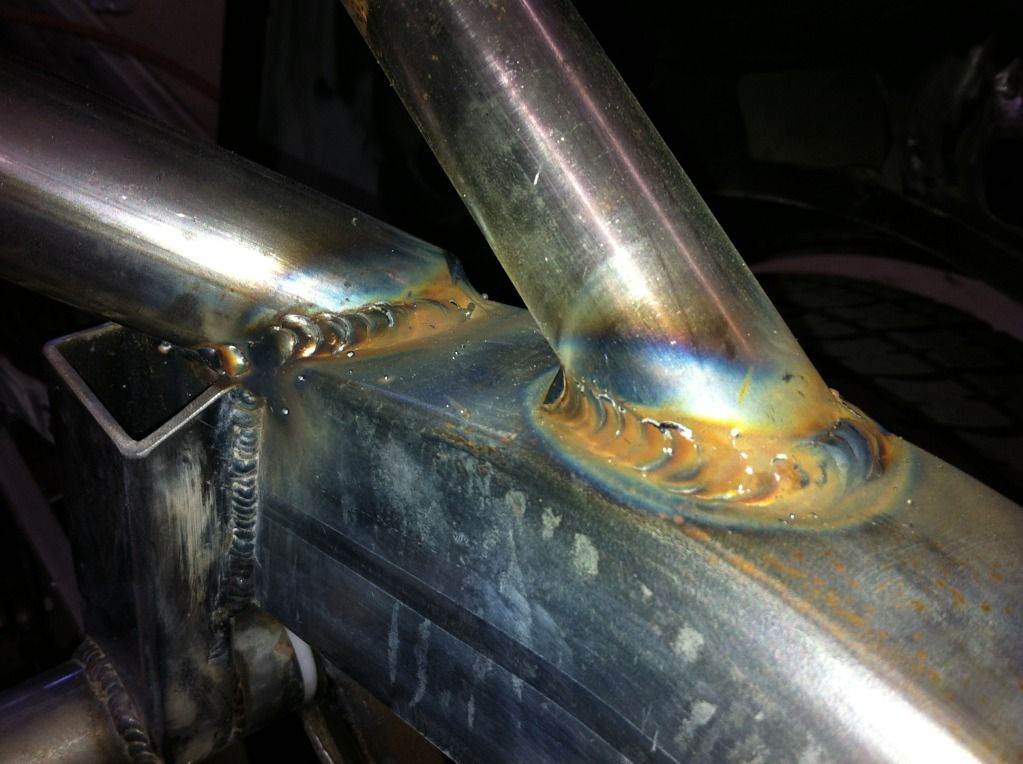
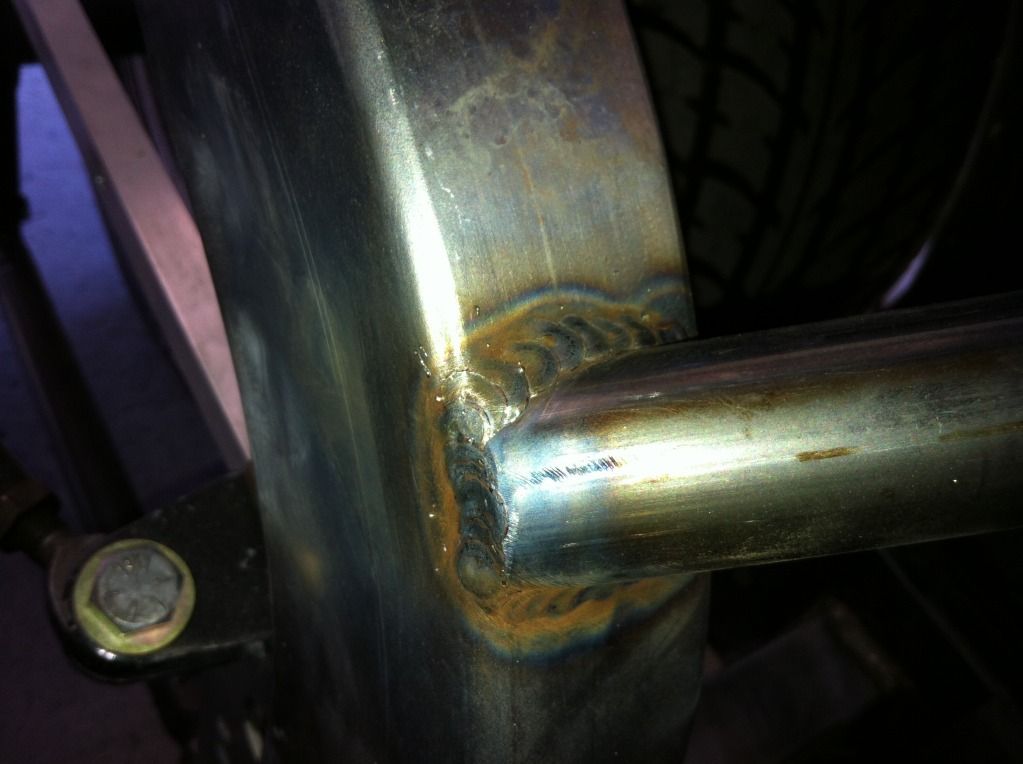
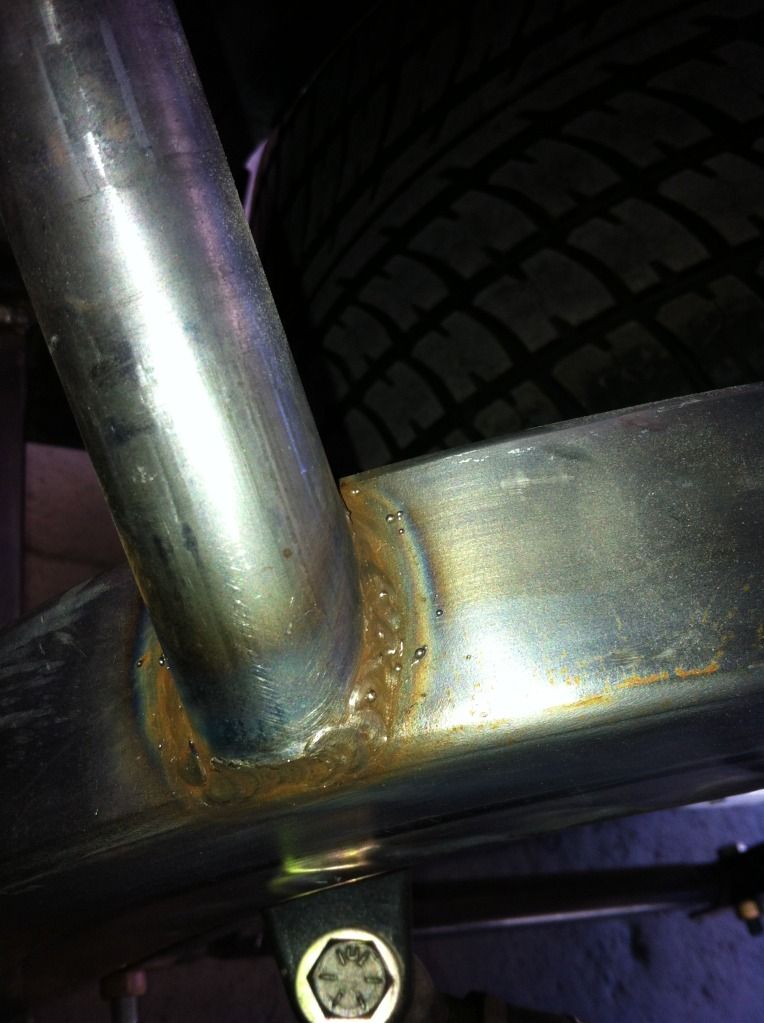
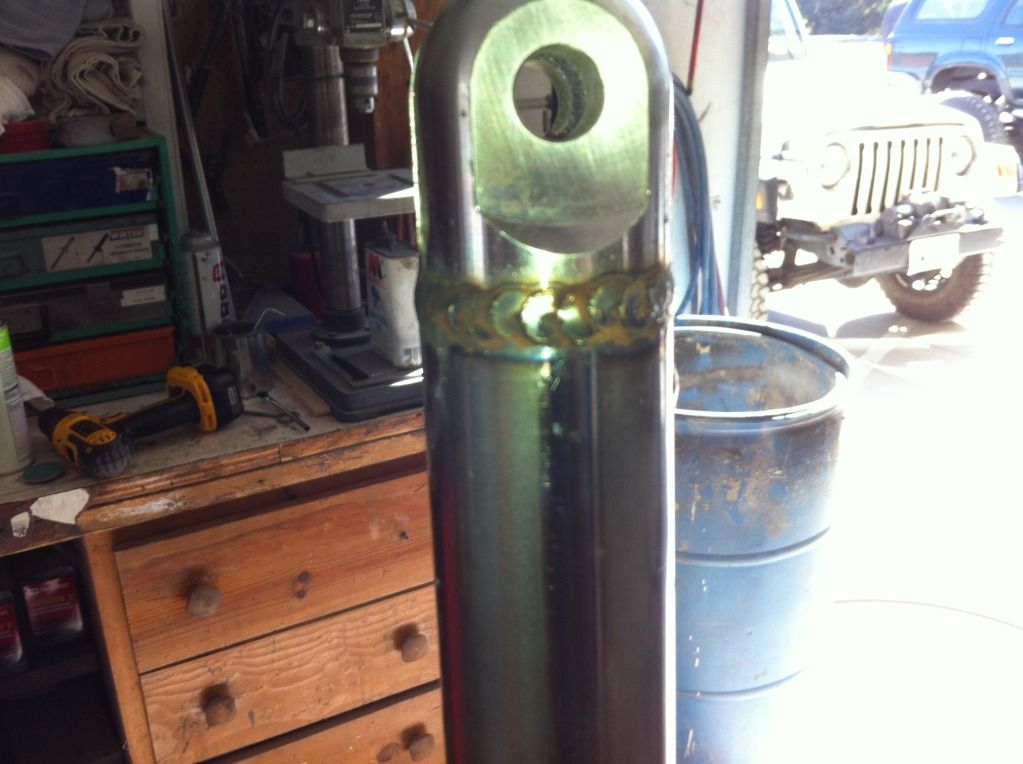
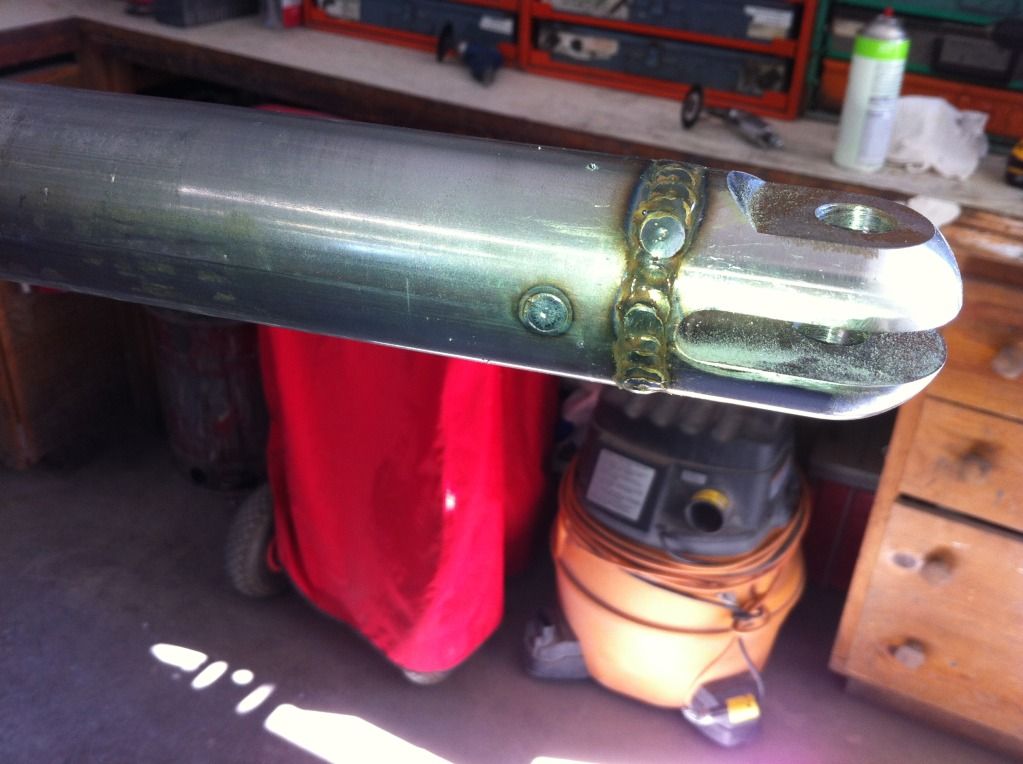
When it's all tacked together, you are unable to weld the top of the tubing (the roof side), so I cut the tack welds holding the cage sides to the main hoop and folded the cage sides with the windshield bar down onto the floor, and welded up the top side of the tubing and the gussets. I'm pretty proud of those welds.
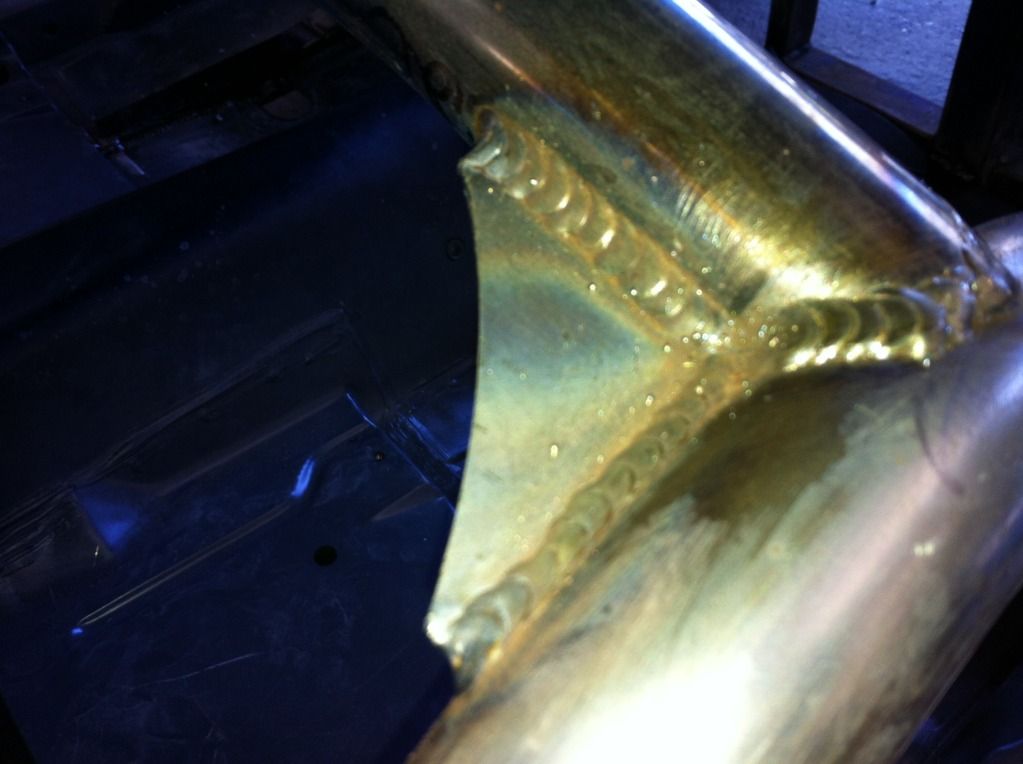
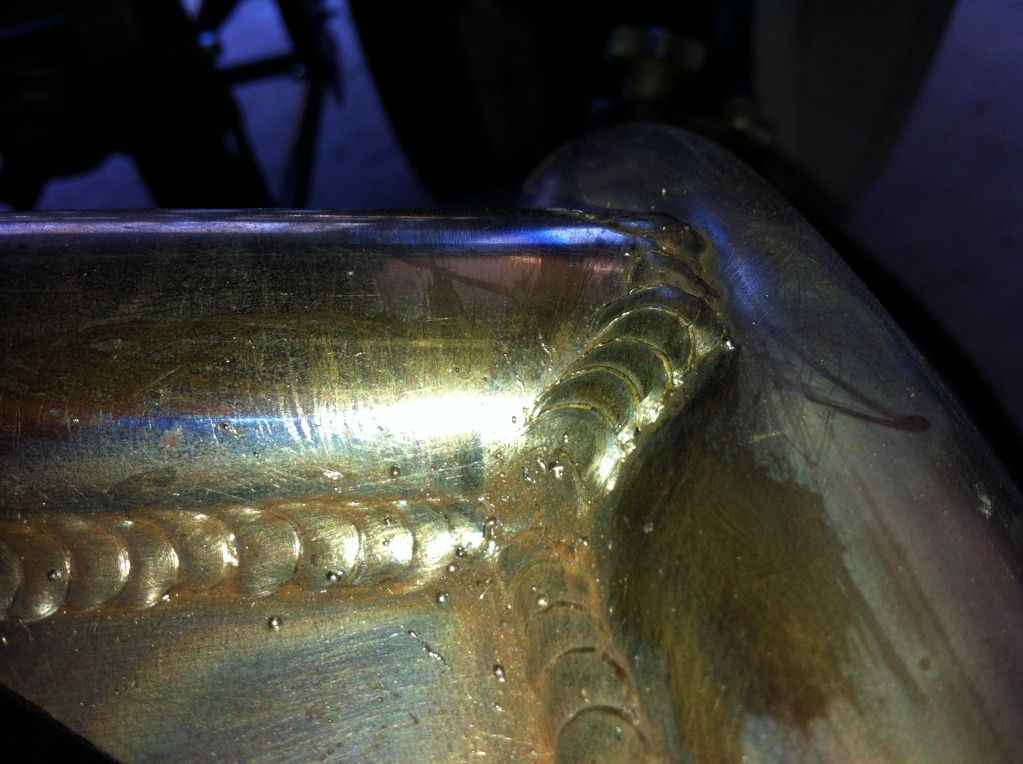
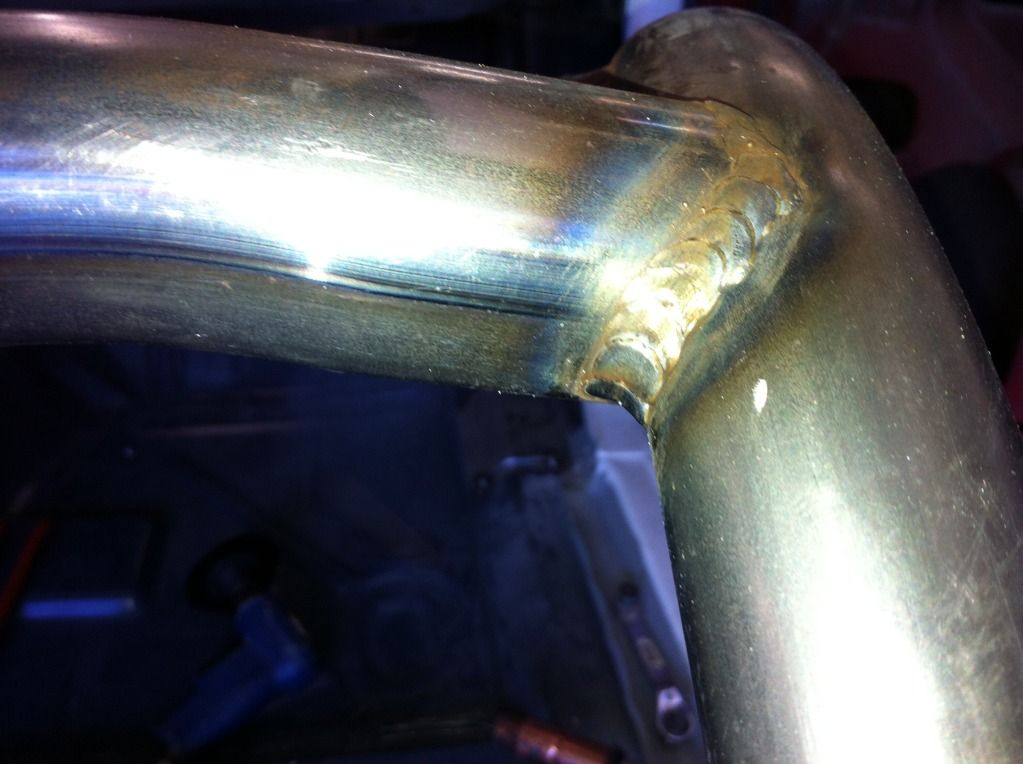
When it's all tacked together, you are unable to weld the top of the tubing (the roof side), so I cut the tack welds holding the cage sides to the main hoop and folded the cage sides with the windshield bar down onto the floor, and welded up the top side of the tubing and the gussets. I'm pretty proud of those welds.
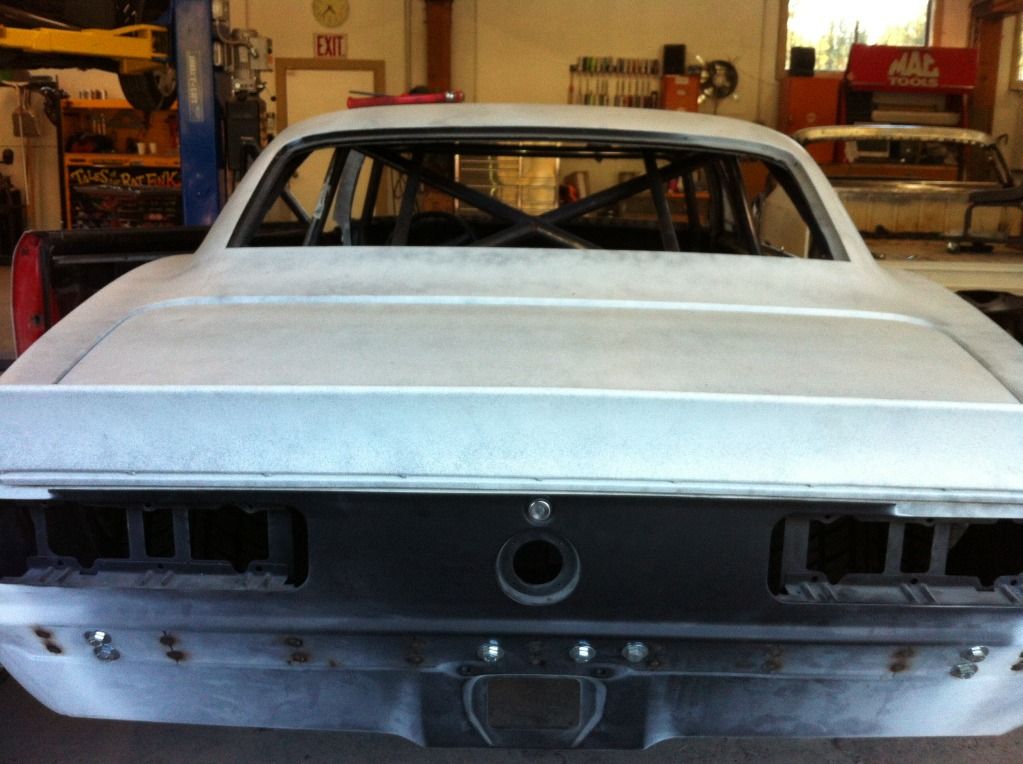
I almost finished the roll cage this weekend. Slight correction: the tubing is .134 wall, not .120 wall, like I previously mentioned.
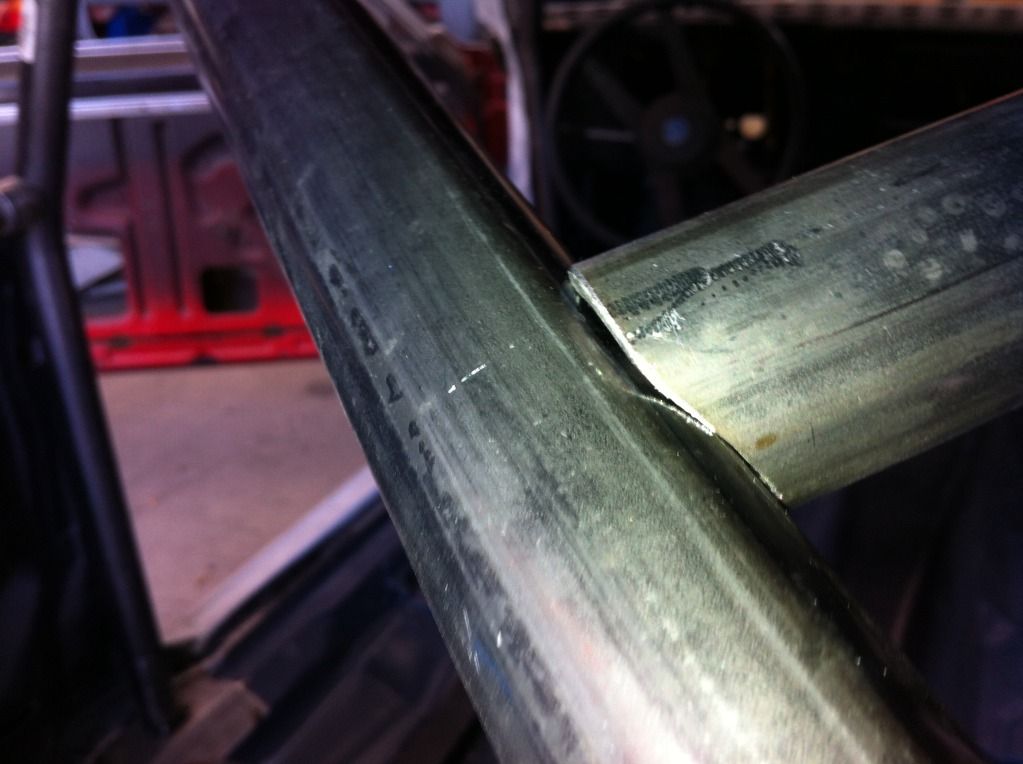
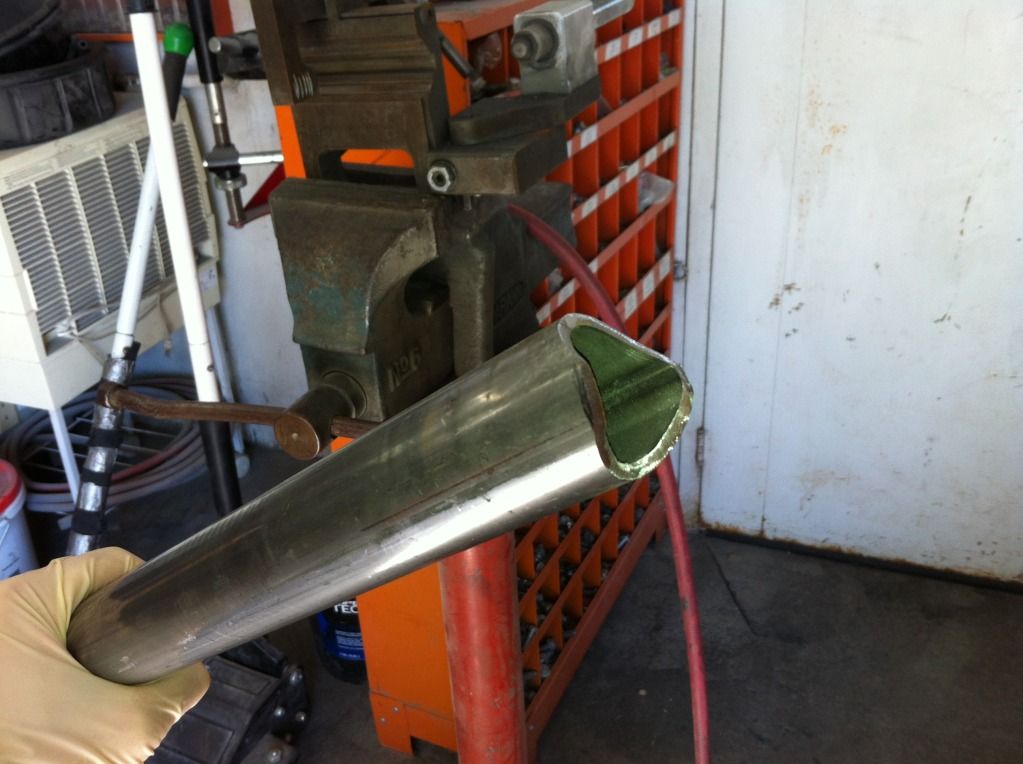
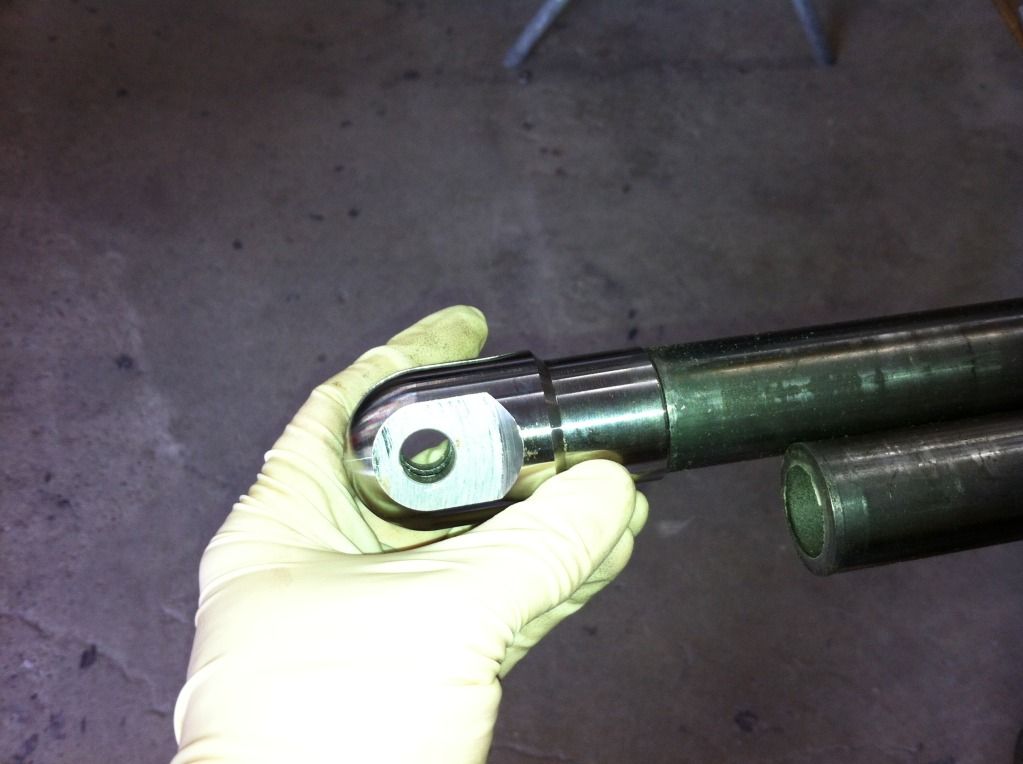
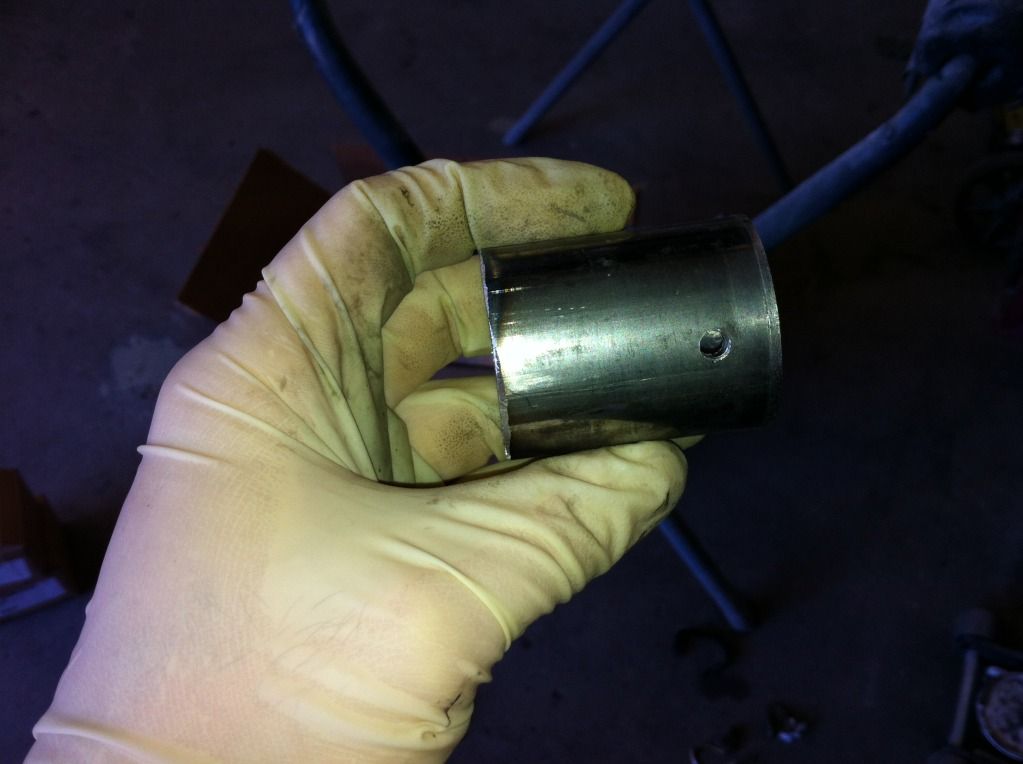
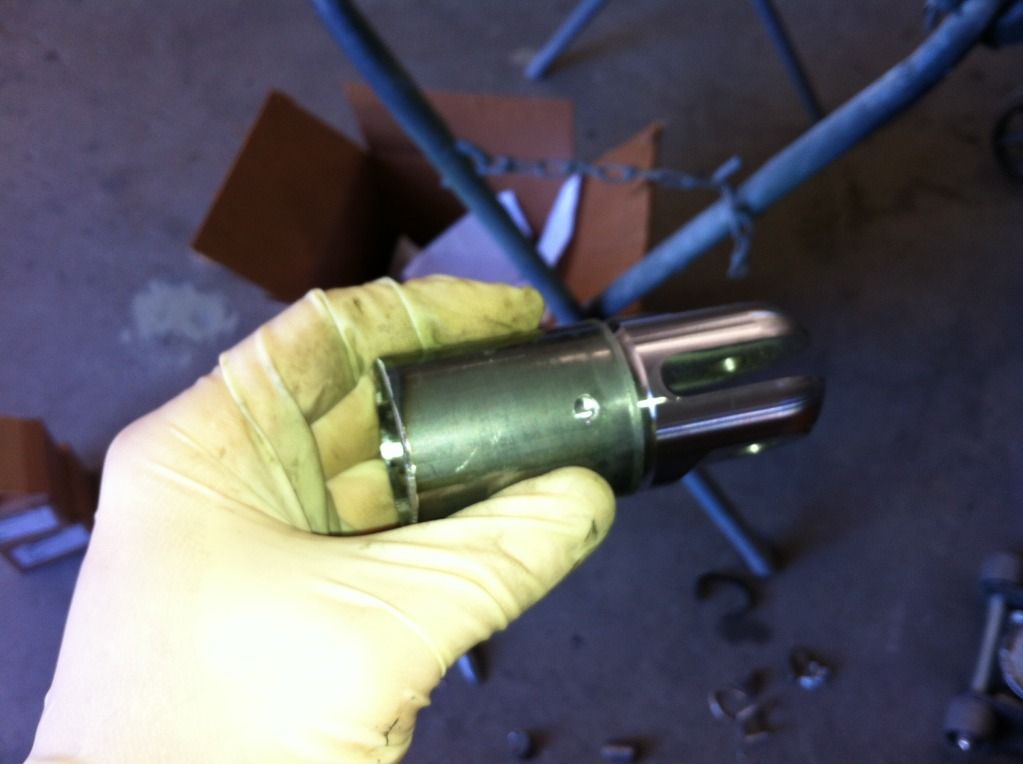
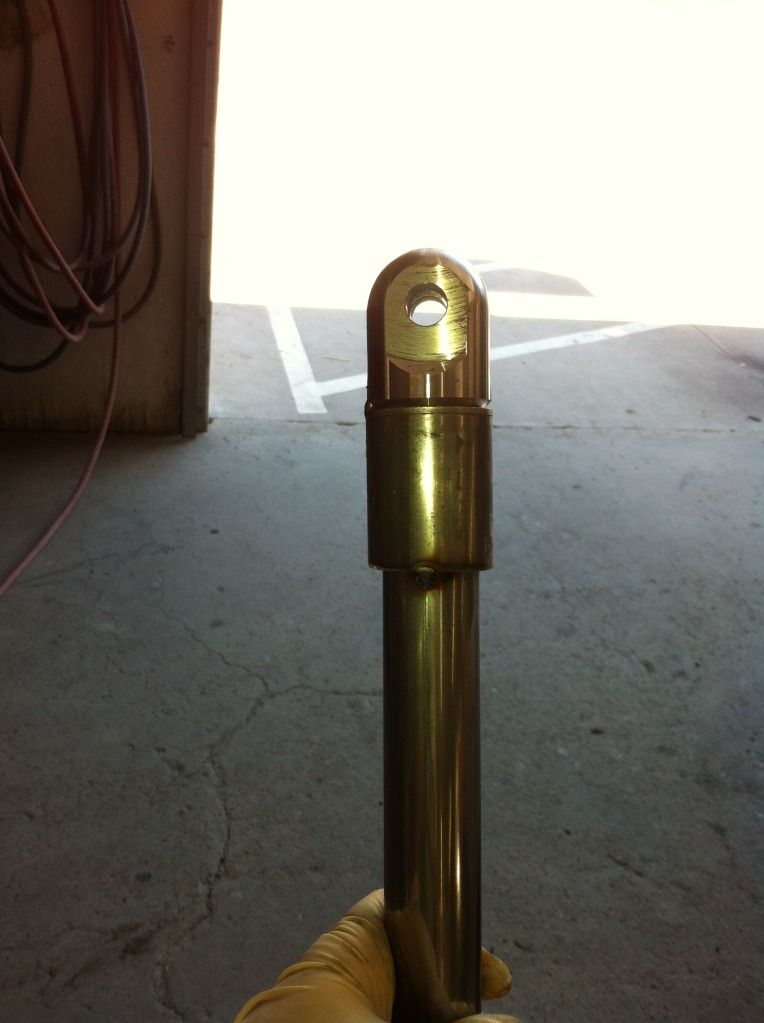
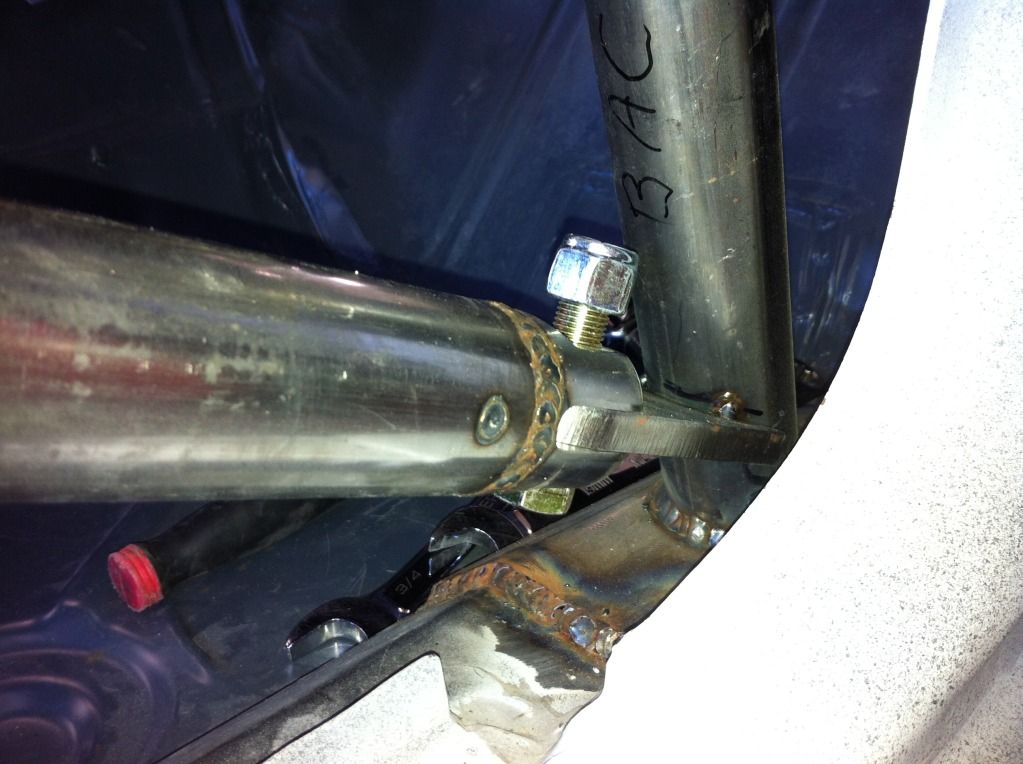
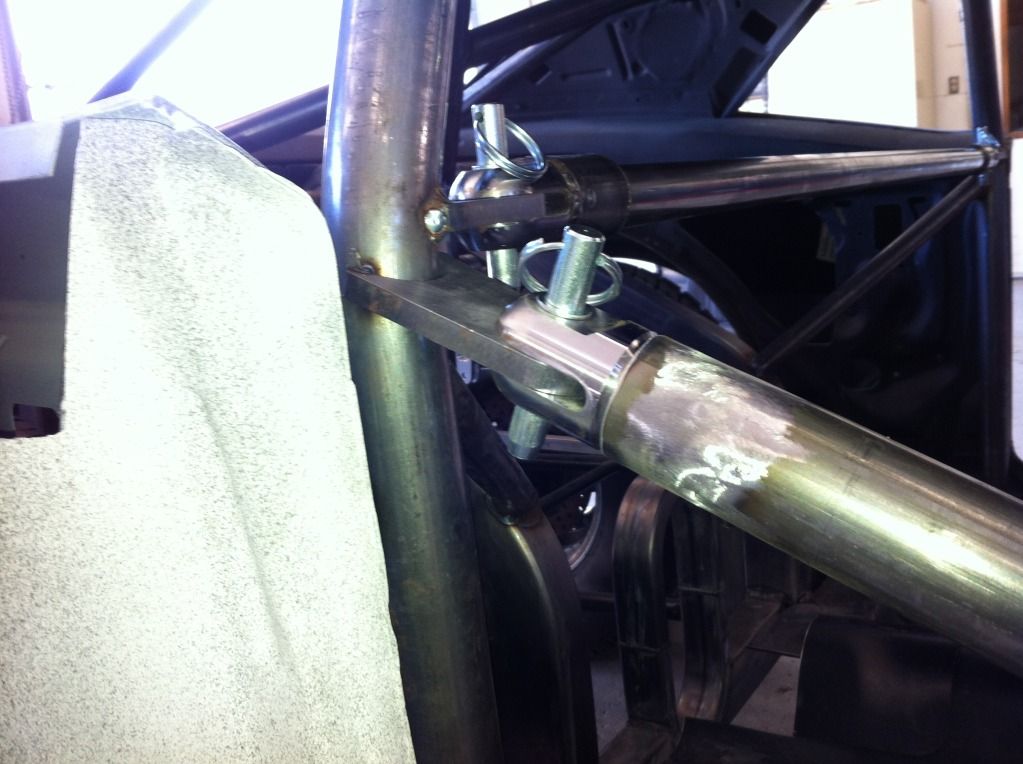
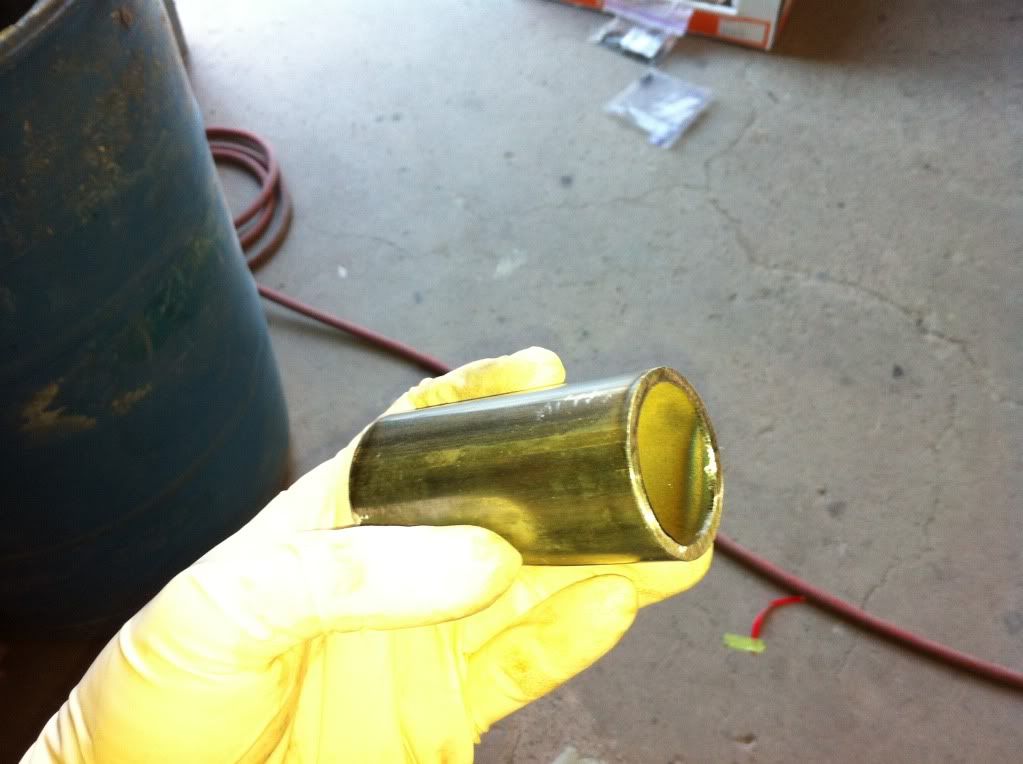
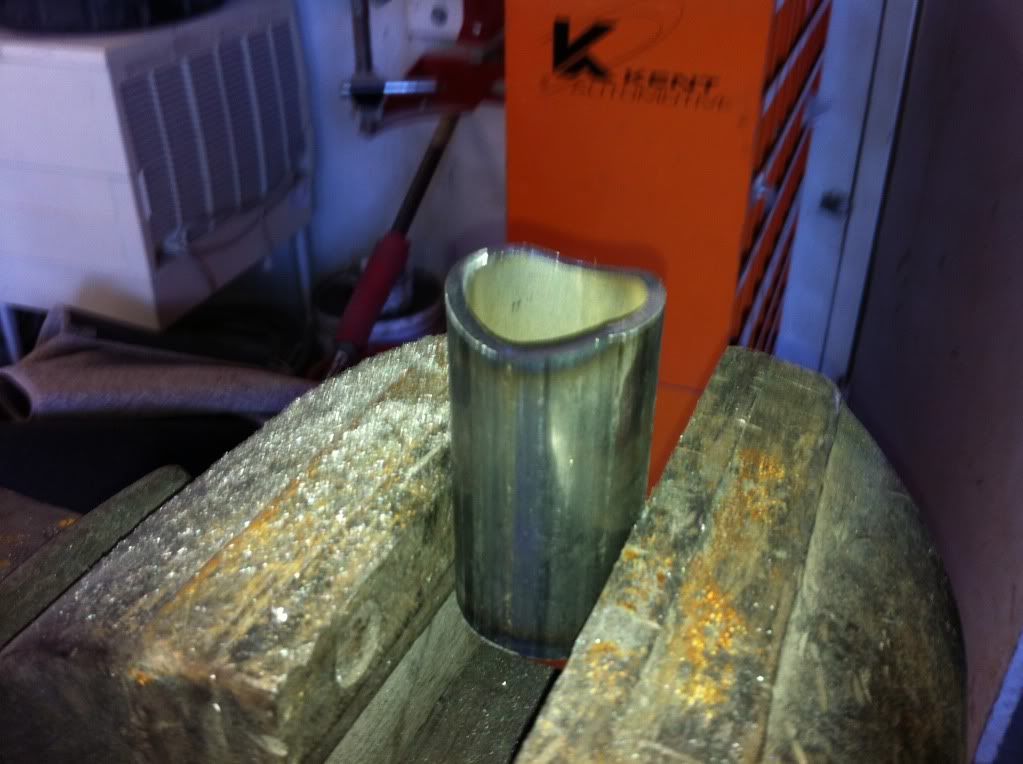
I realized a little late that the back brace tube was 1 1/4". My removable back brace kit is designed for 1 5/8" tubing, so I decided to sleeve the back brace tube with some scrap 1 5/8" tube so I could still use everything.

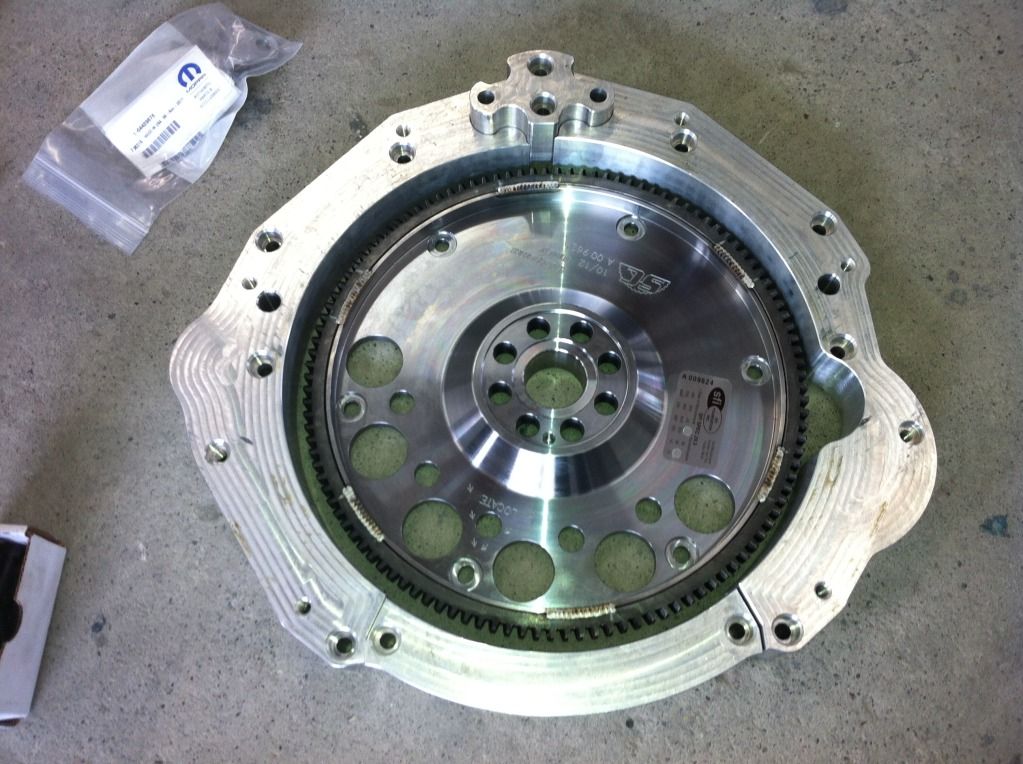
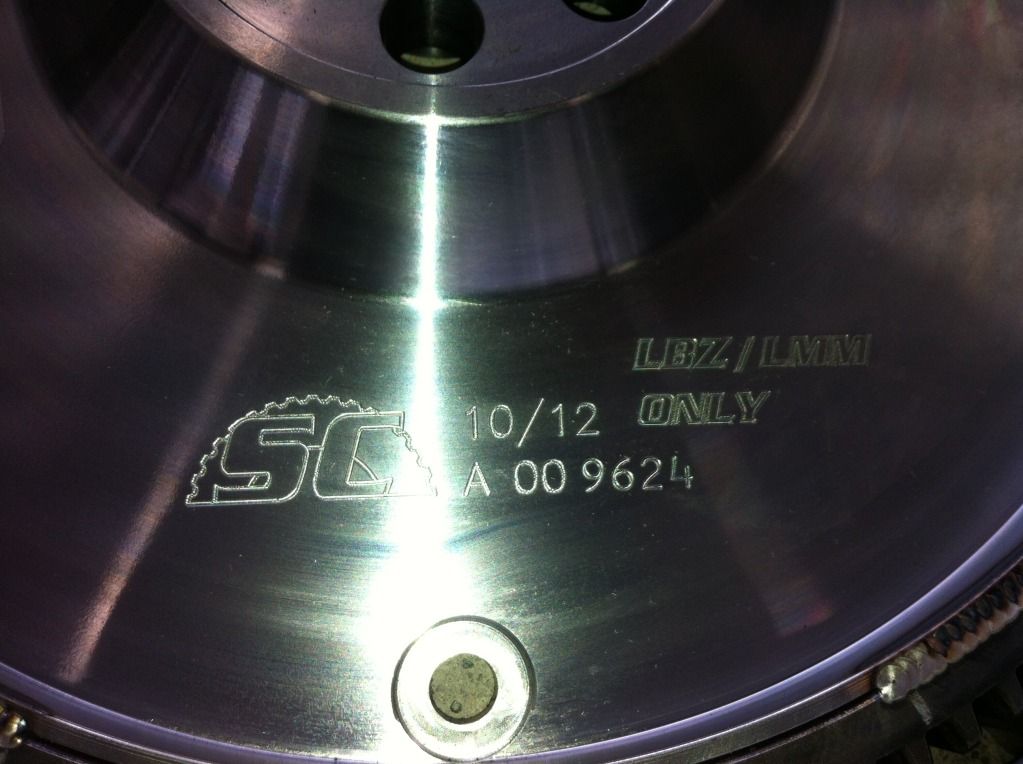
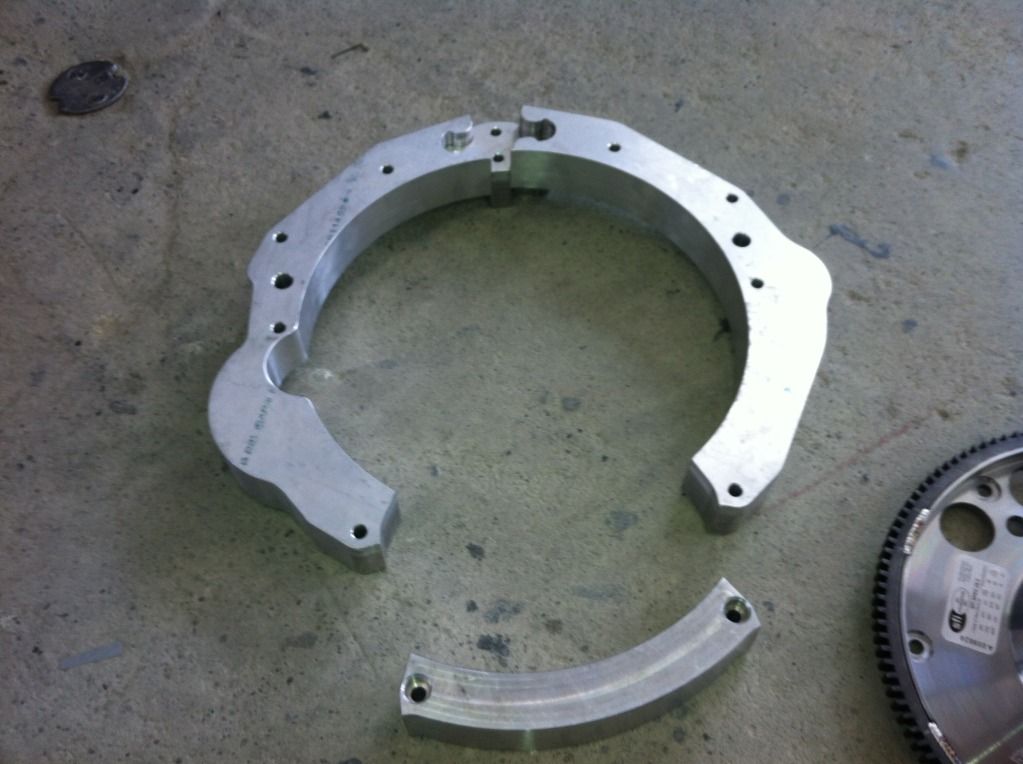
Here's my adapter plate and billet flexplate. Thank you Ron at Suncoast! I was surprised that it's 4 separate pieces, but none the less, it's going to get the the job done, be strong and look sweet.
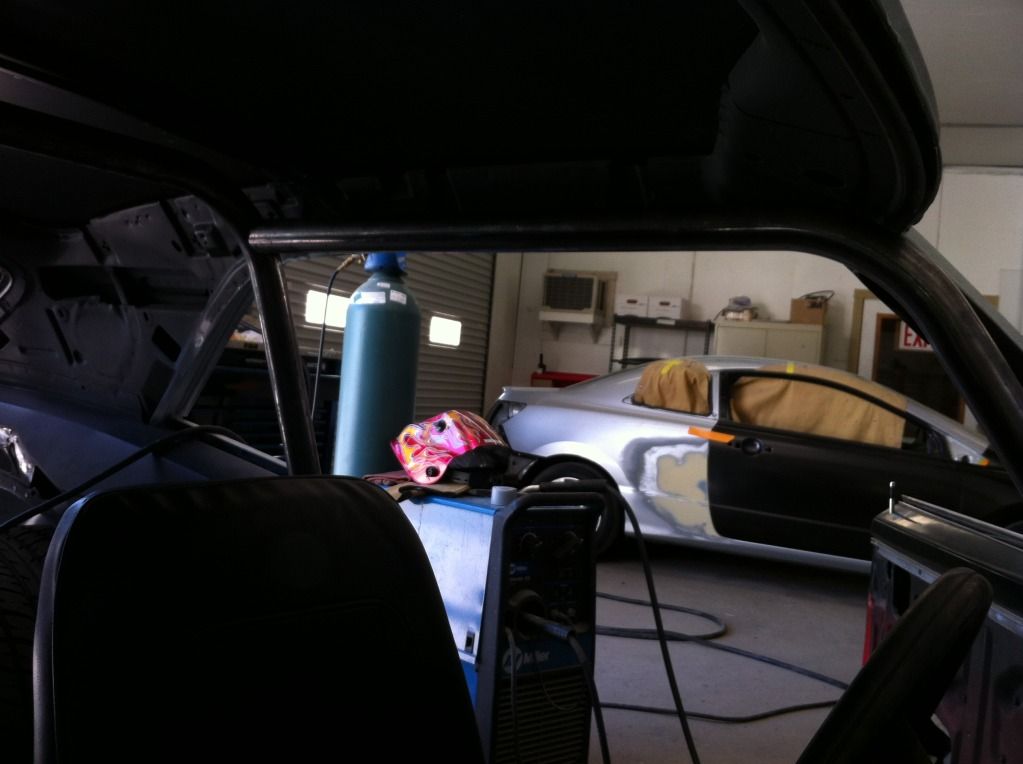
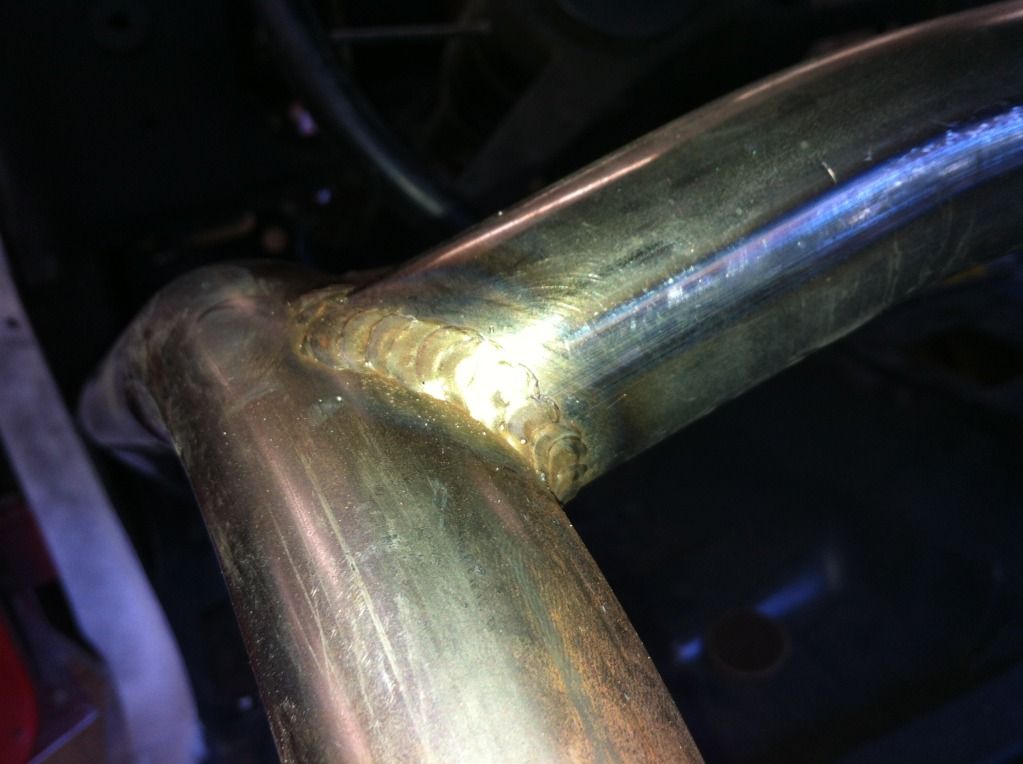
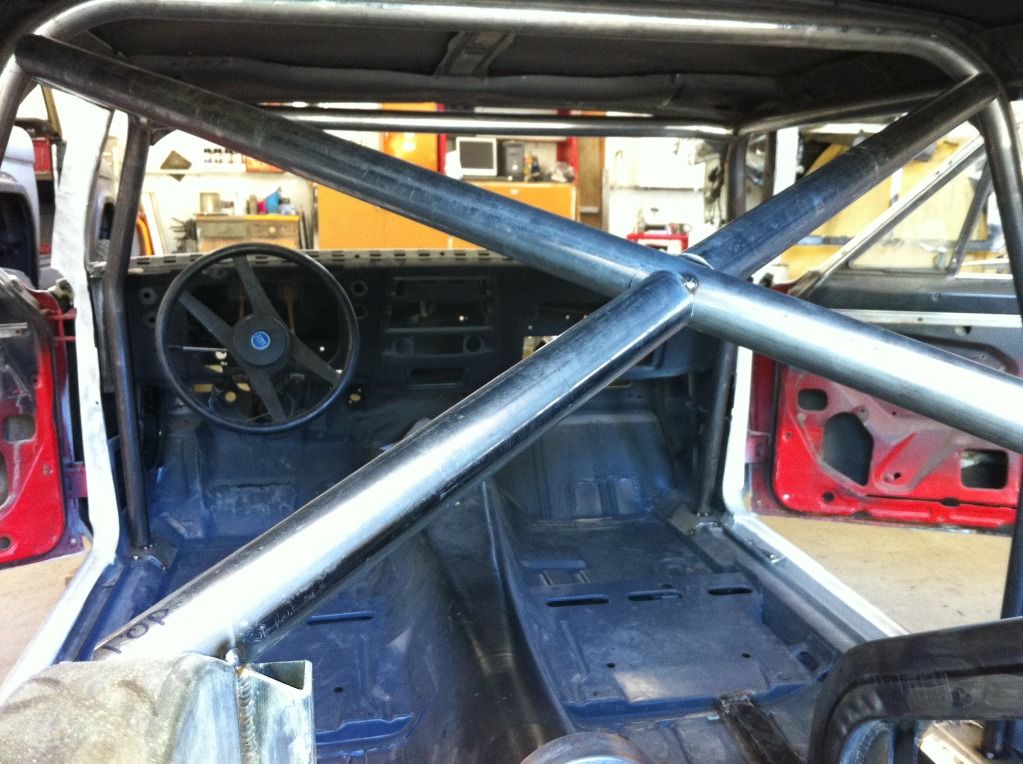
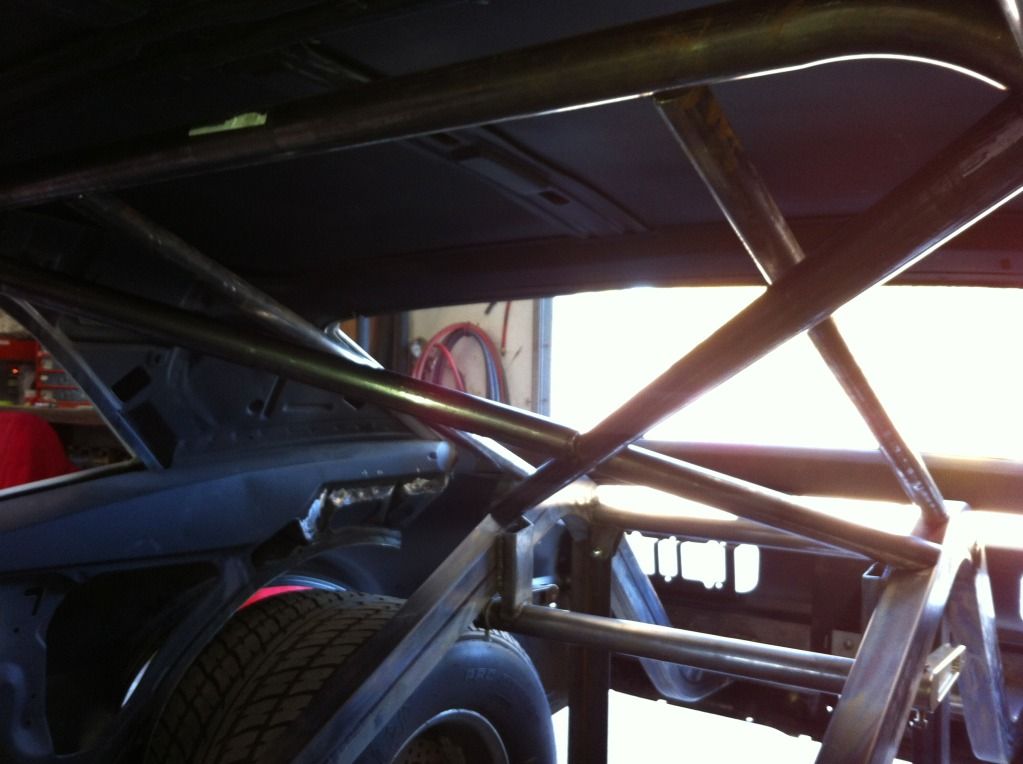
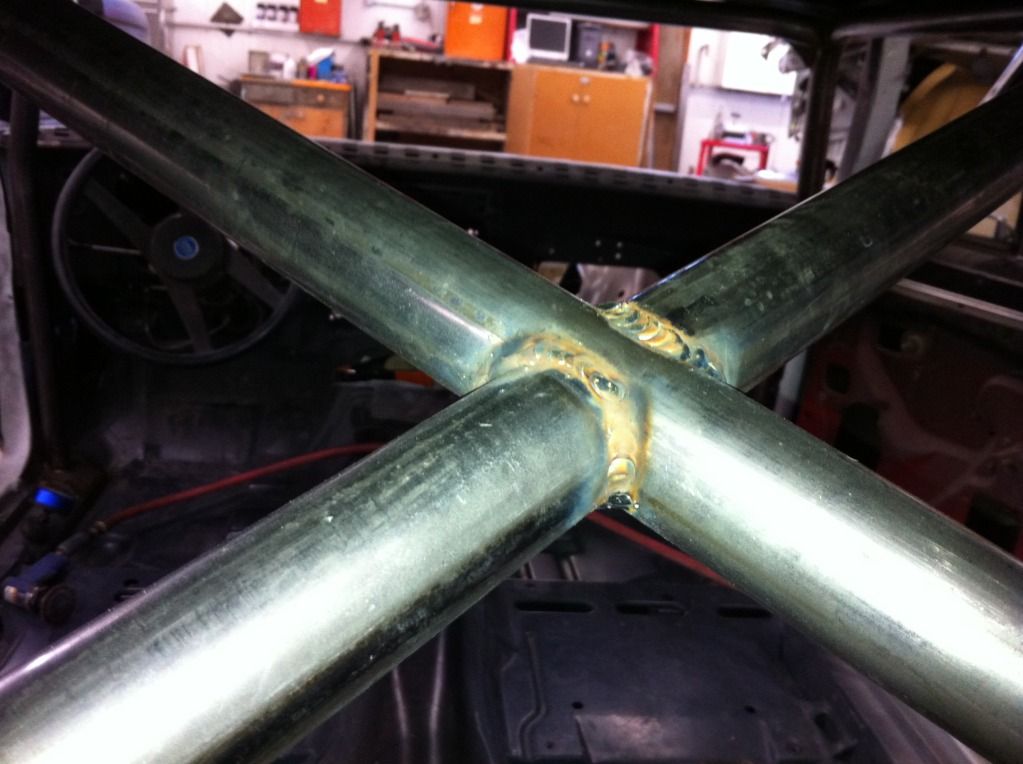
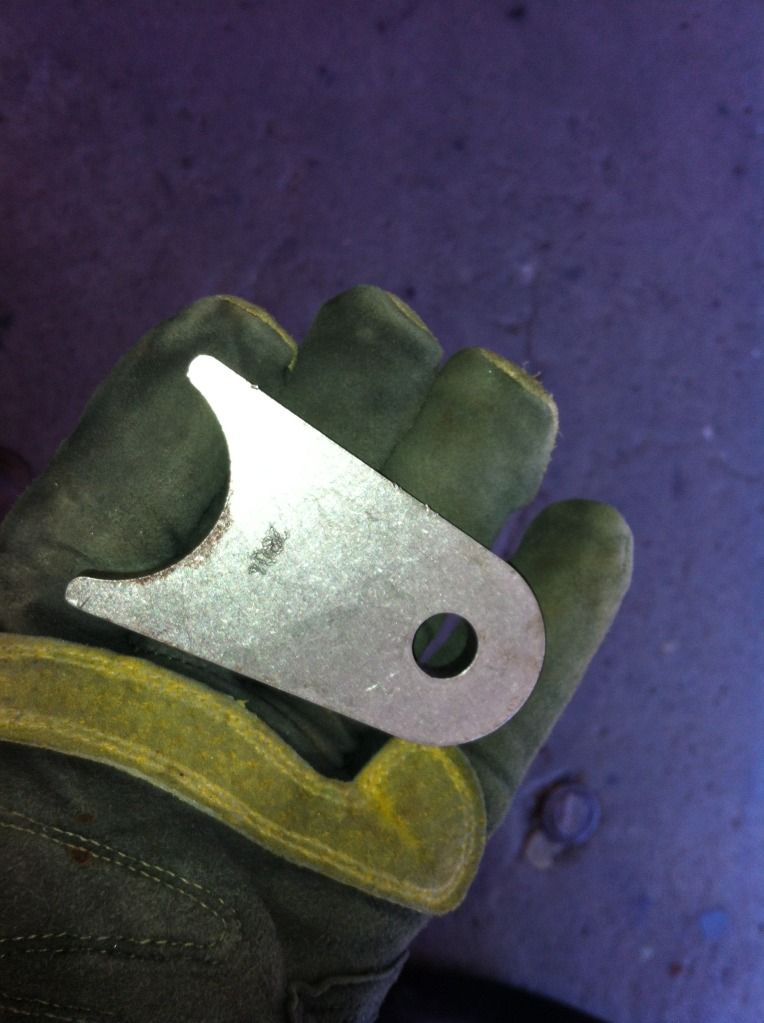
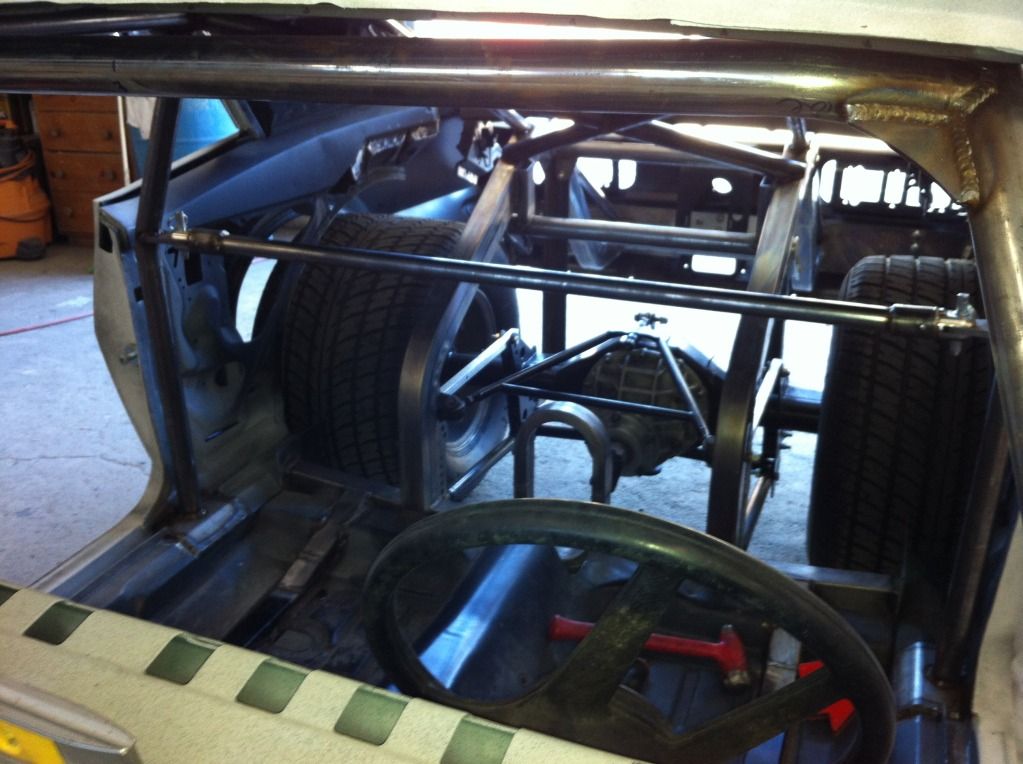
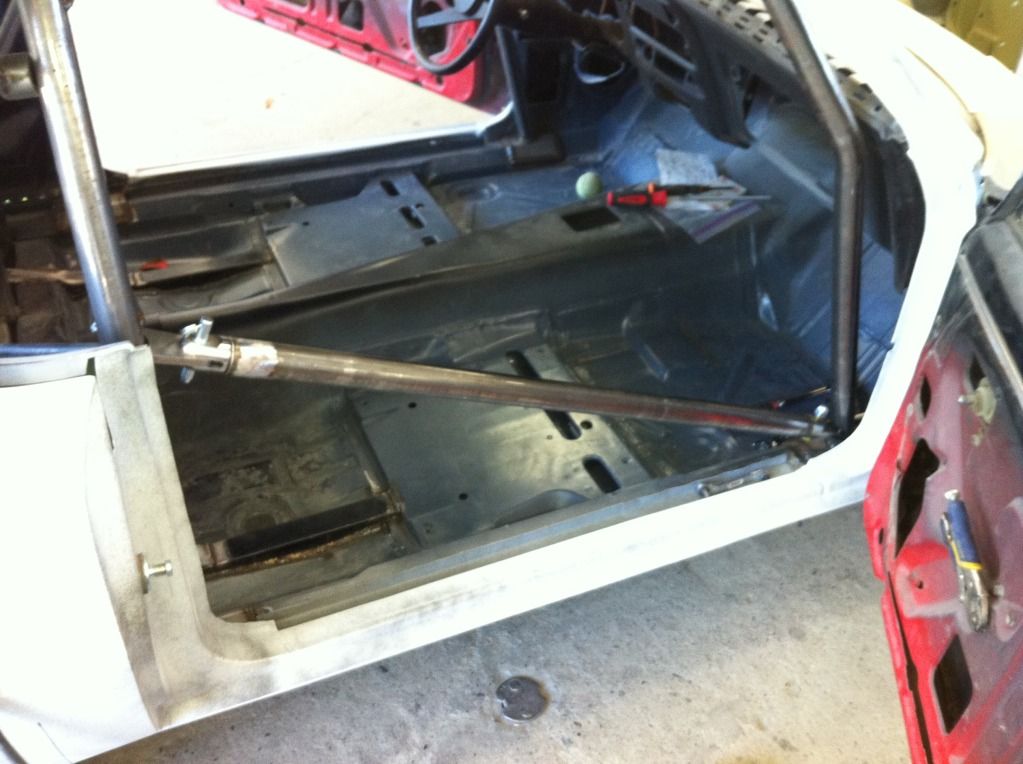
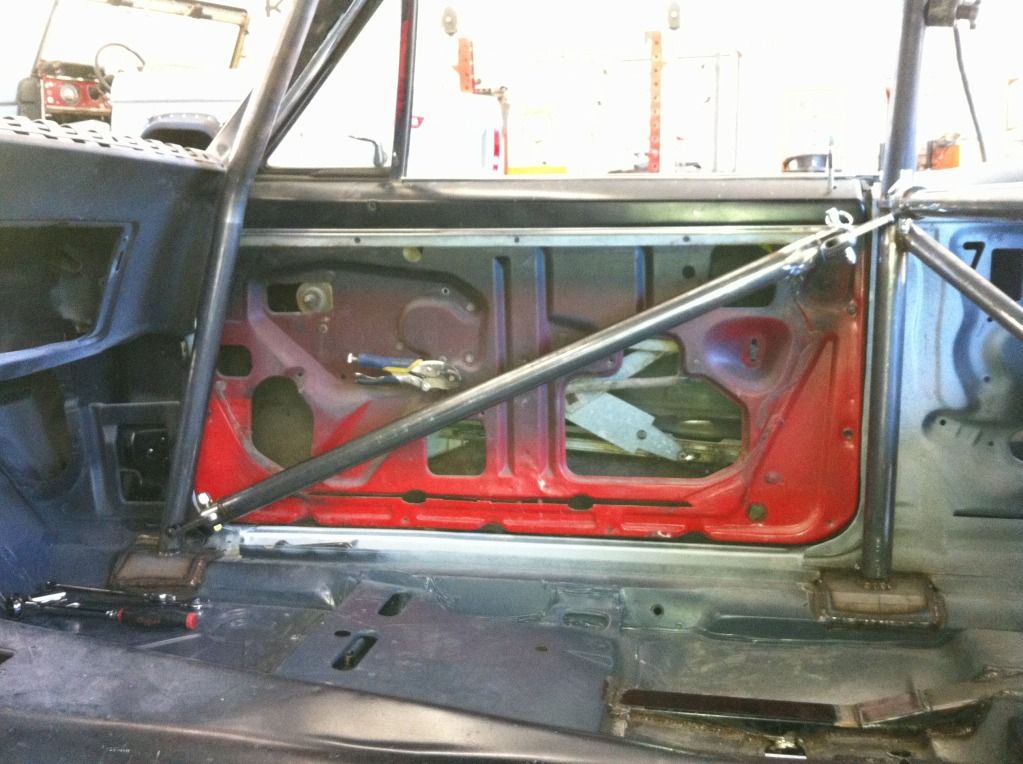
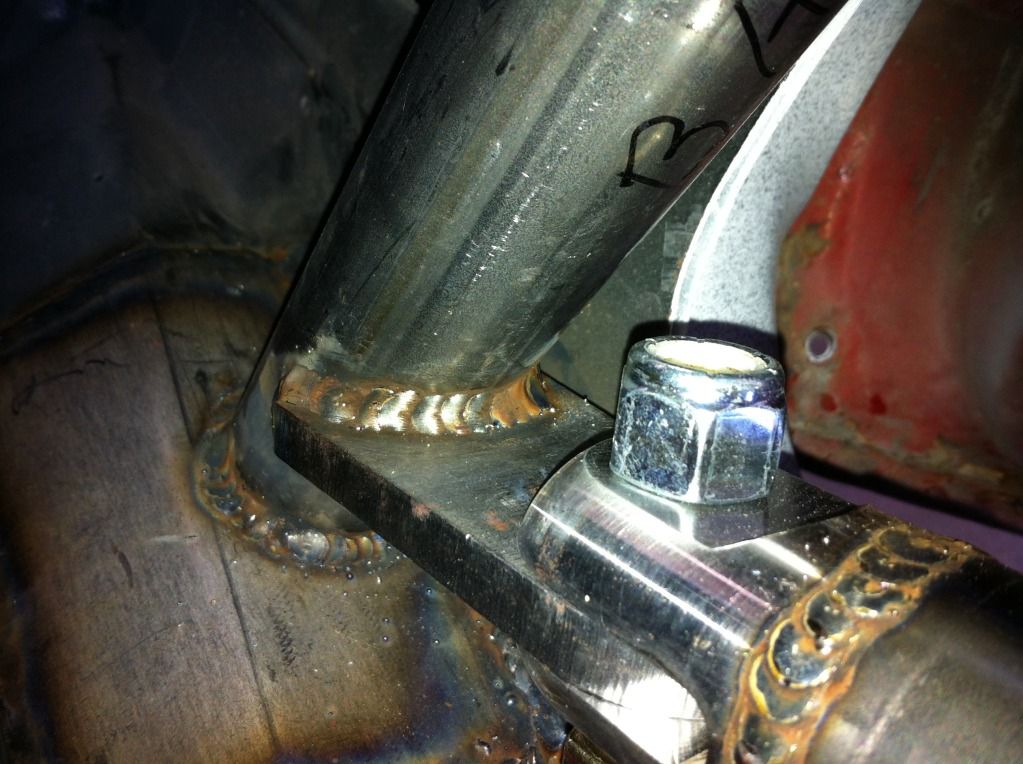
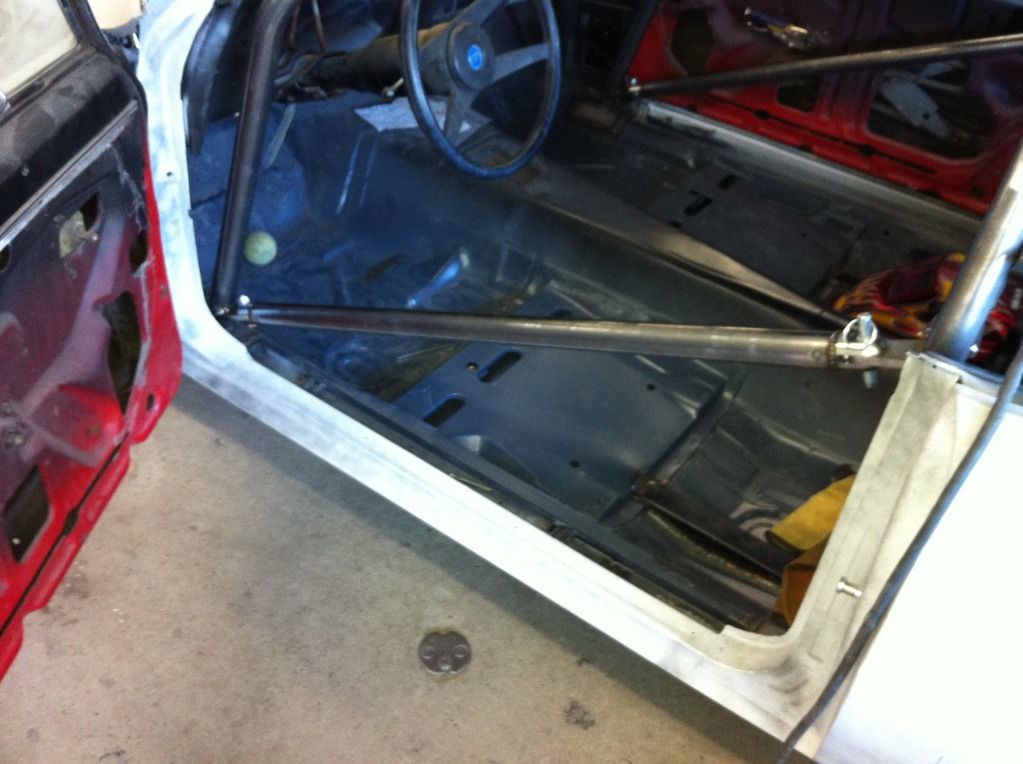
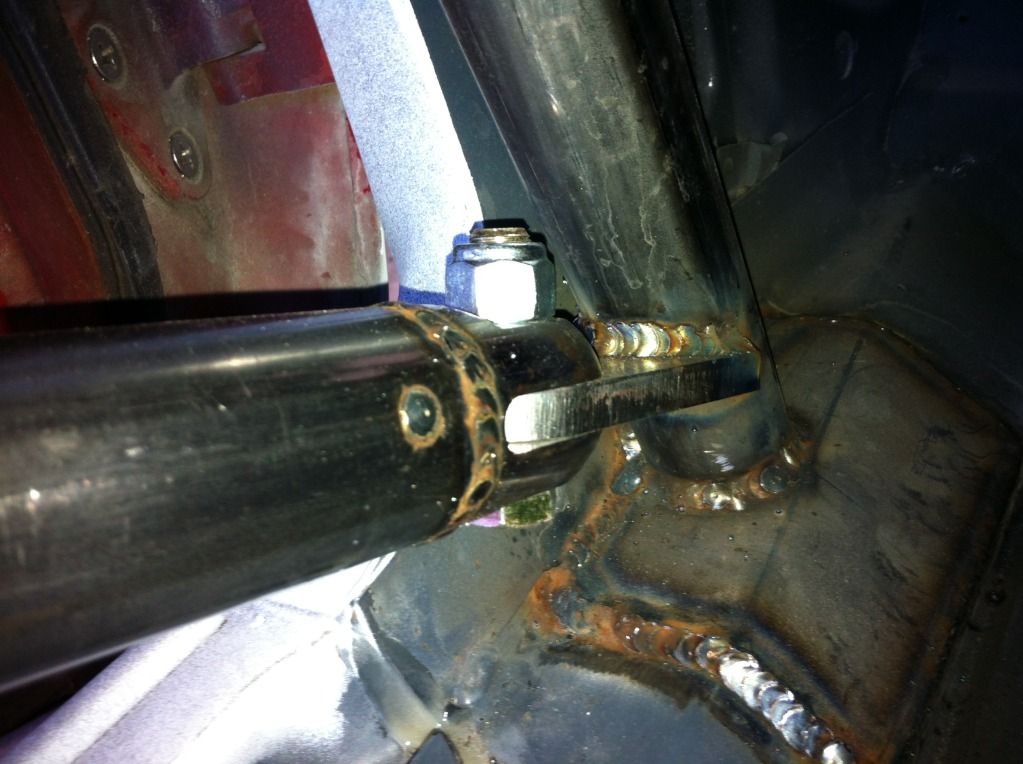
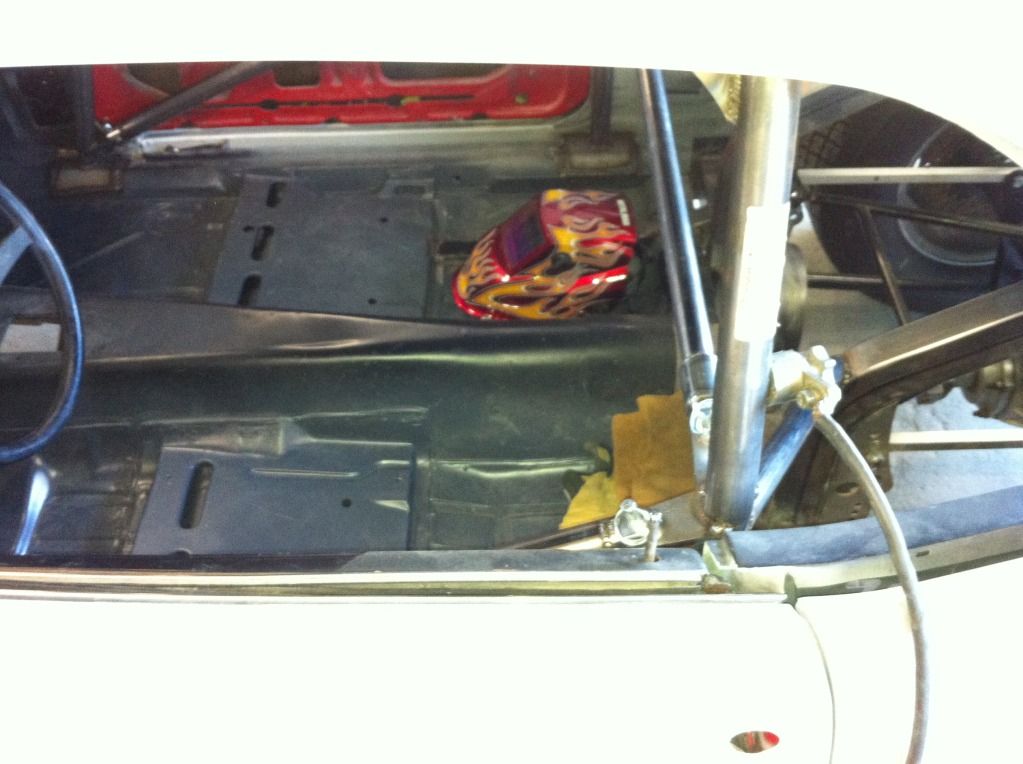
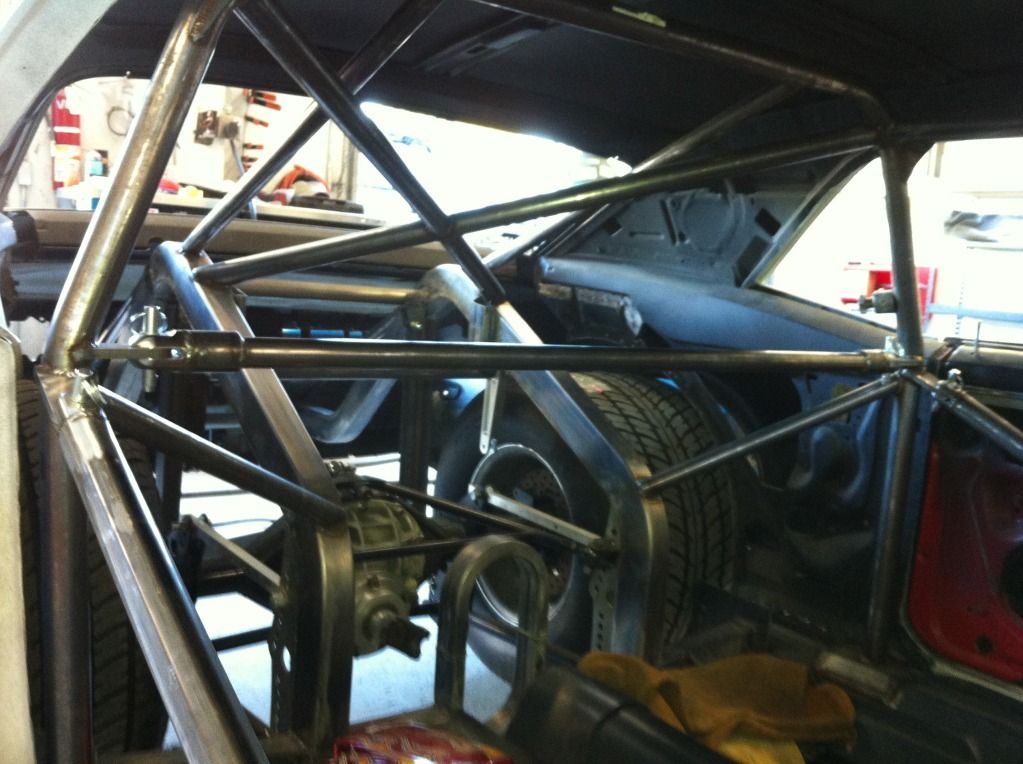
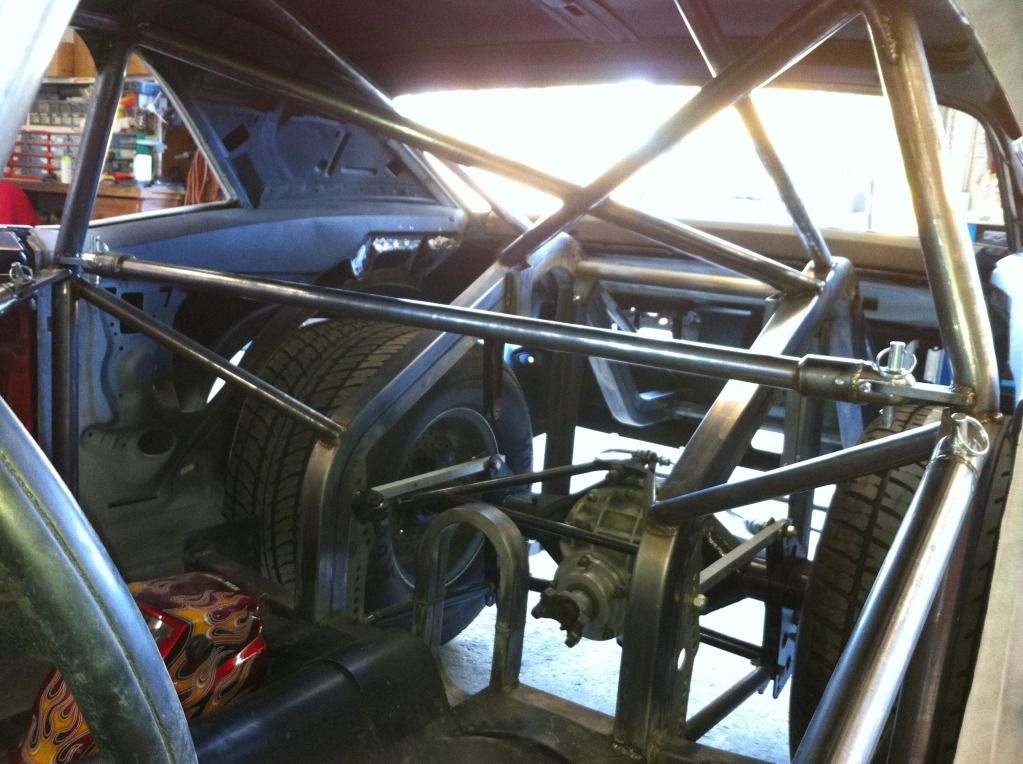
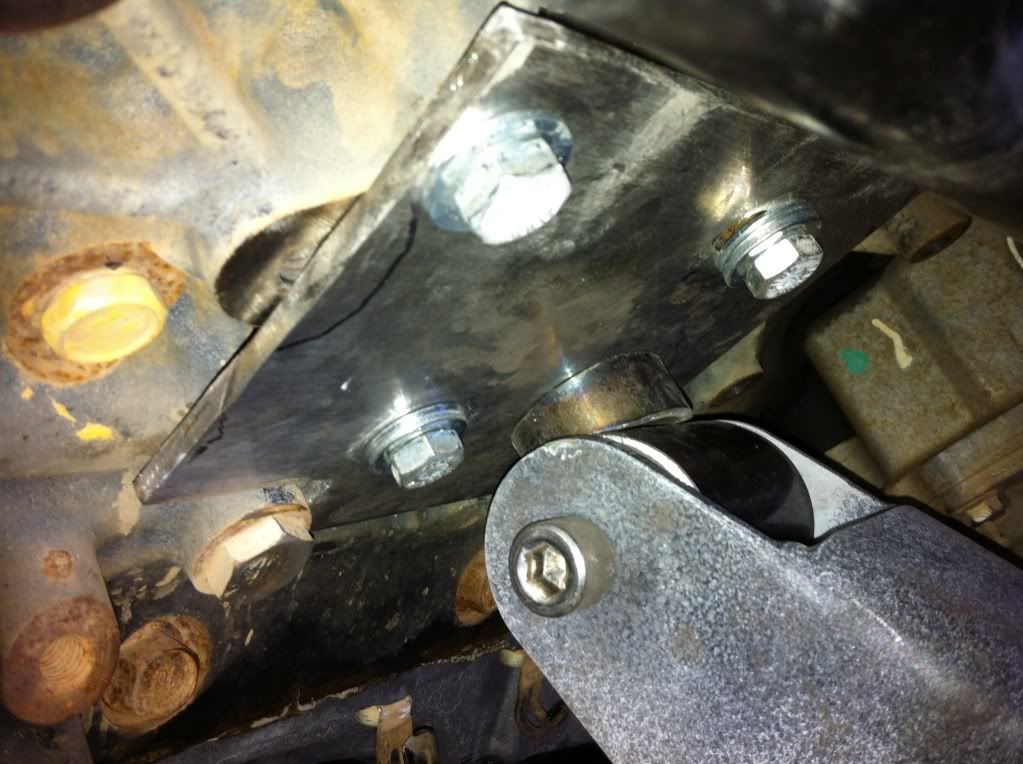
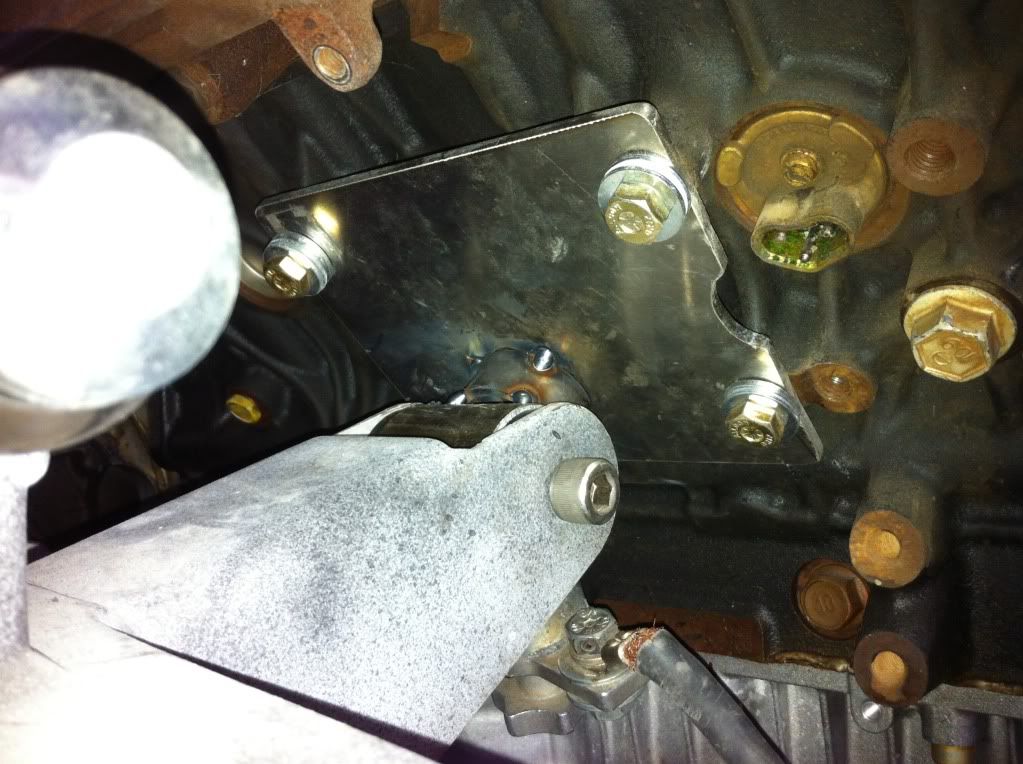
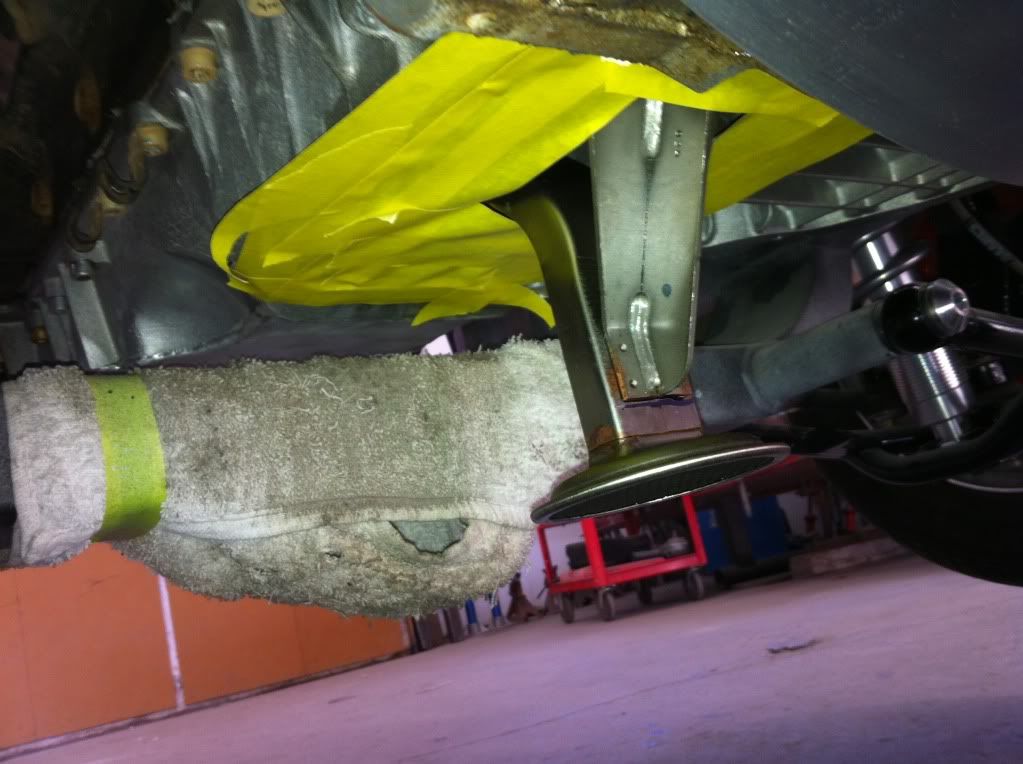
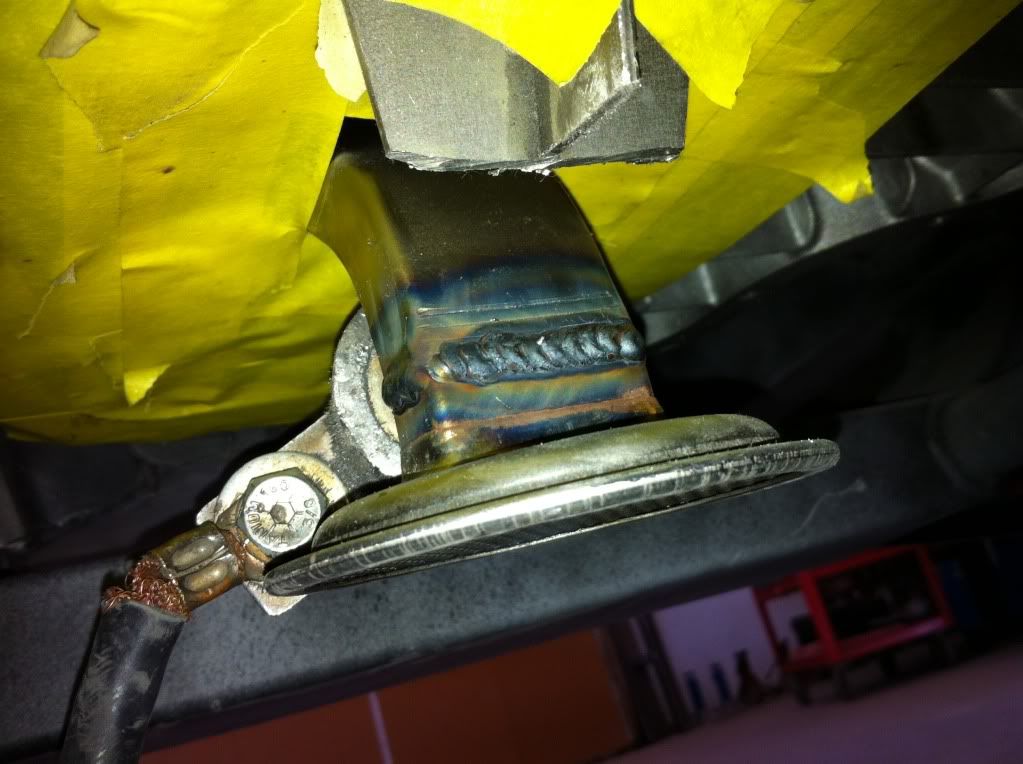
Finished the roll cage. I started off with the side struts that mount from the main hoop to on top of the subframe above the 4 link brackets.

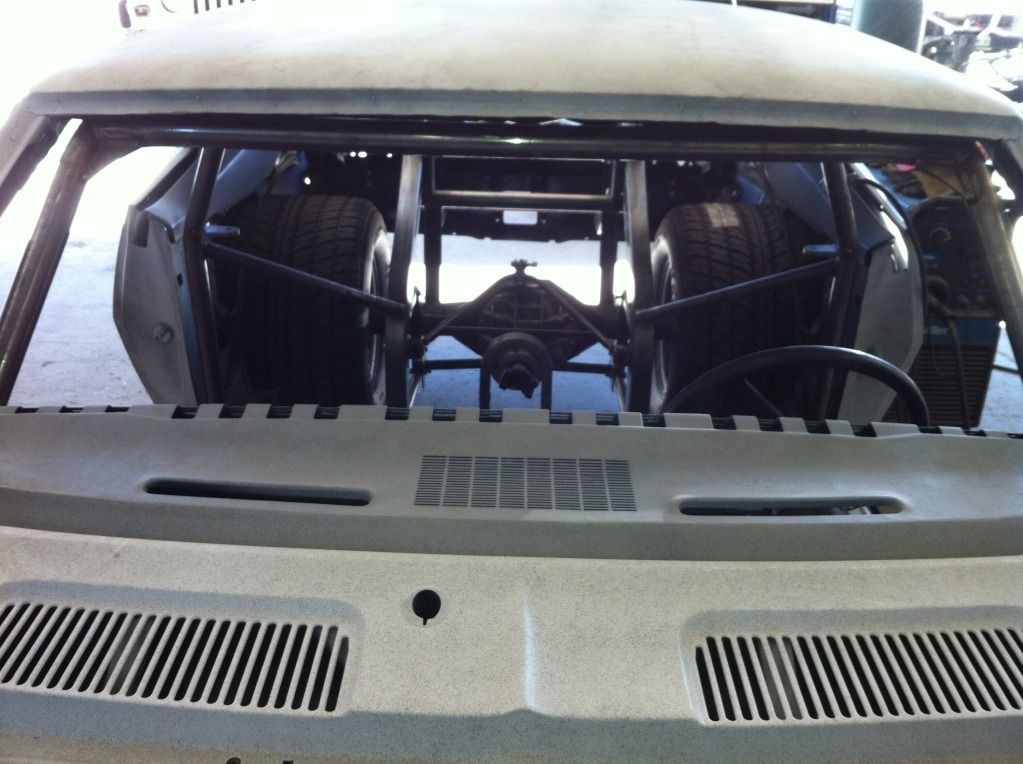
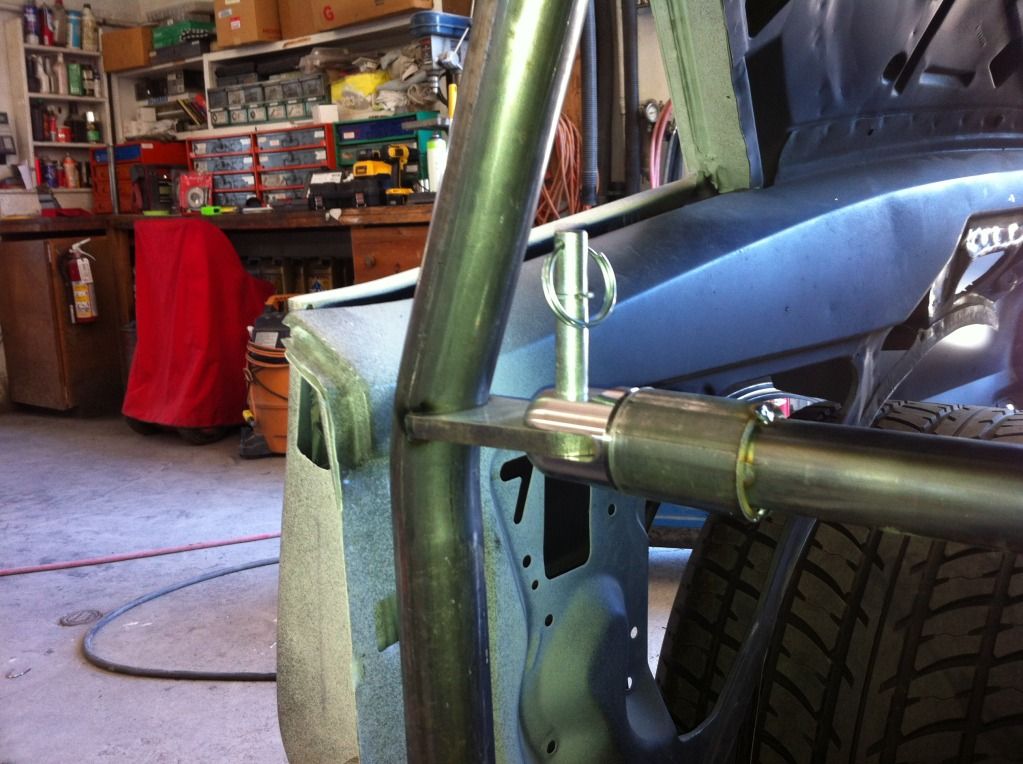
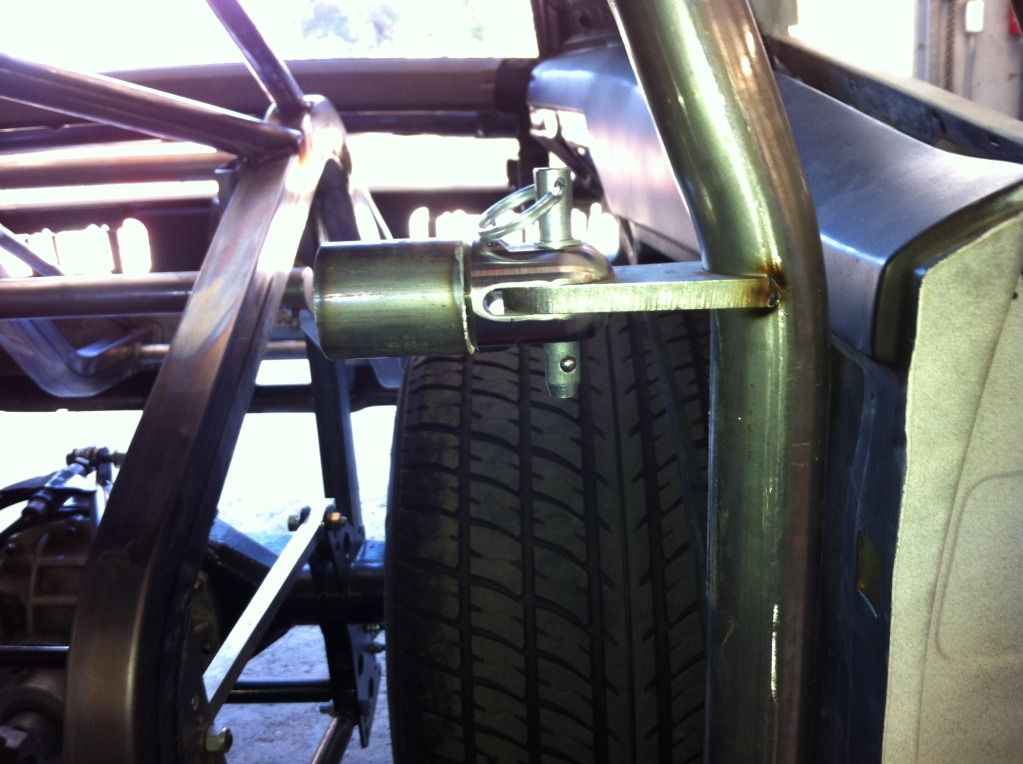
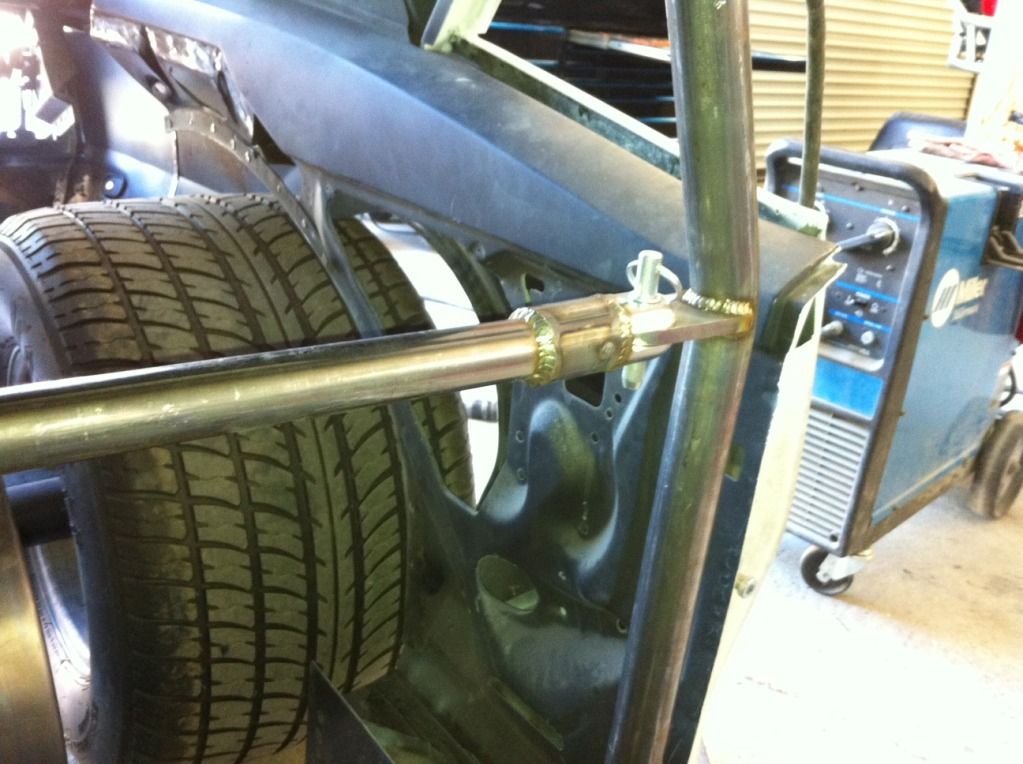
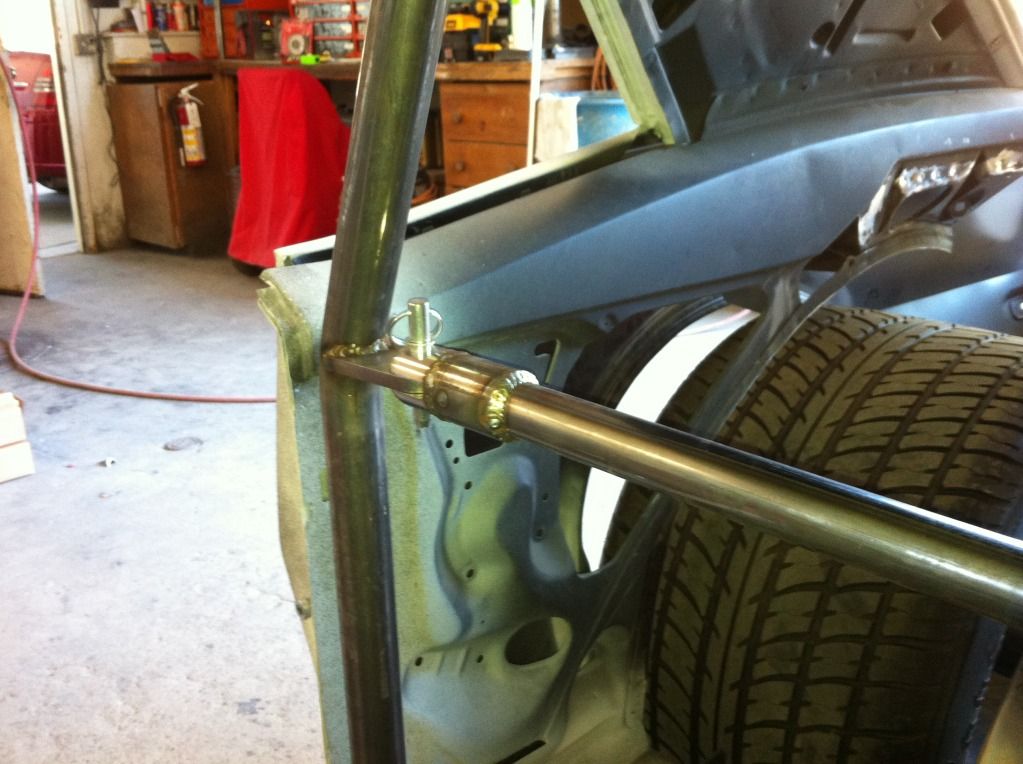
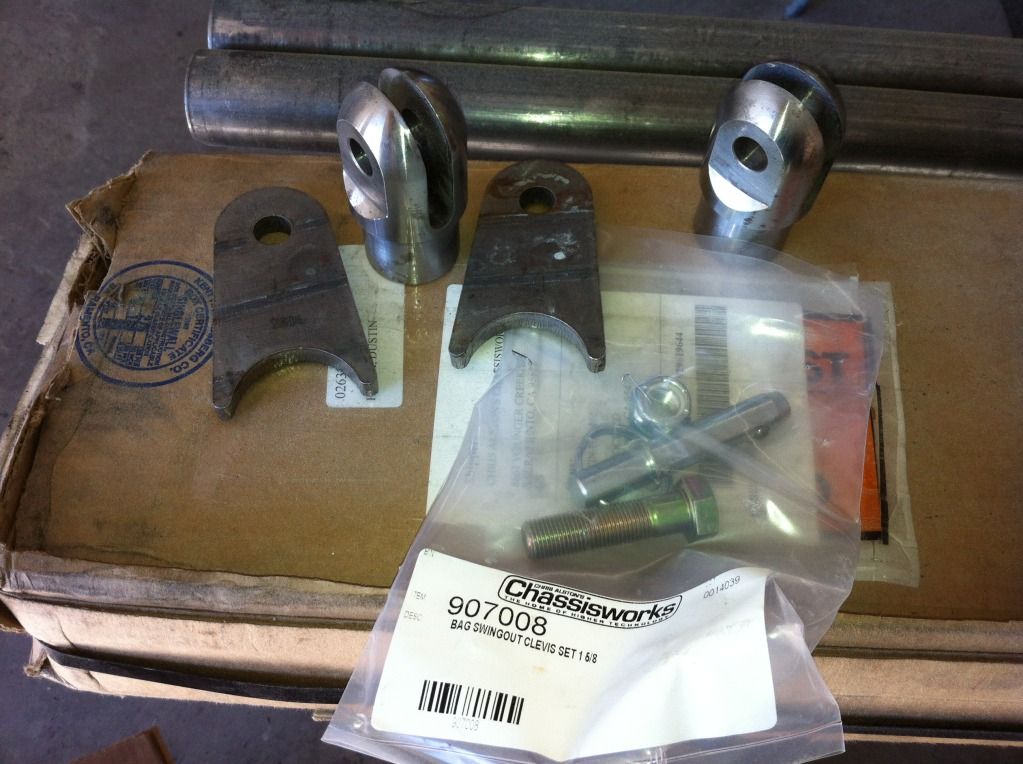
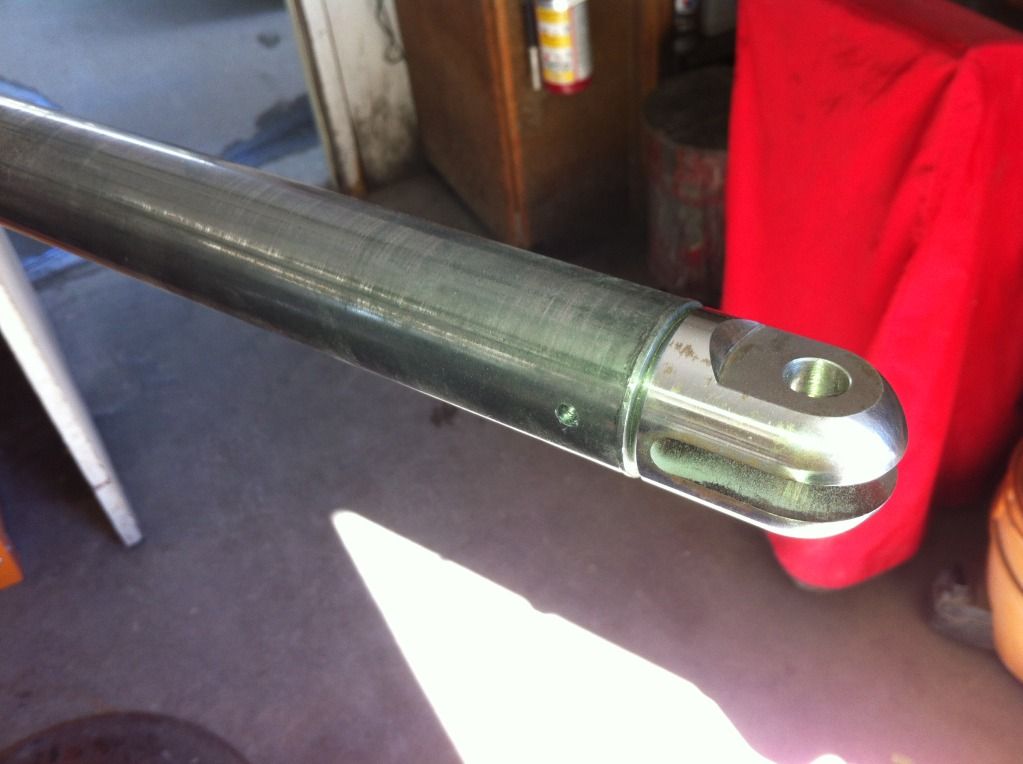
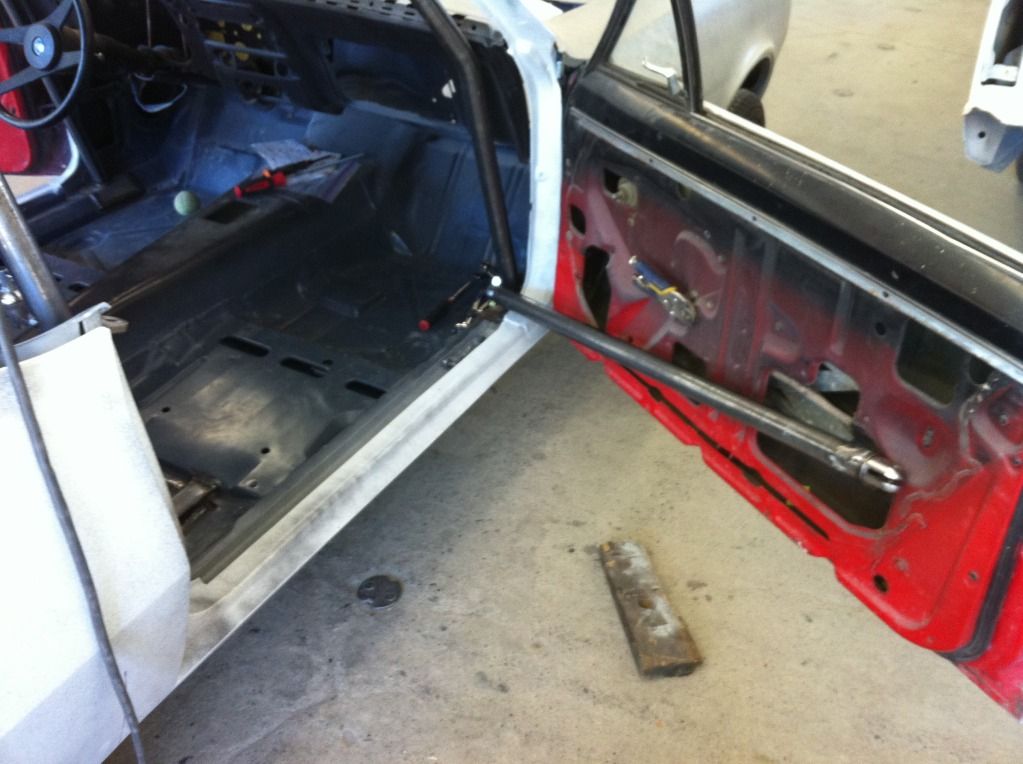
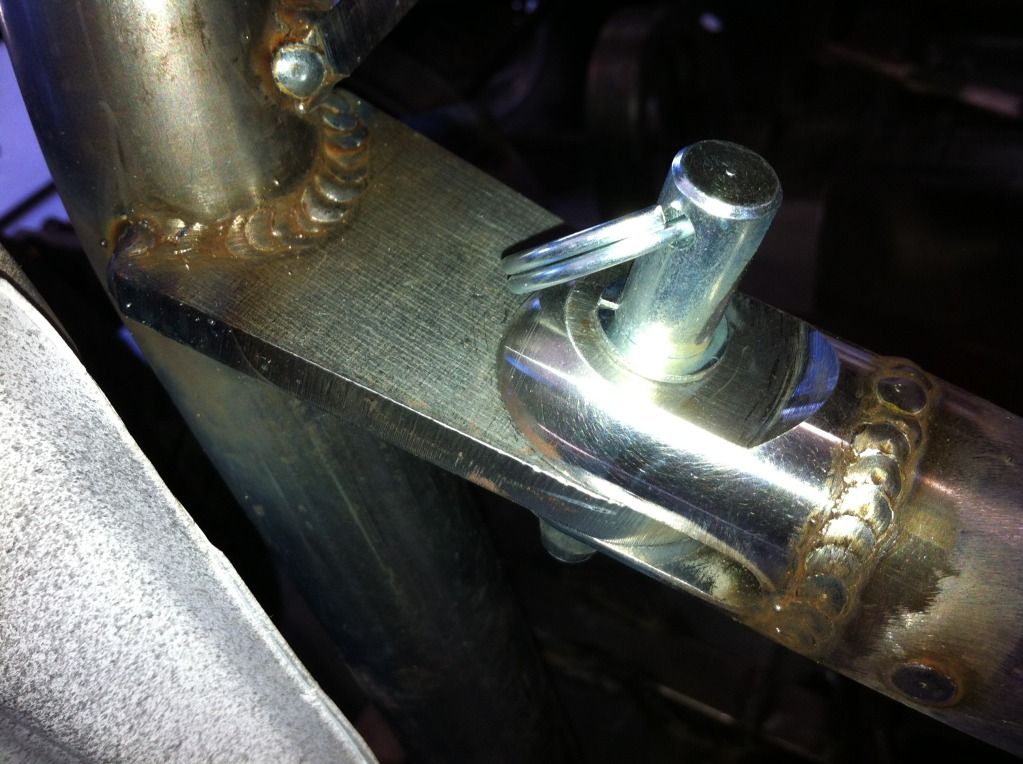
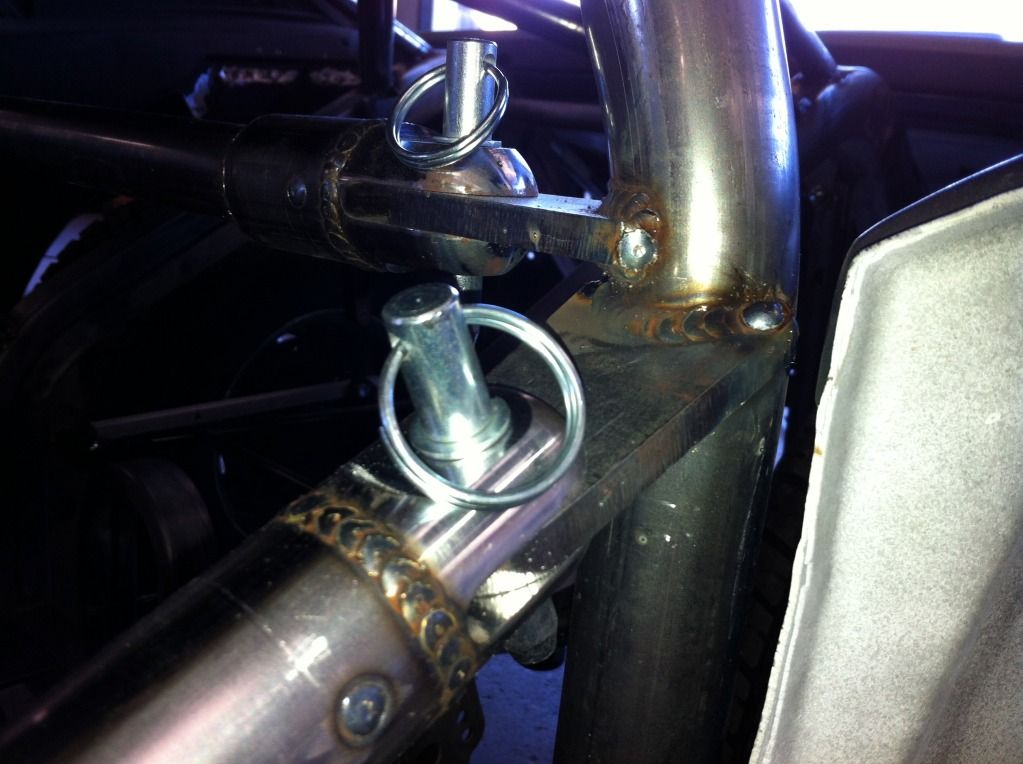
Then I moved onto the door bars. I bought a swing out door bar kit from chassisworks for both sides to make getting in and out of the car much easier.

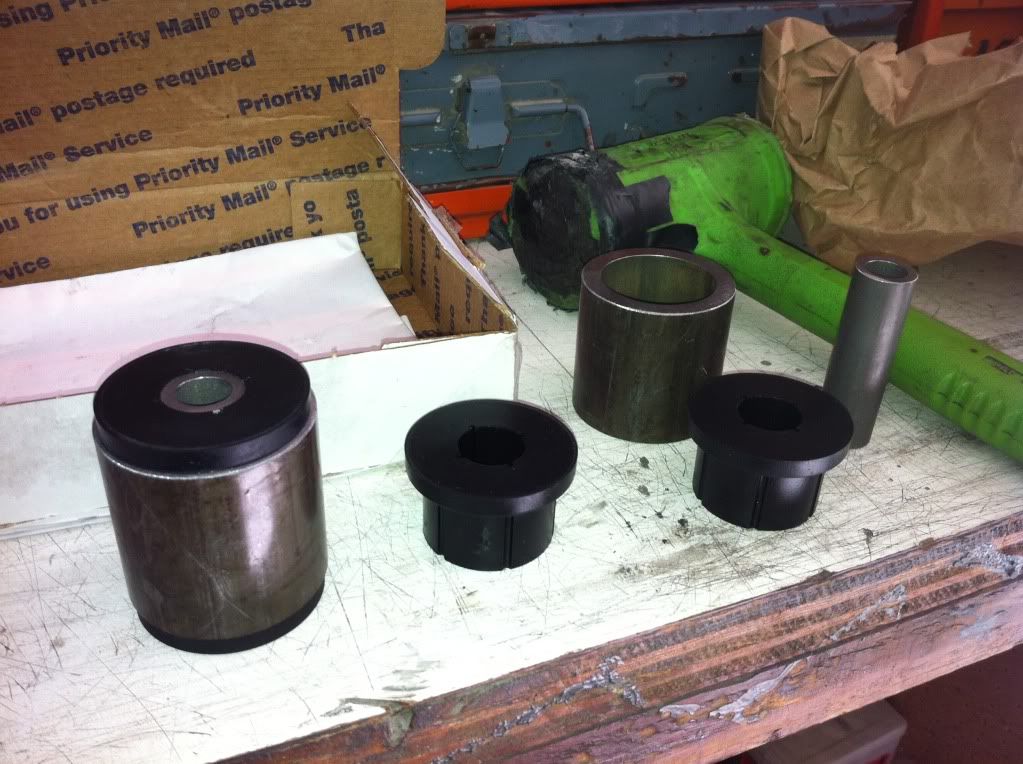
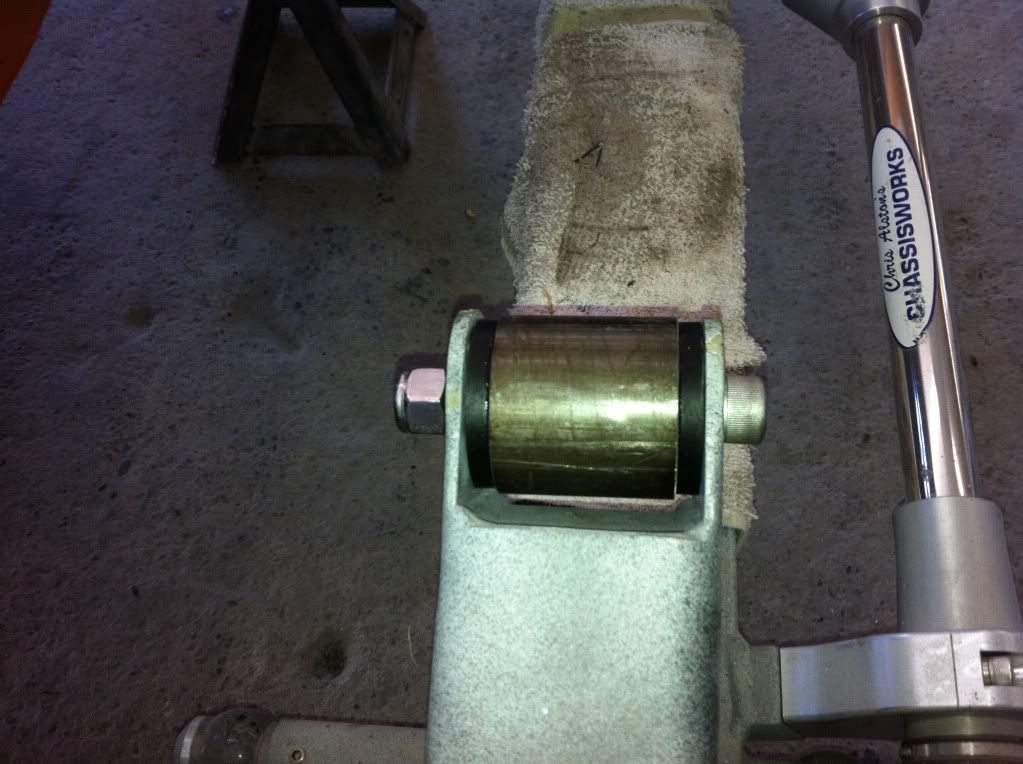
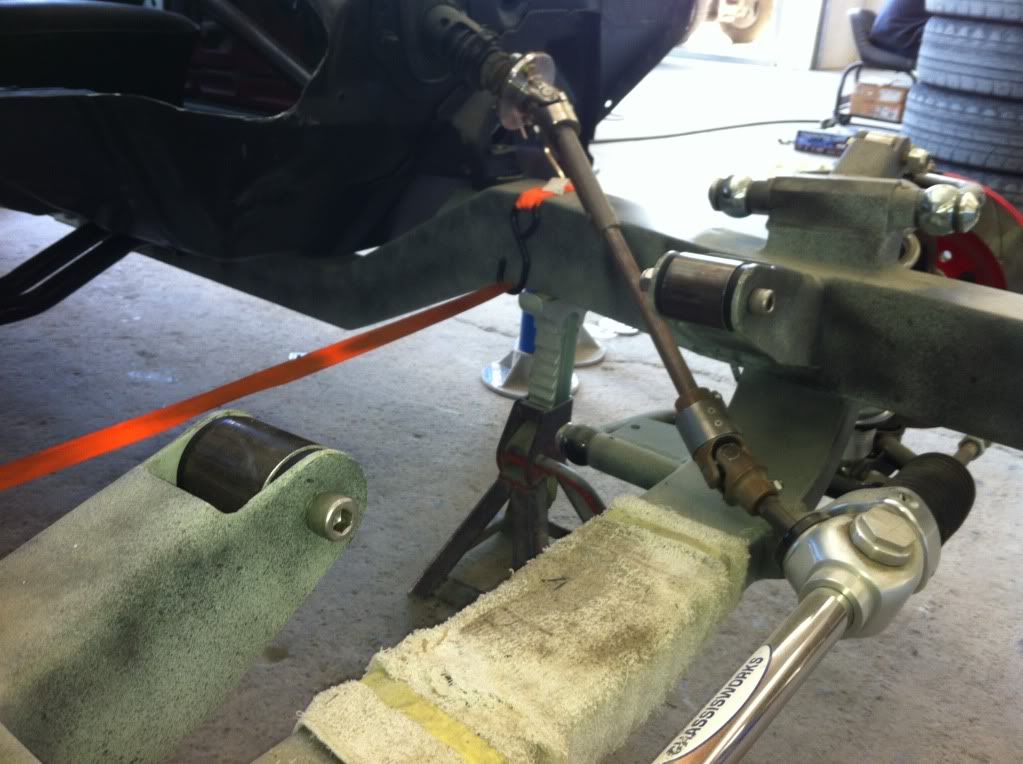
I bought a custom width pivot bushing kit from Ruff Stuff to take the place of my billet aluminum small block mounts.
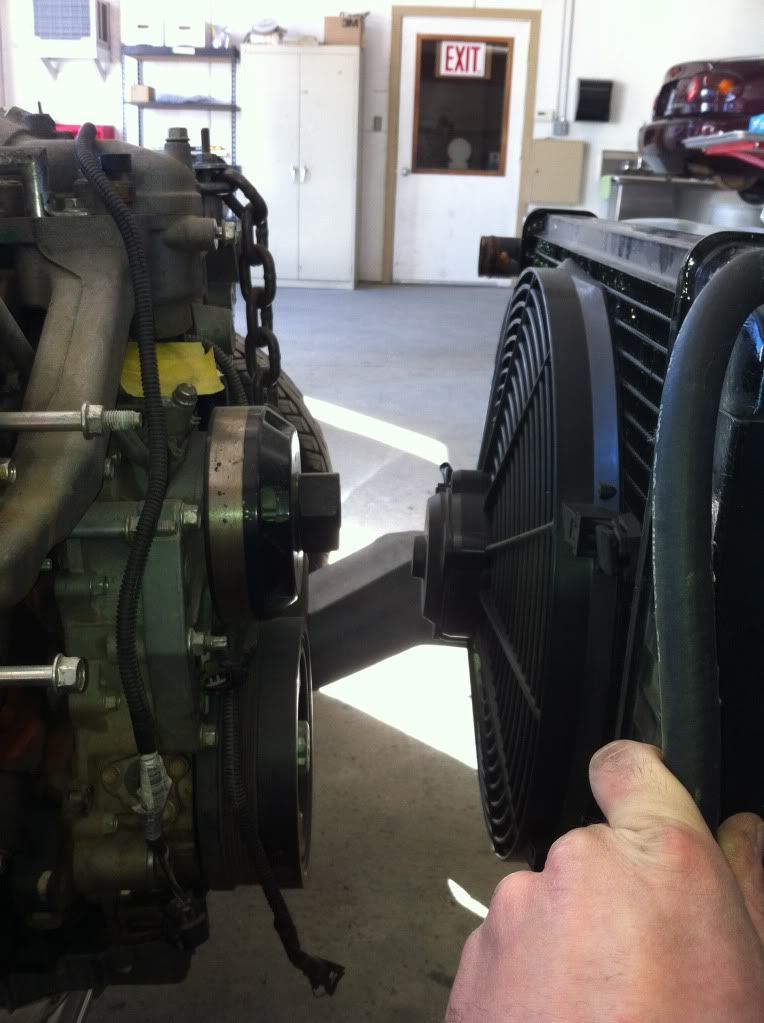
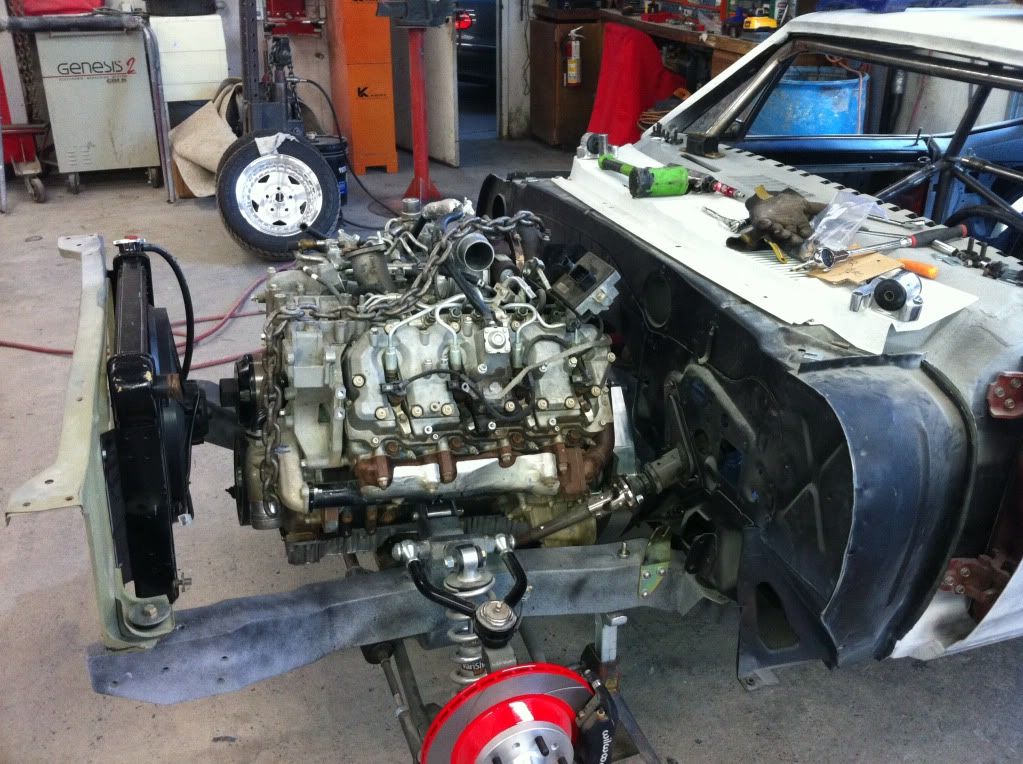
I brought my old radiator and electric fan setup to help me determine how far forward/backward I could set the motor.
I had some stainless steel plates that I got for free so I decided to make my motor mount plates out of them. My previous attempt with these plates ruined 6 of my drill bits in 4 holes. Needless to say stainless steel is hard as ****ing hell. Today I ran my drill much slower and it worked much better.


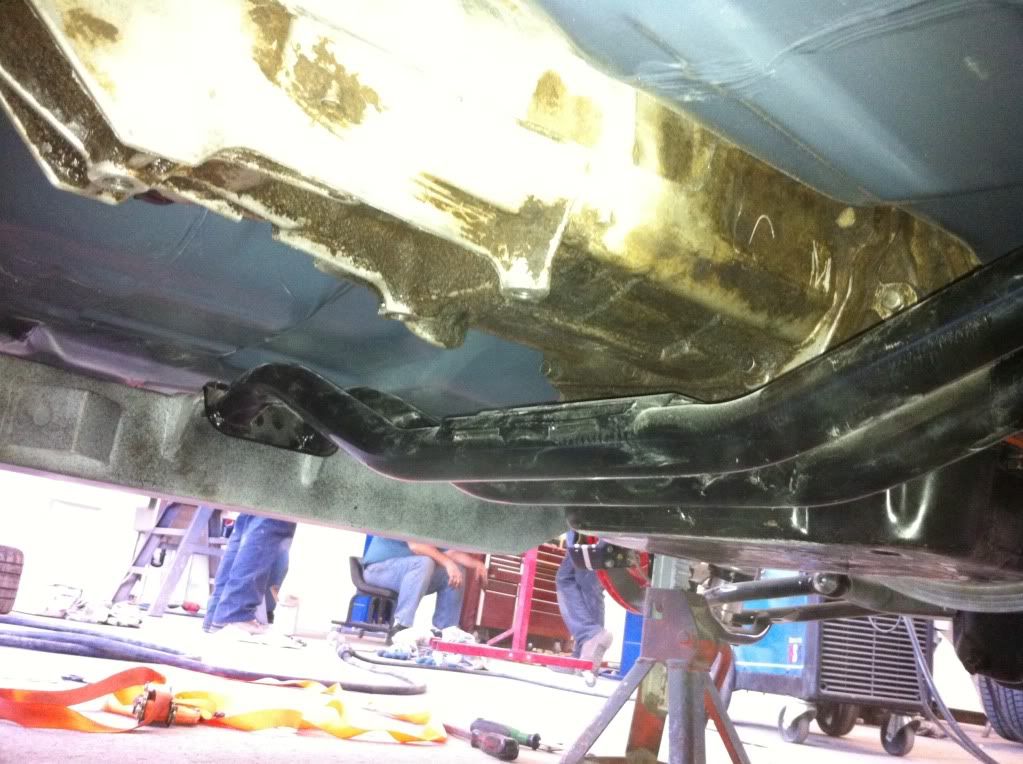

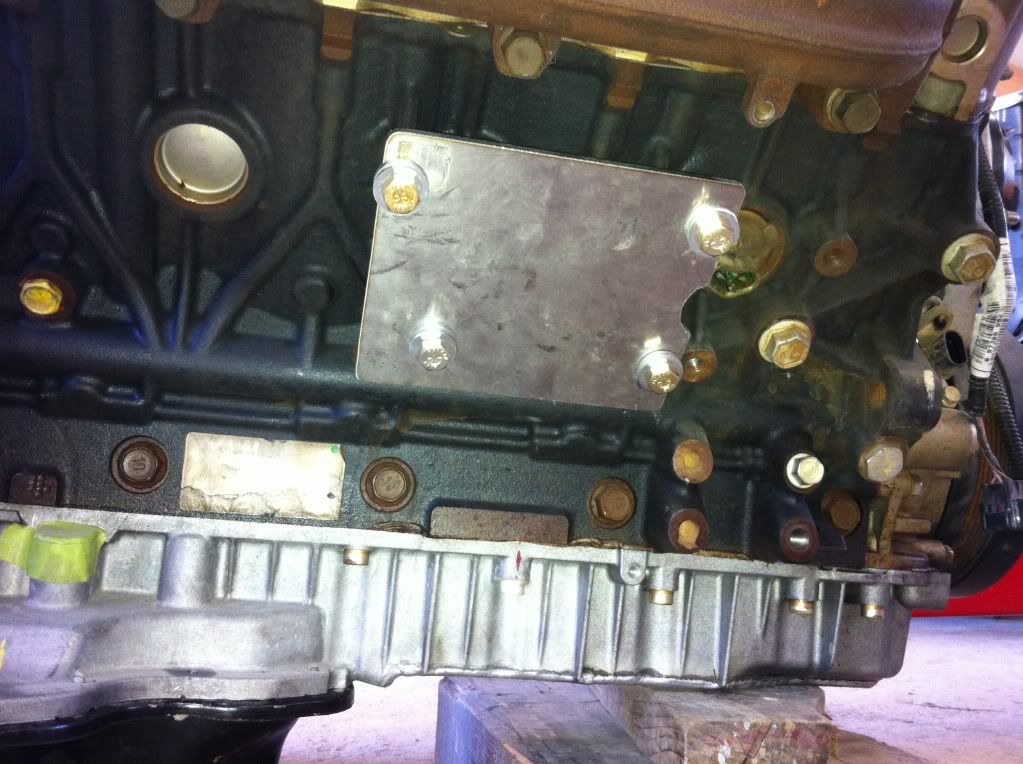
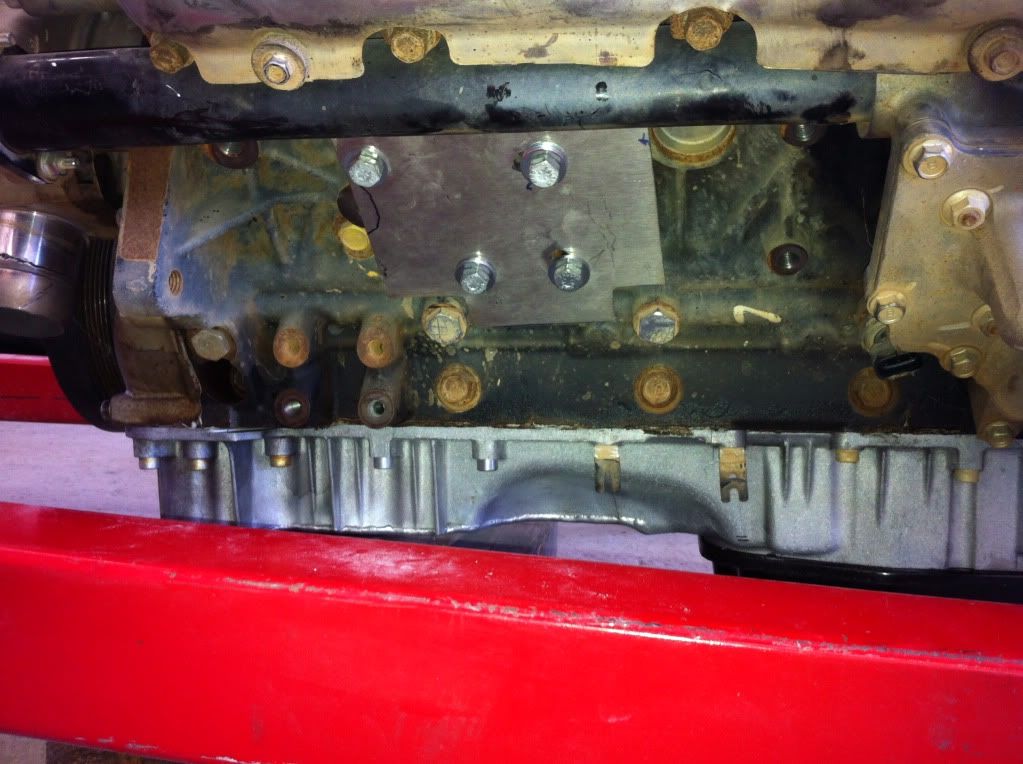
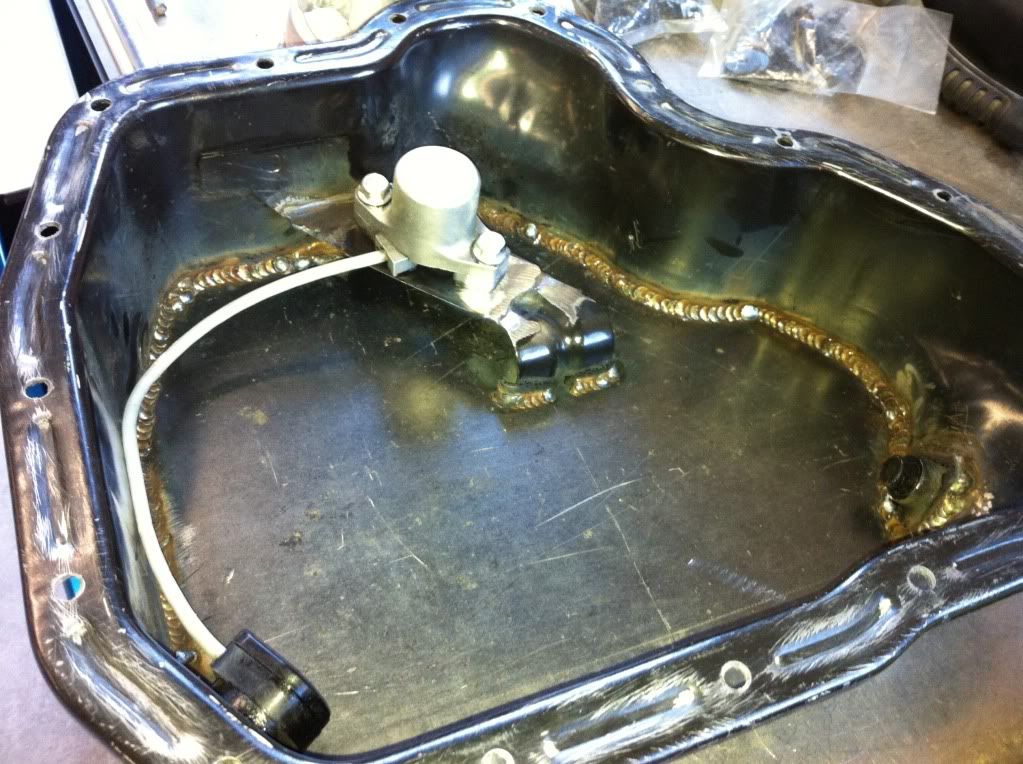
I modified the lower oil pan for better ground clearance, which also required modifying the pickup tube. It was necessary in order to actually drive the car around and not worry about puncturing it.
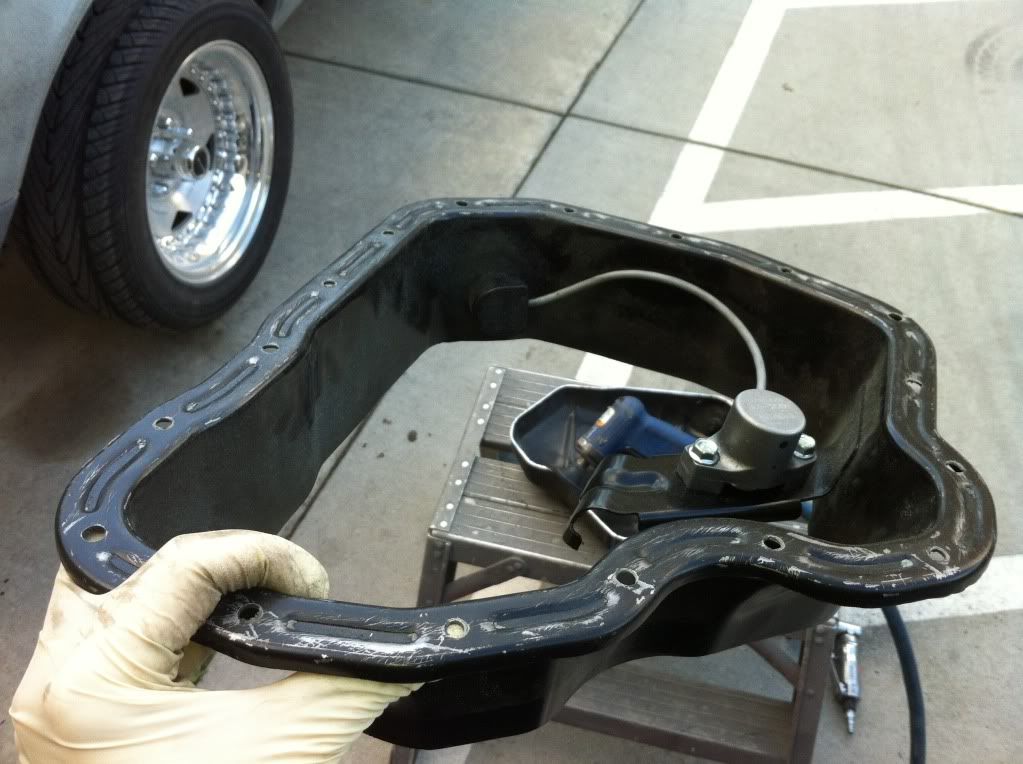

I used a large piece of 1/4" plate and traced the sectioned lower oil pan onto it, then cut it with a plasma cutter. I also removed and reinstalled the original drain plug in the lowest and rear most point of the pan.
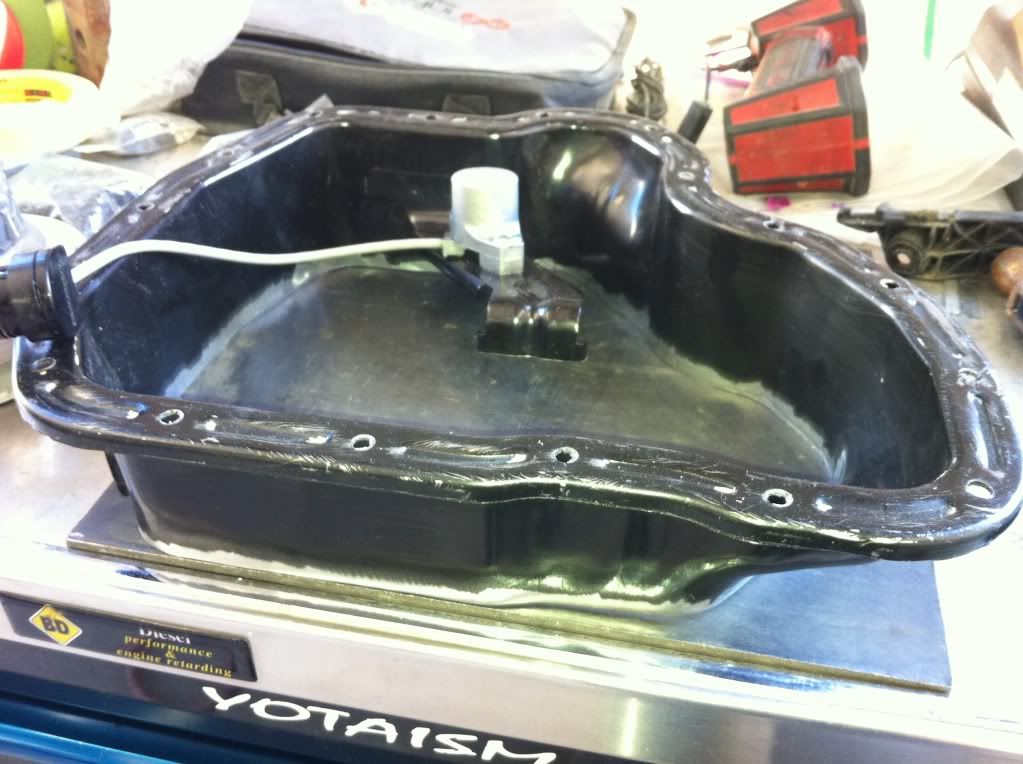
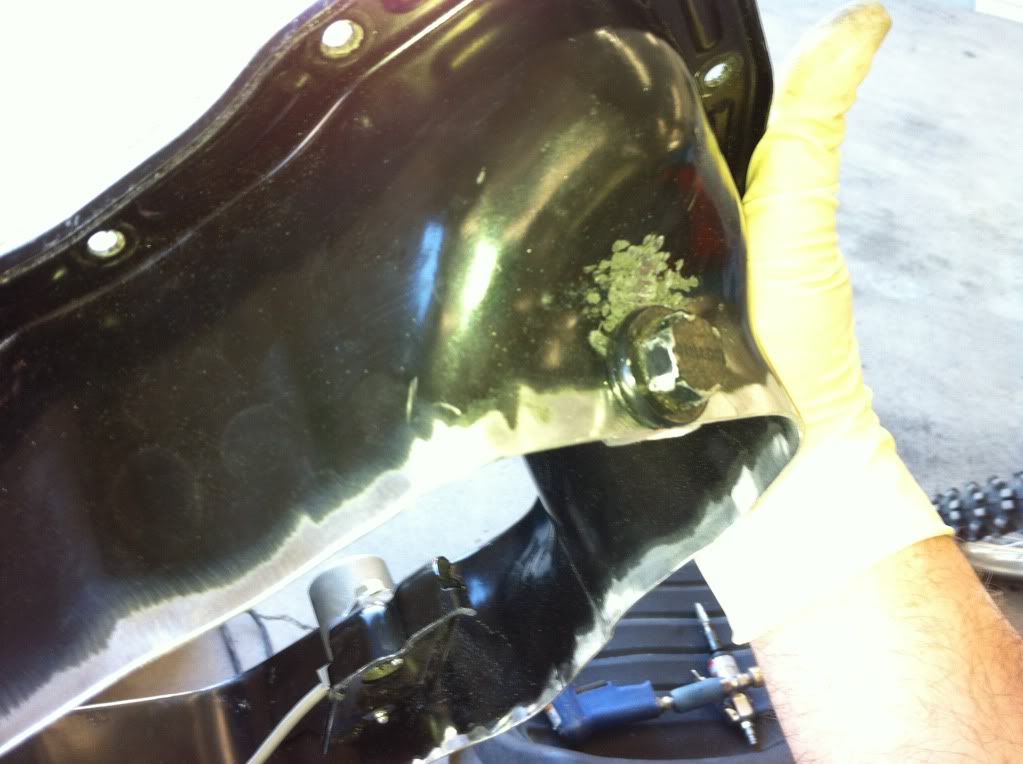
I used a large piece of 1/4" plate and traced the sectioned lower oil pan onto it, then cut it with a plasma cutter. I also removed and reinstalled the original drain plug in the lowest and rear most point of the pan.

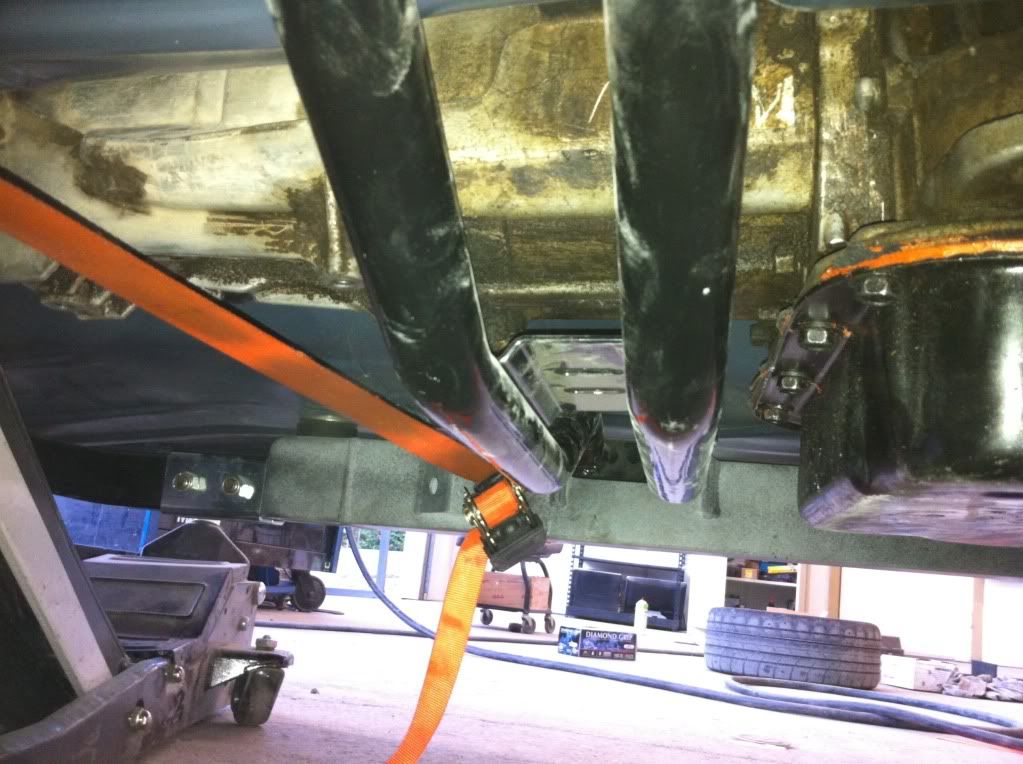
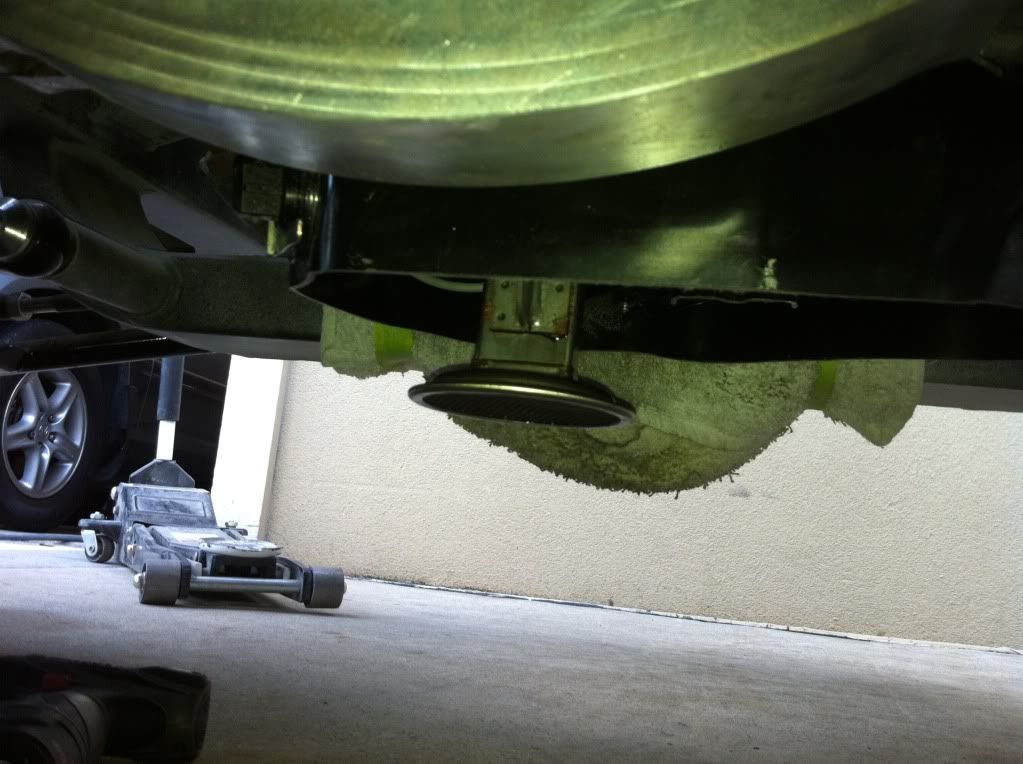
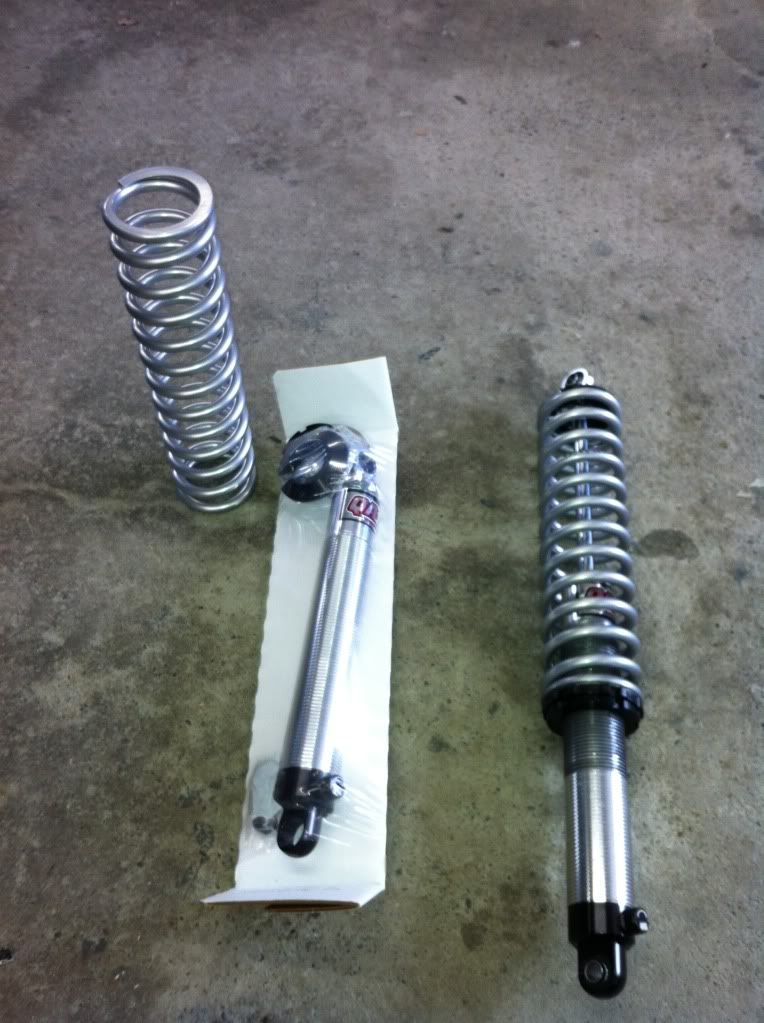
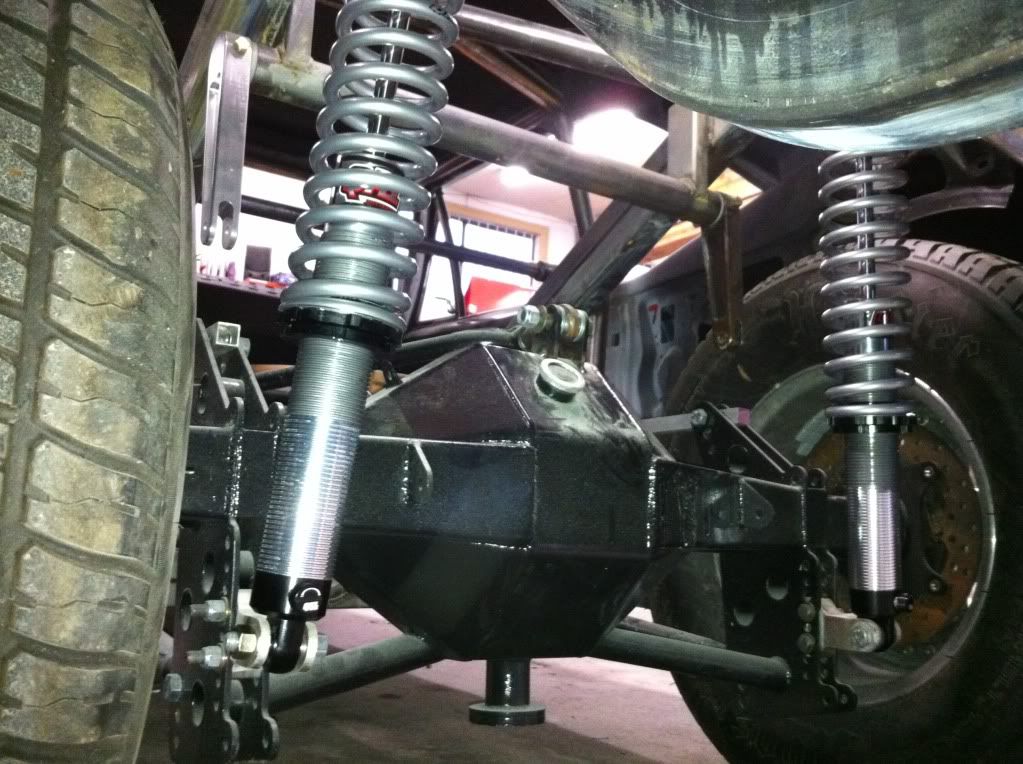
I finally ordered some coilovers for the rear from summit. They are QA1 Proma Stars. Pretty inexpensive and I think will get the job done.
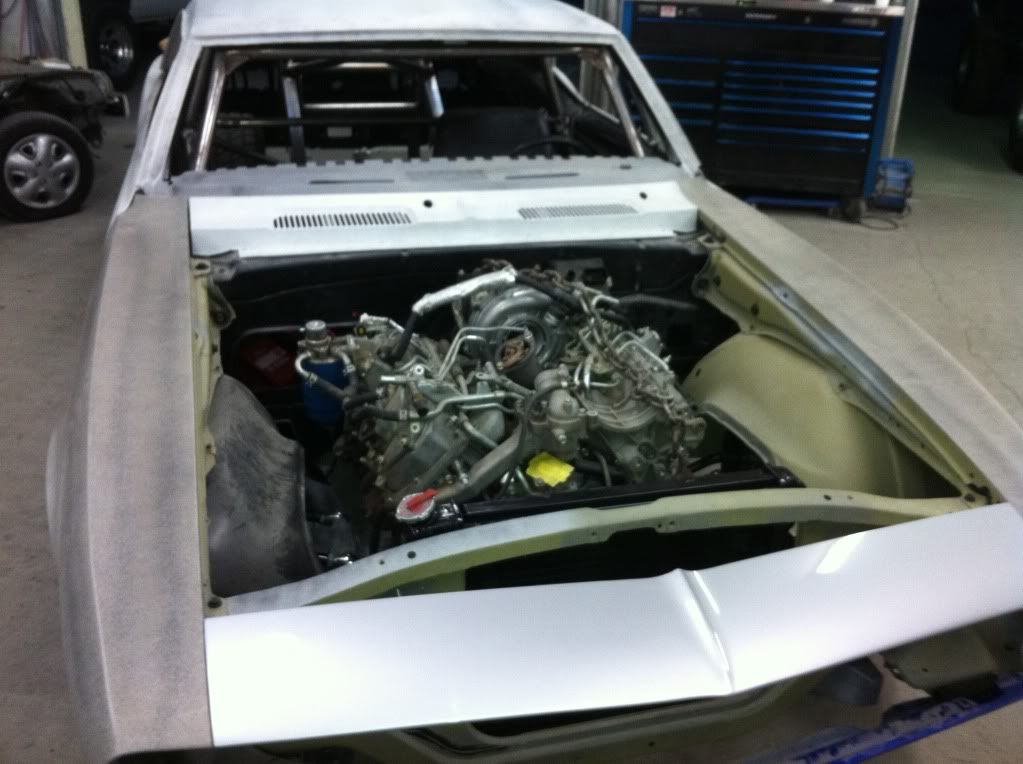
I dug the alternator assembly out of my storage to test fit it. In the stock location there was no way a hood was going to fit.
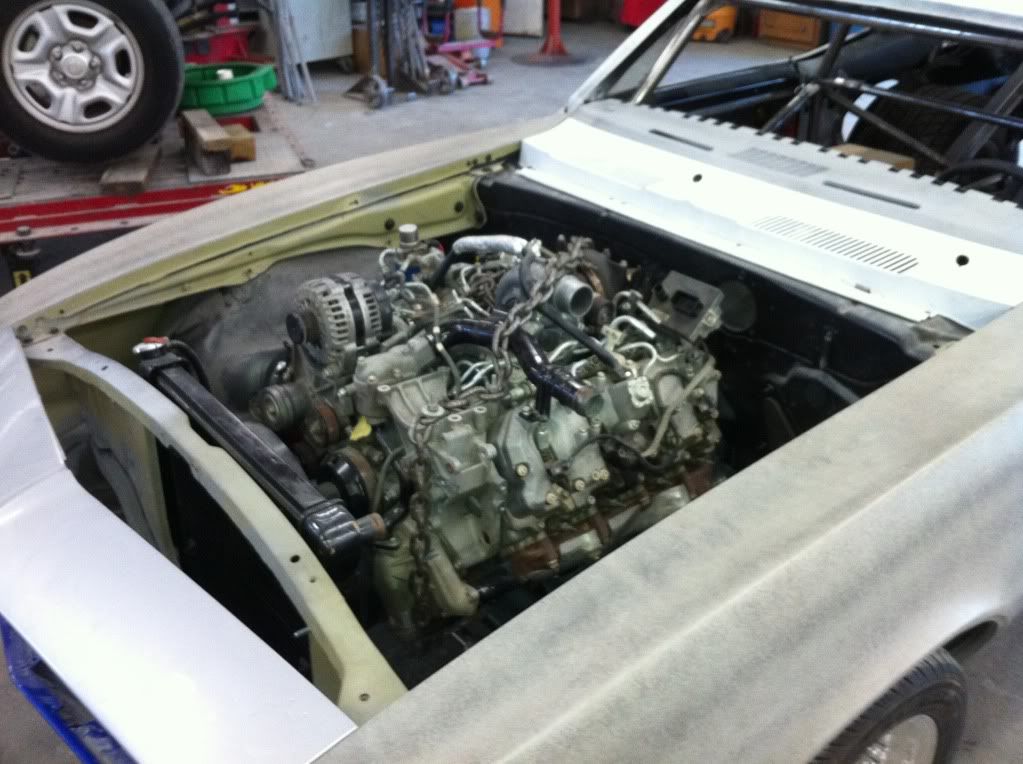
So after some thinking and measuring, I realized that the opposite side of the motor was a great mounting location.
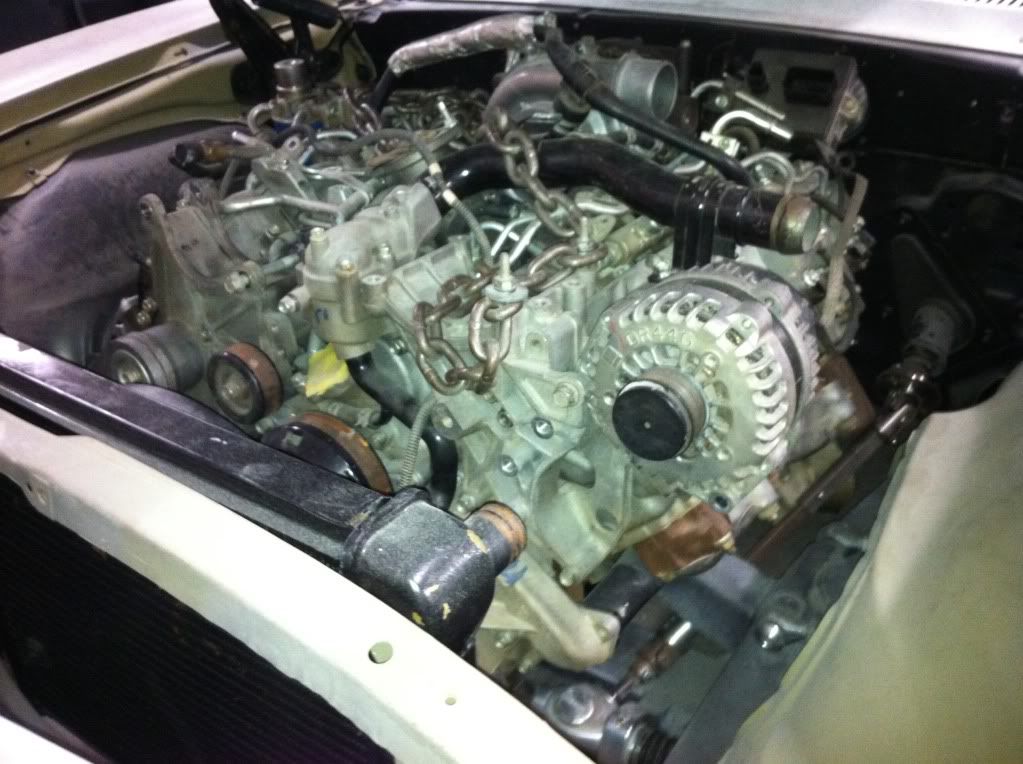
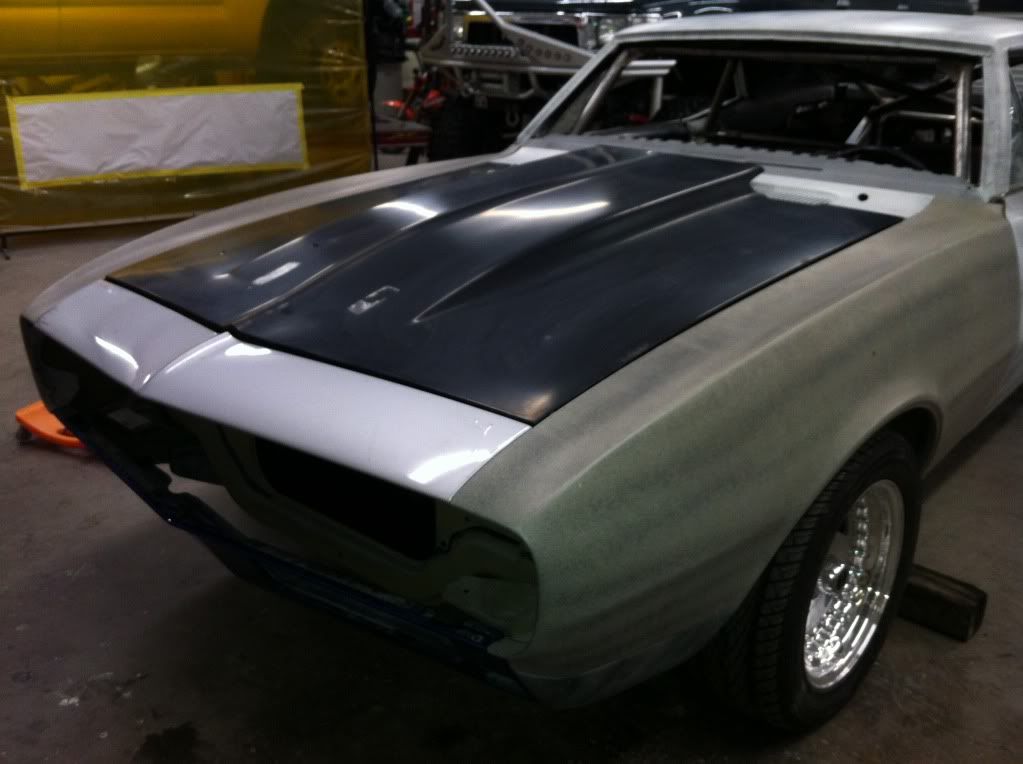
And my 2" cowl induction hood officially fits. There is 1 edge of the hood inner structure that the alternator touches, so grinding a 1/4" off of the edge and it's good to go.
So after some thinking and measuring, I realized that the opposite side of the motor was a great mounting location.
And my 2" cowl induction hood officially fits. There is 1 edge of the hood inner structure that the alternator touches, so grinding a 1/4" off of the edge and it's good to go.
Holy crap that was a lot of postings. This pretty much brings everything up to date. I still have a lot of work to do, but I have set a date of completion (or as complete as possible) for May 18th, 2013 for the Jefferson State Diesel Nationals in Redding, Ca.
Feel free to give me suggestions on it so far. I'm still new to the Duramax and need as much info on it as I can get, so any simple, easy, or necessary mods anybody can think of is greatly appreciated.
Feel free to give me suggestions on it so far. I'm still new to the Duramax and need as much info on it as I can get, so any simple, easy, or necessary mods anybody can think of is greatly appreciated.