1967 RS Duramax Camaro

dslhtrdr

Always learning
Nov 22, 2012
262
0
0
Sebastopol, Ca
I decided it was time to share my camaro with you guys. I've had a thread about it over on competitiondiesel.com for a couple months now. The thread can be seen here:

http://www.competitiondiesel.com/forums/showthread.php?t=141513


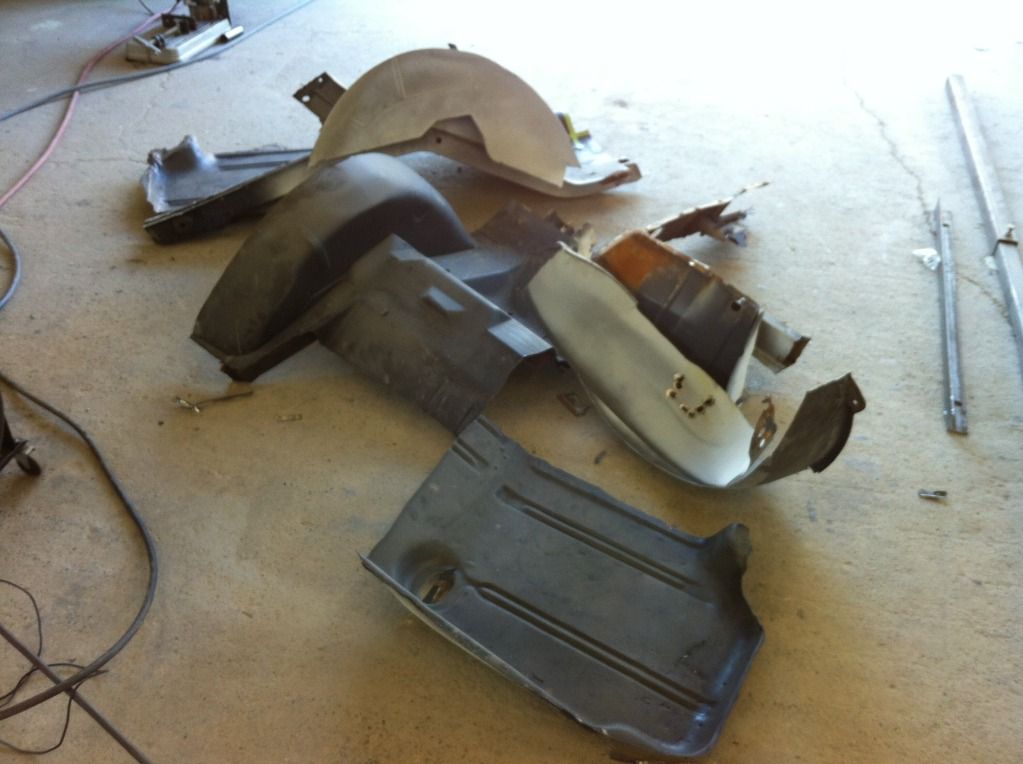
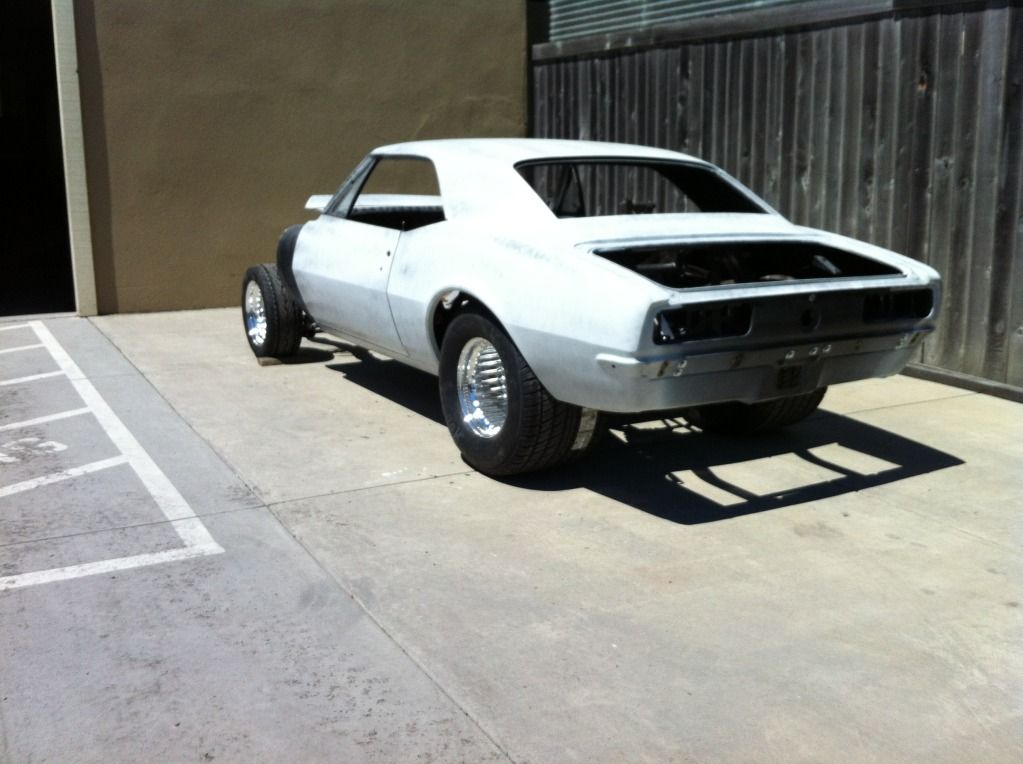
I bought my Camaro from my mom when I was 18 and built it as a high school "senior project" which was required for graduation. After I graduated, I drove it around town and to work all summer, until it started raining in October of '06. Since it had quite a bit of rot (or at least what I considered quite a bit) I decided it was time to tear it all apart and restore the body.

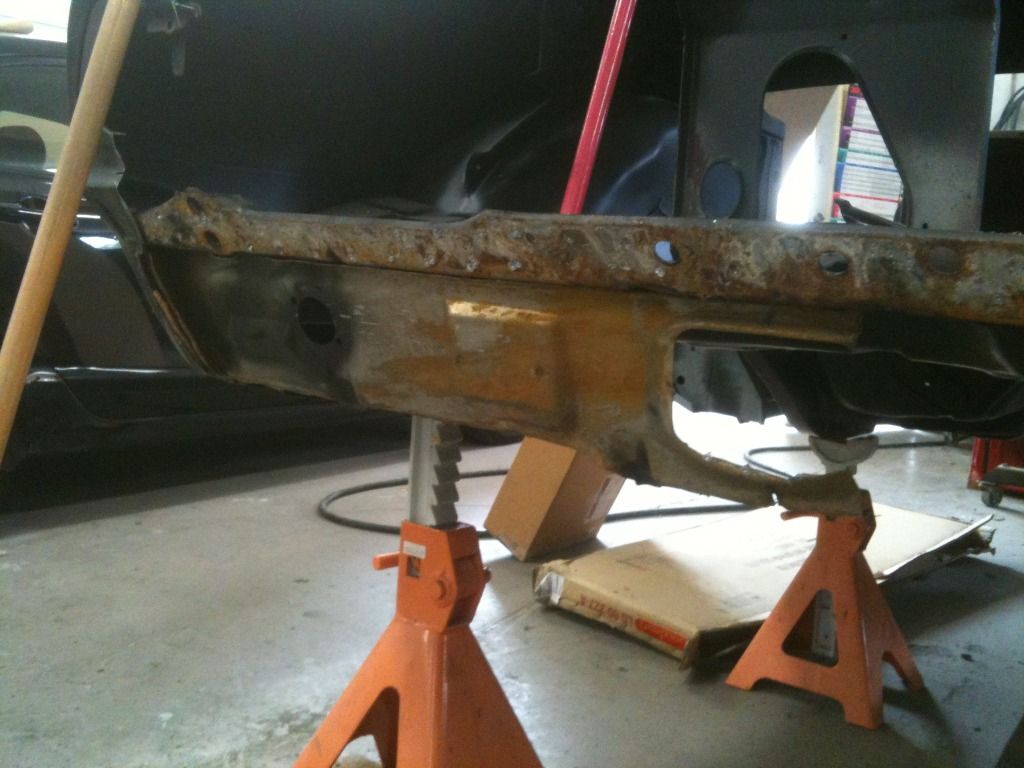
I had the body dipped to remove all the rust, bondo, etc. and got to see what I was up against. It became clear that it was wrecked a couple times in the early to mid 70's before my mom owned it and was "repaired" very poorly. It needed a lot of work.

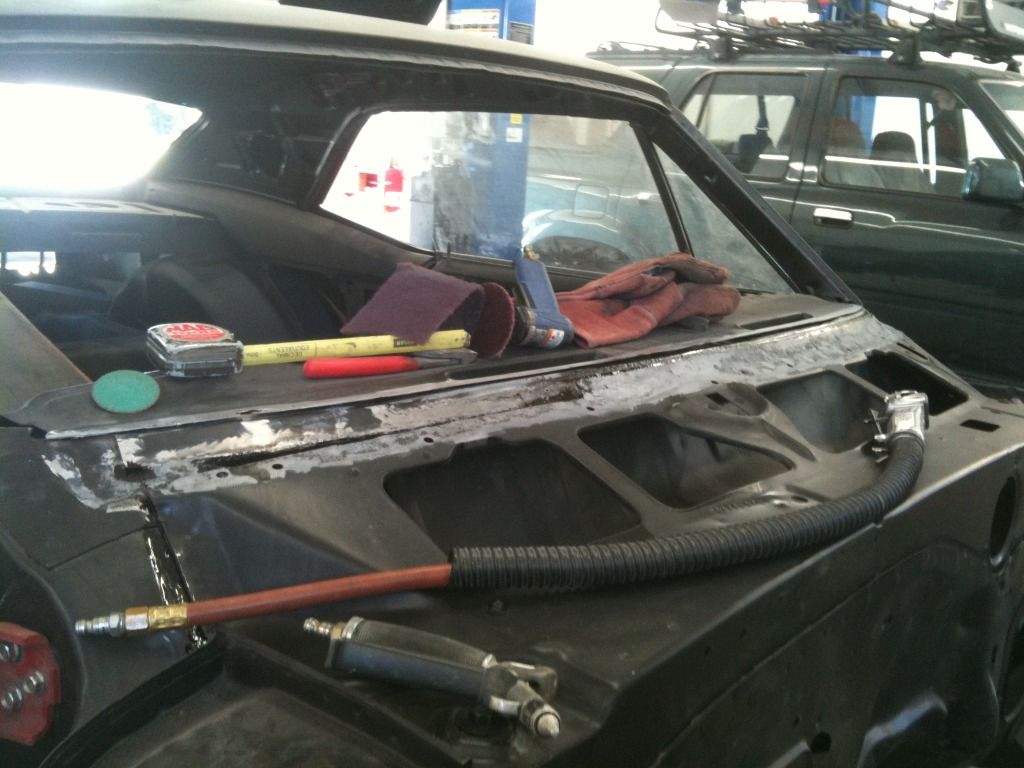
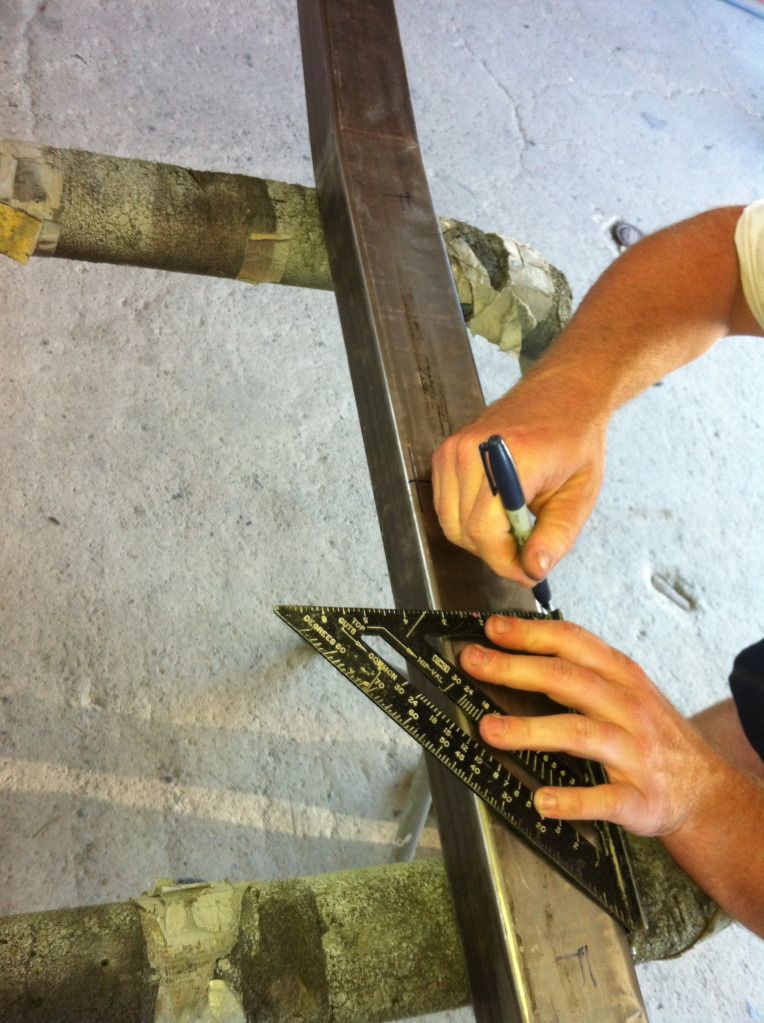
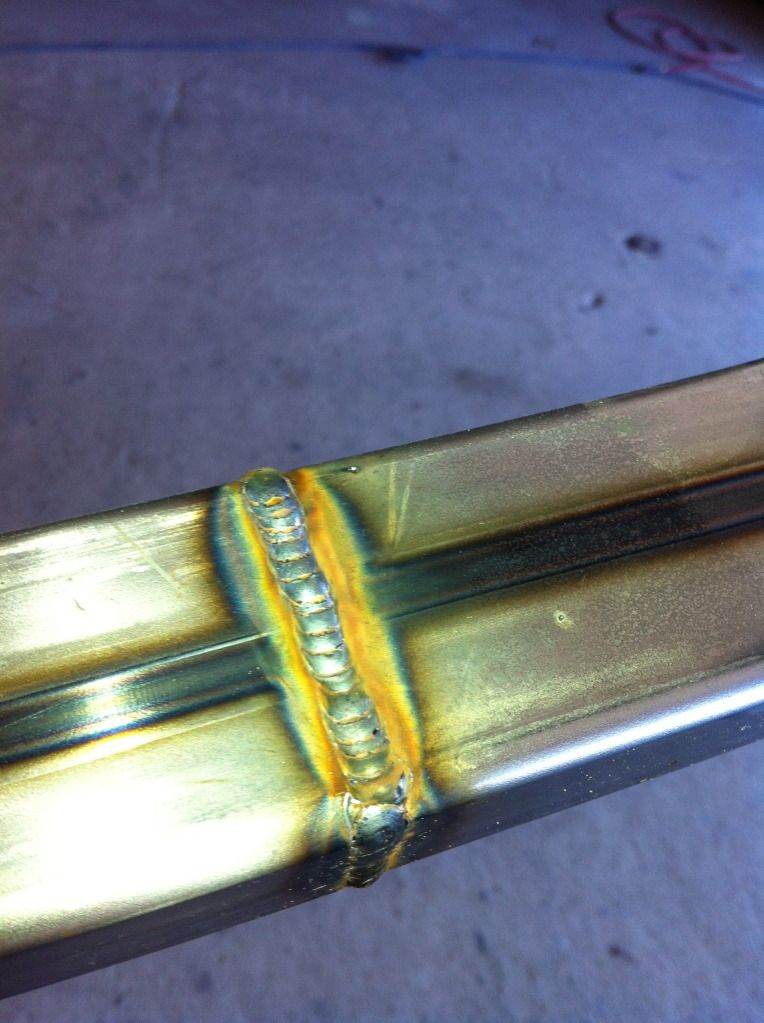
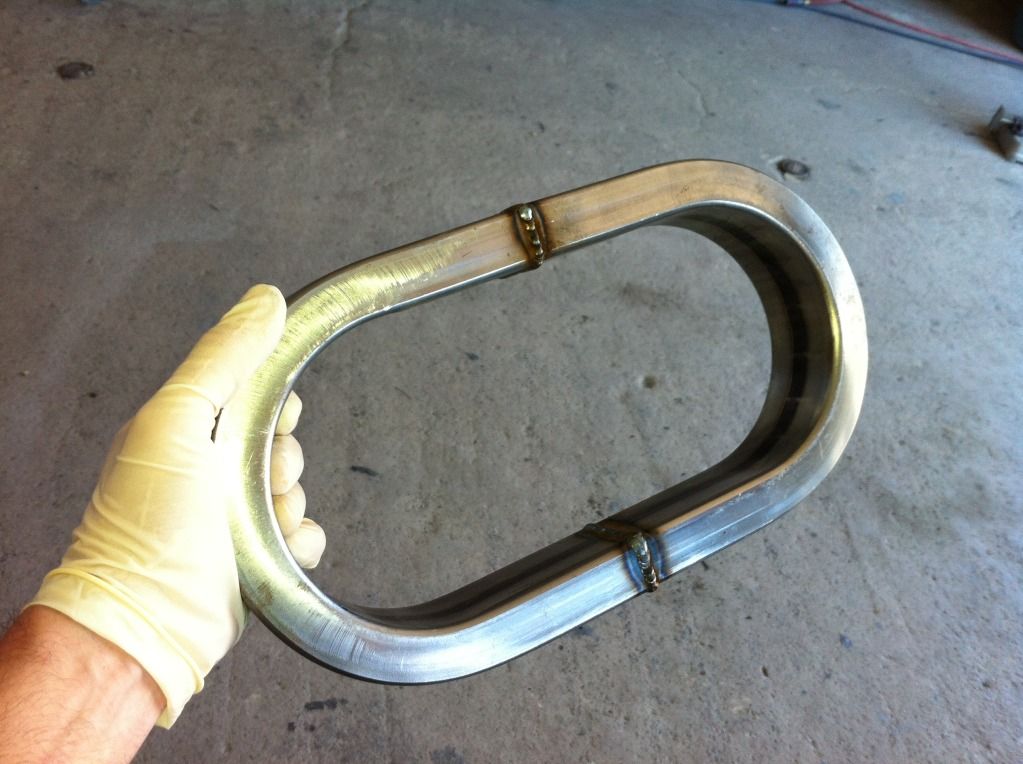
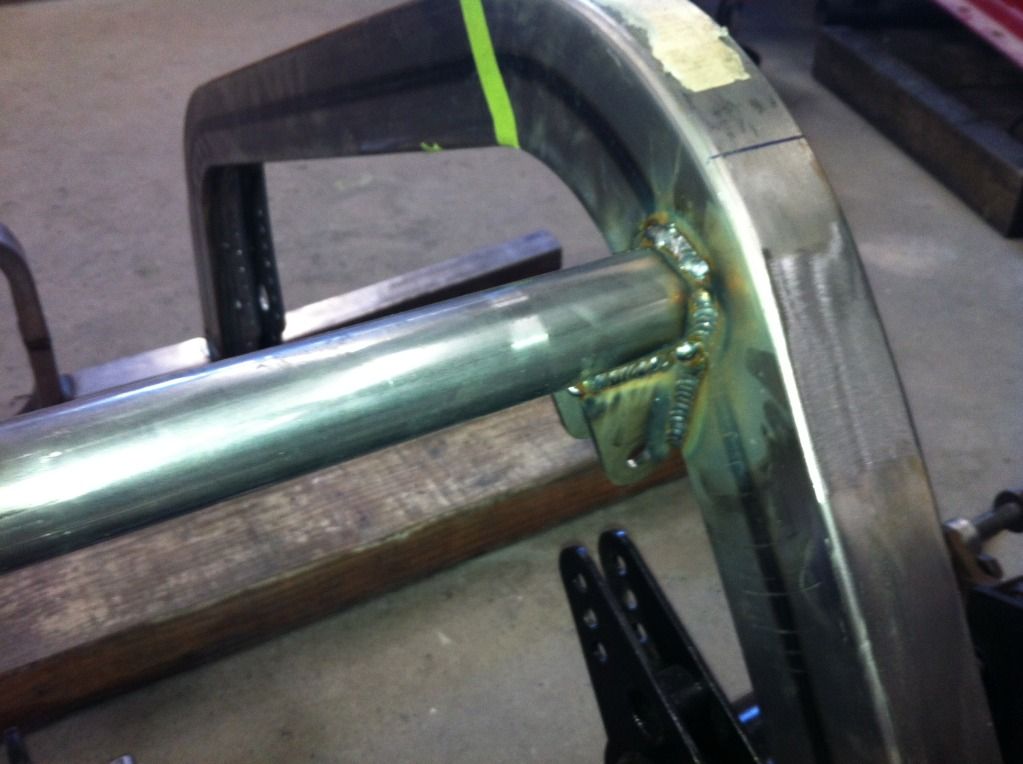
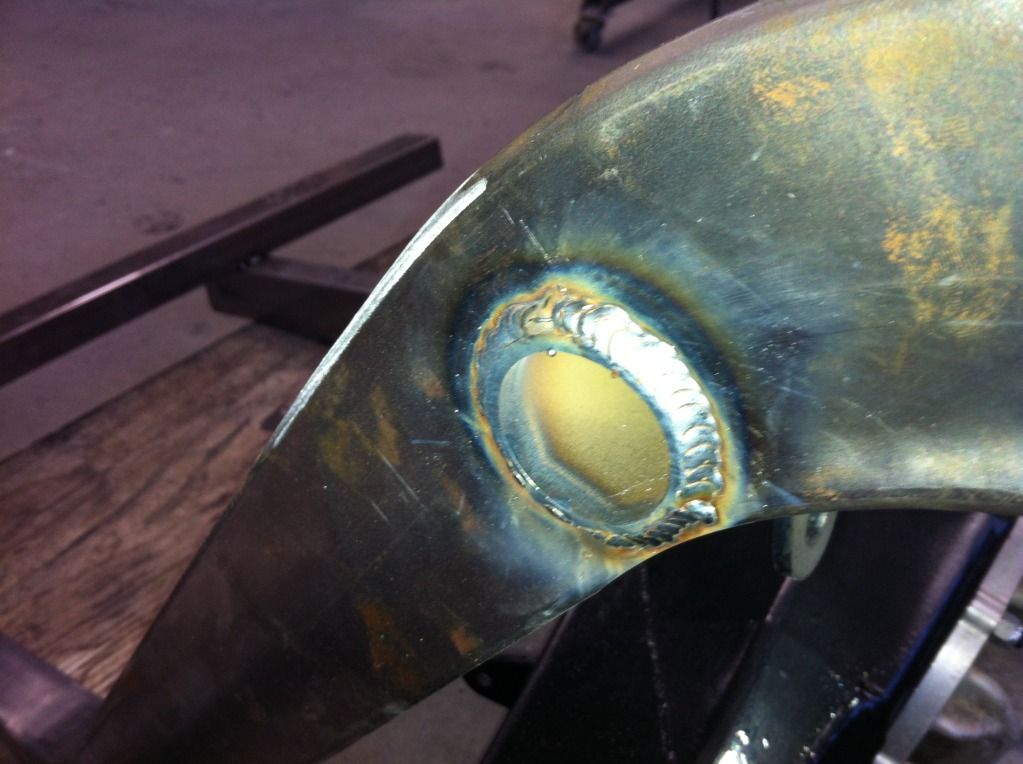
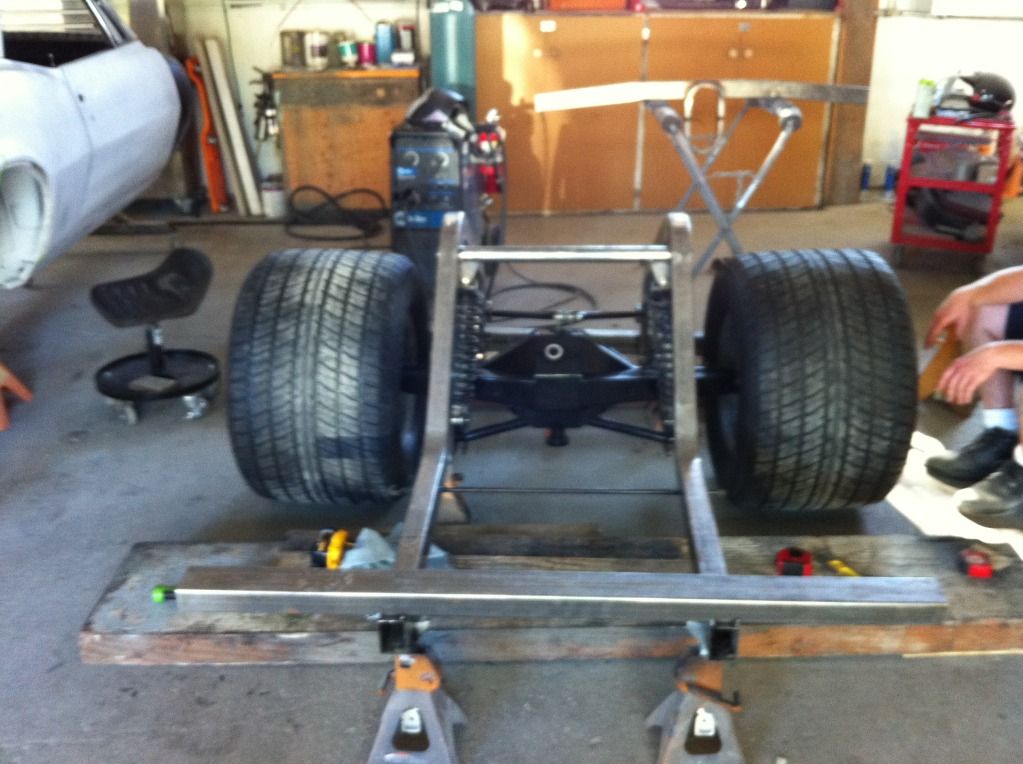
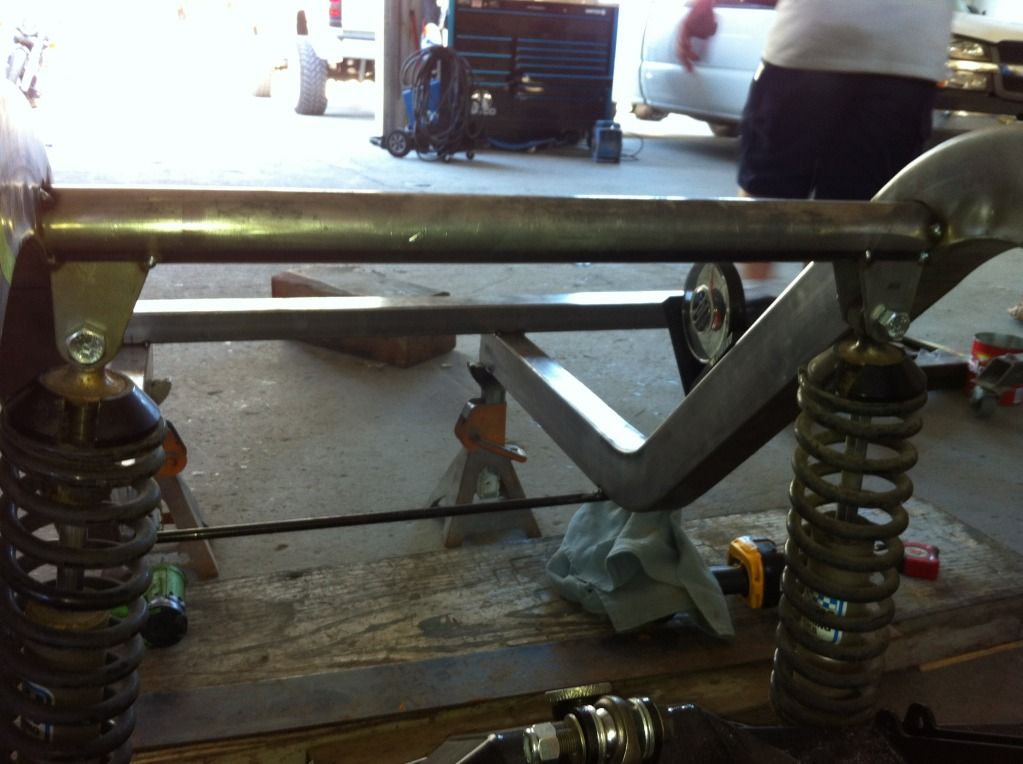
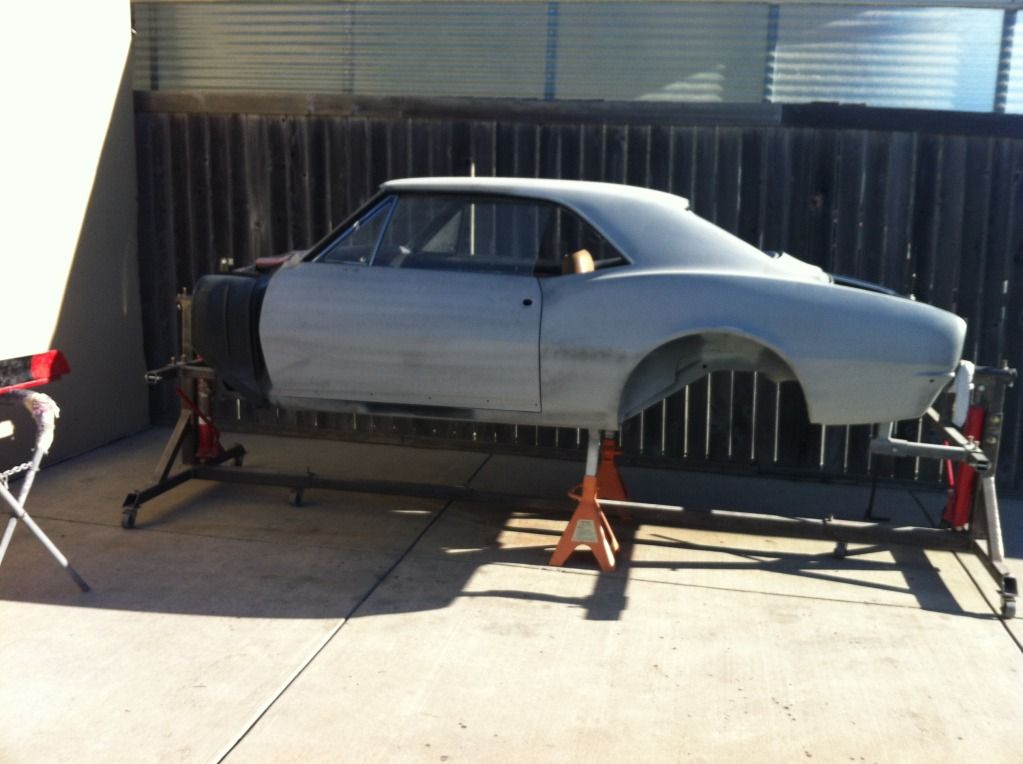
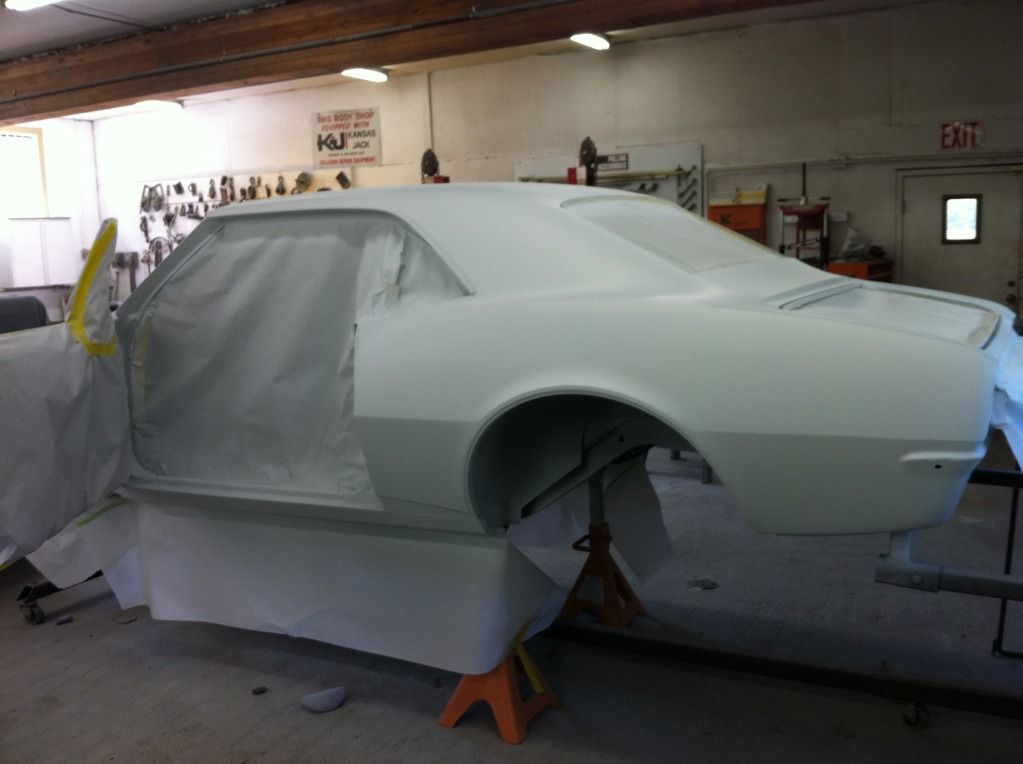
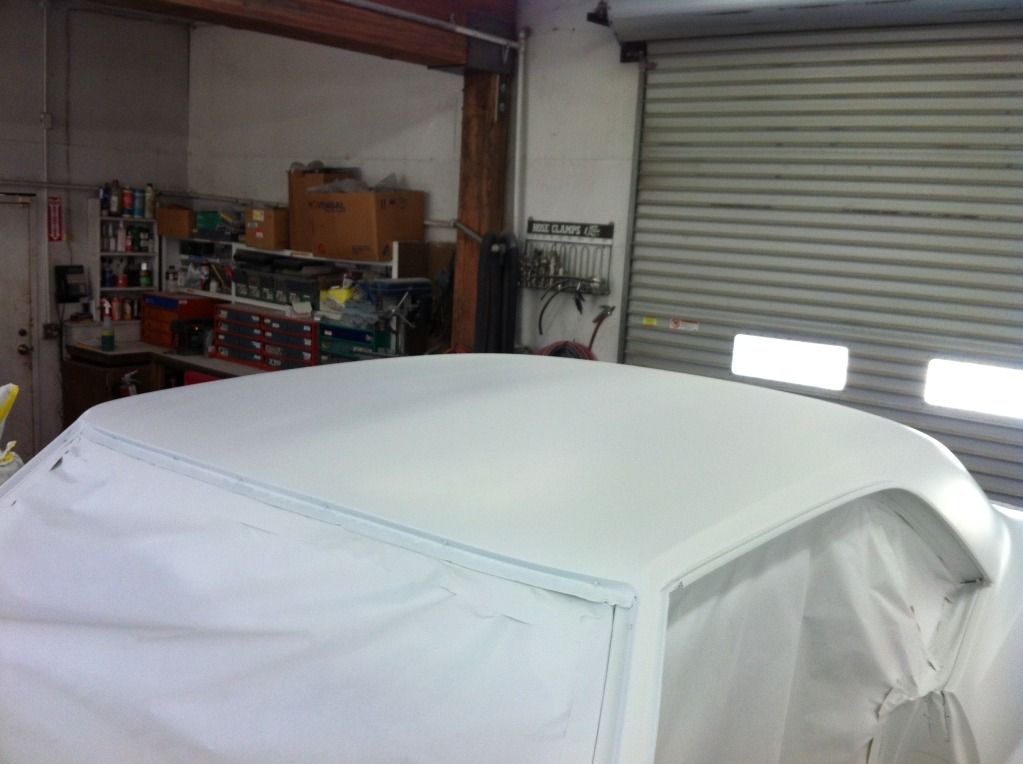
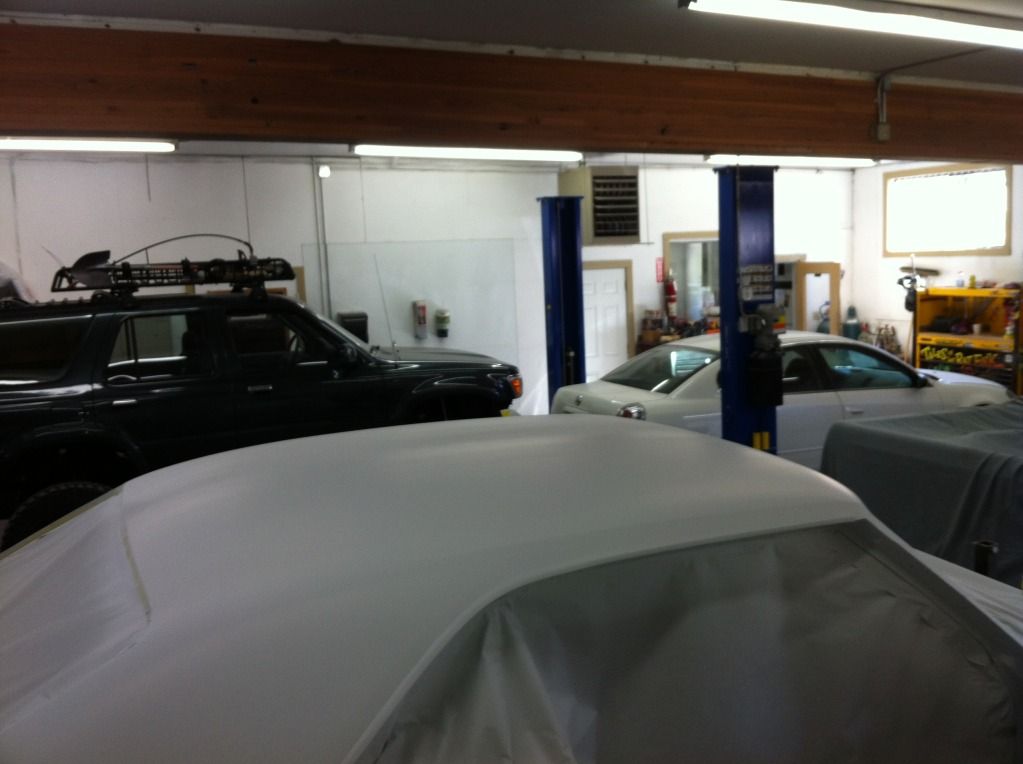
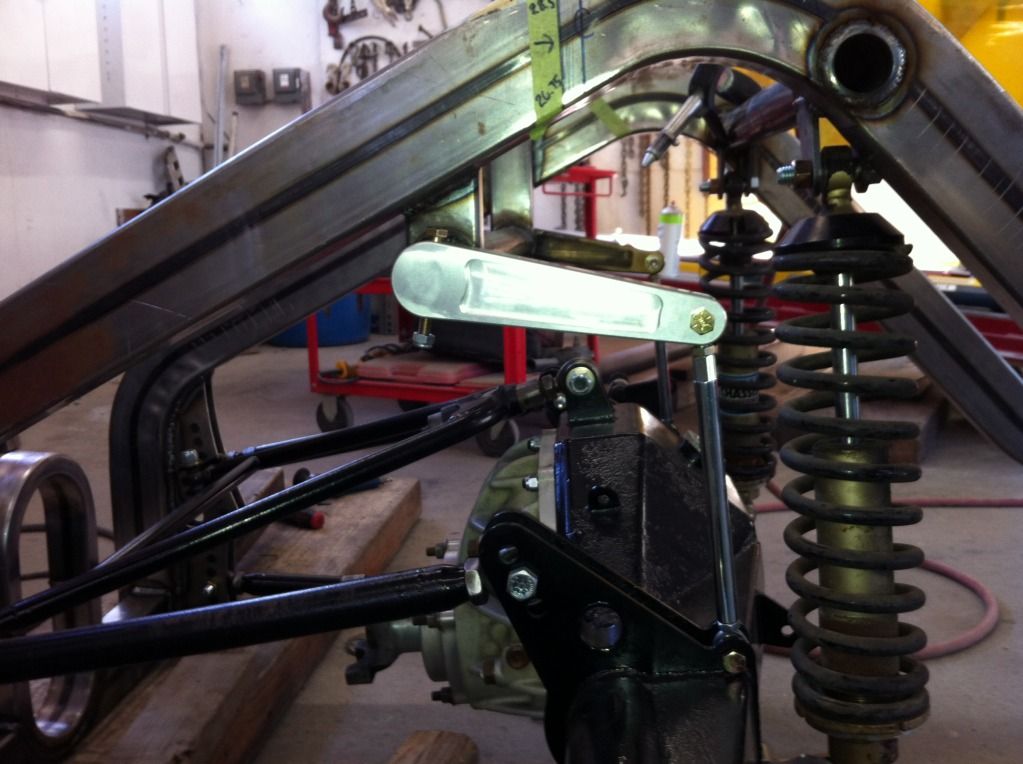
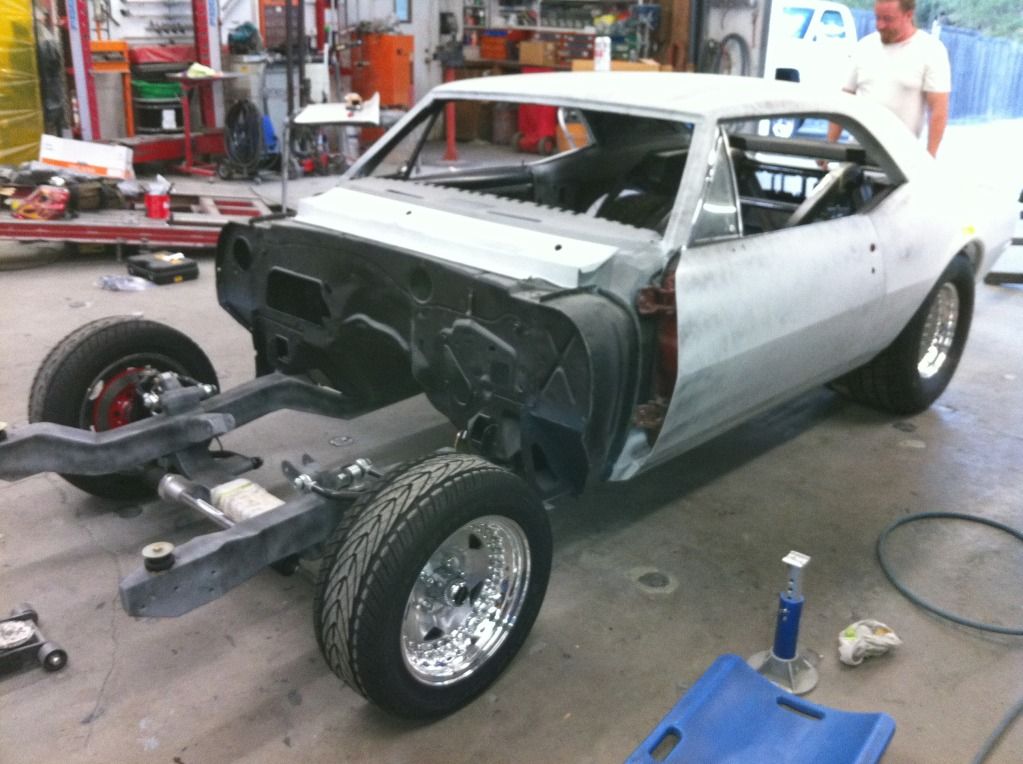
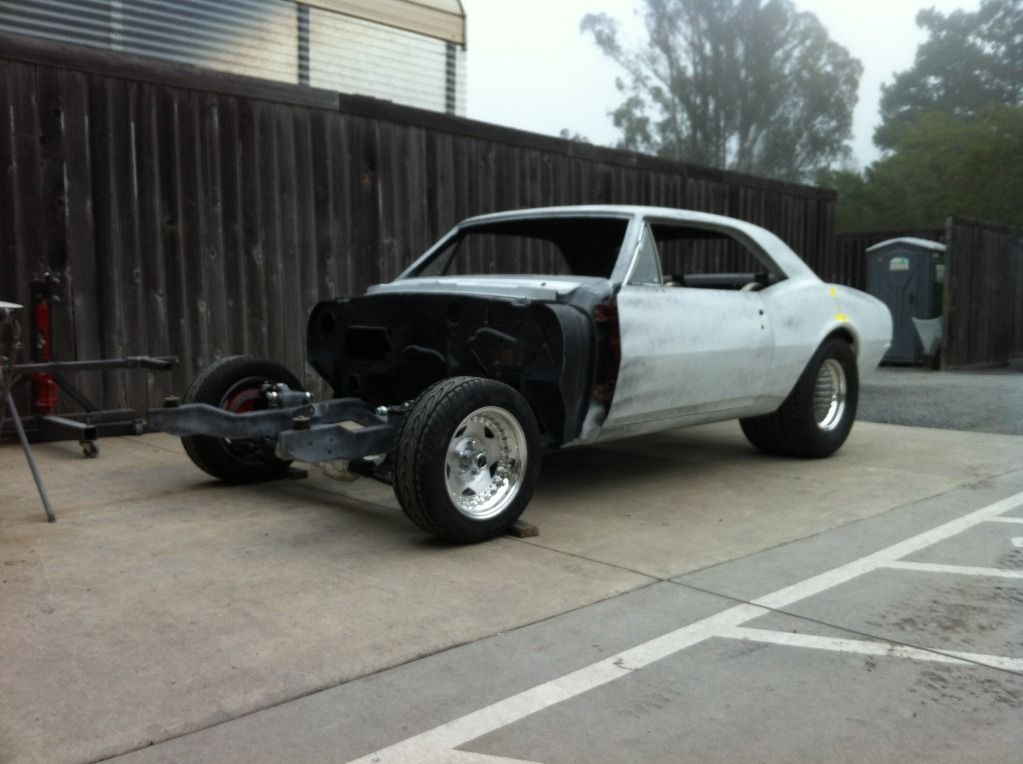
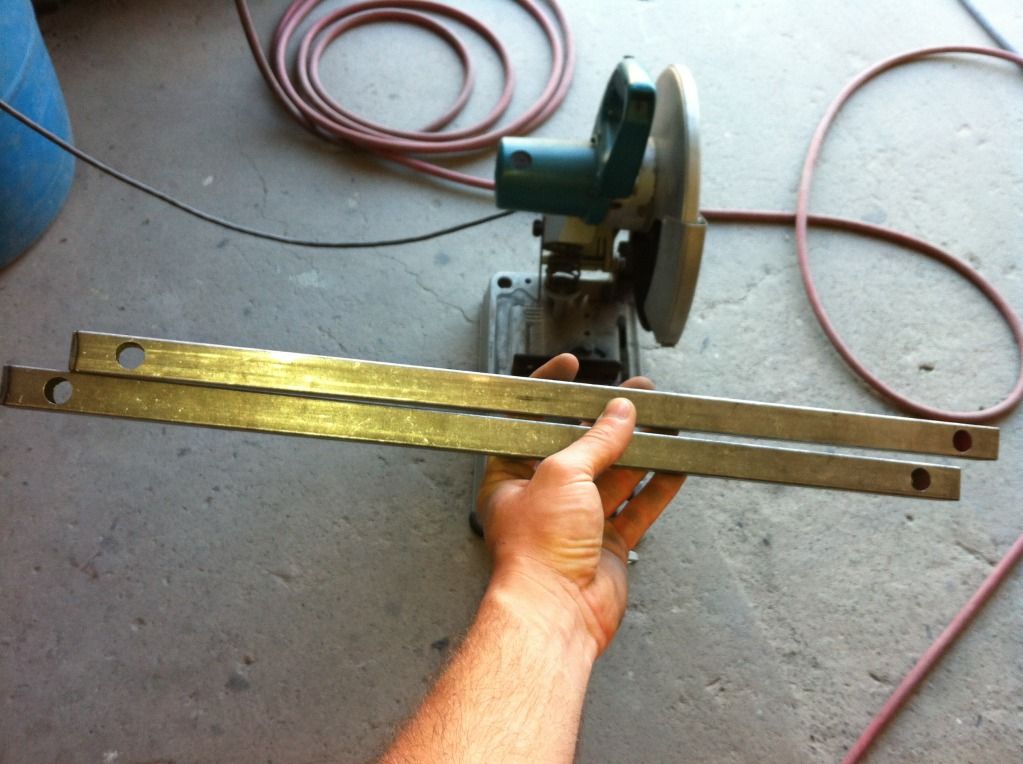
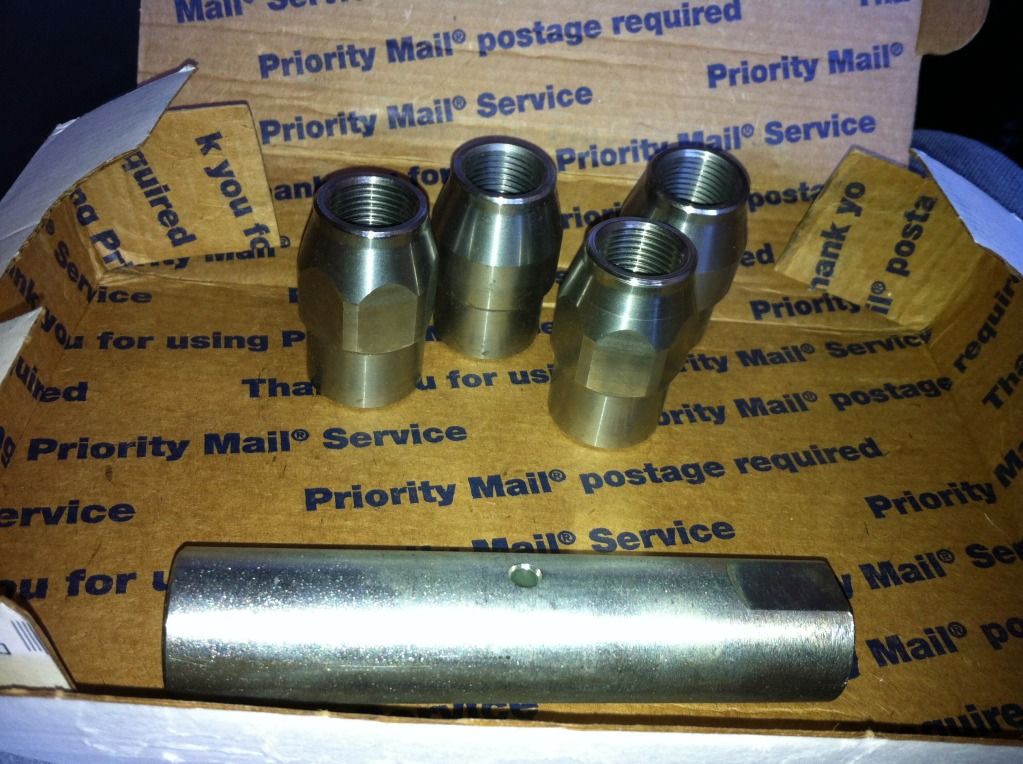
As time went on, money became scarce, family became divided, and my car sat for 6 years. So in January of '12, I decided it's now or never. I made a deal with my boss to keep my Camaro at the body shop I work at so I could work on it and fix it the way it should be fixed. I've tried my best to take as many pictures as I could along the way. All of the body work was done by me.

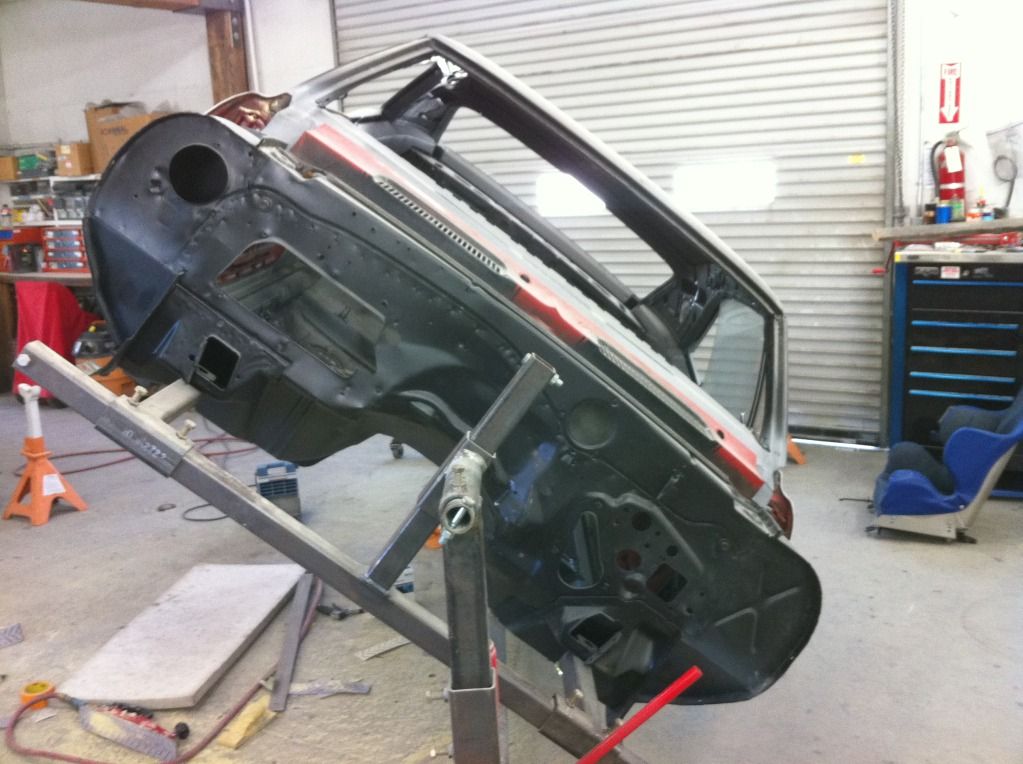
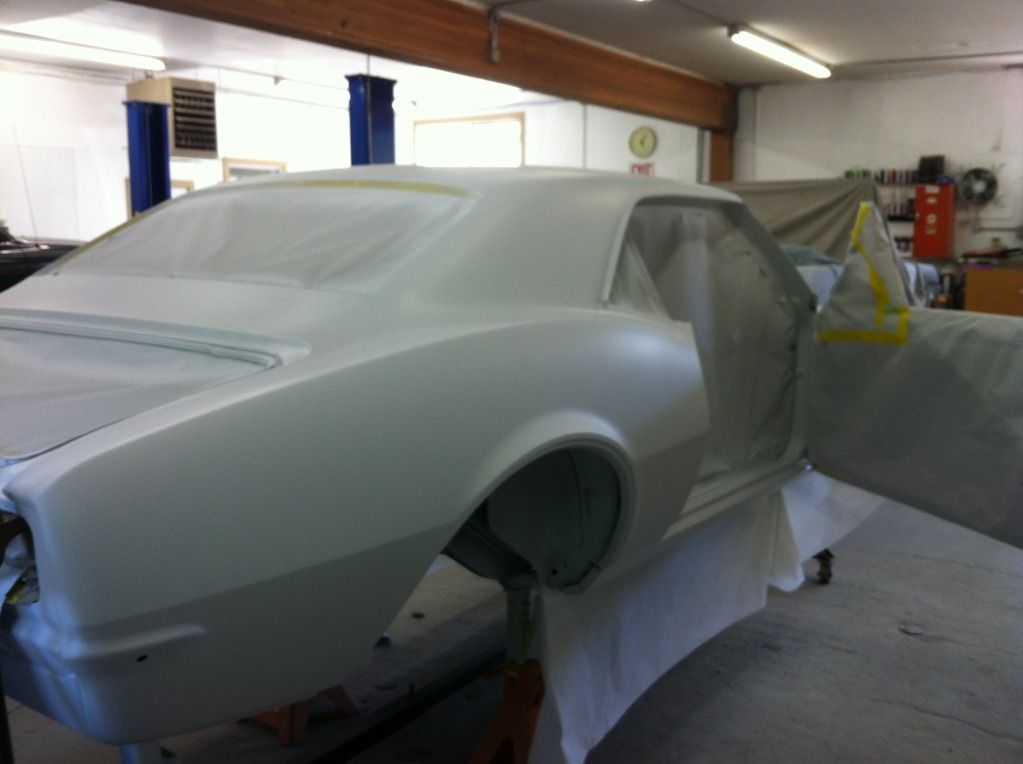
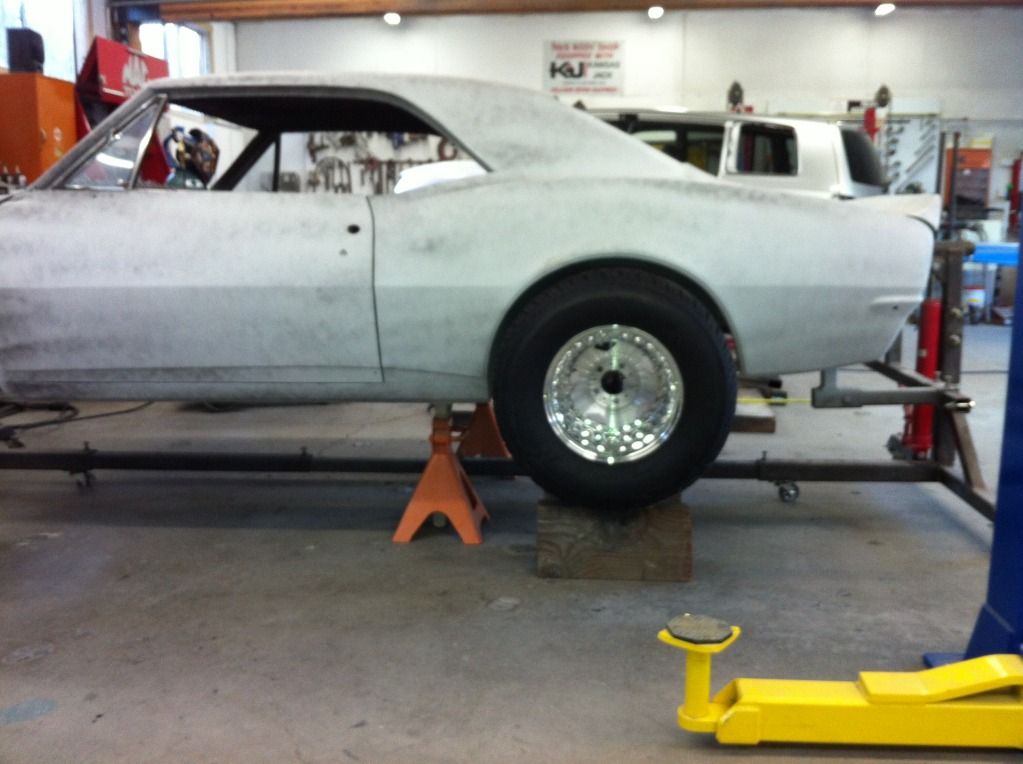
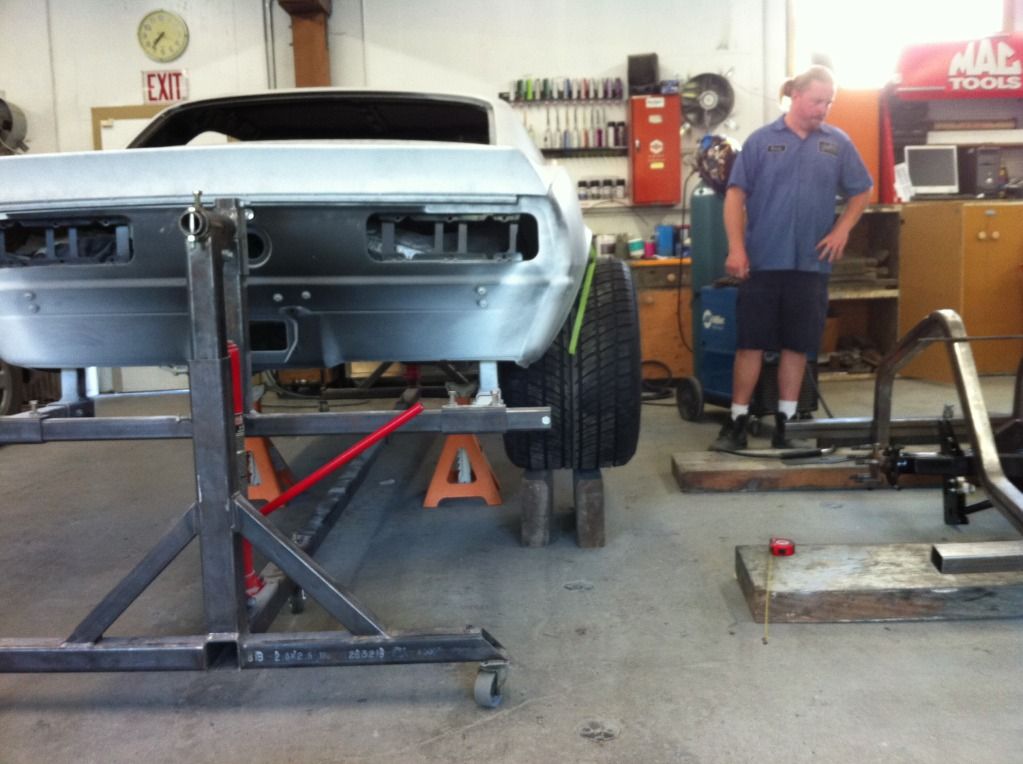
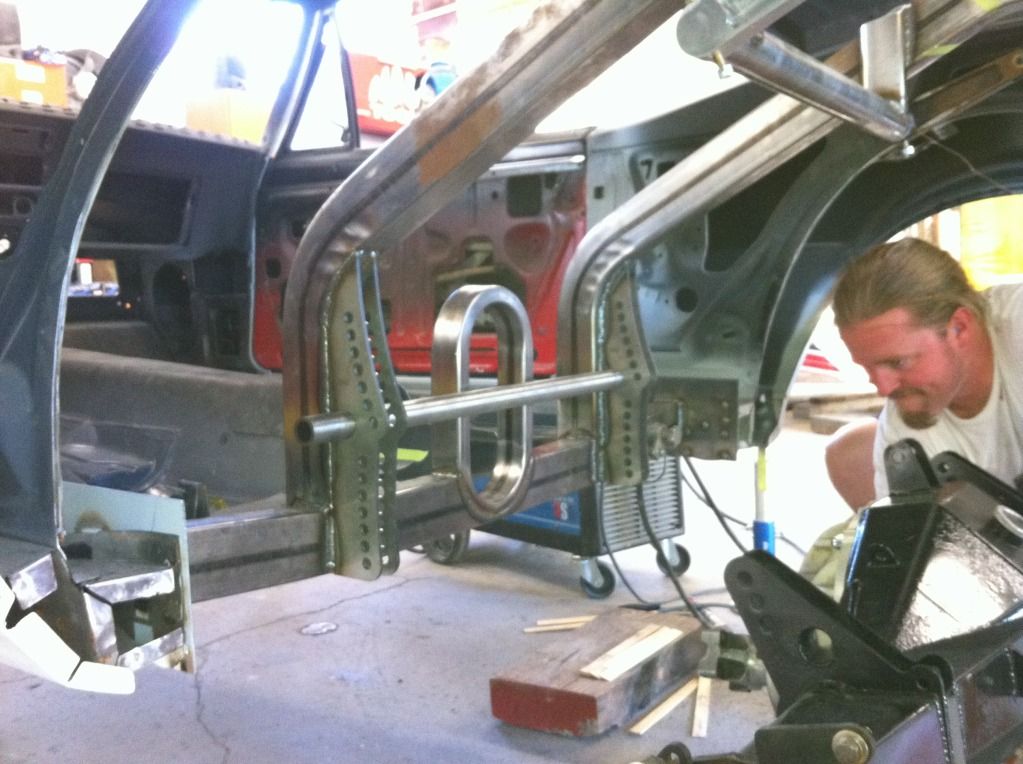
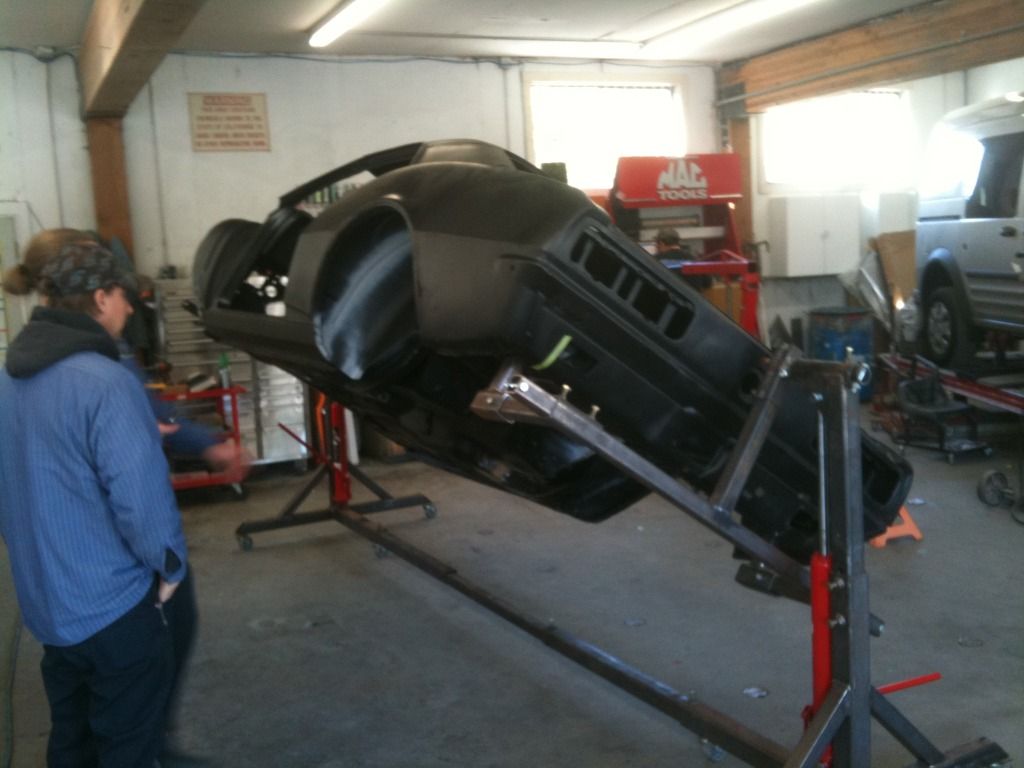
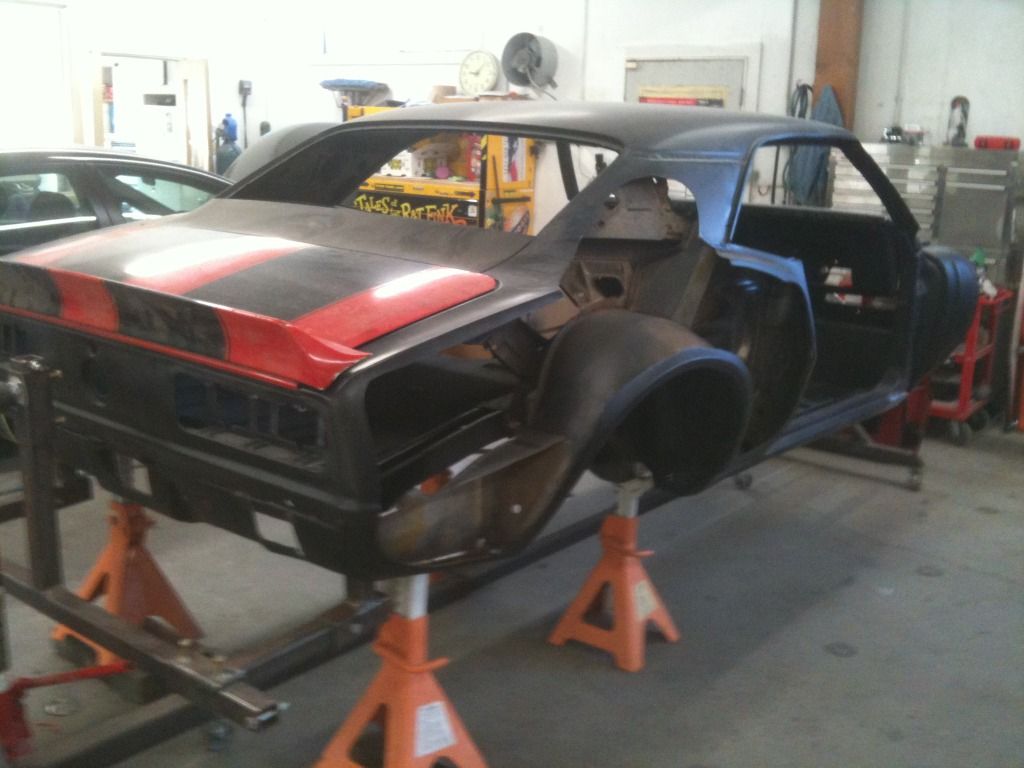
Day 1 right after my lunch break from trailering to the shop and mounting it on my rotisserie.
1347412812.jpg

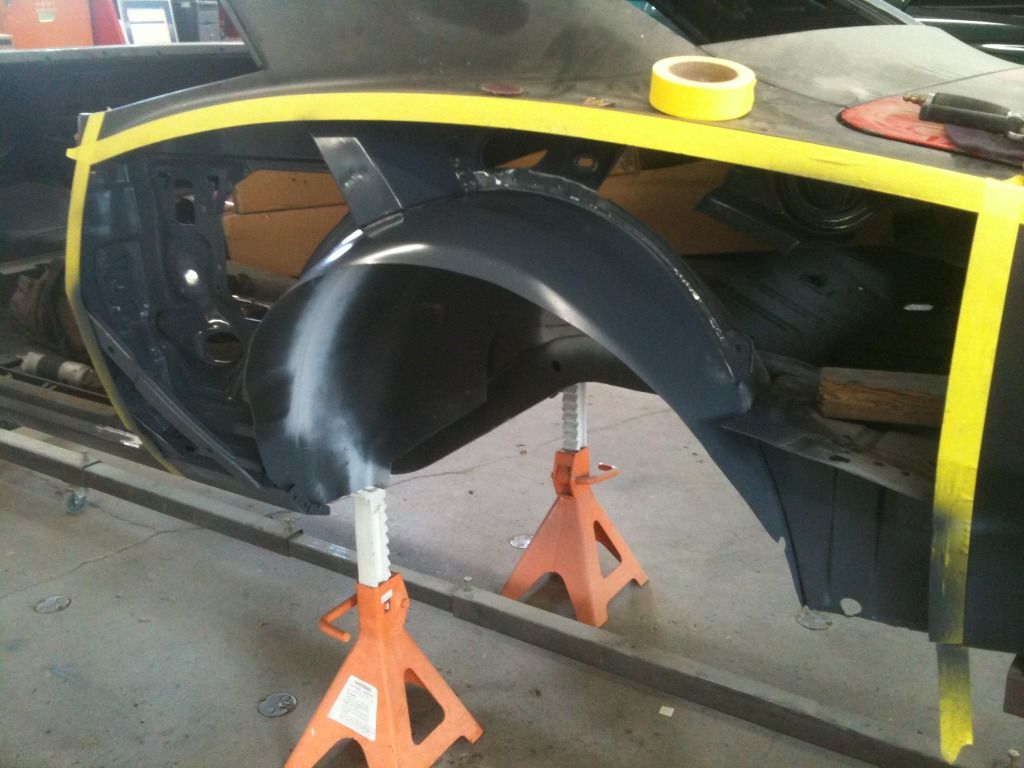
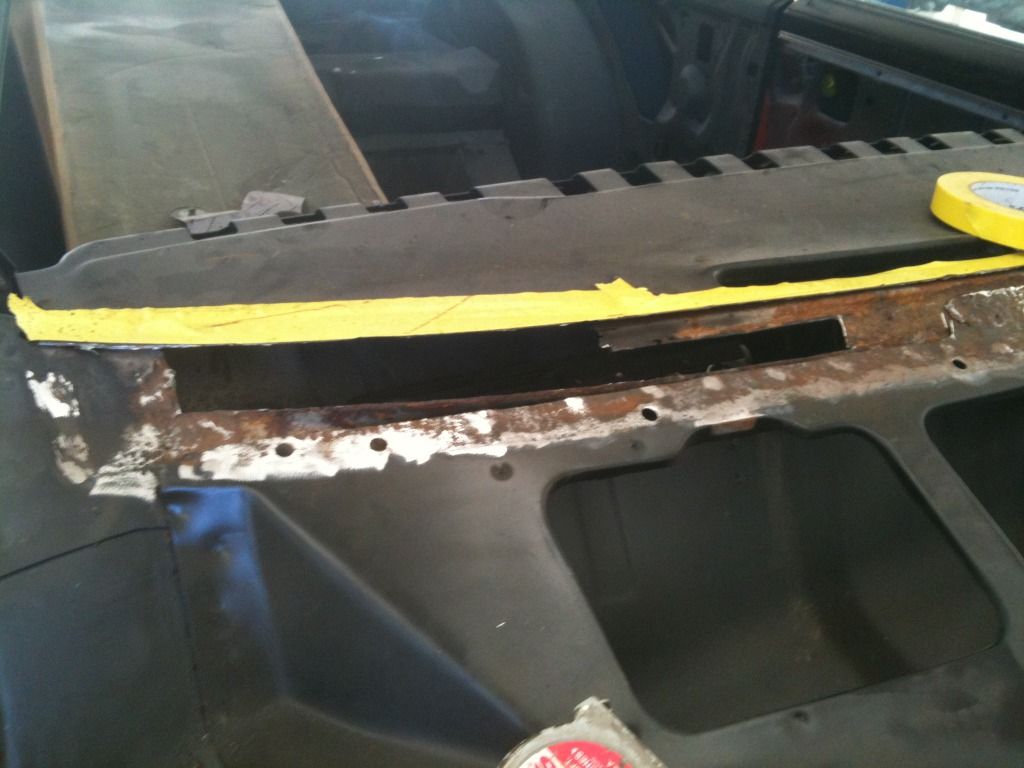
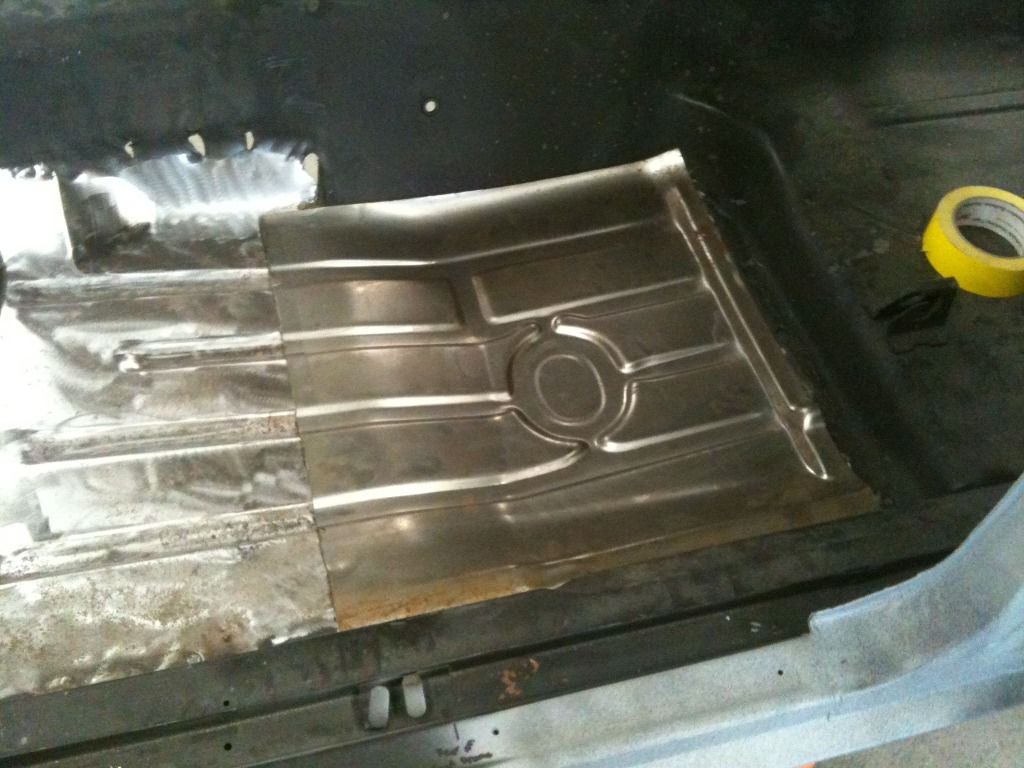
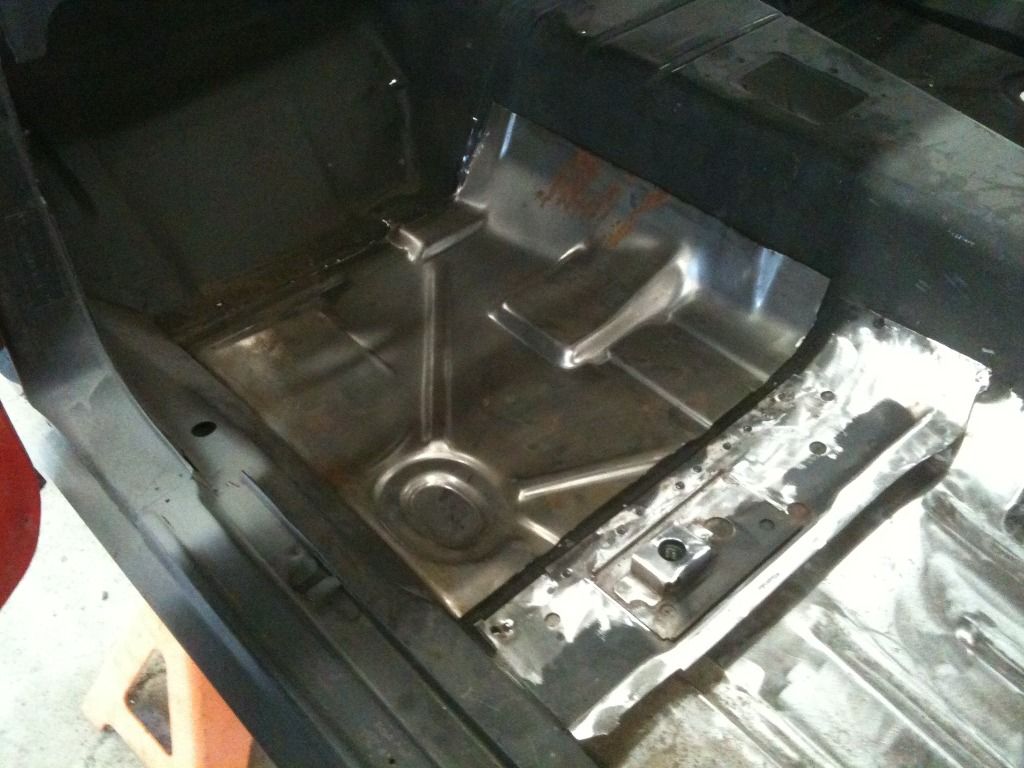
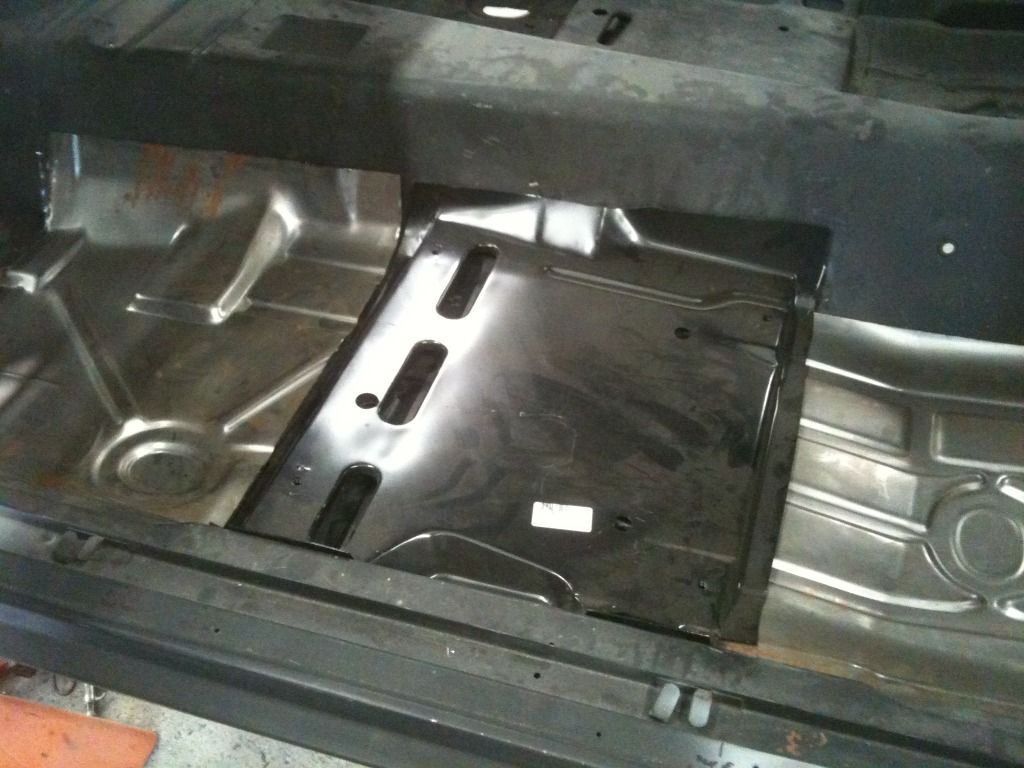
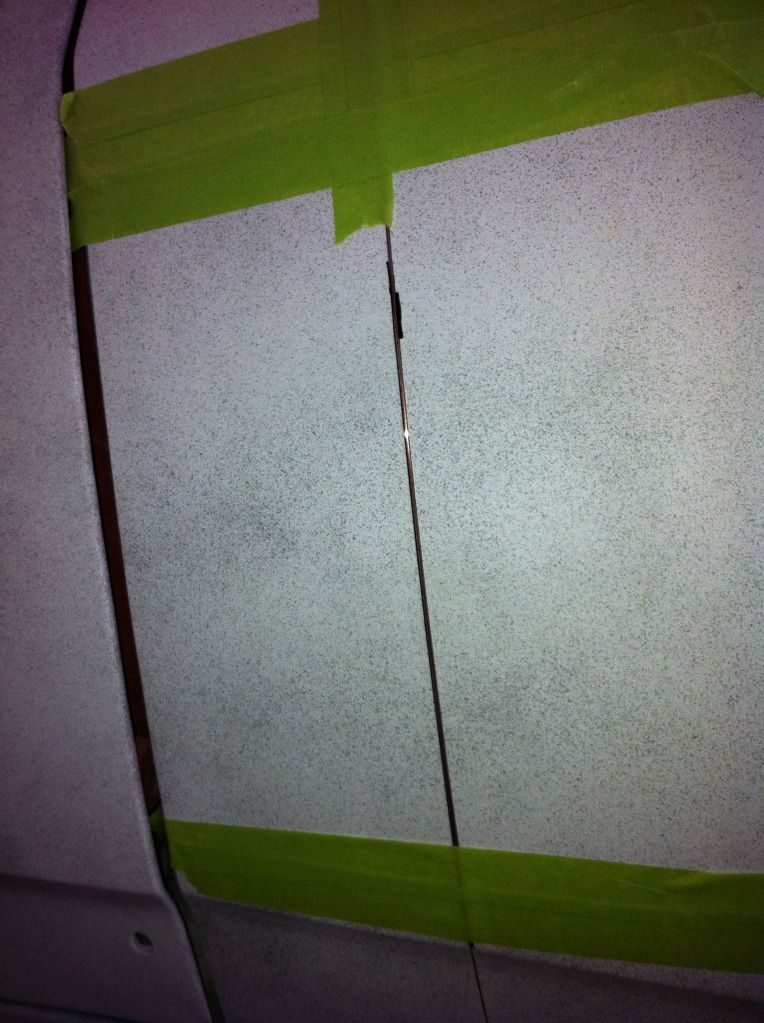
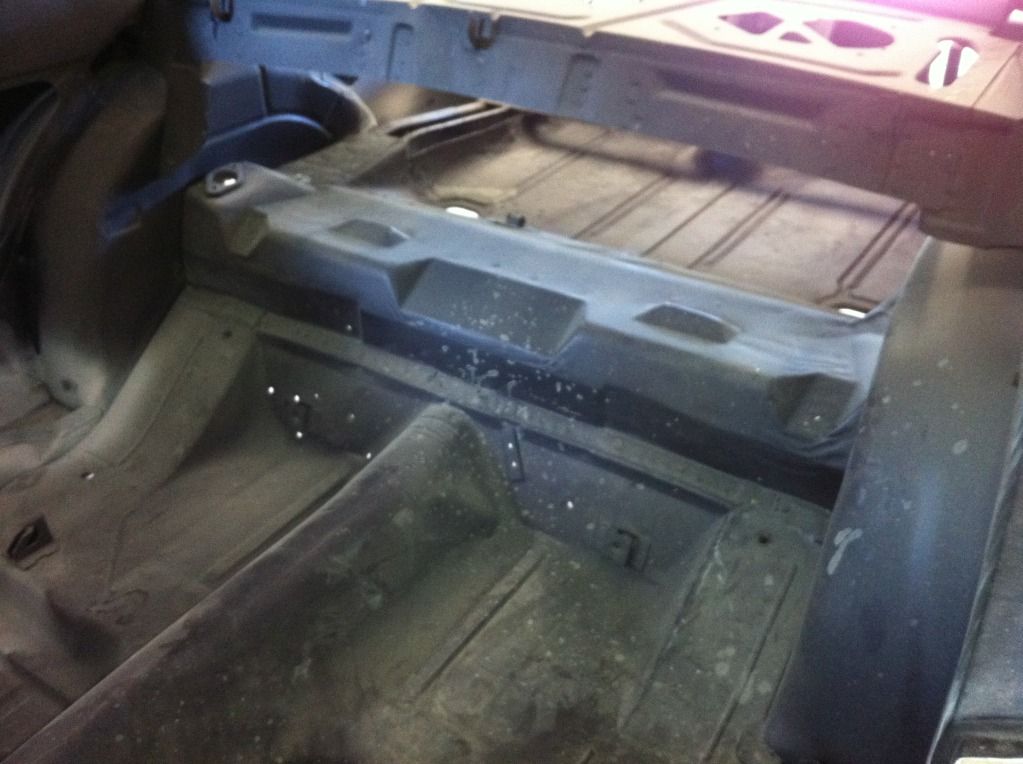
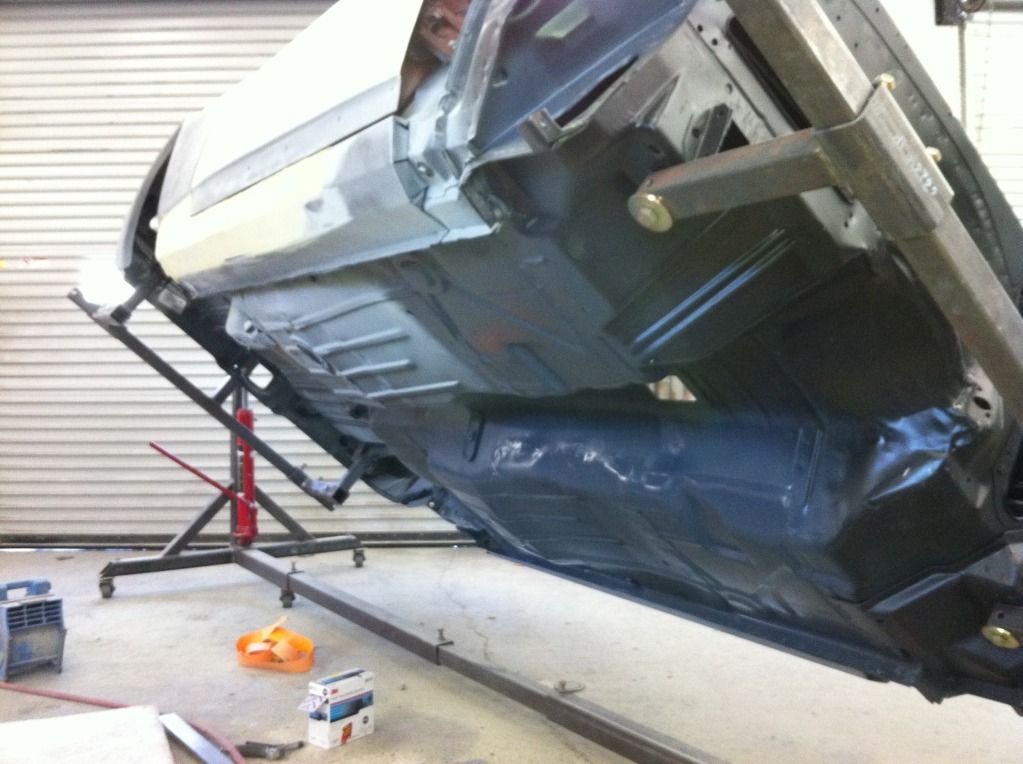
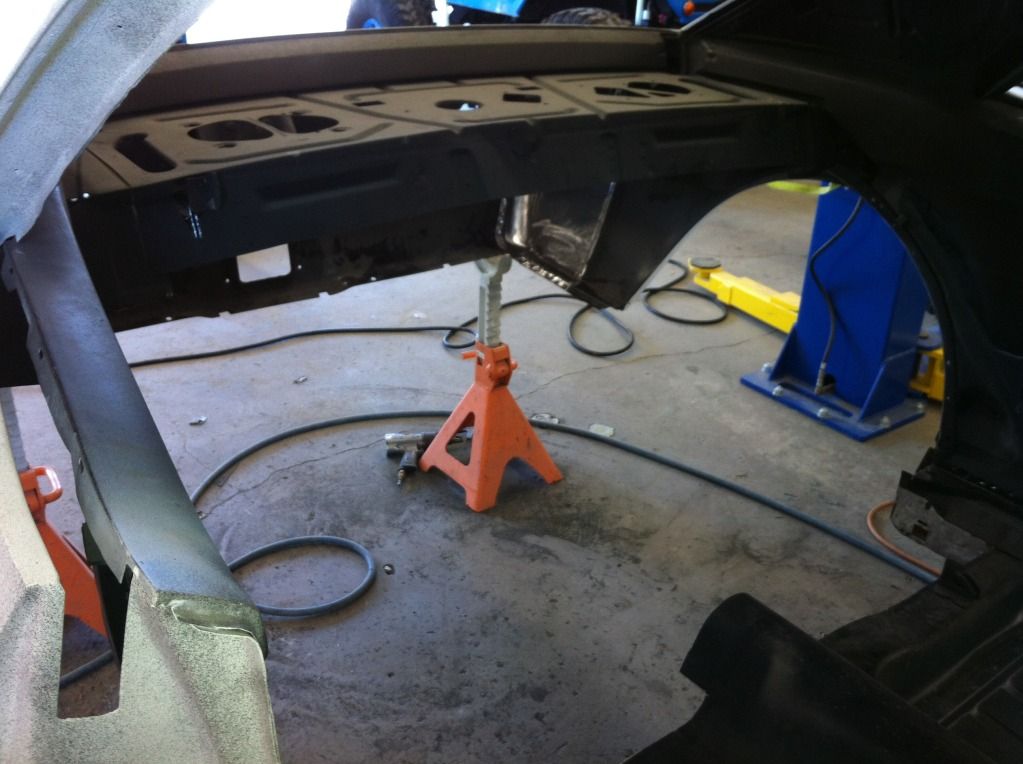
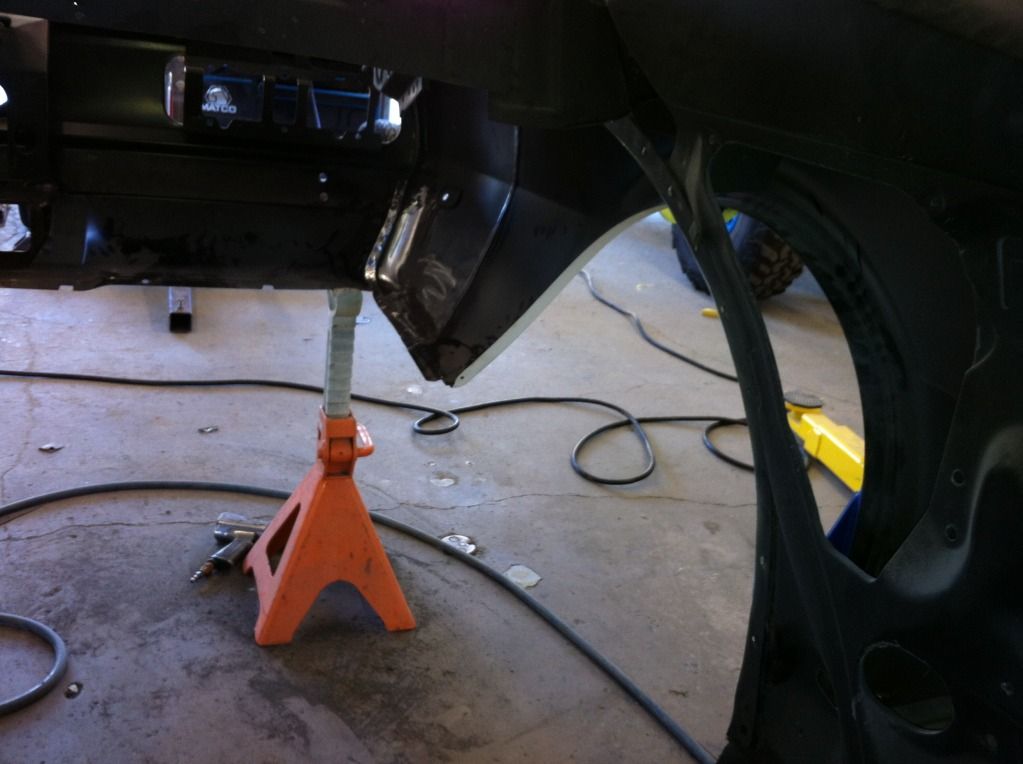
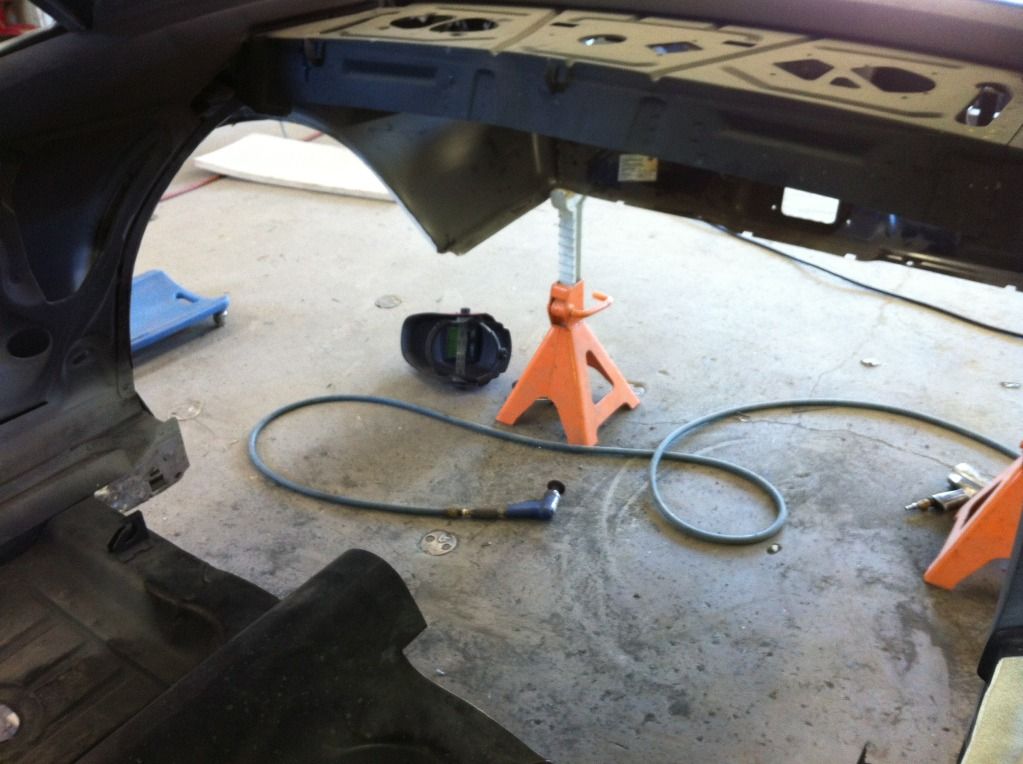
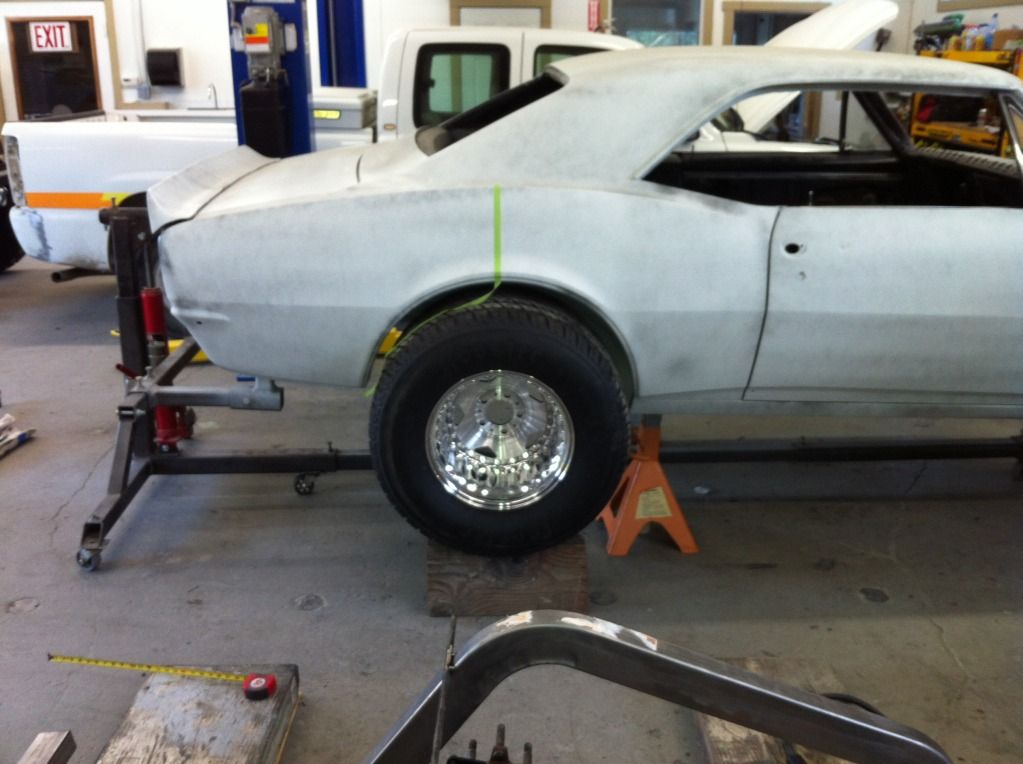
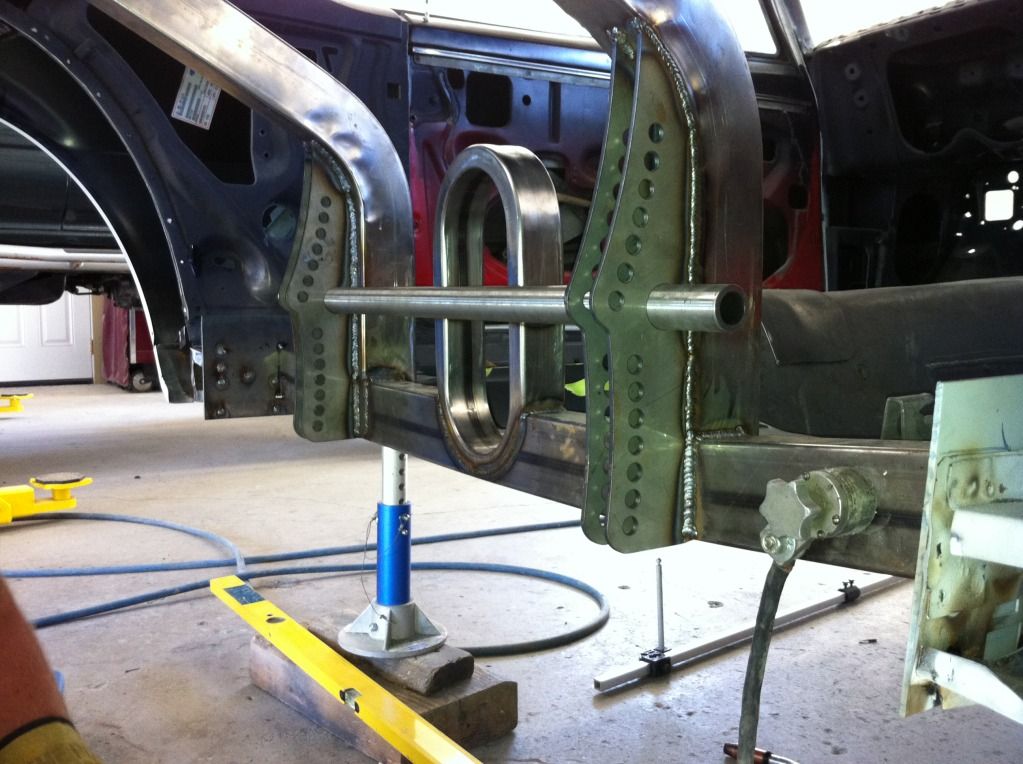
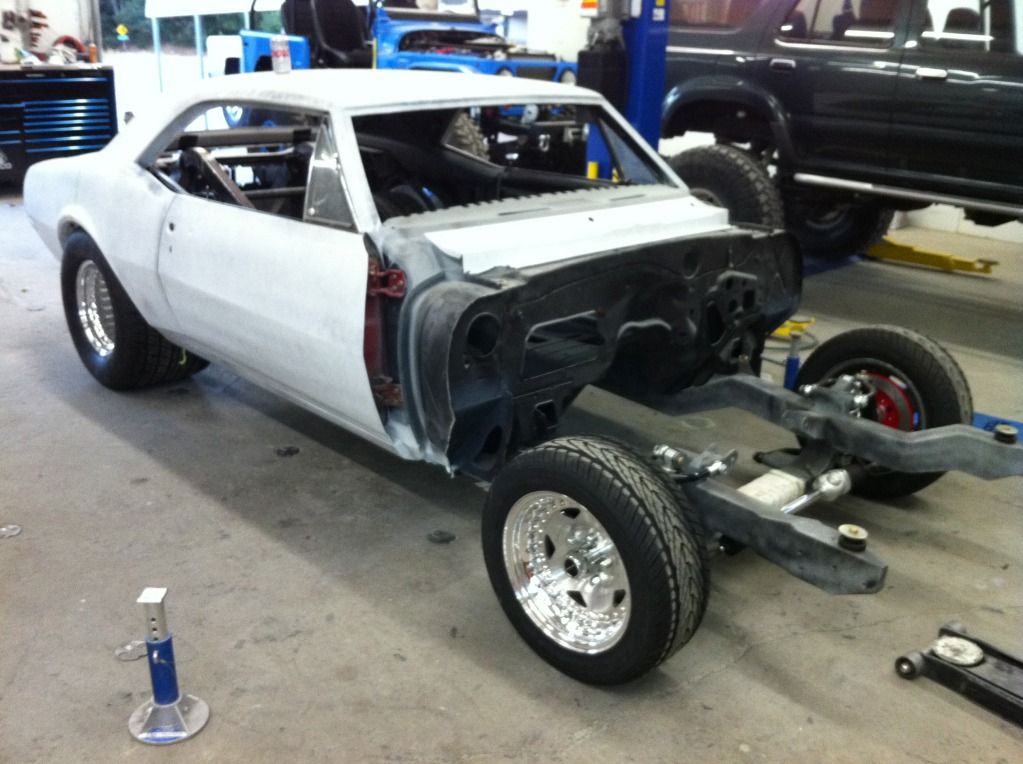
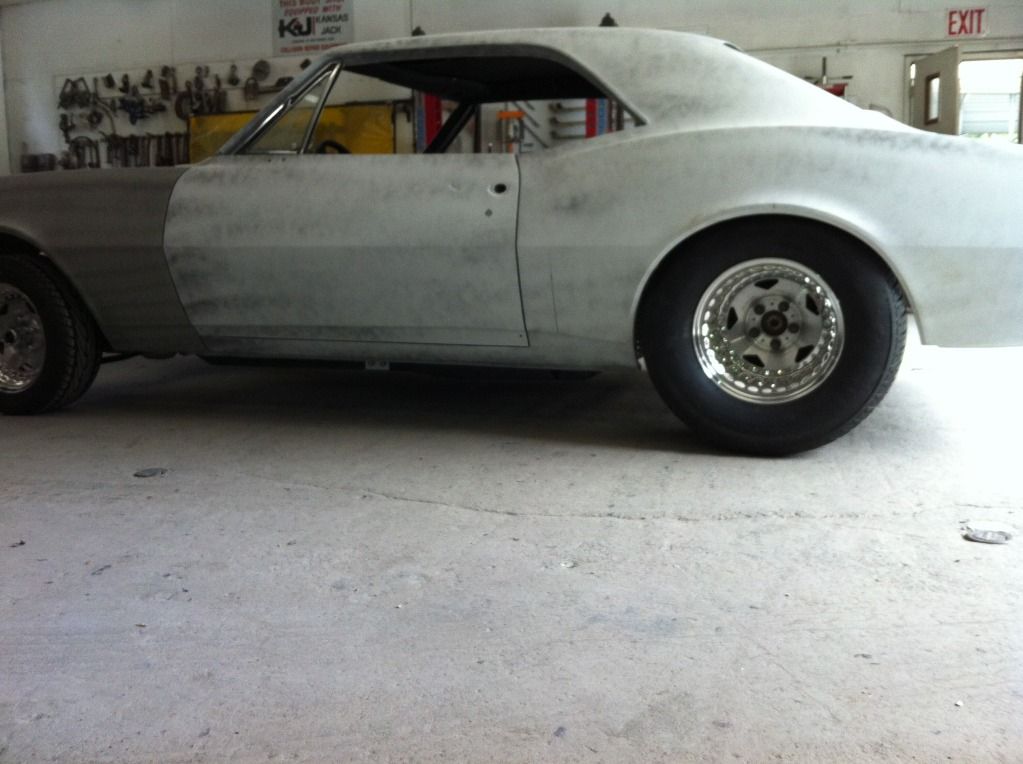
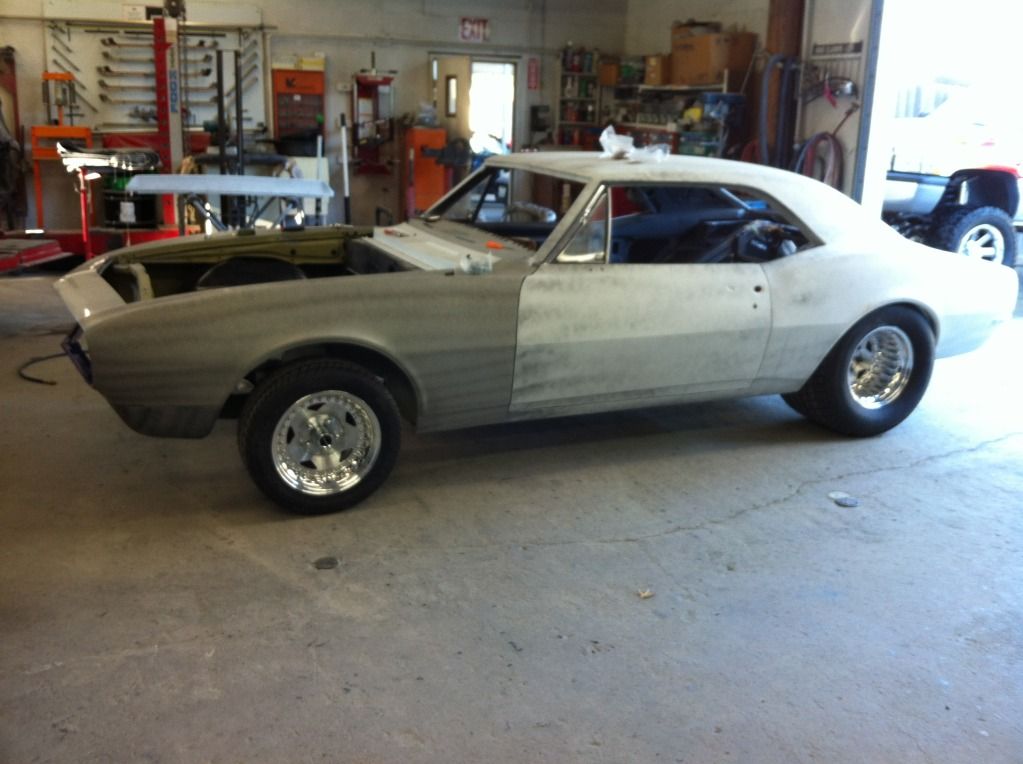
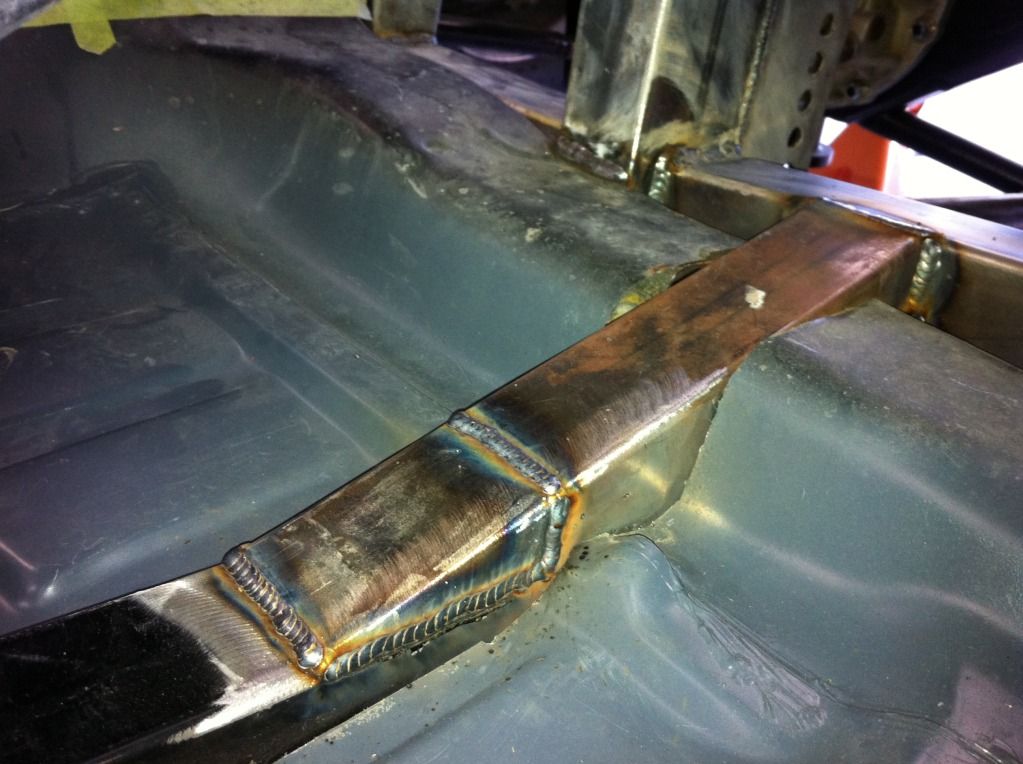
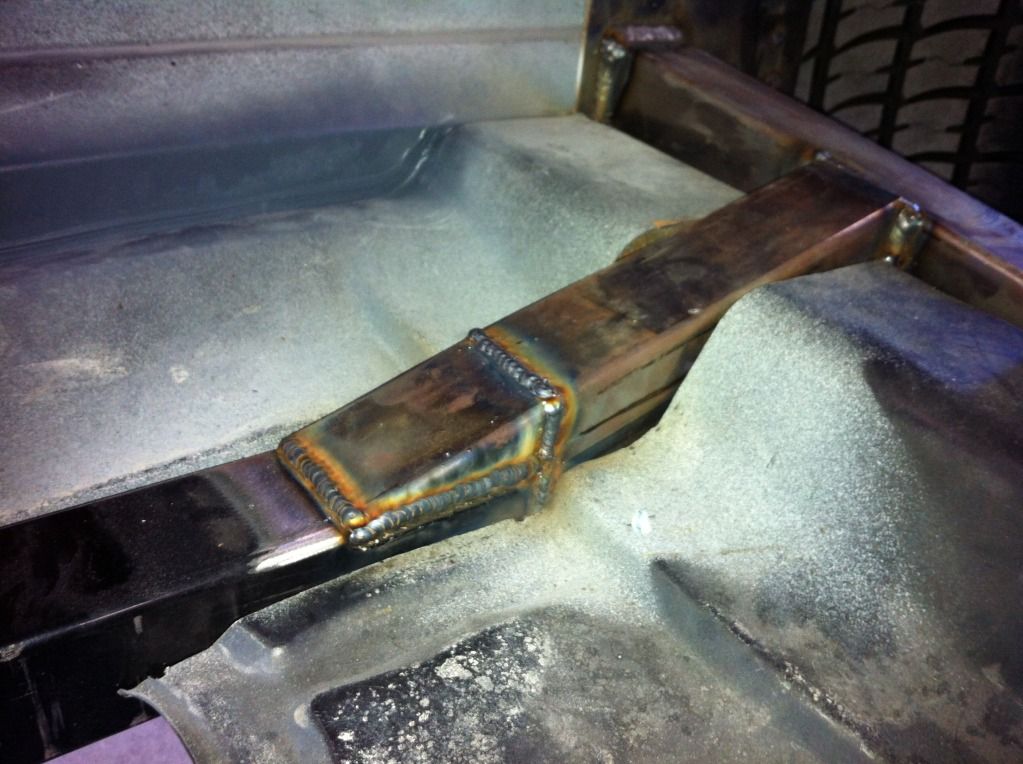
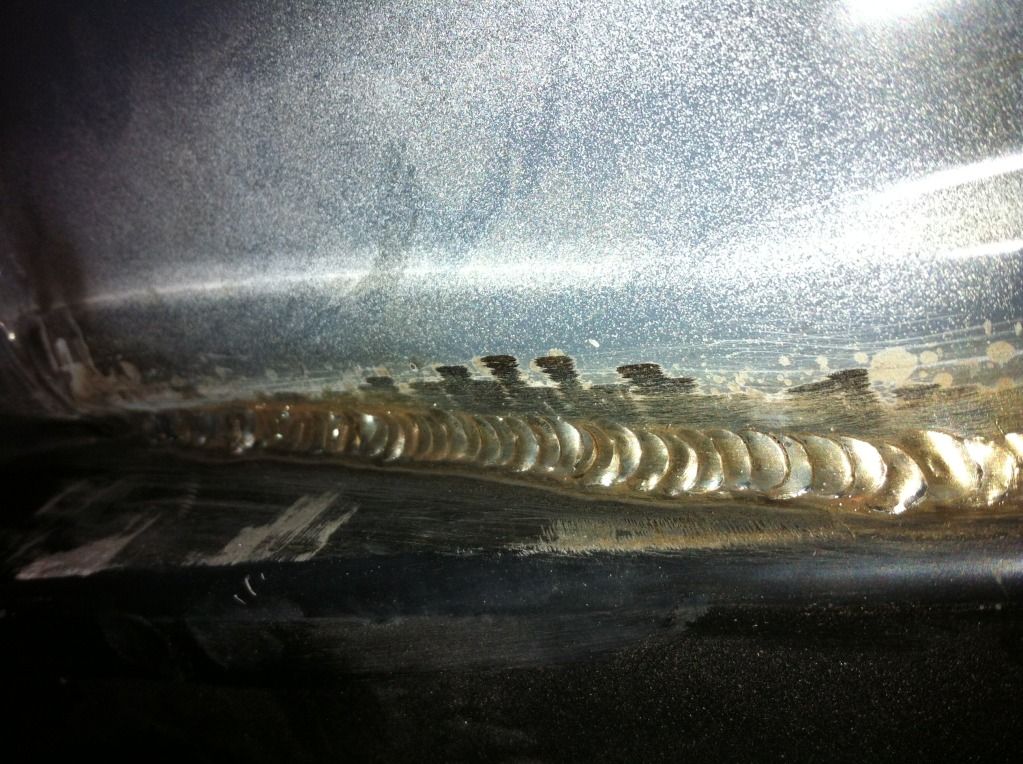
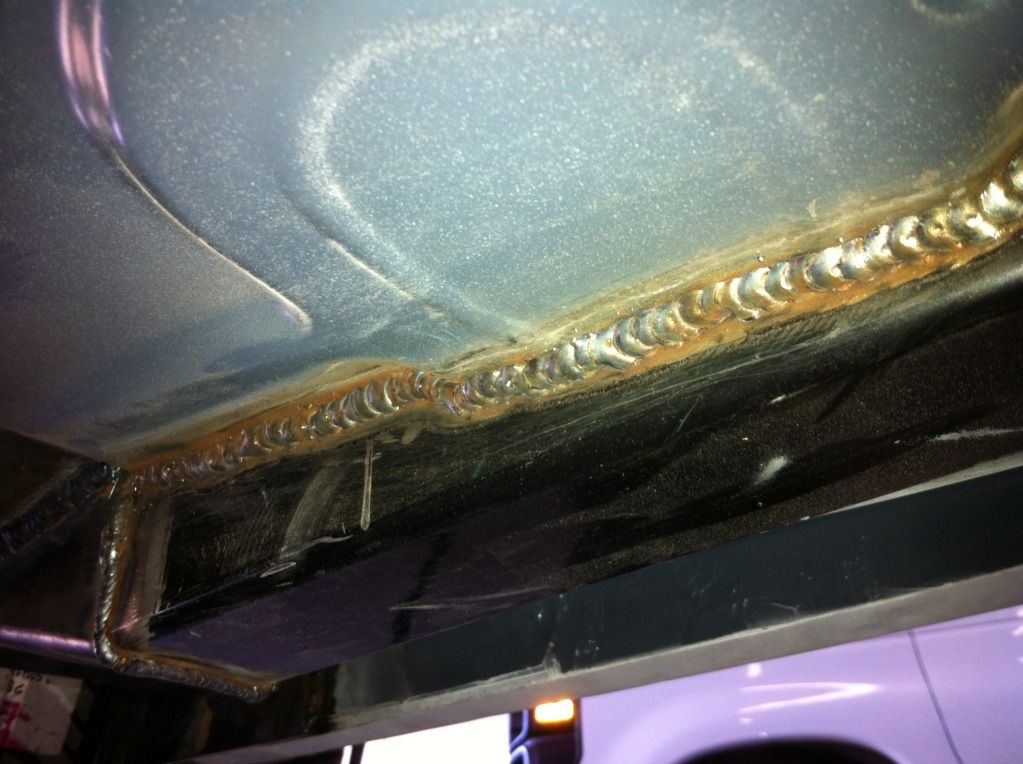
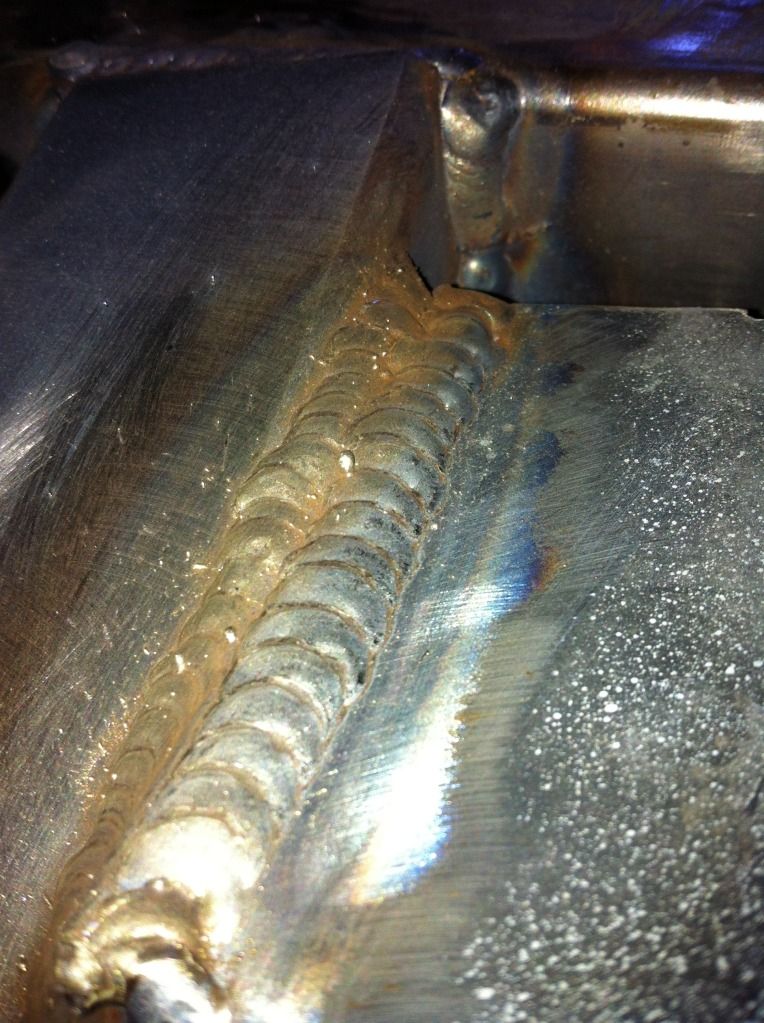
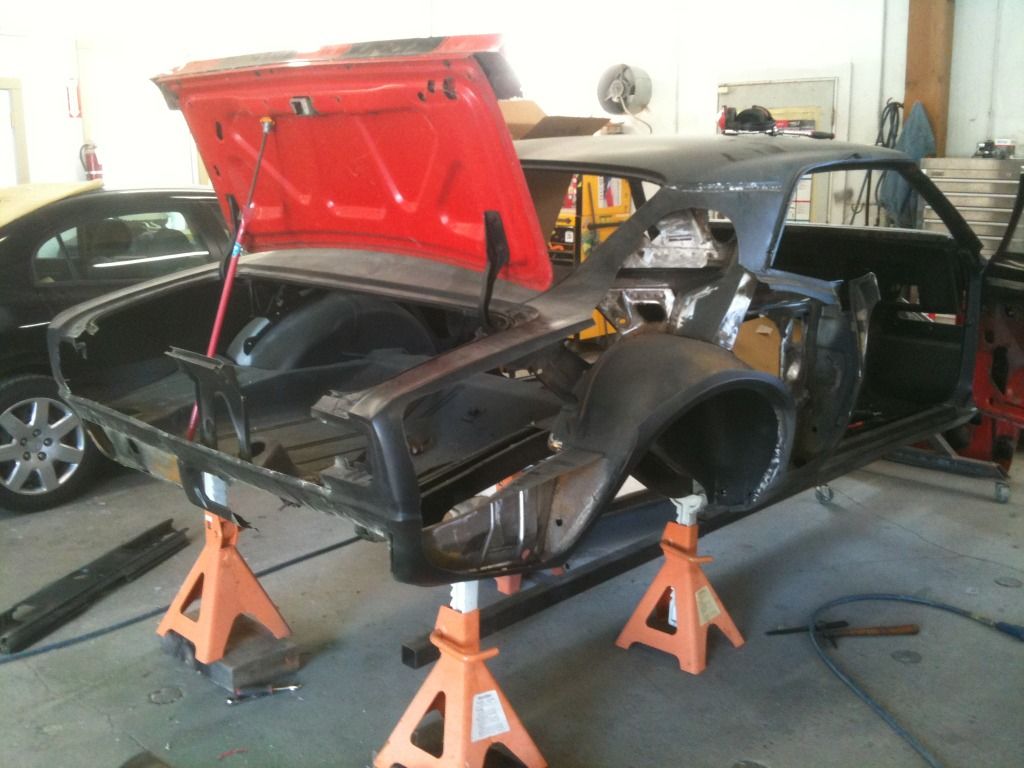
Super Bowl Sunday morning started cutting out the old sheet metal. The rest of these were taken over about a 6 week period working on Saturdays.
1347412799.jpg

1347412784.jpg

1347412768.jpg

1347412752.jpg

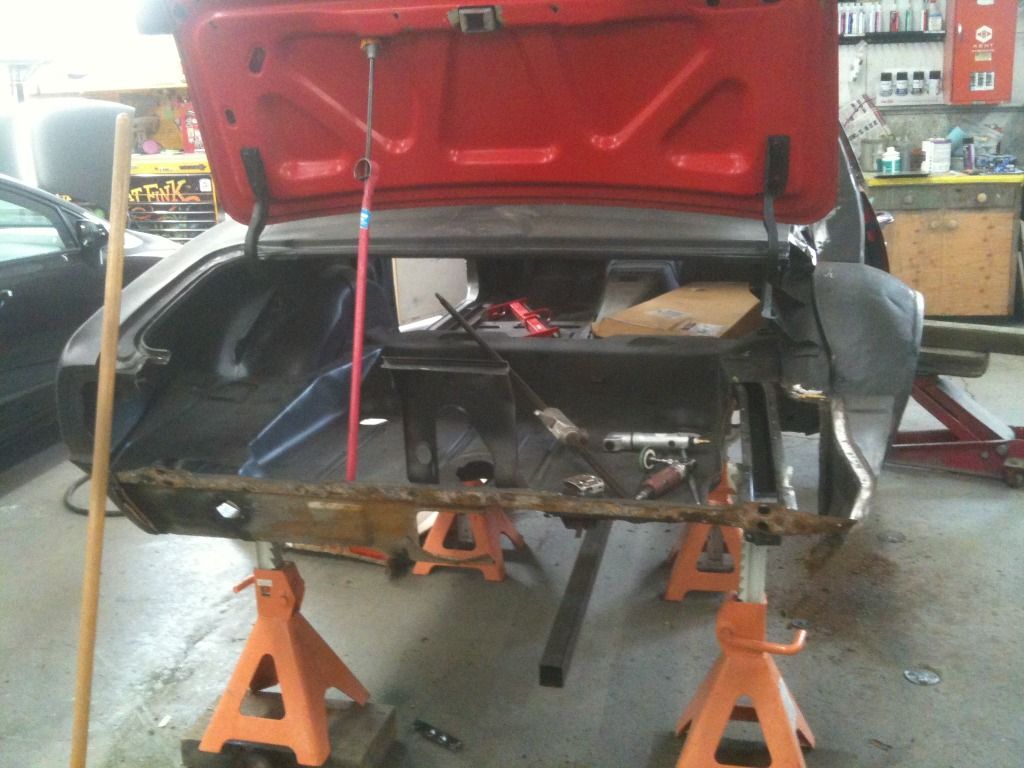
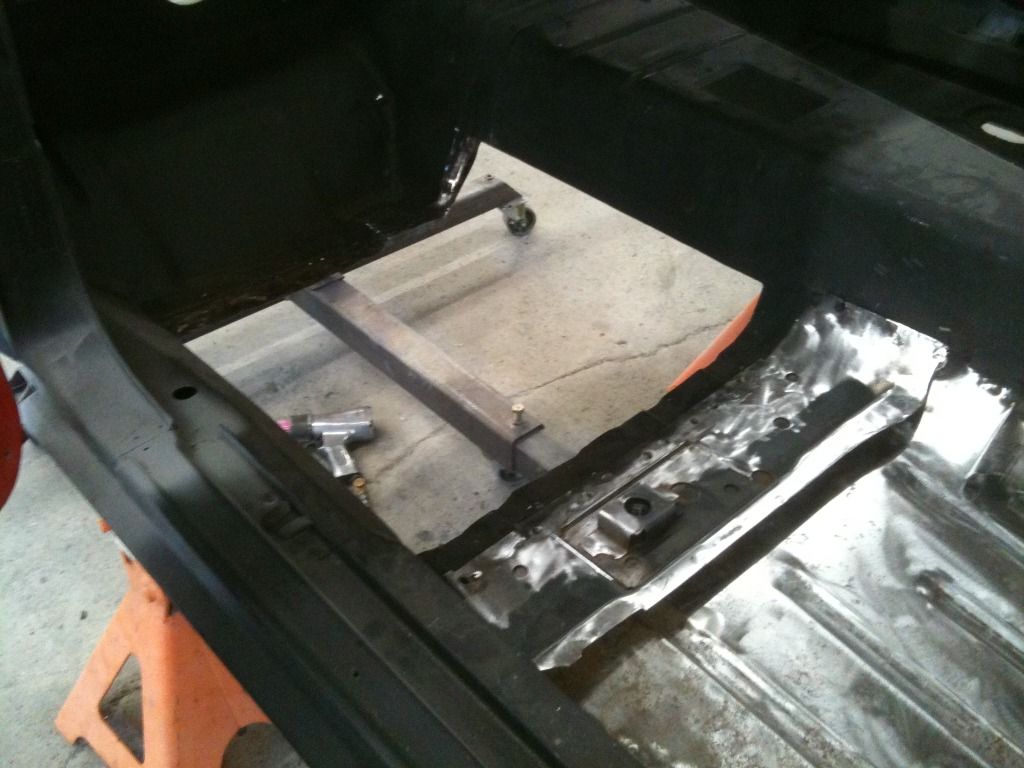
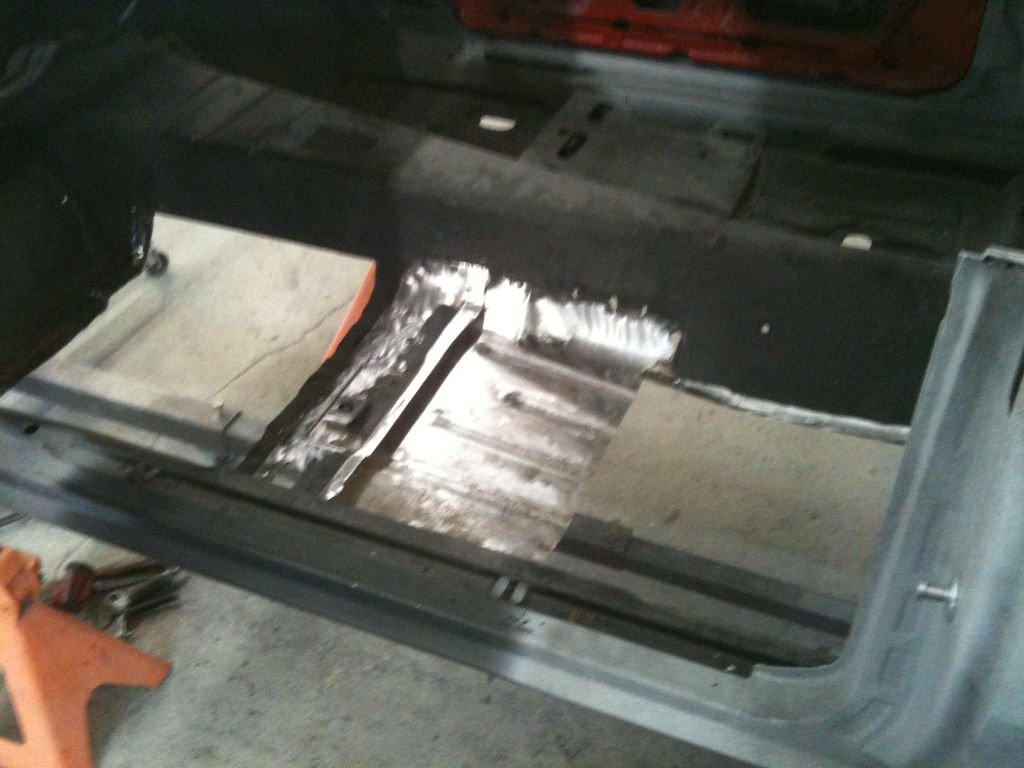
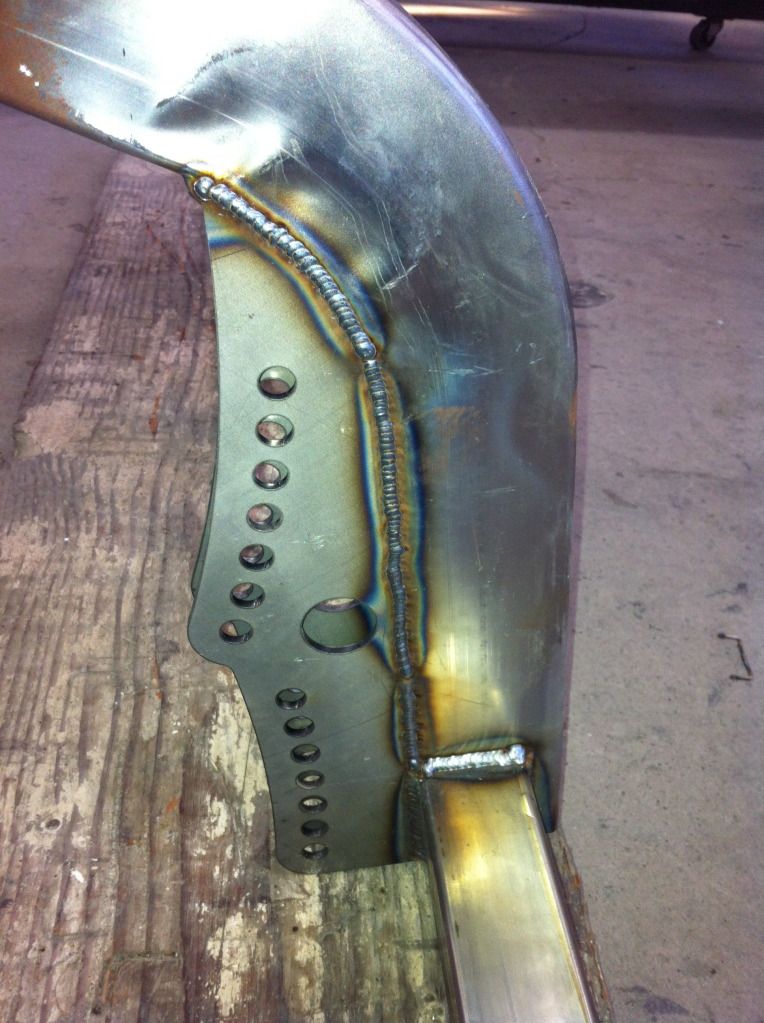
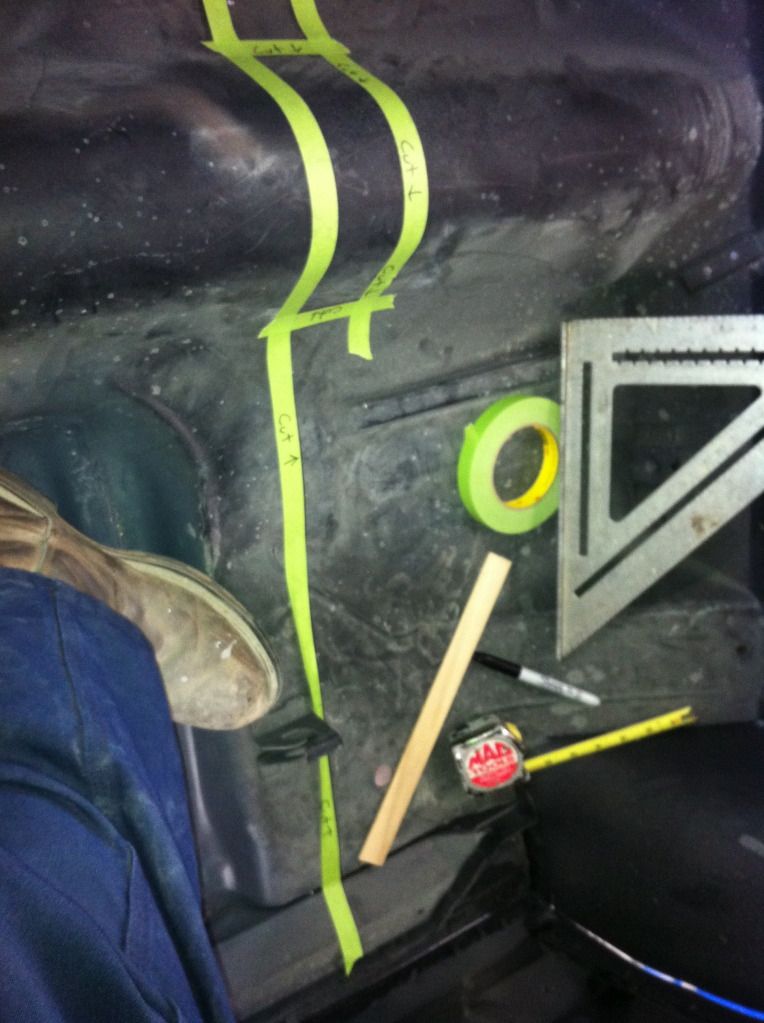
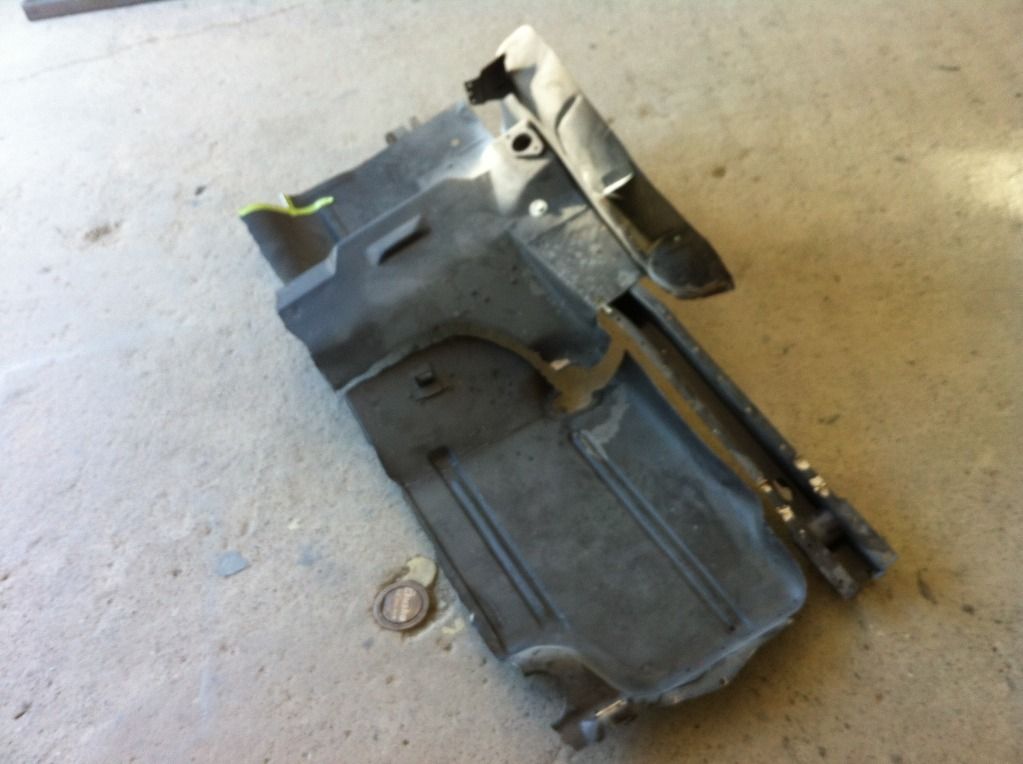
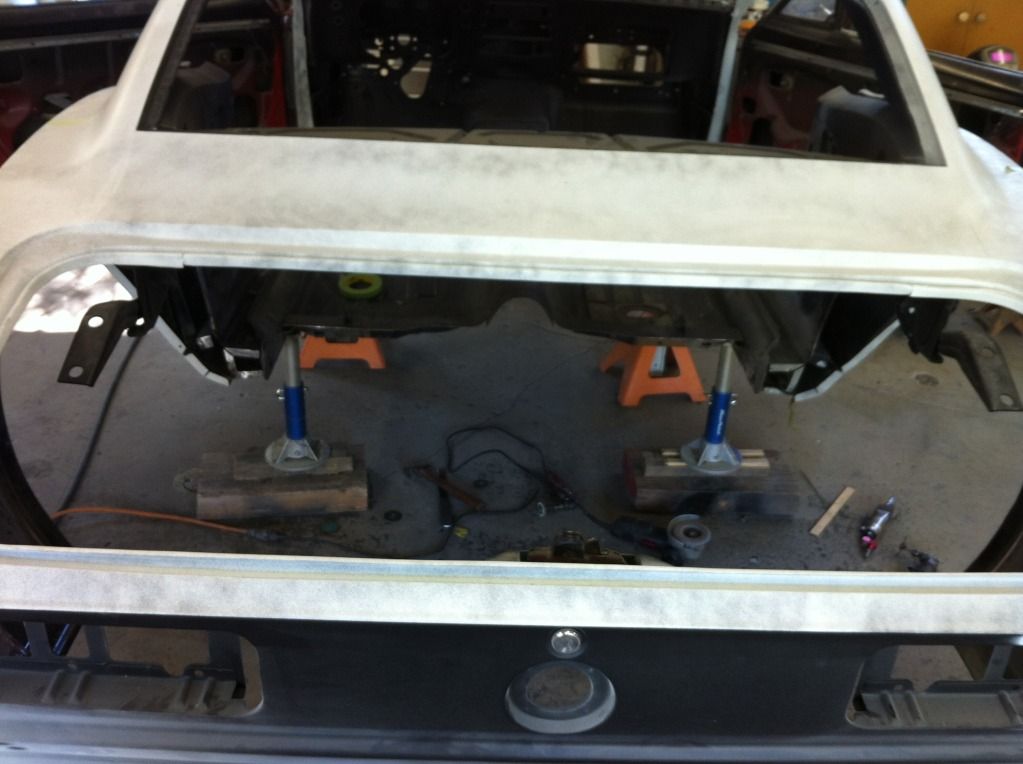
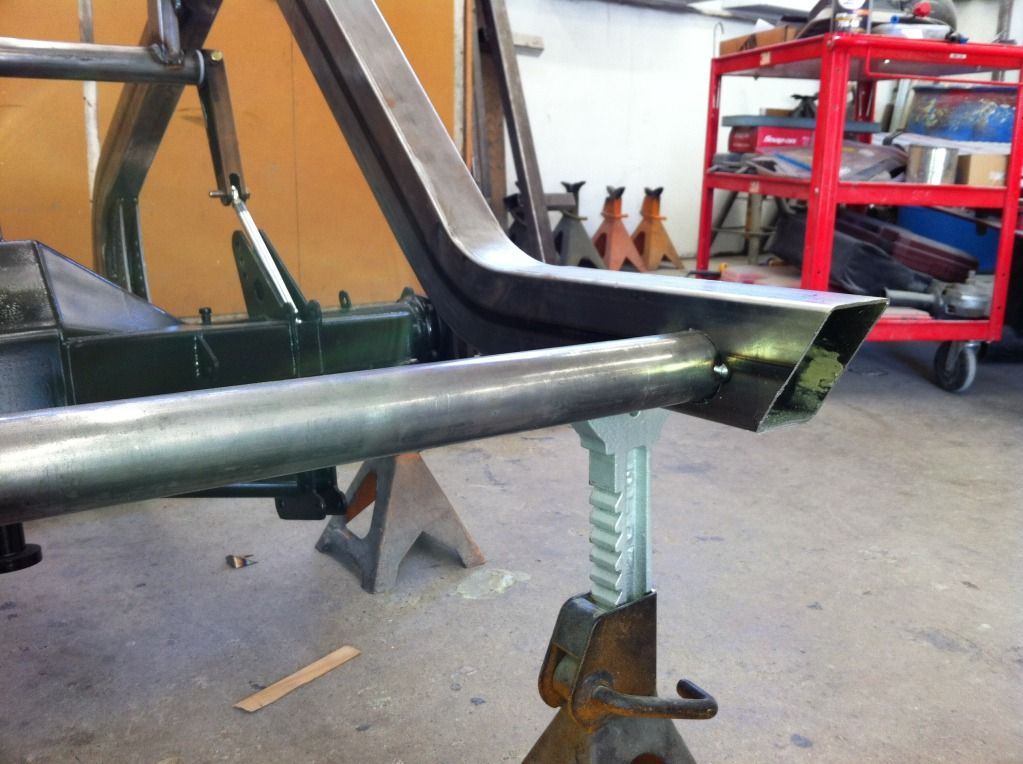
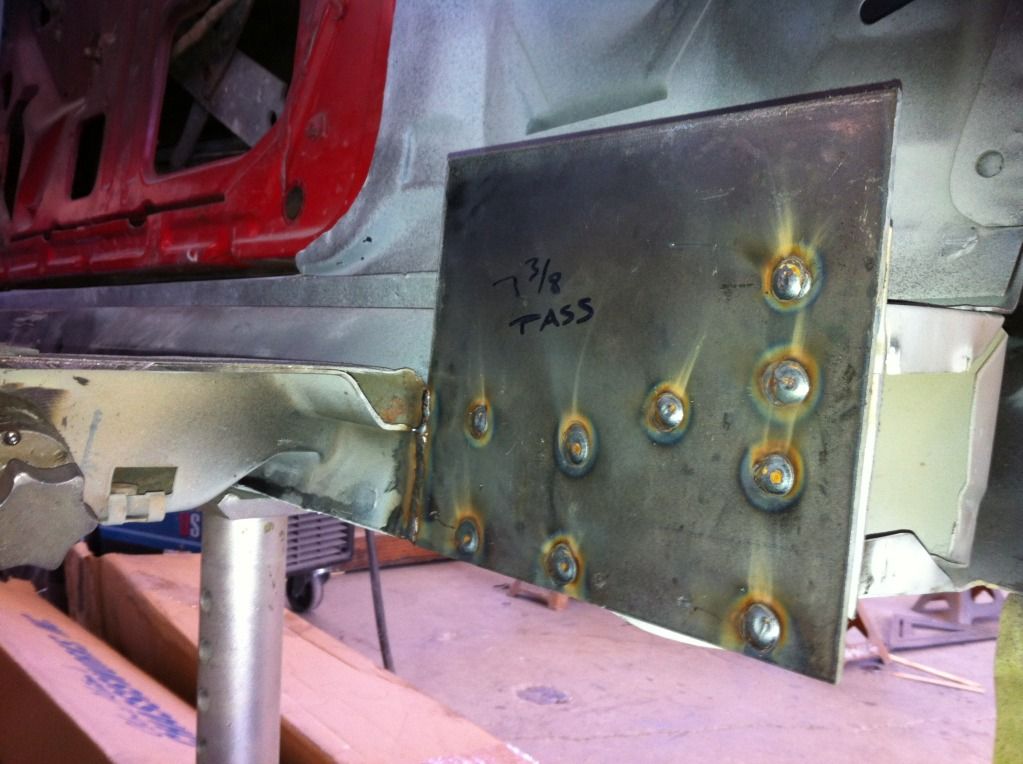
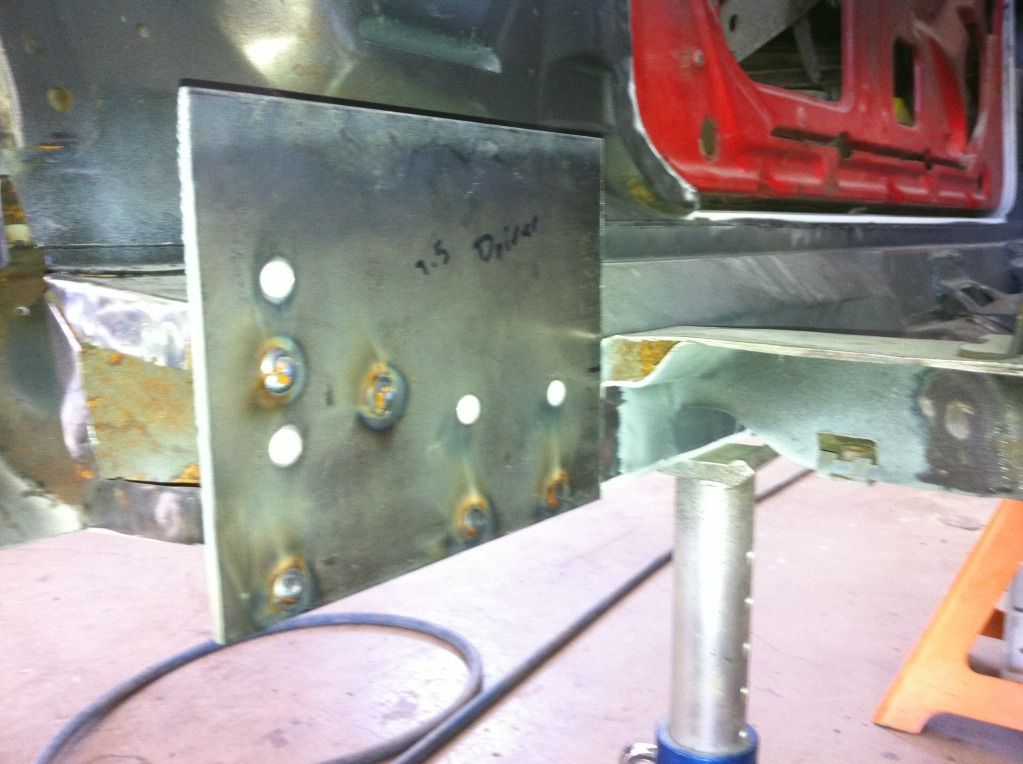
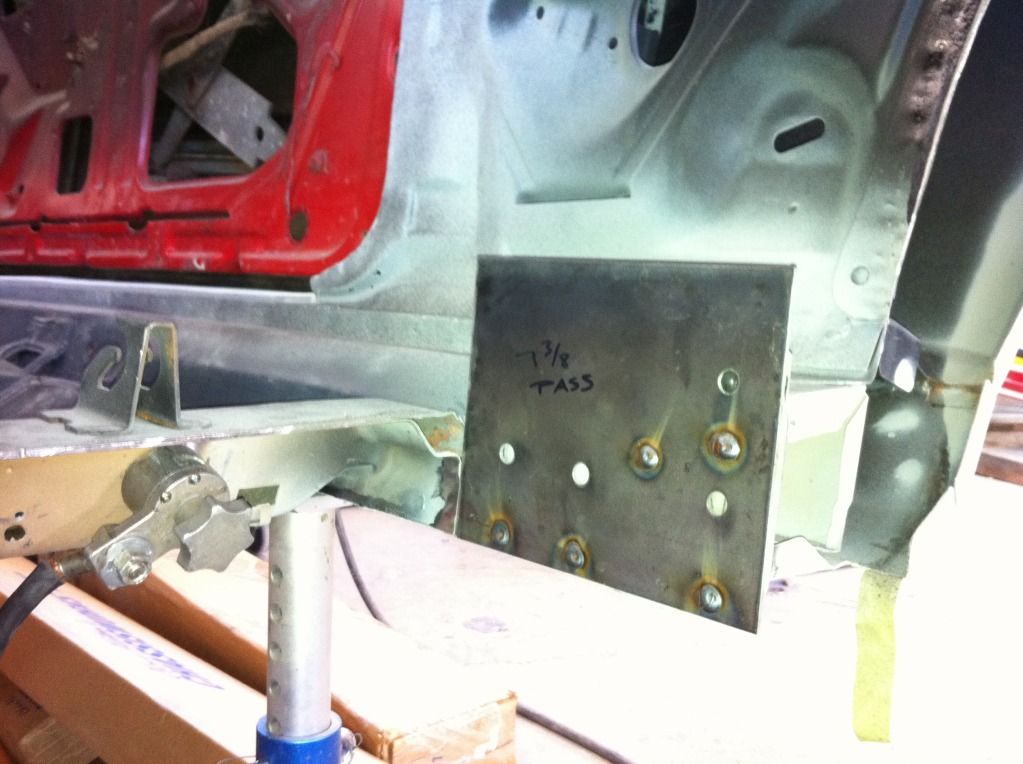
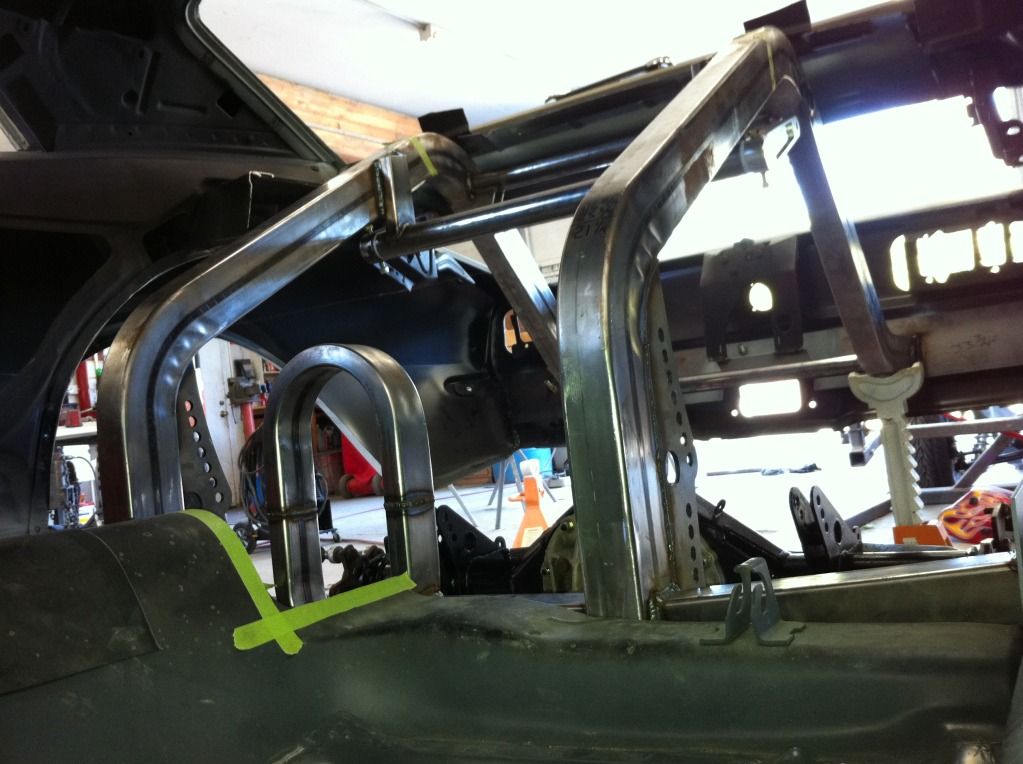
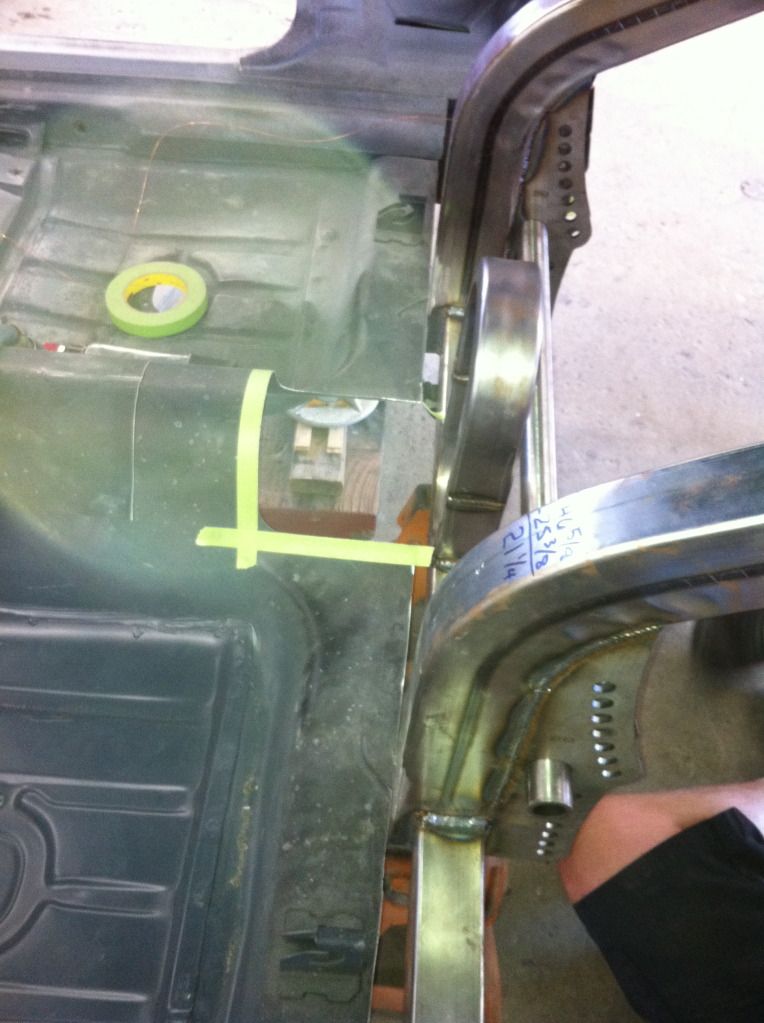
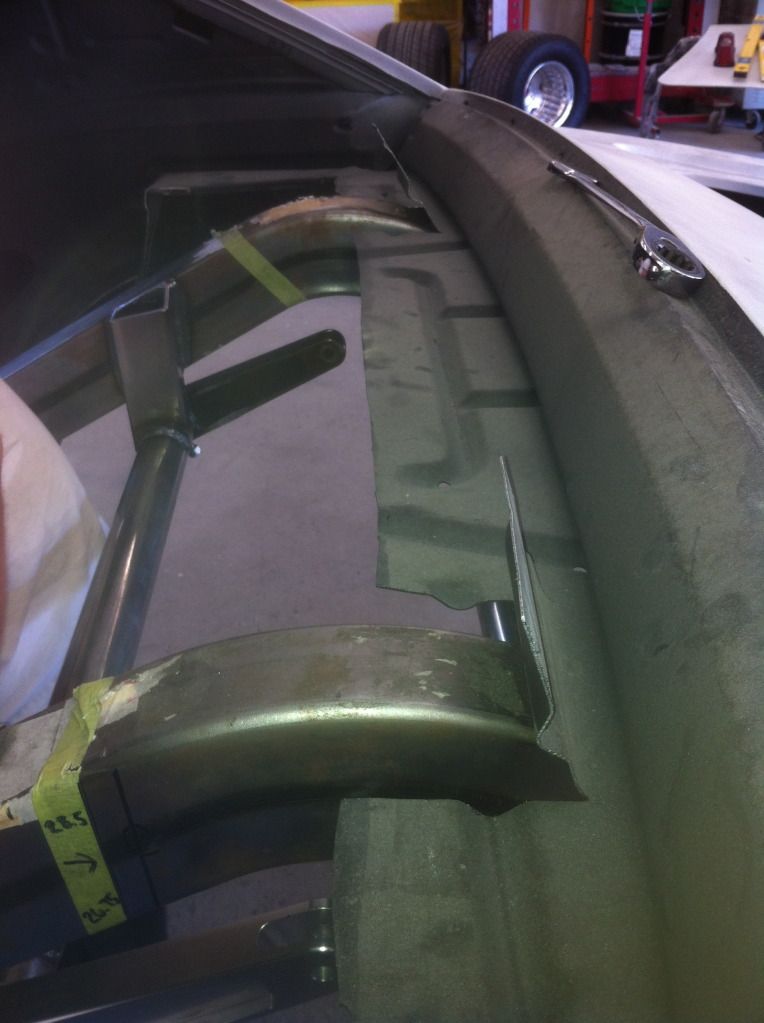
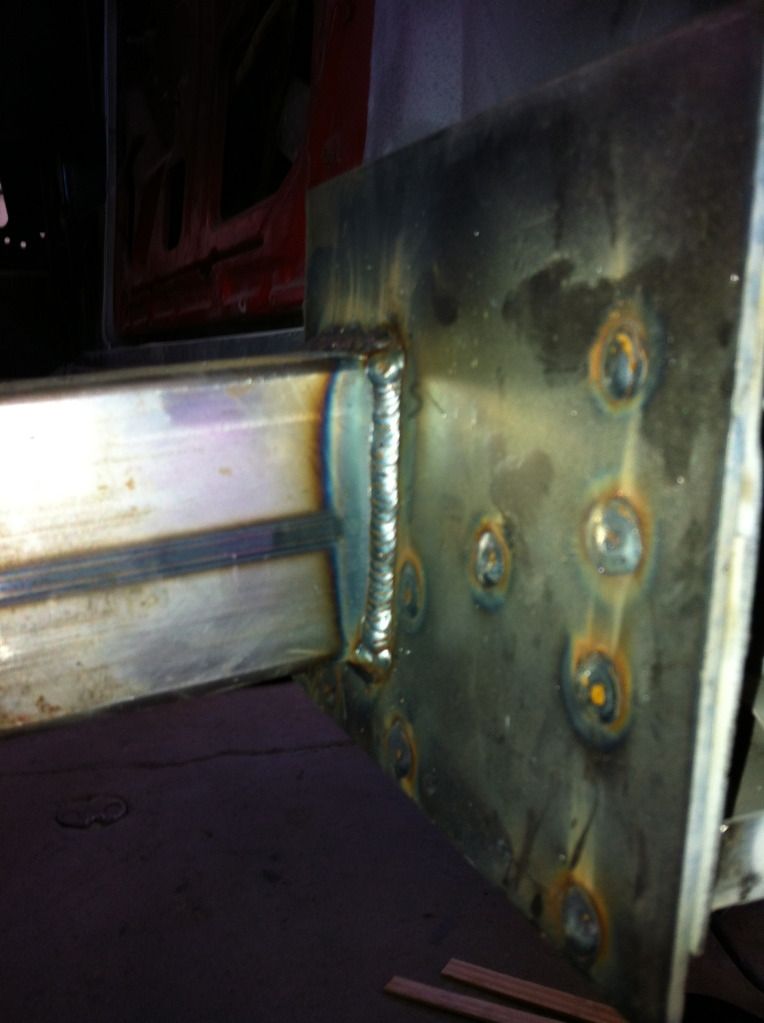
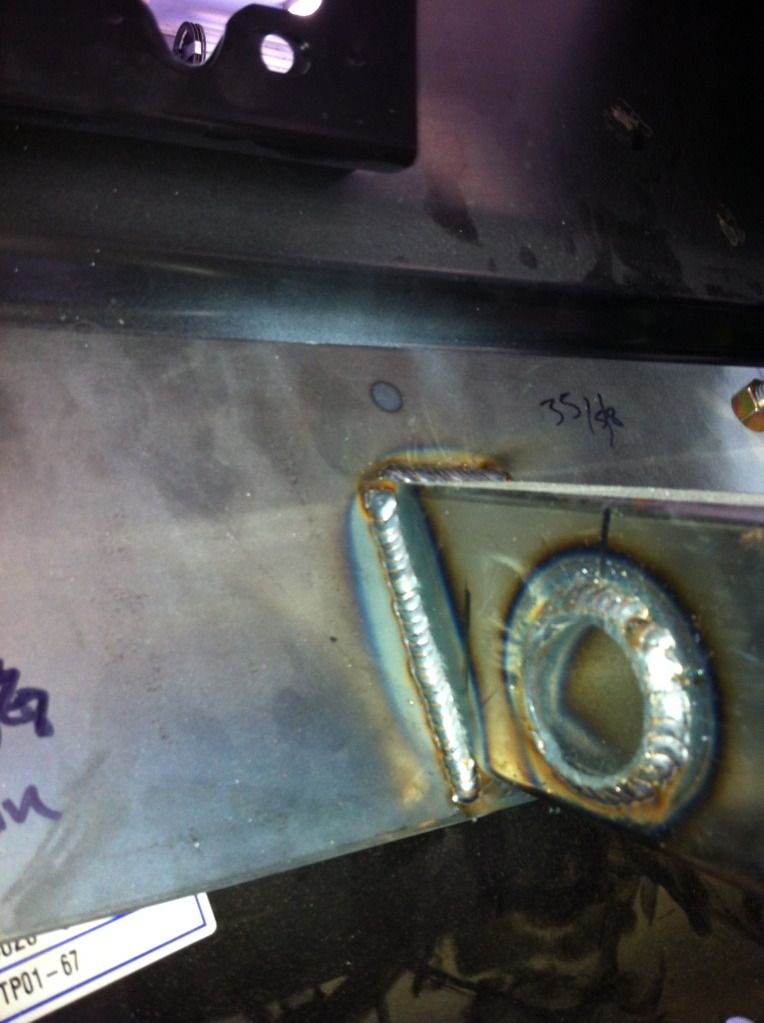
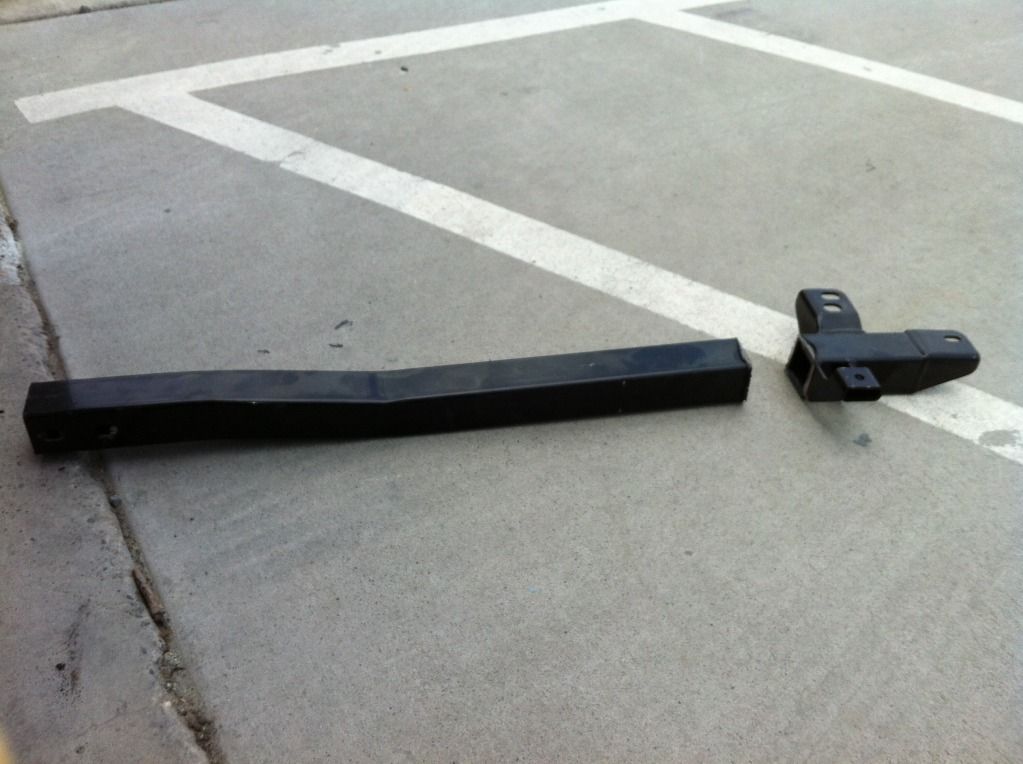
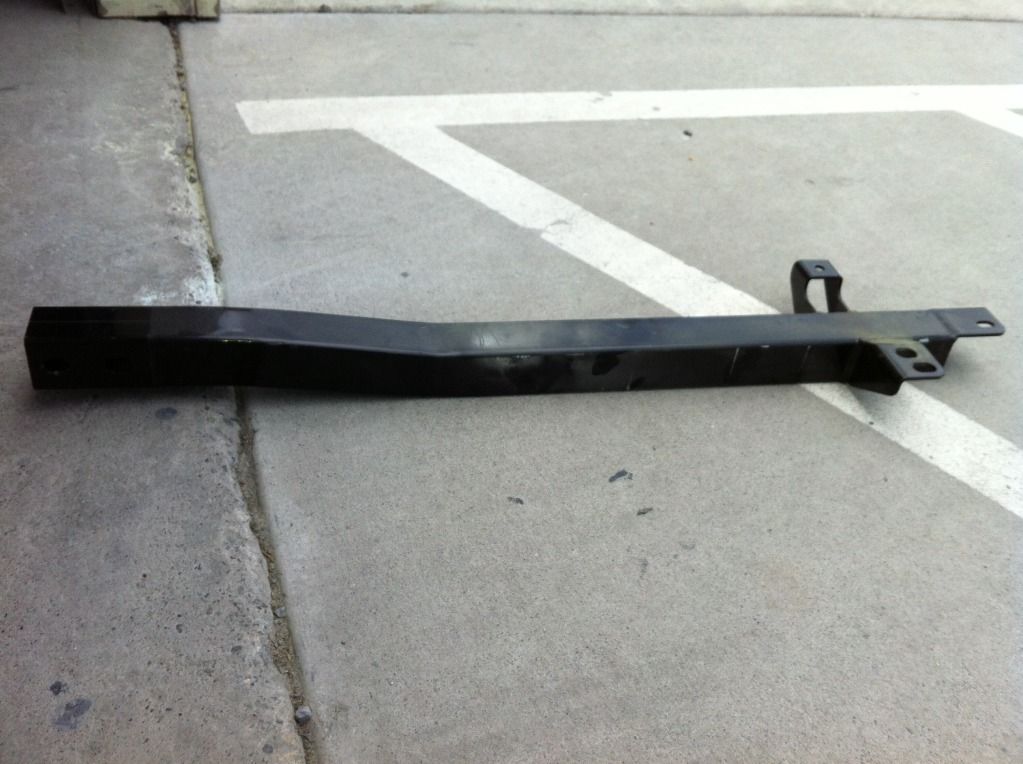
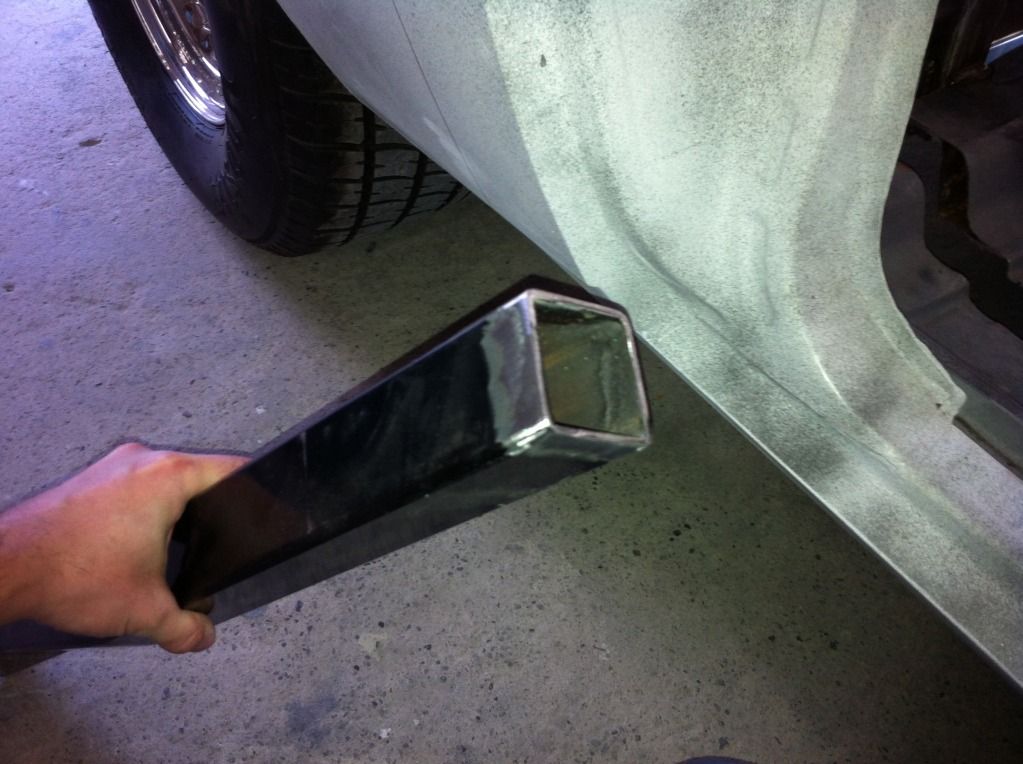
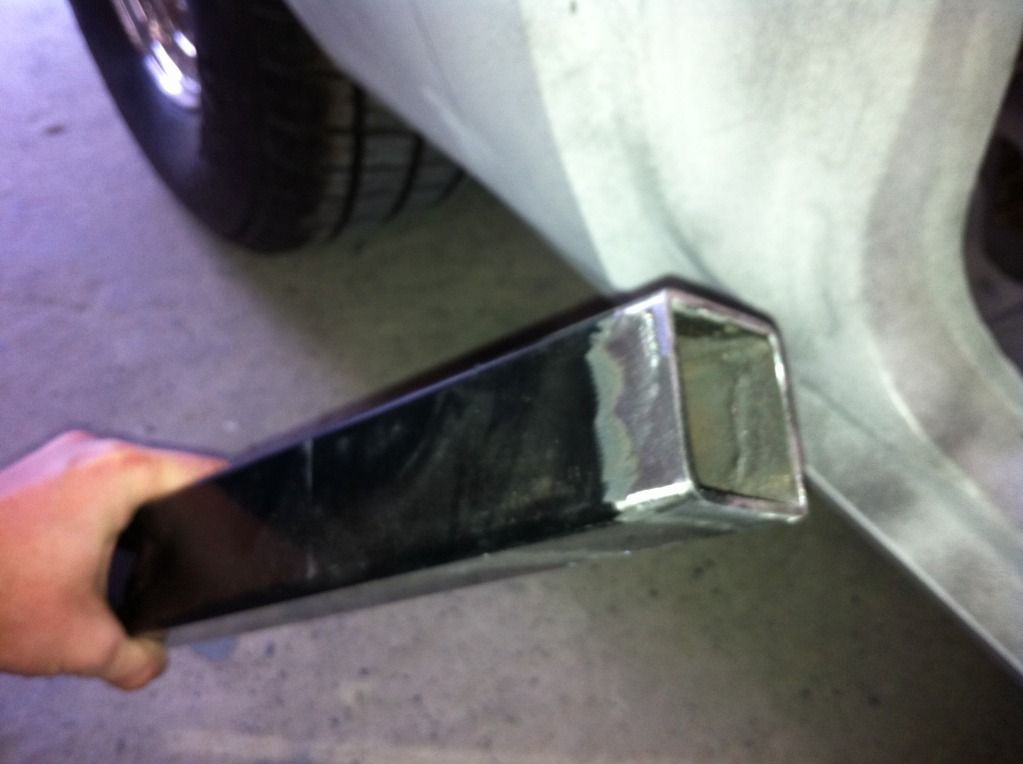
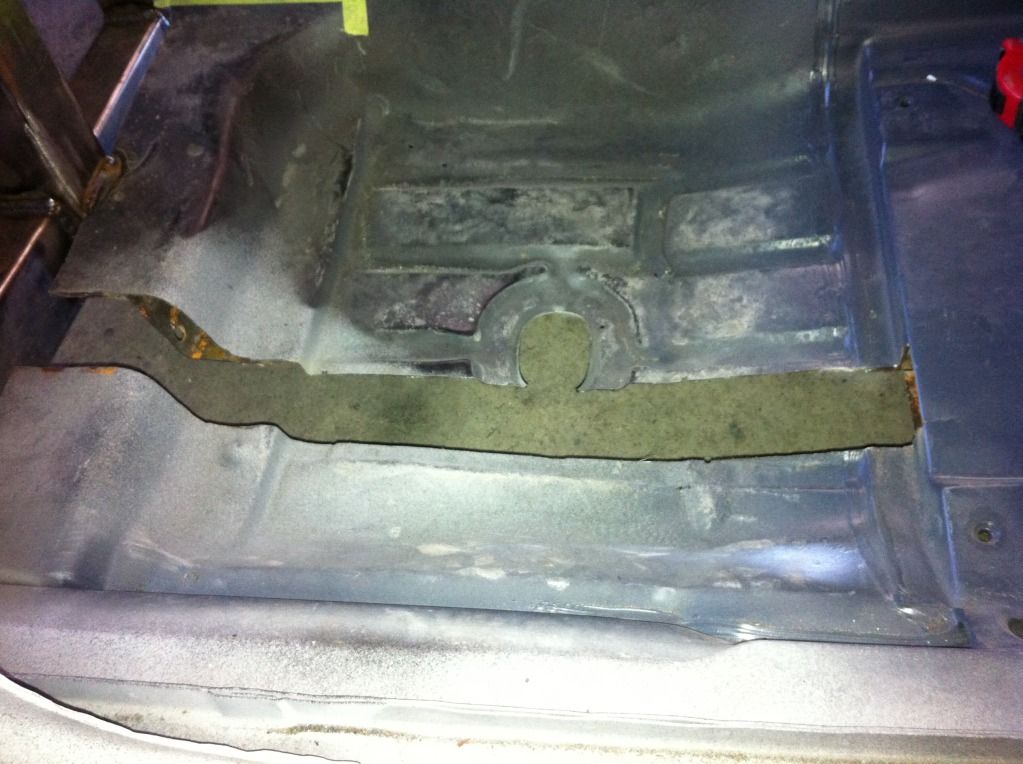
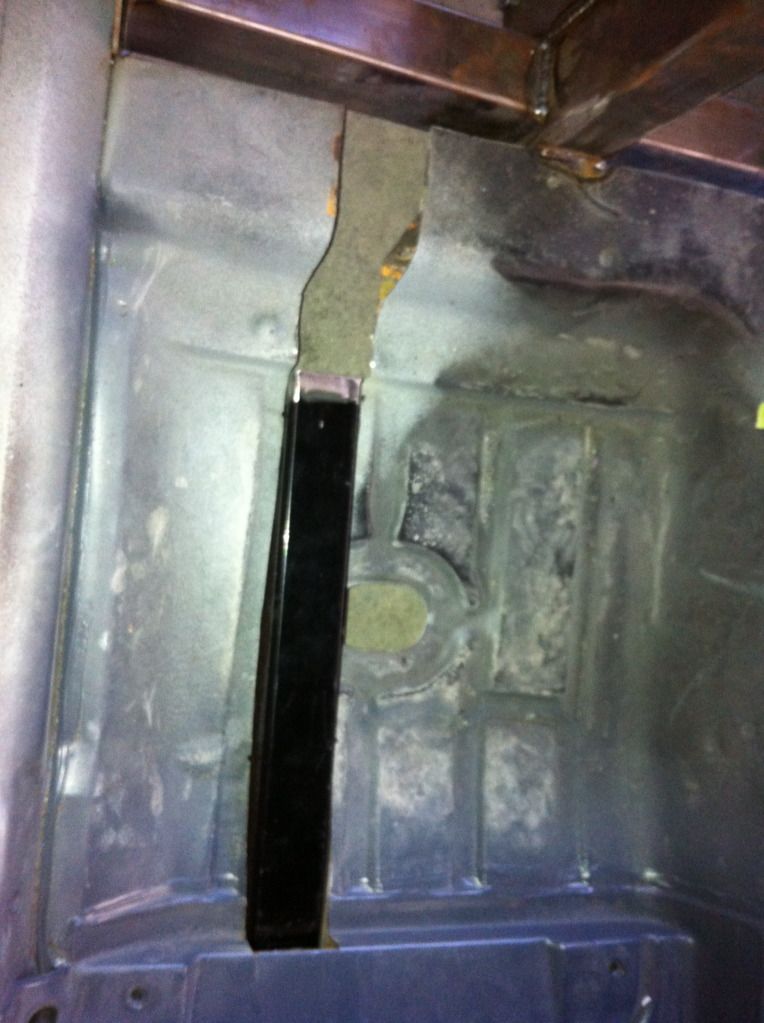
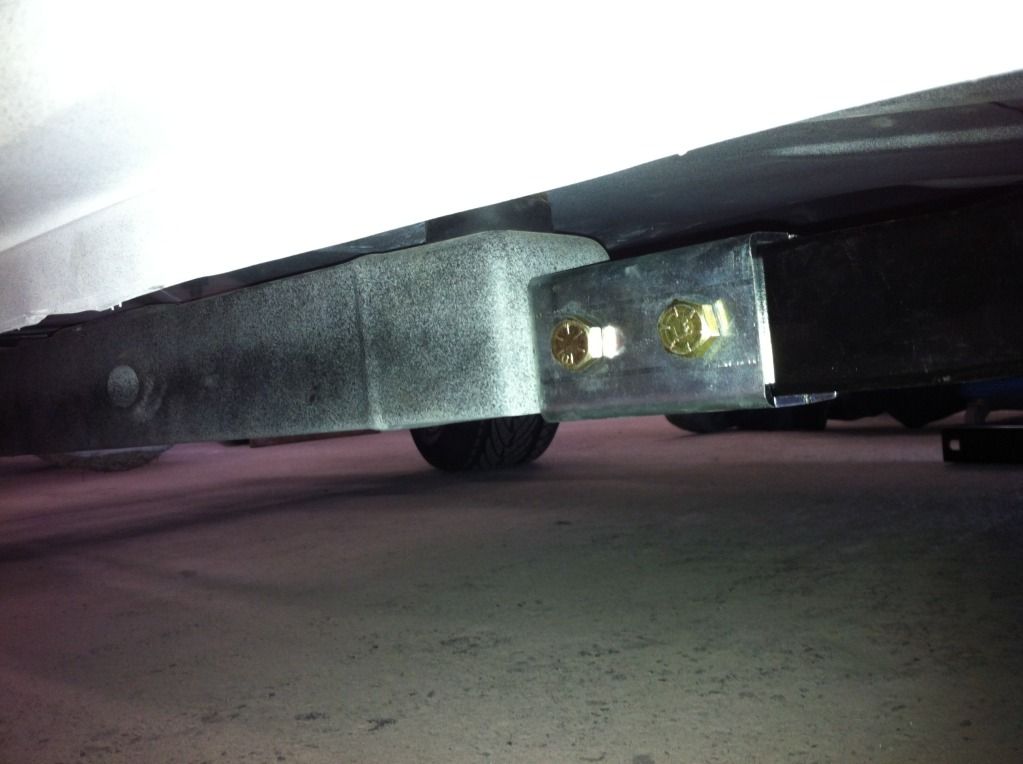
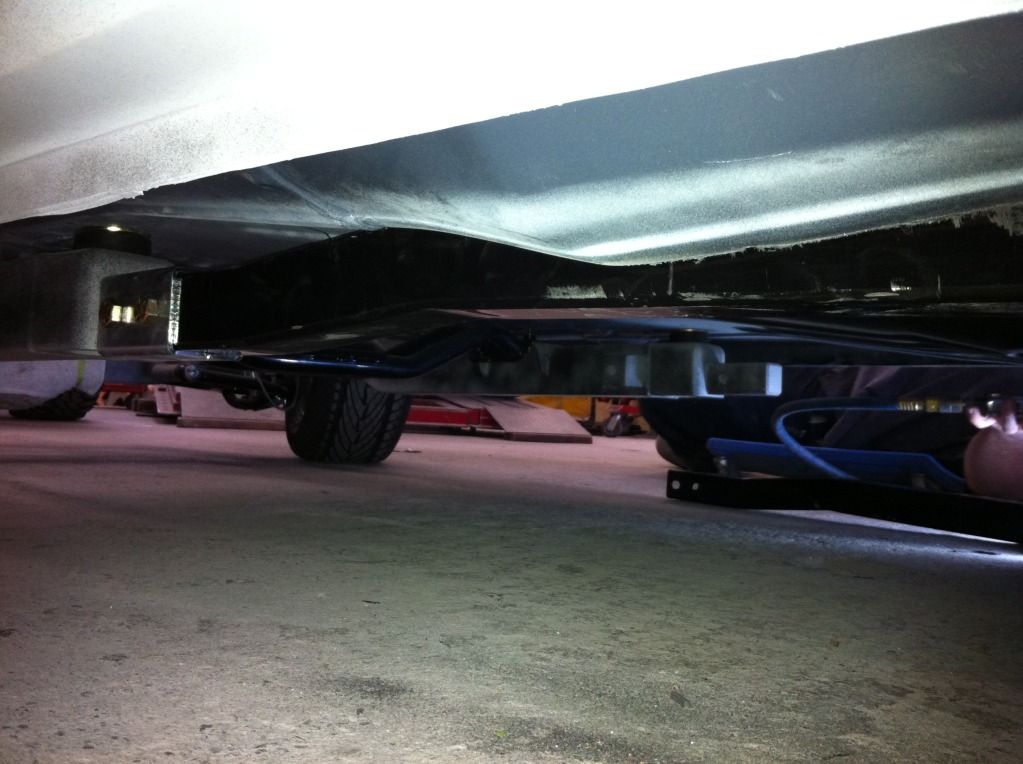
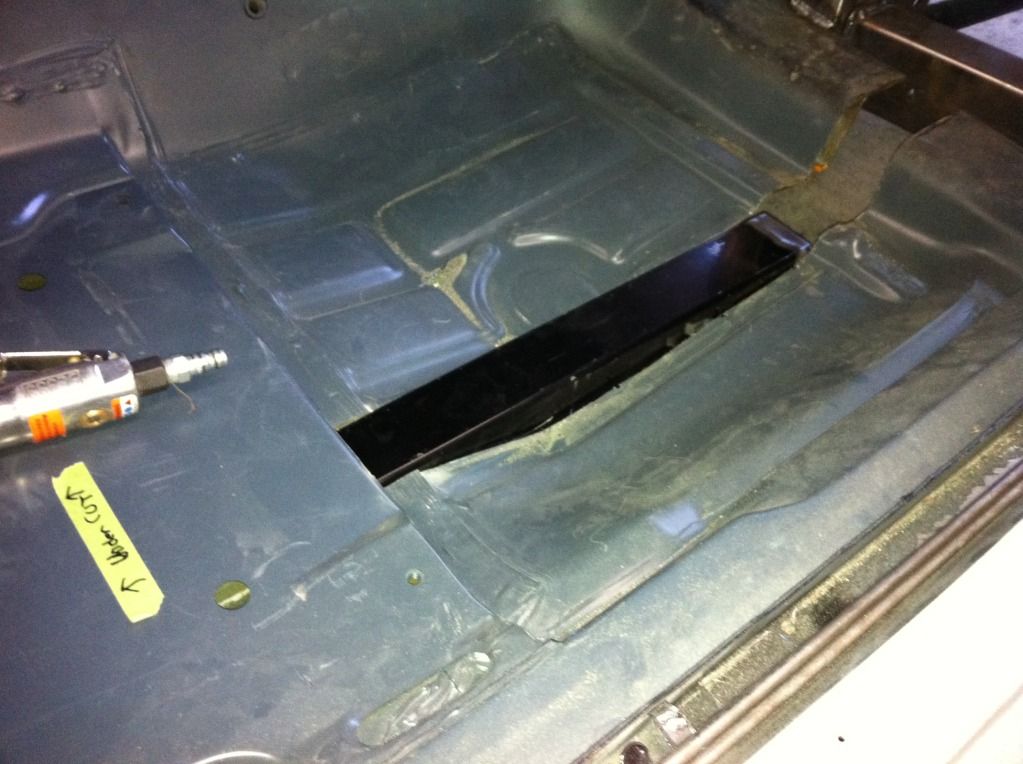
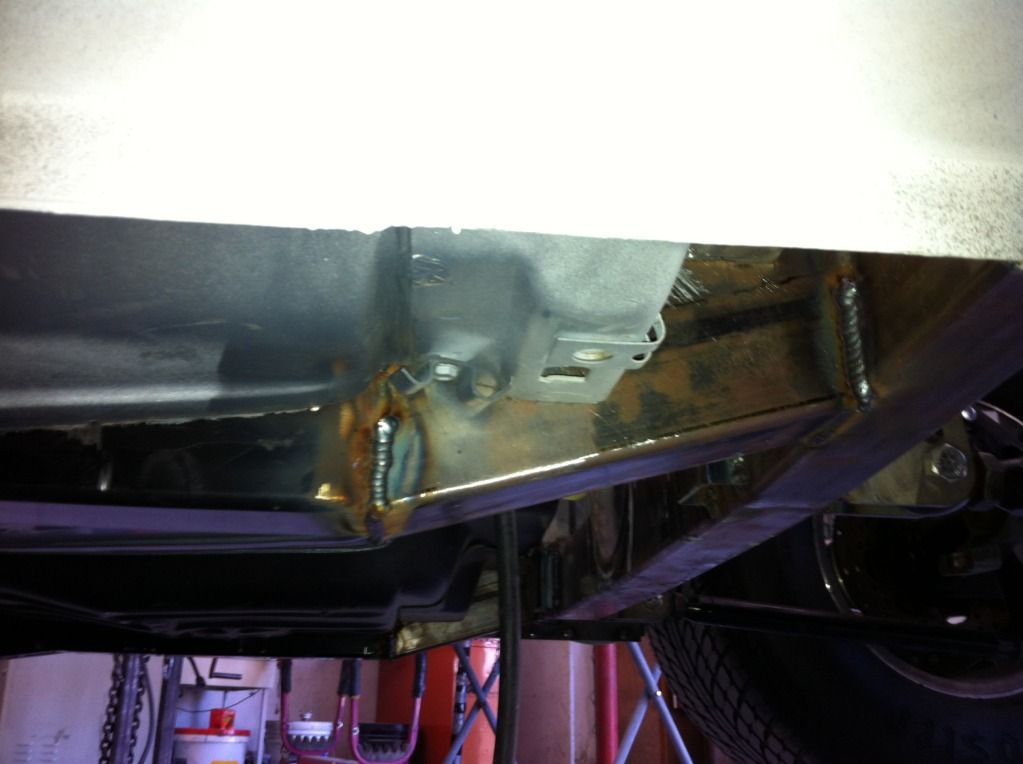
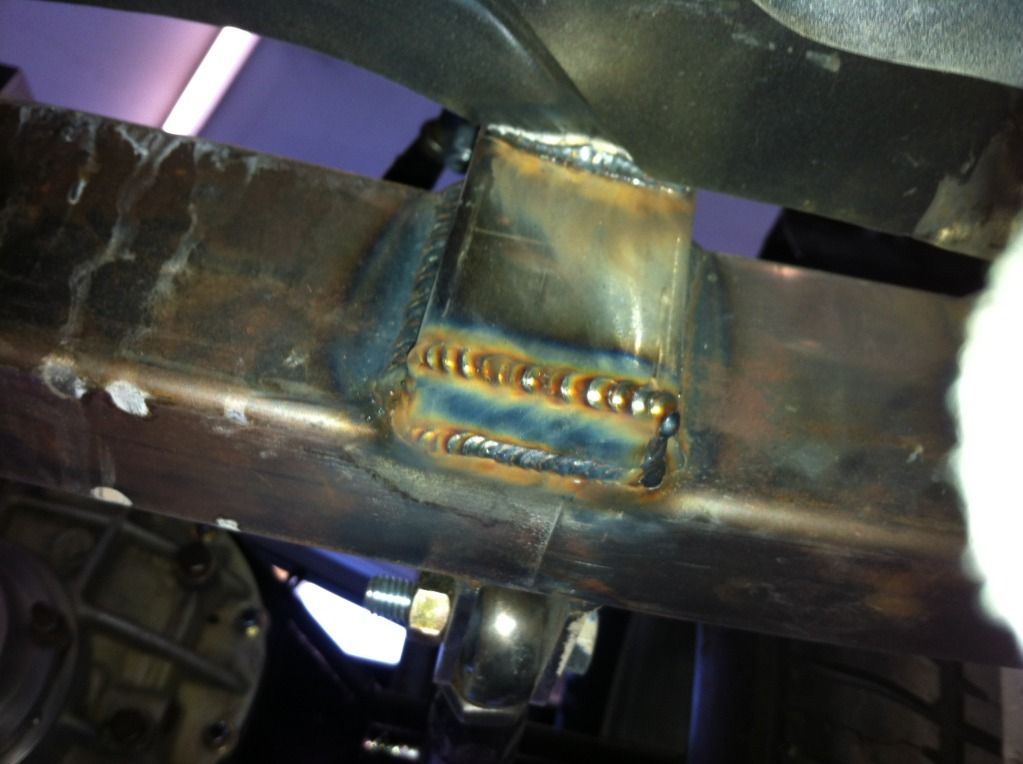
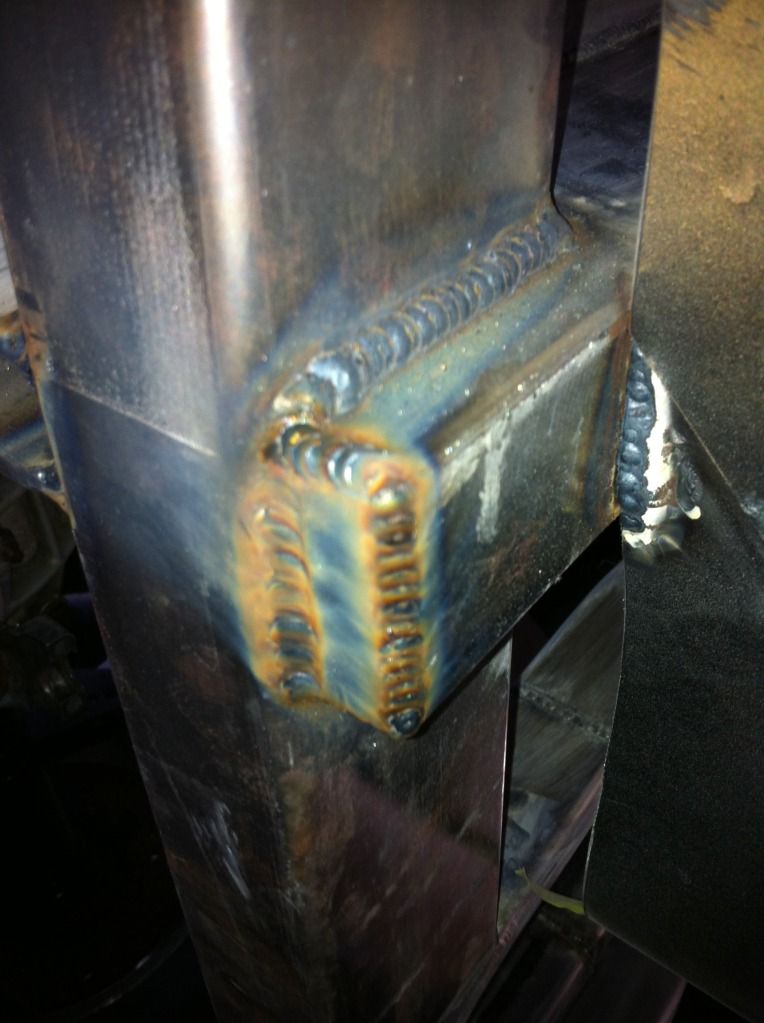
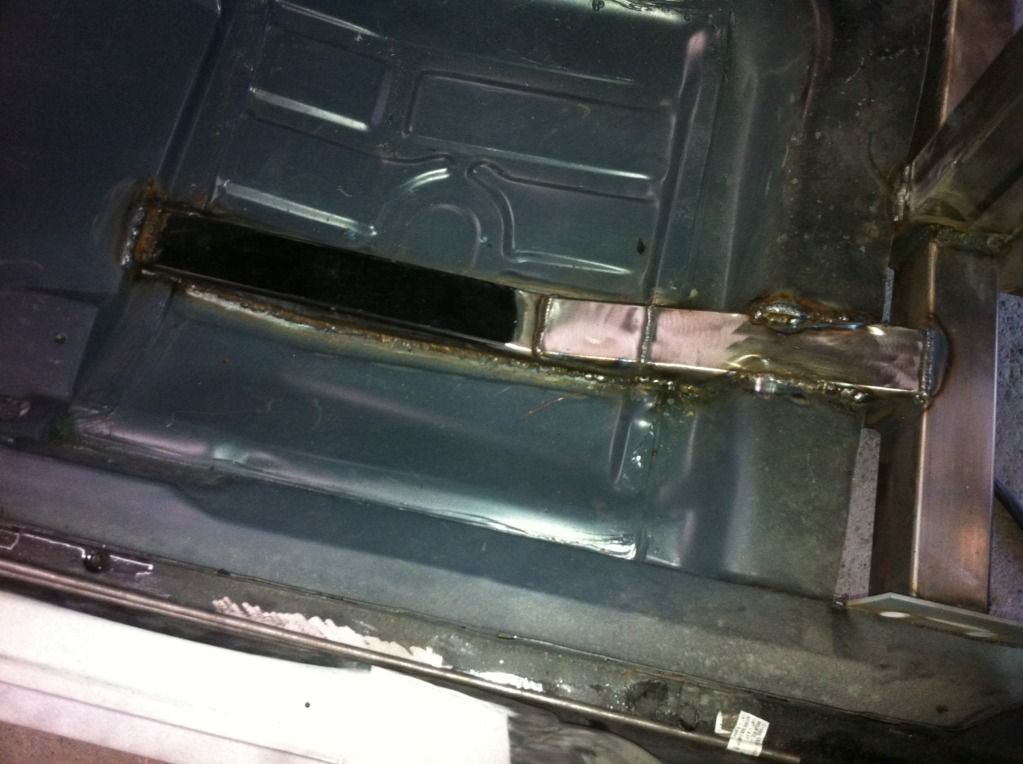
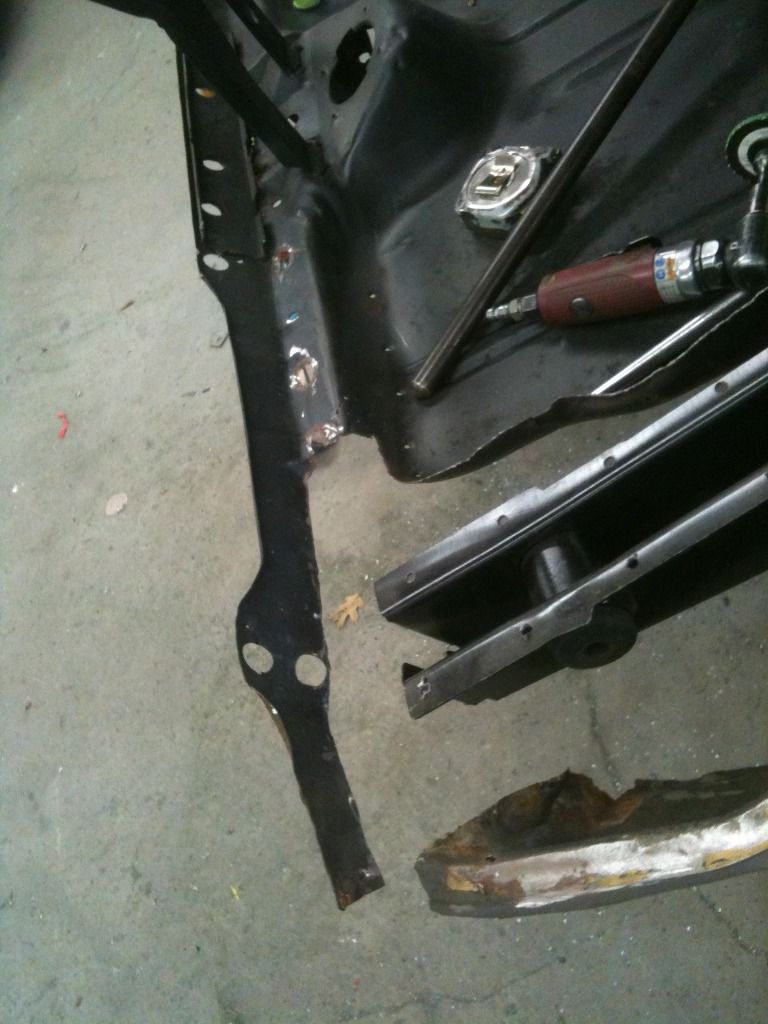
I had attempted to replace a crumpled frame rail a few years back and realized it was a lost cause. You can see the end of it through a cut out in the trunk floor.
1347412736.jpg

1347412723.jpg

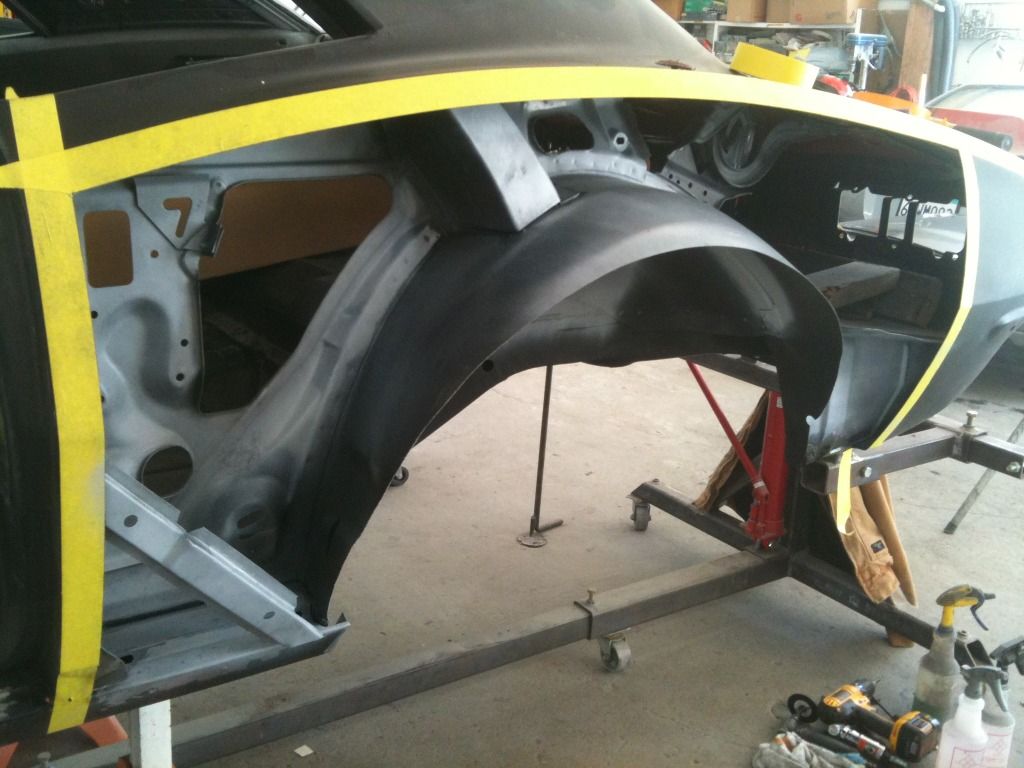
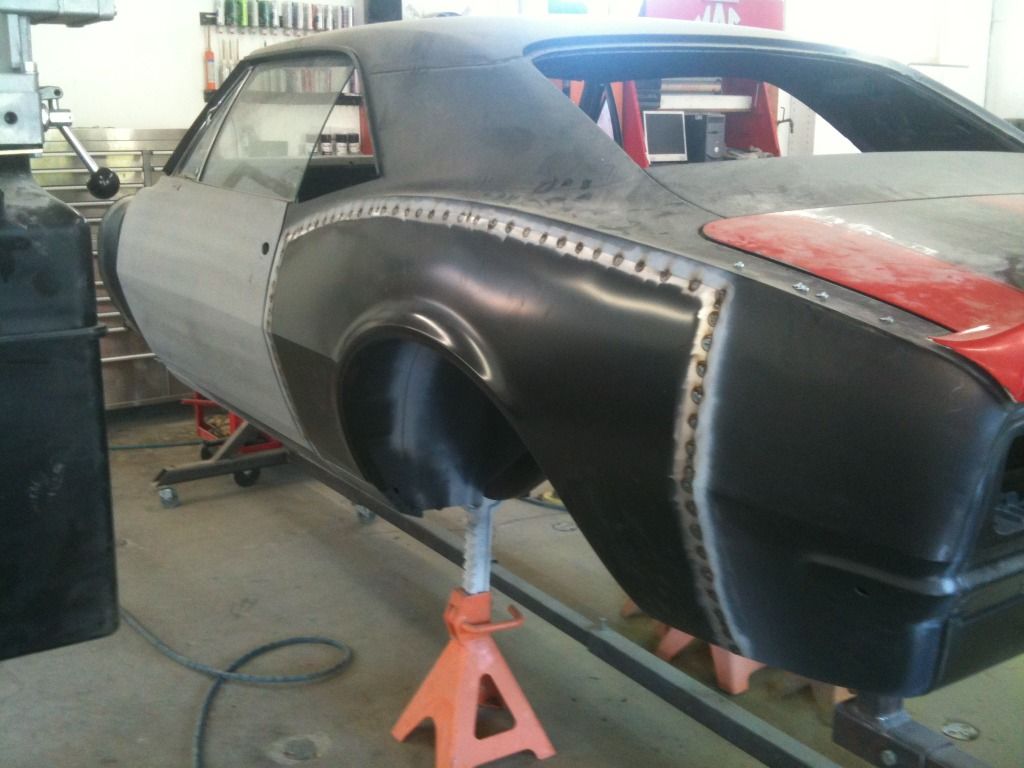
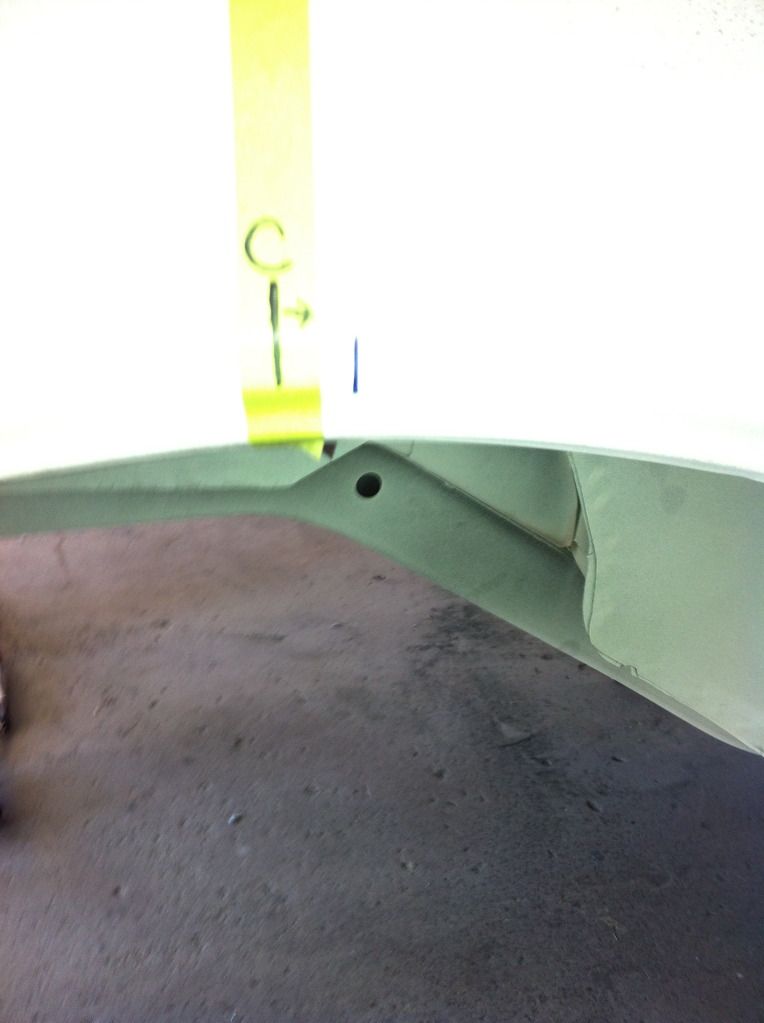
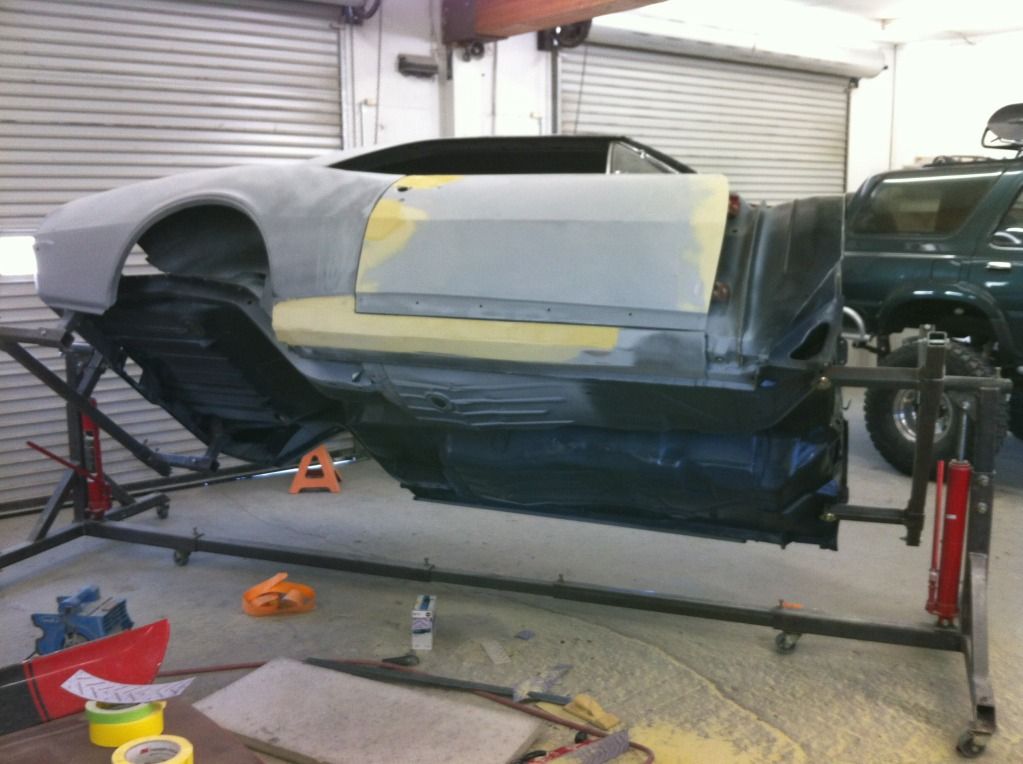
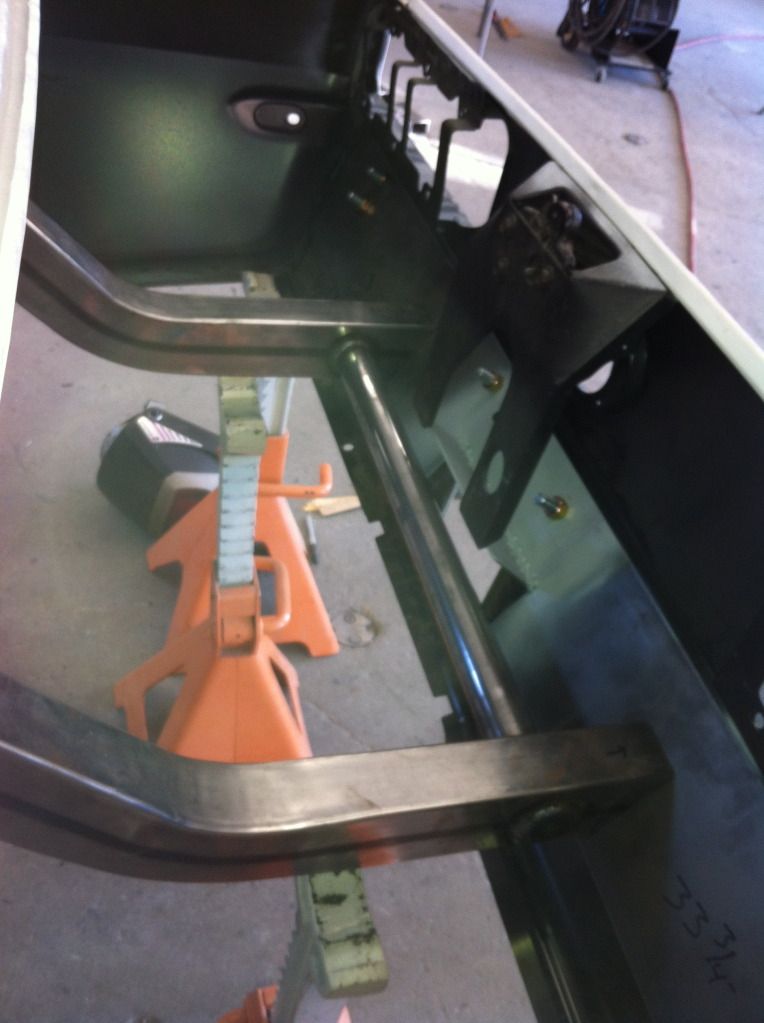
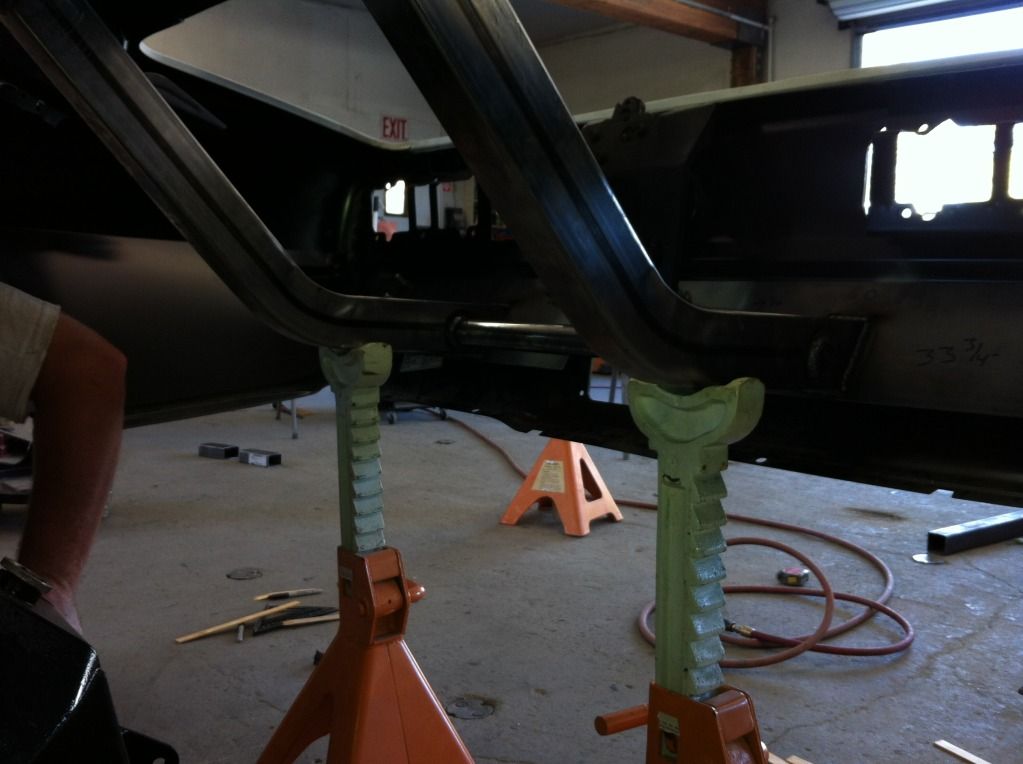
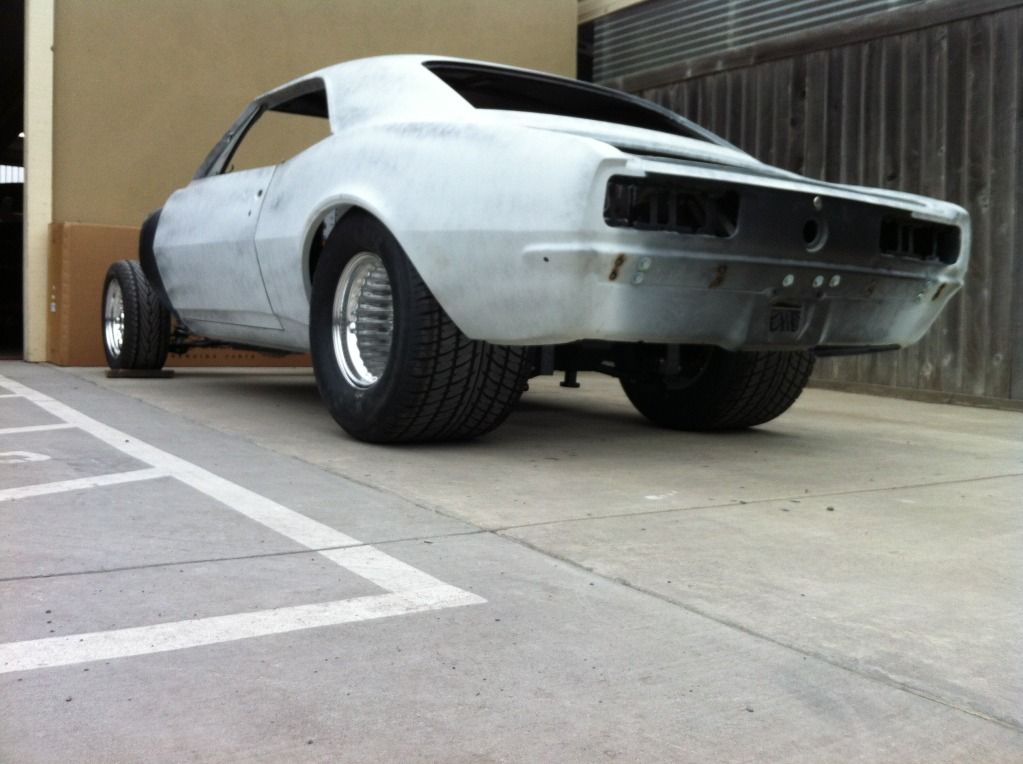
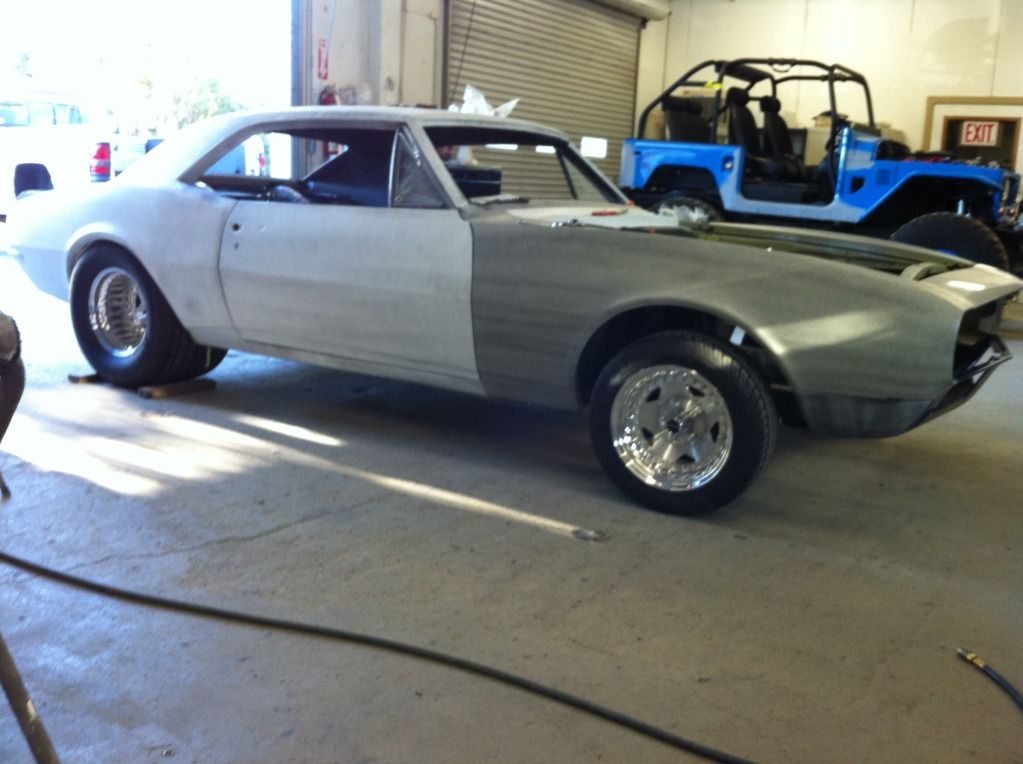
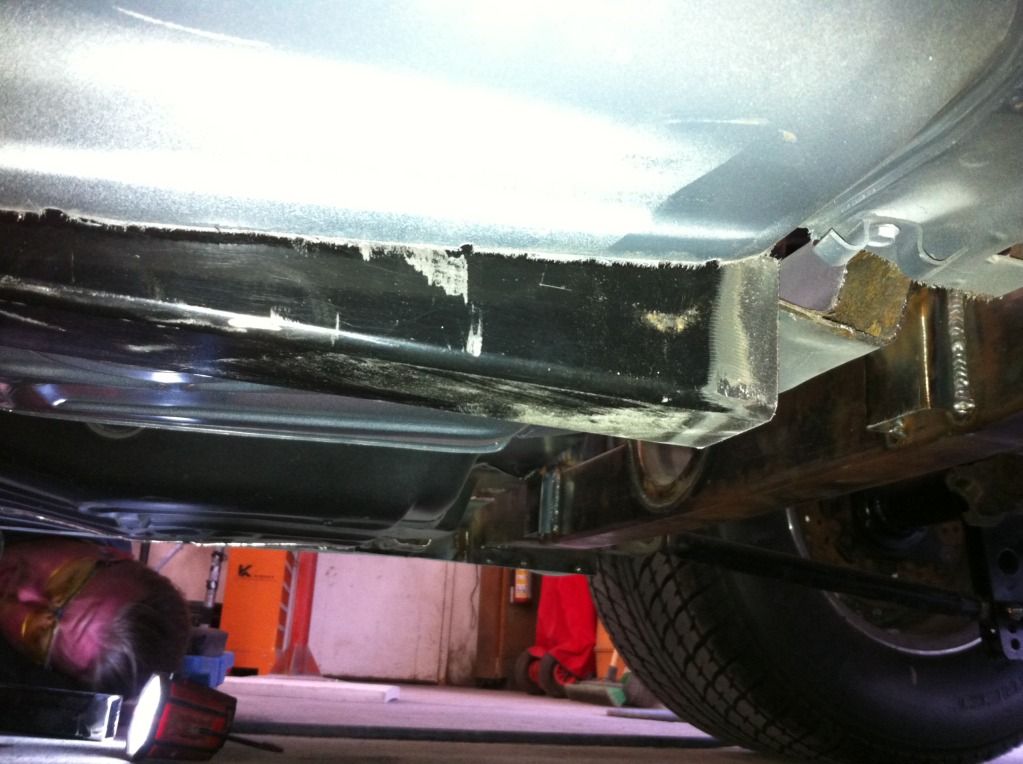
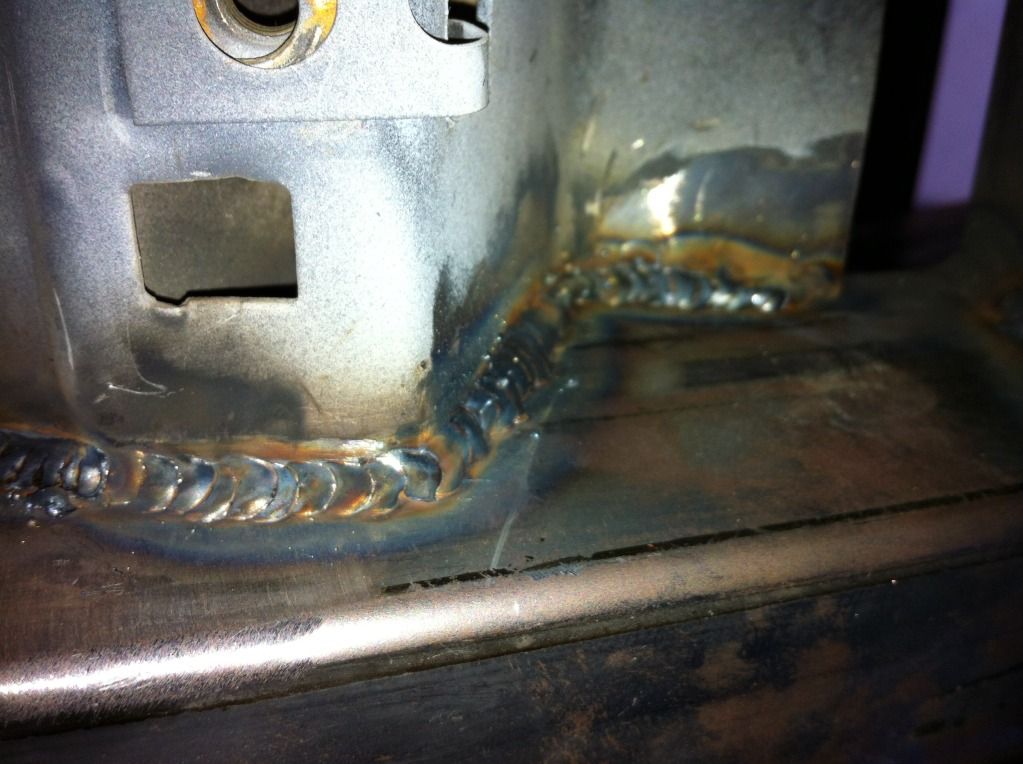
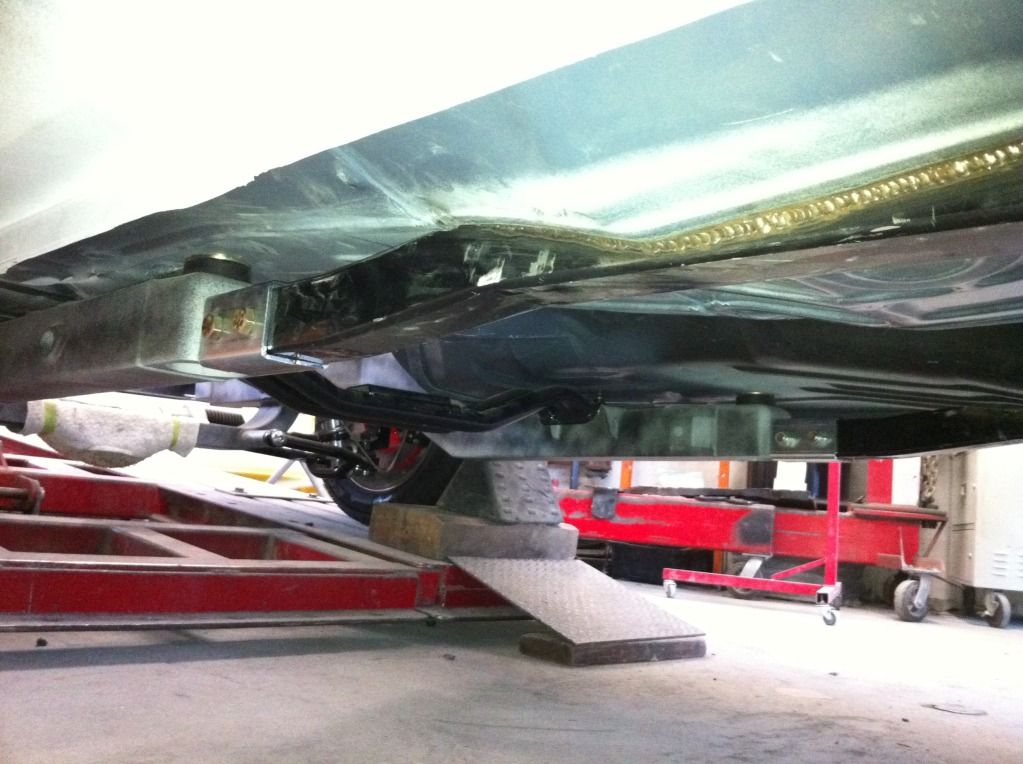
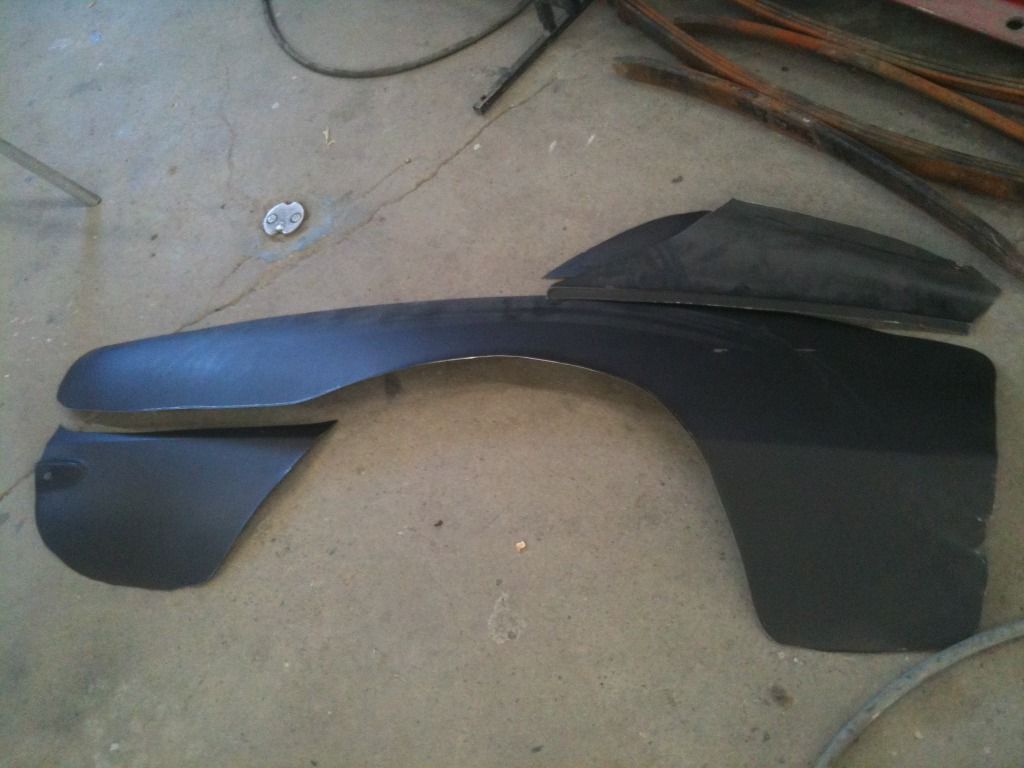
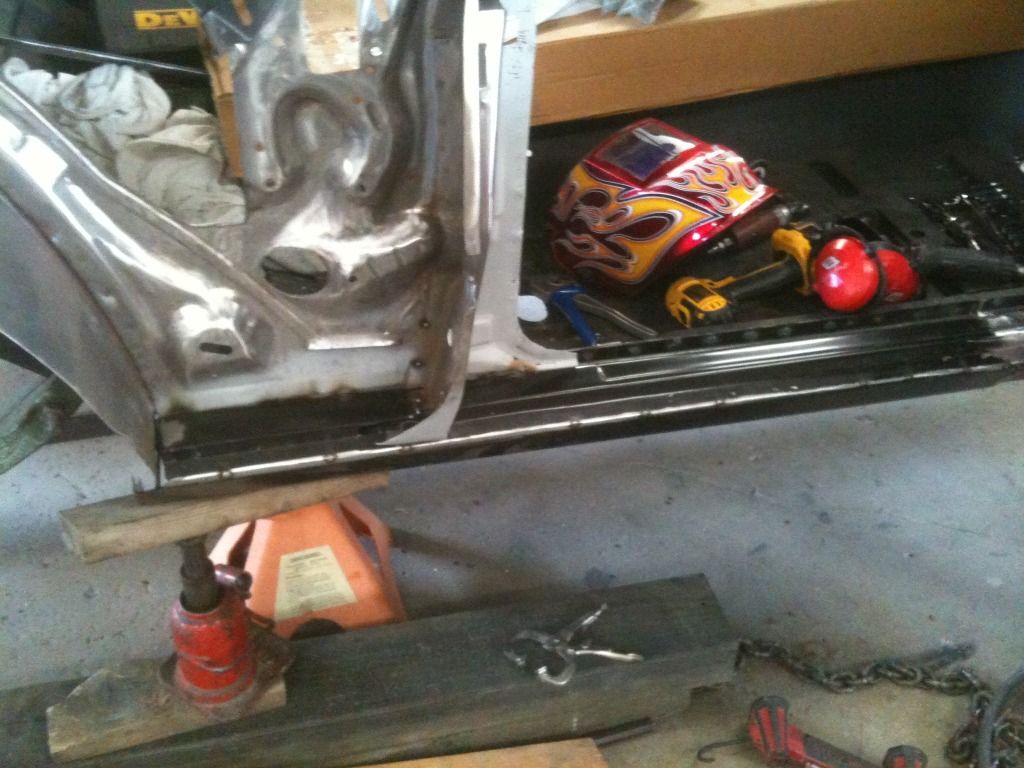
A shot of the new rocker panel spliced in.
1347412703.jpg

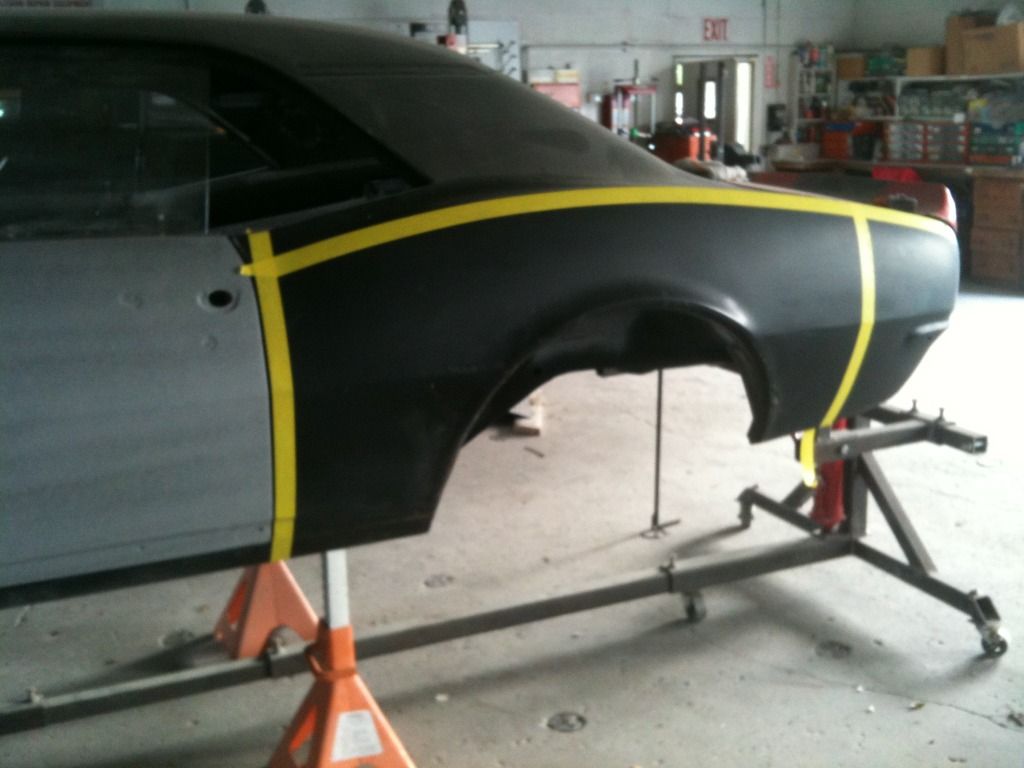
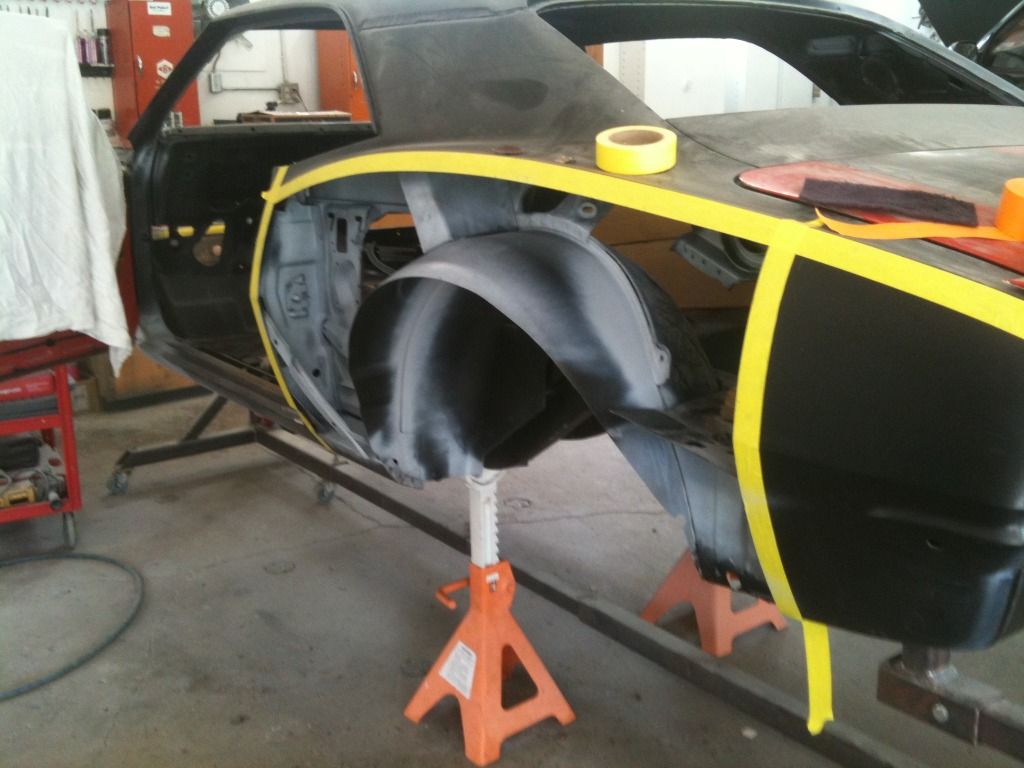
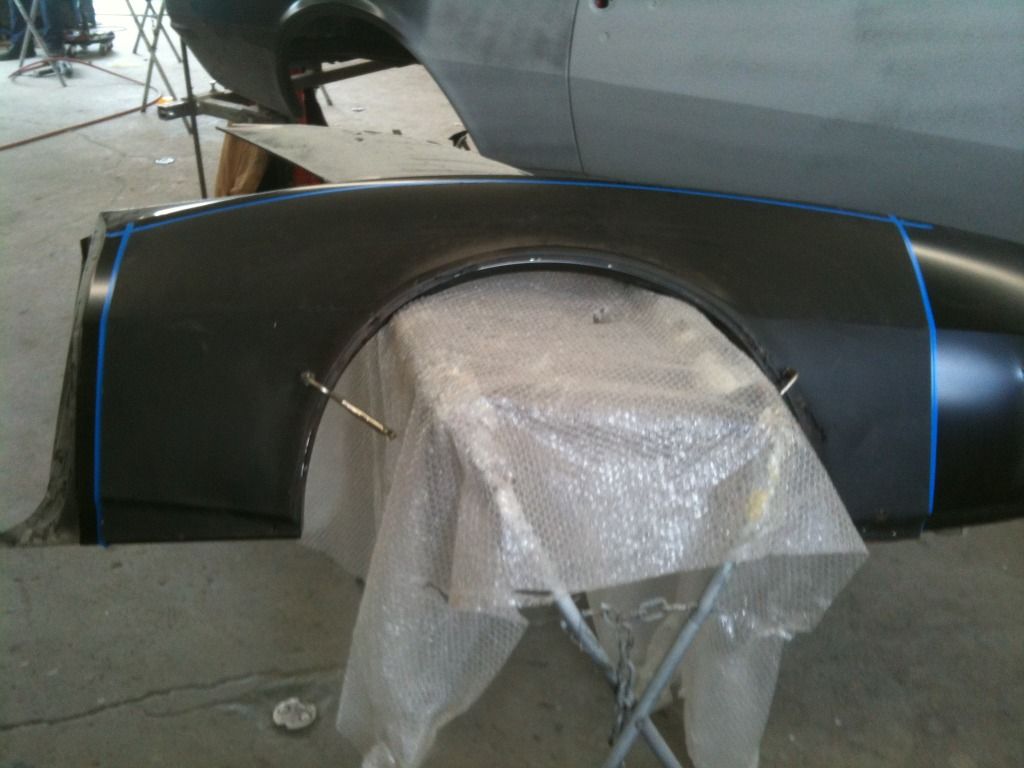
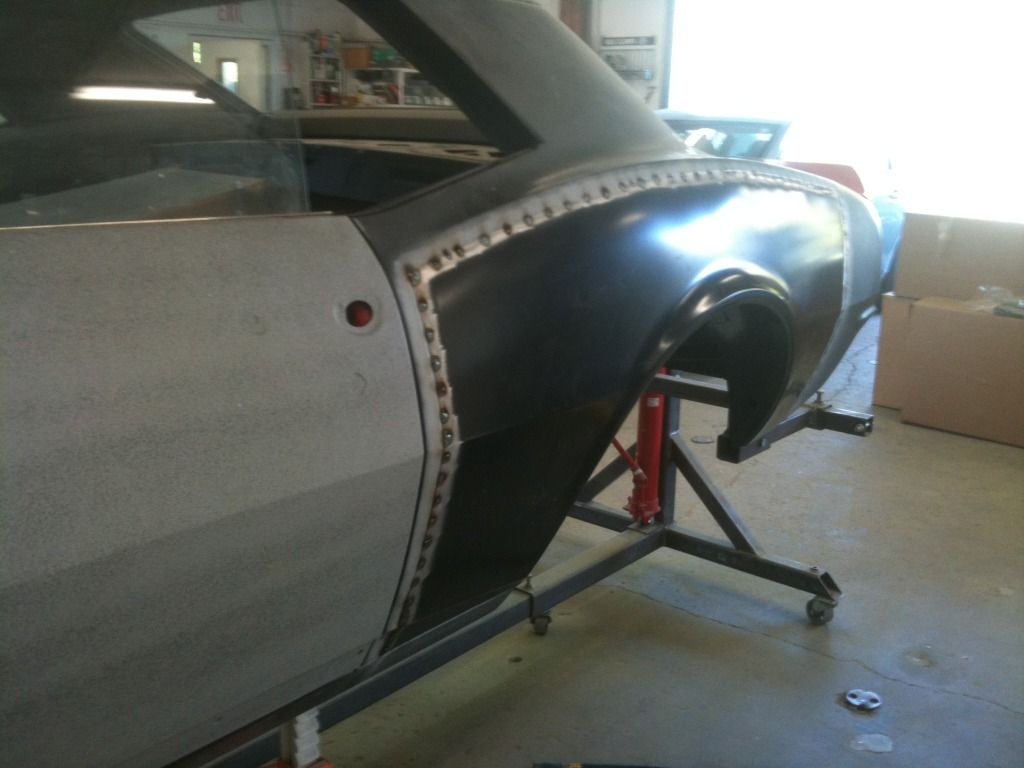
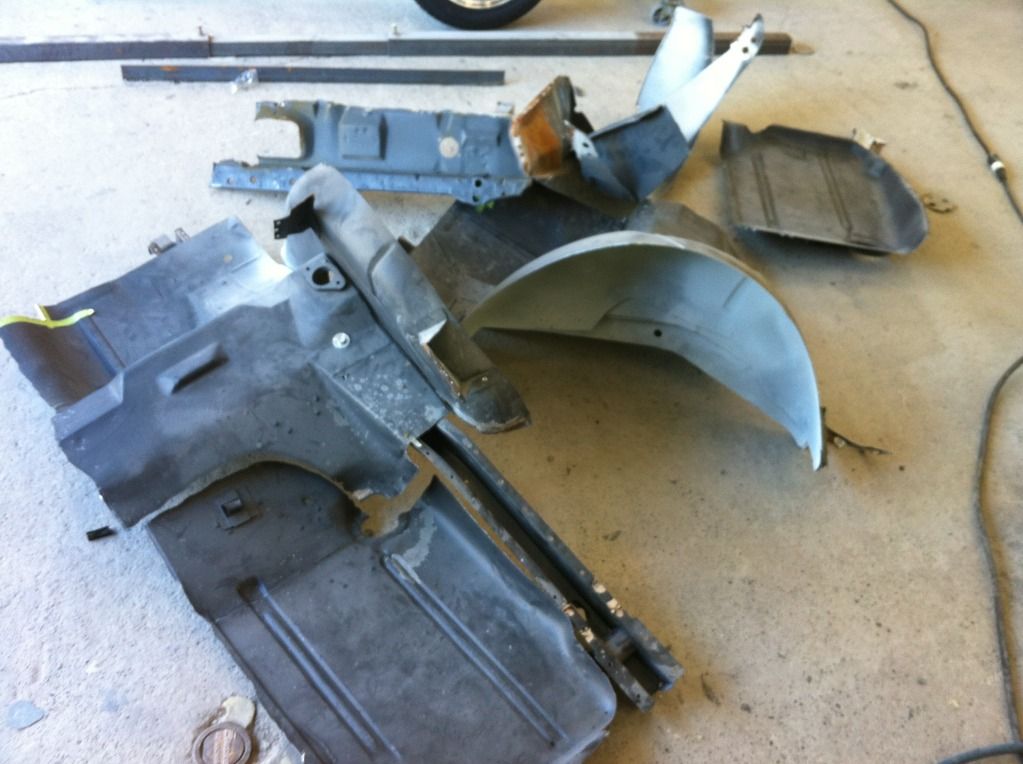
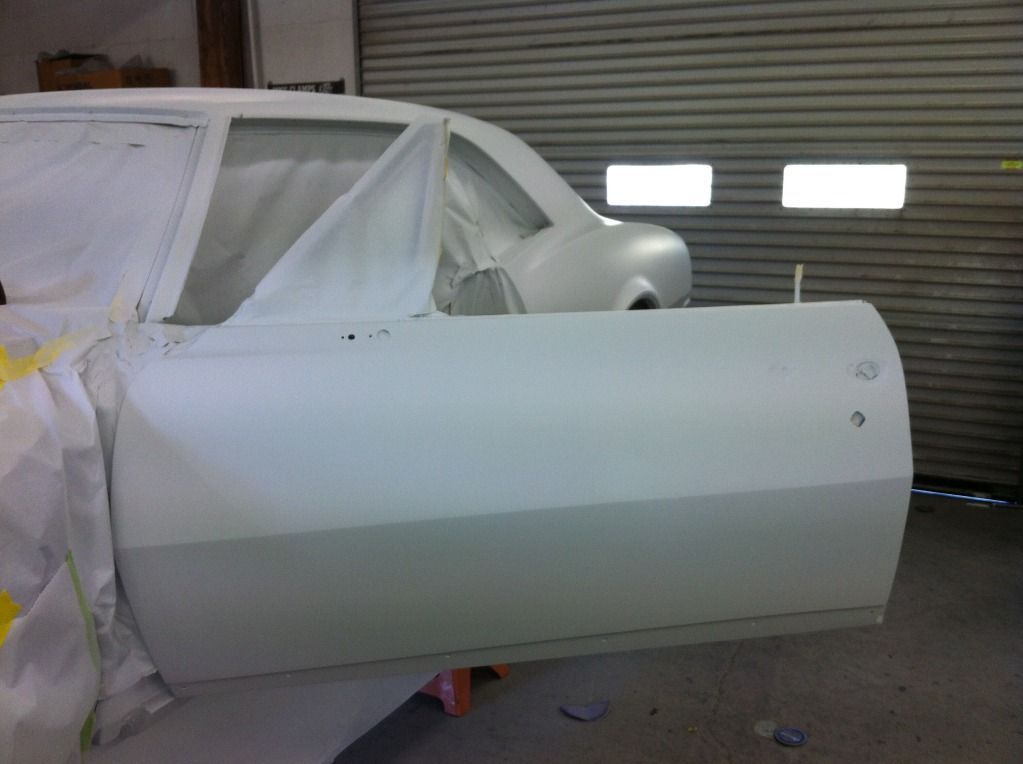
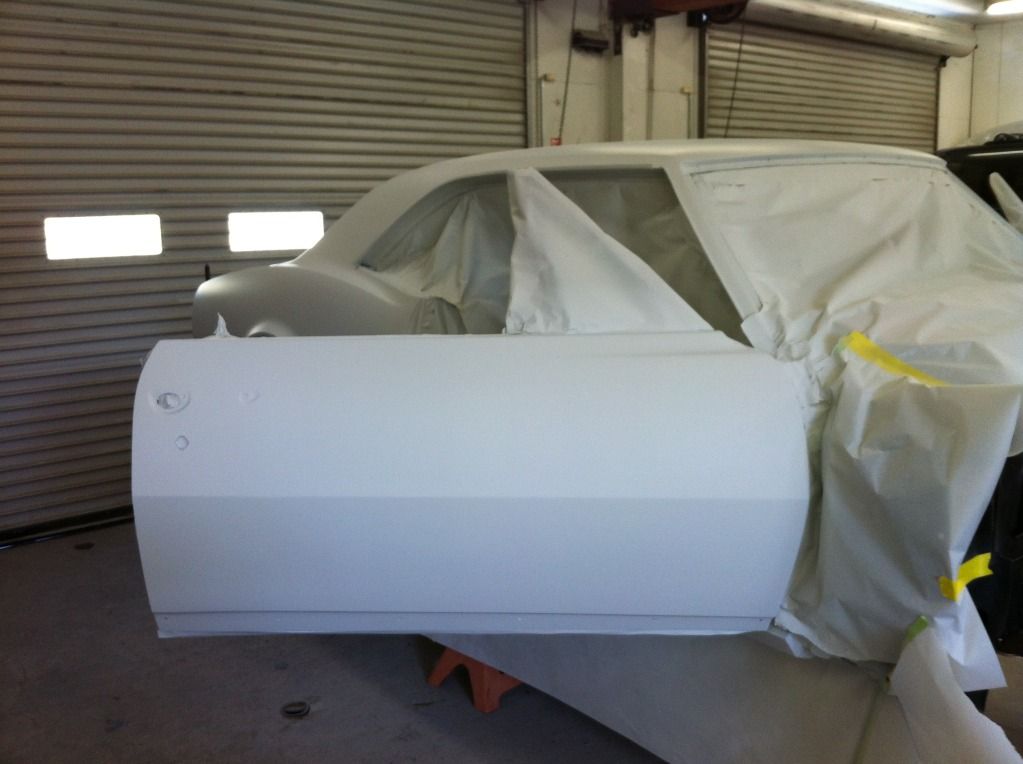
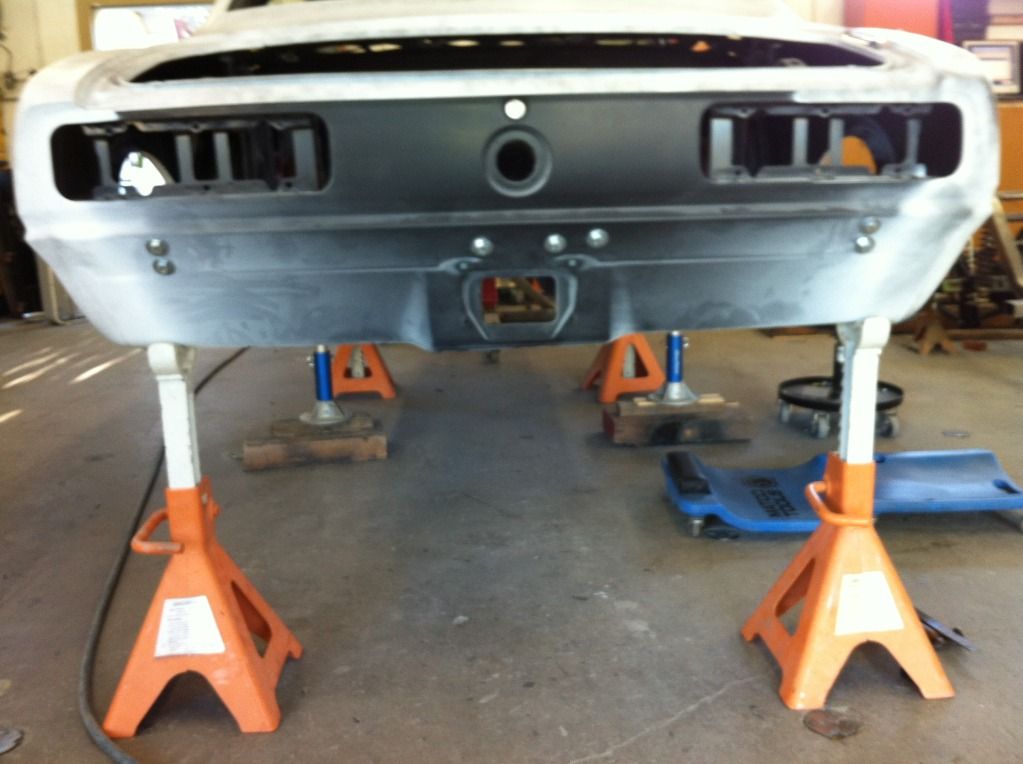
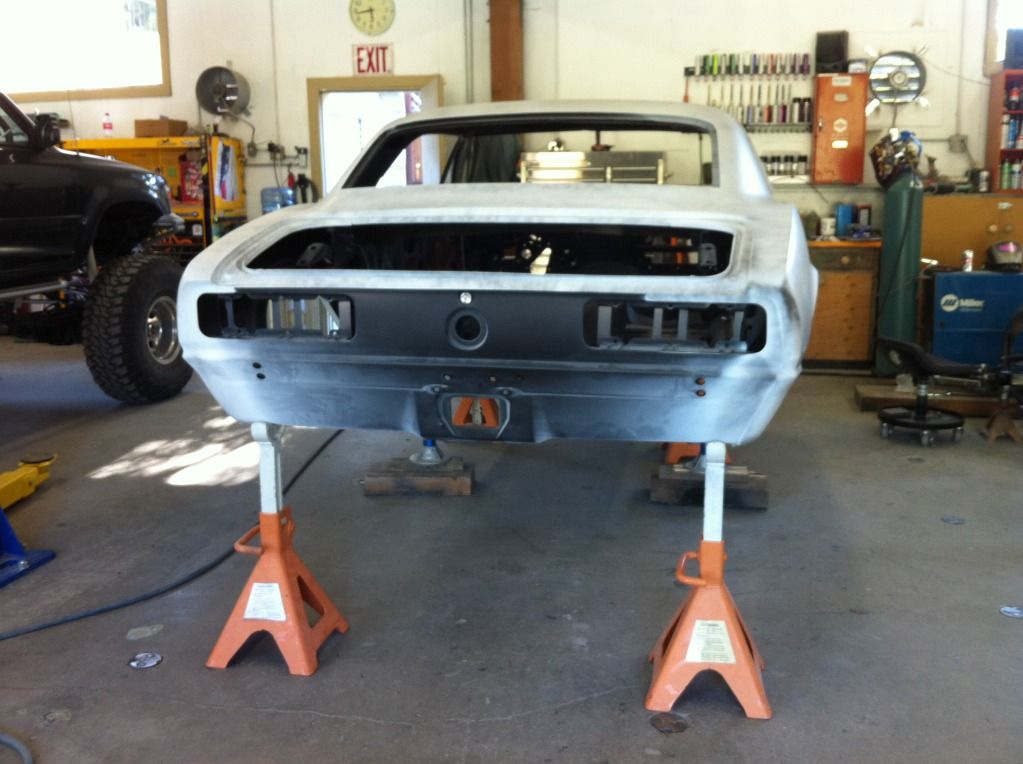
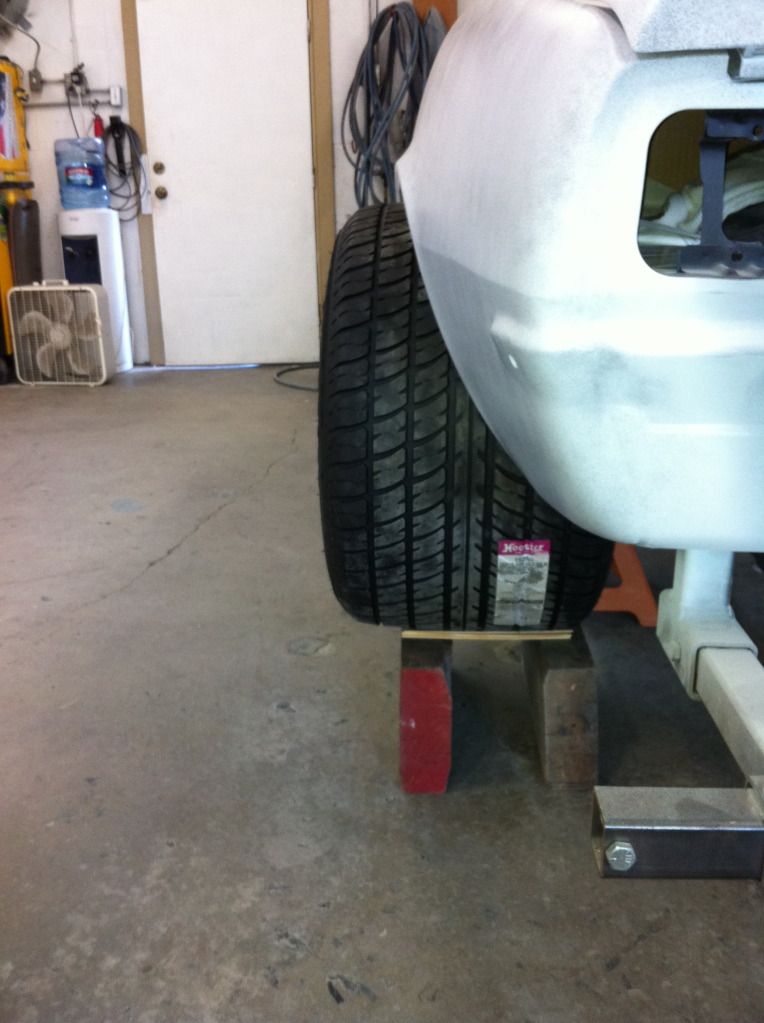
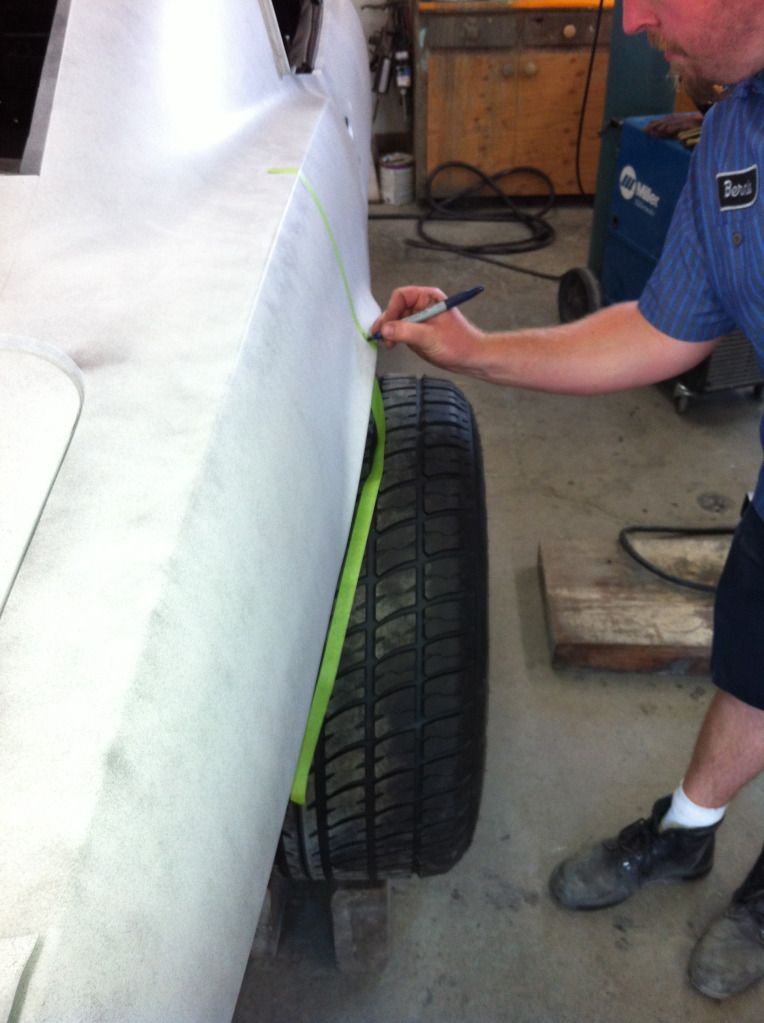
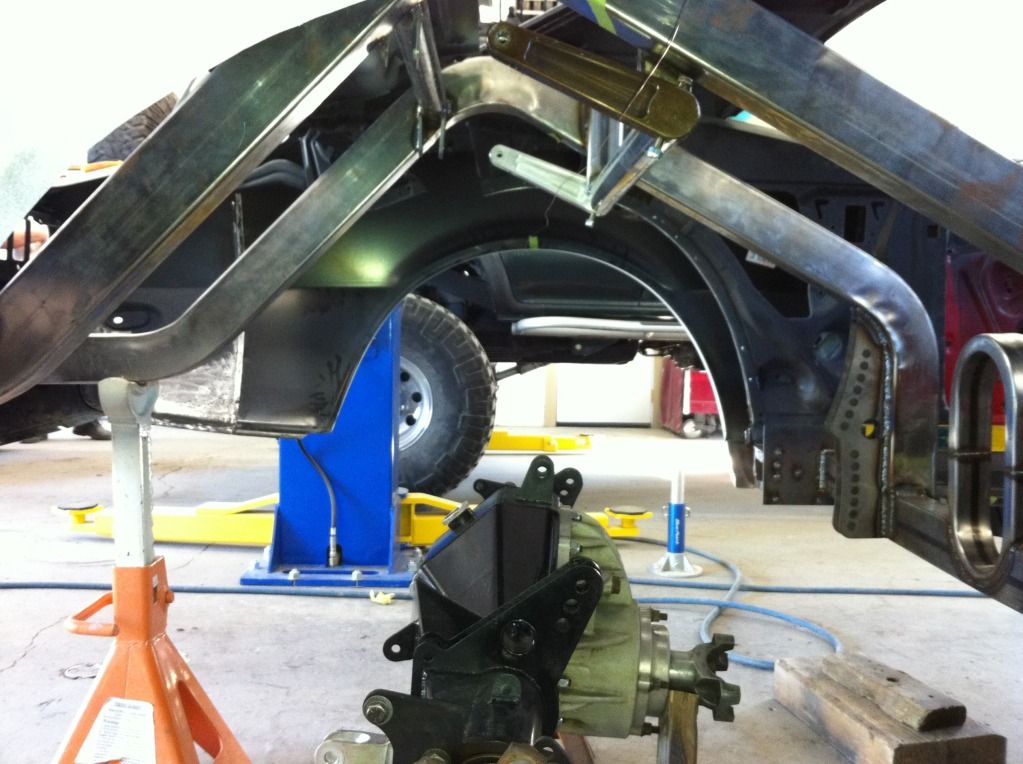
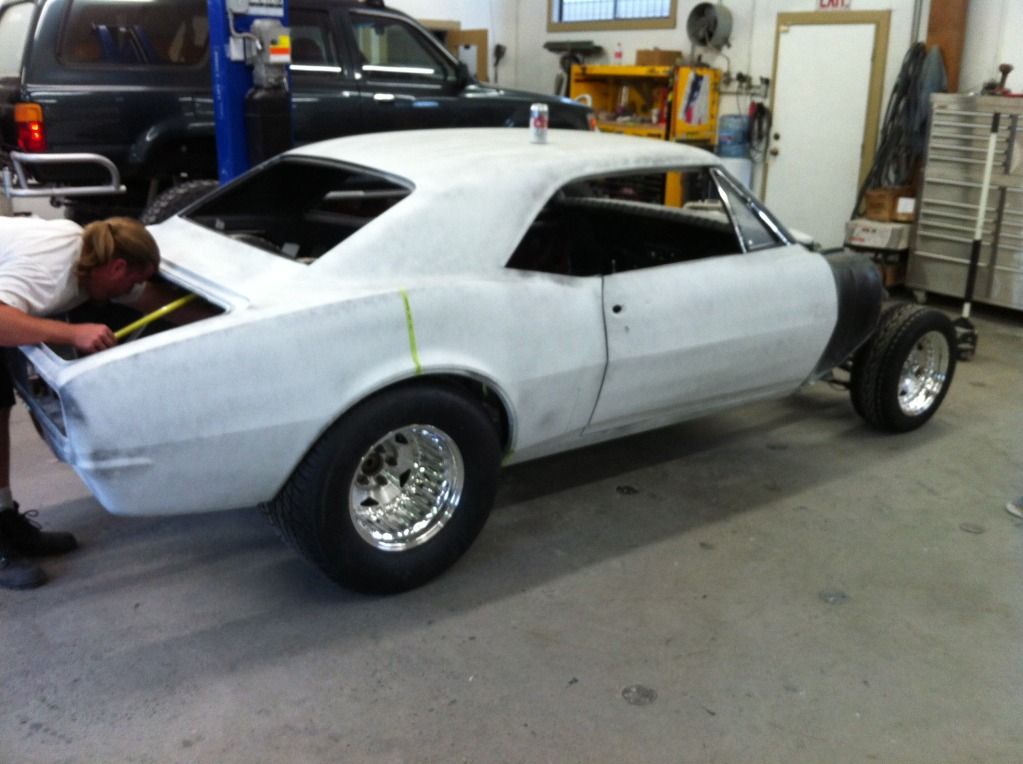
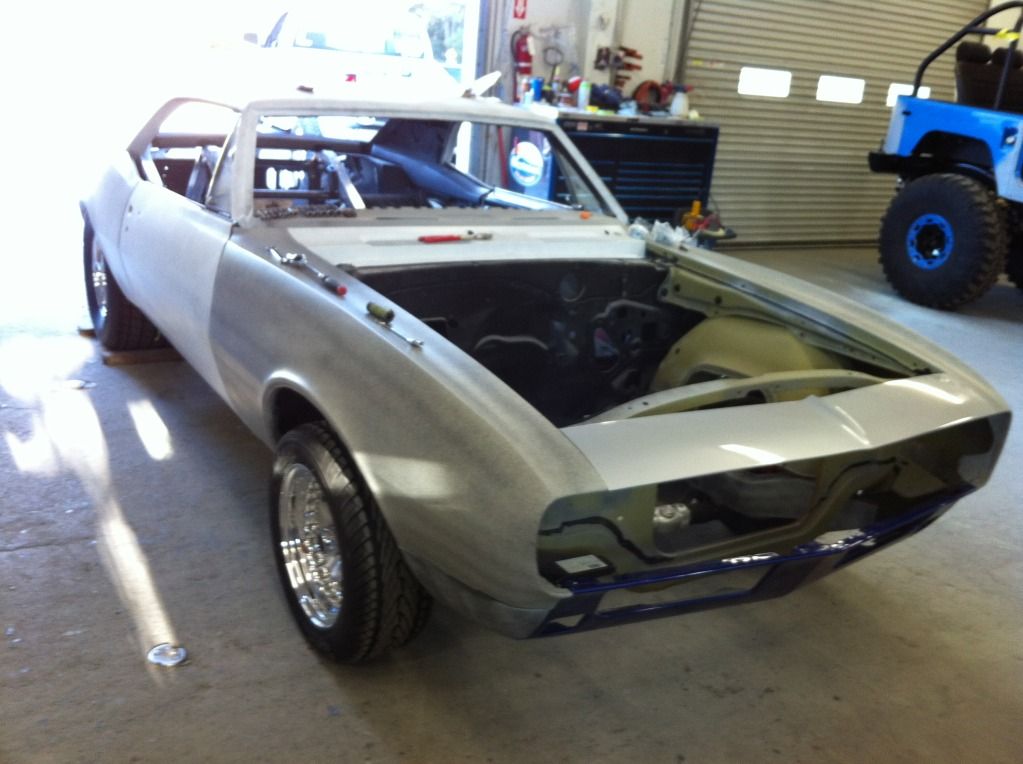
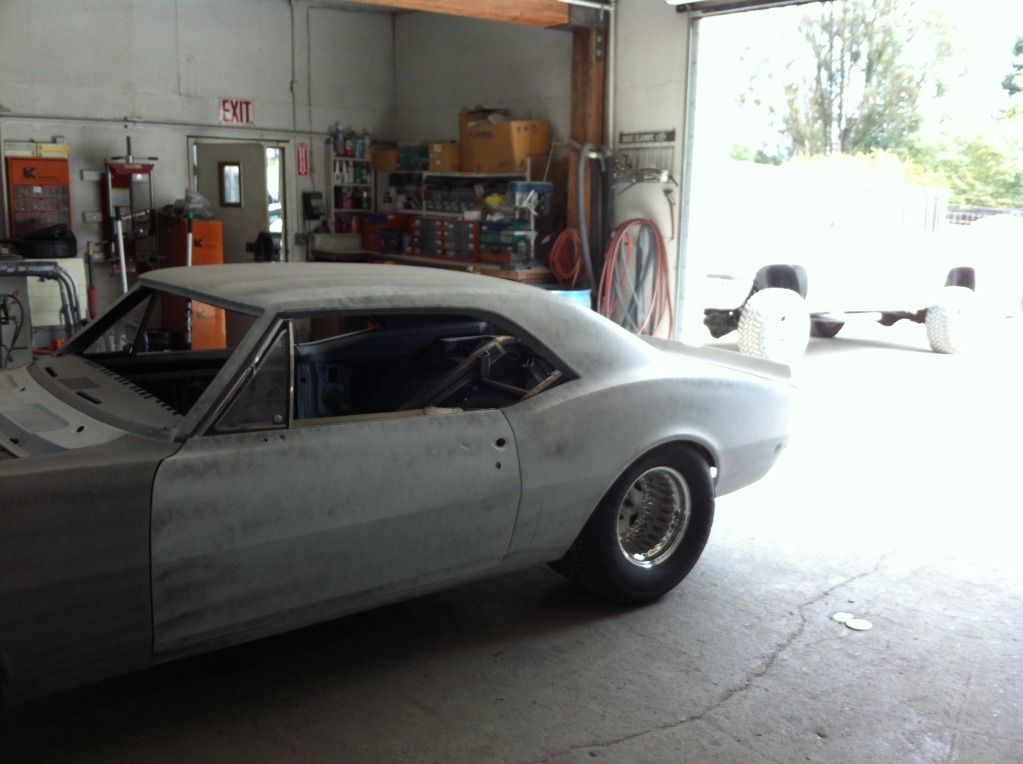
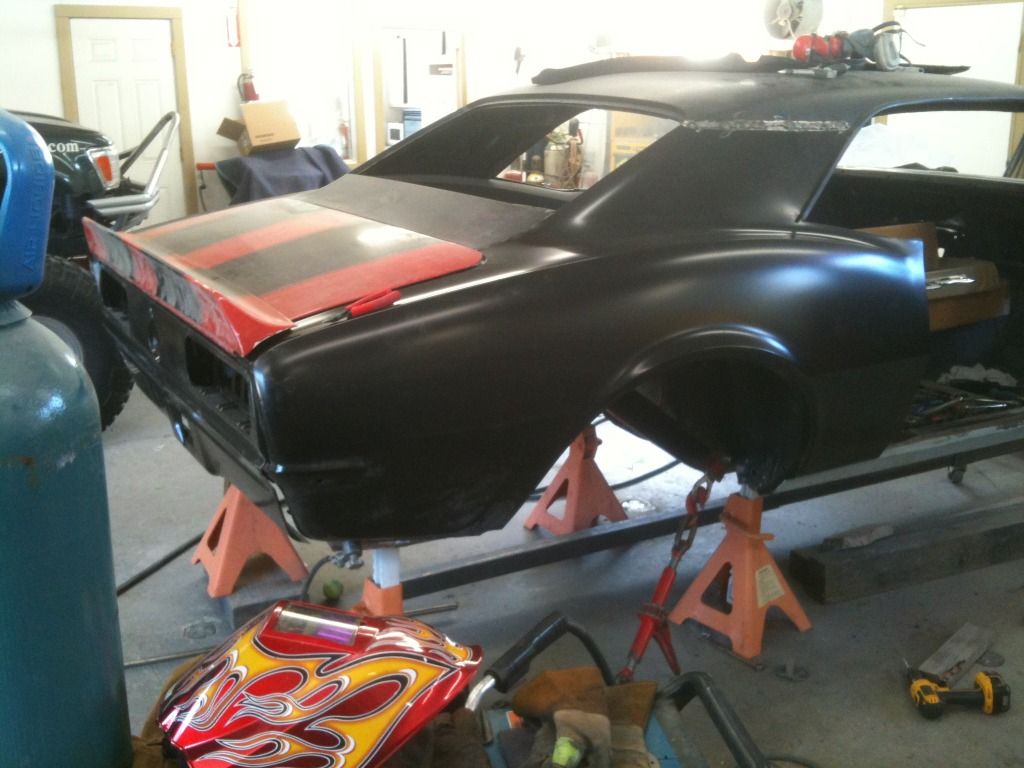
New right quarter test fit.
1347412654.jpg

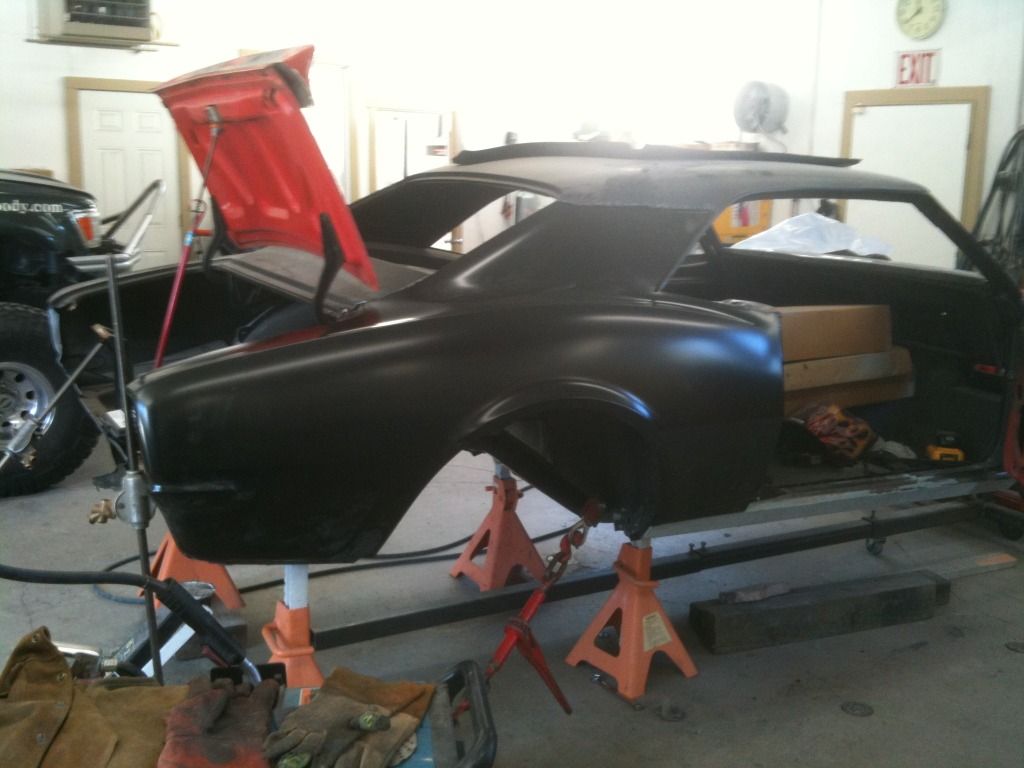
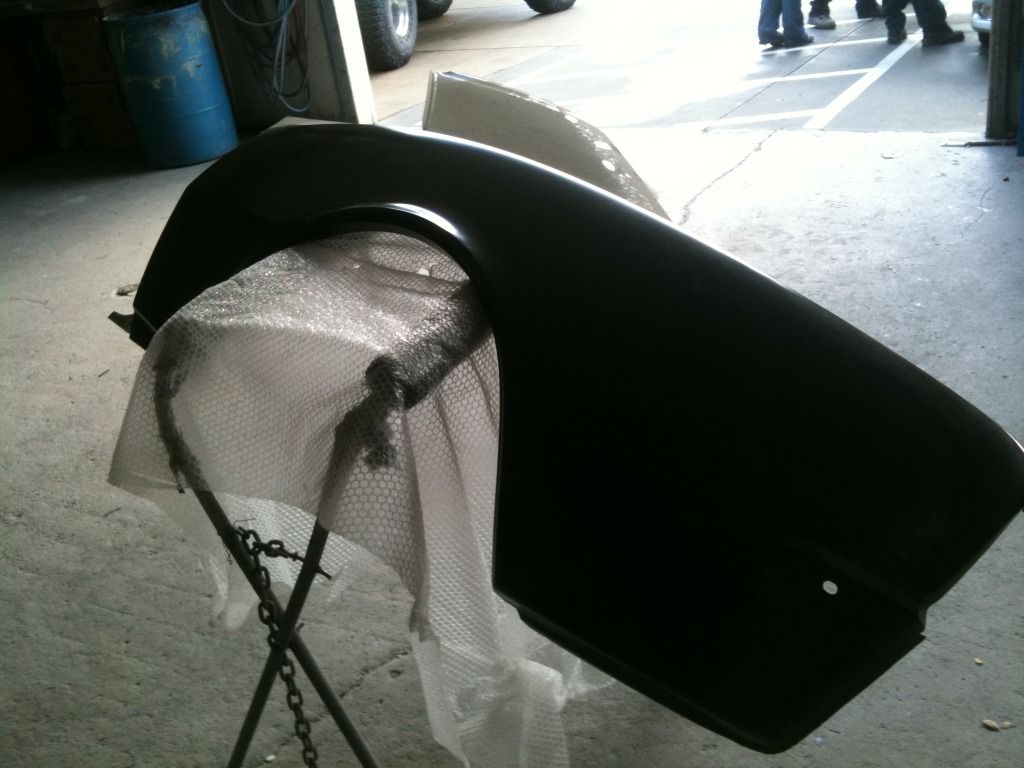
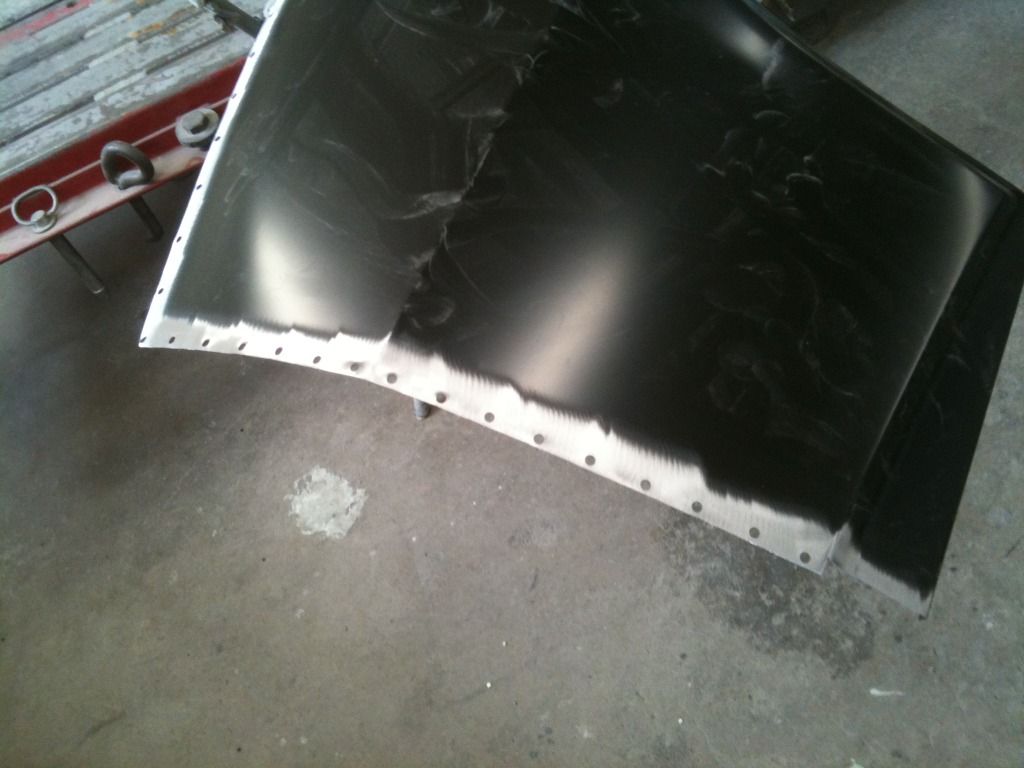
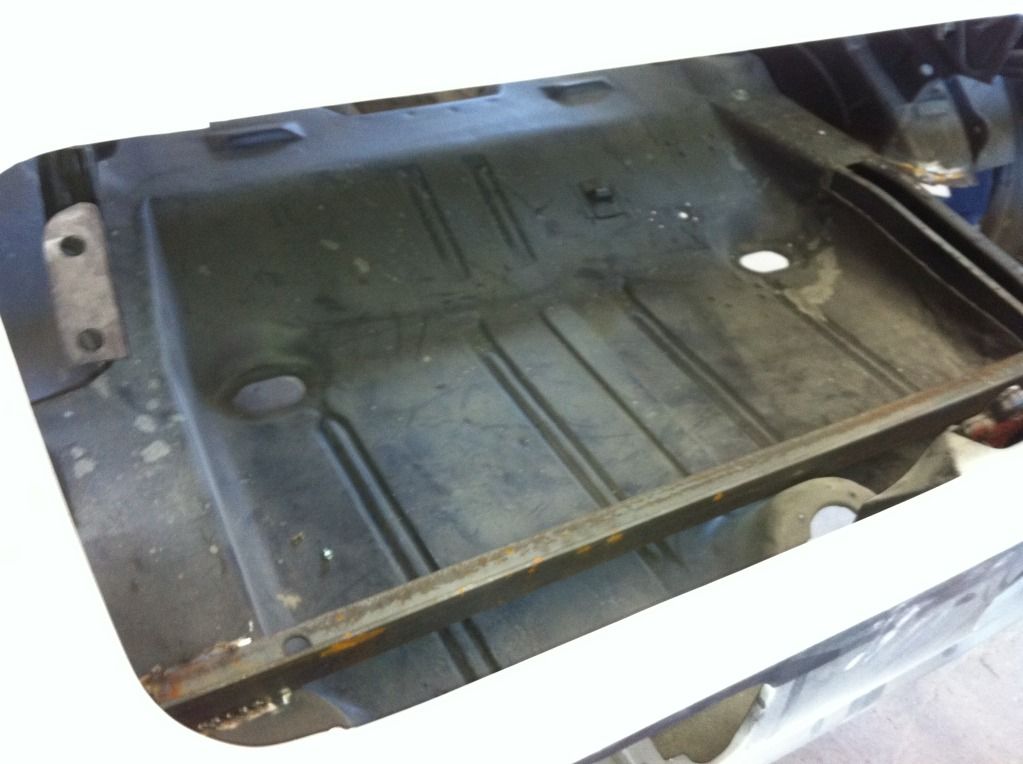
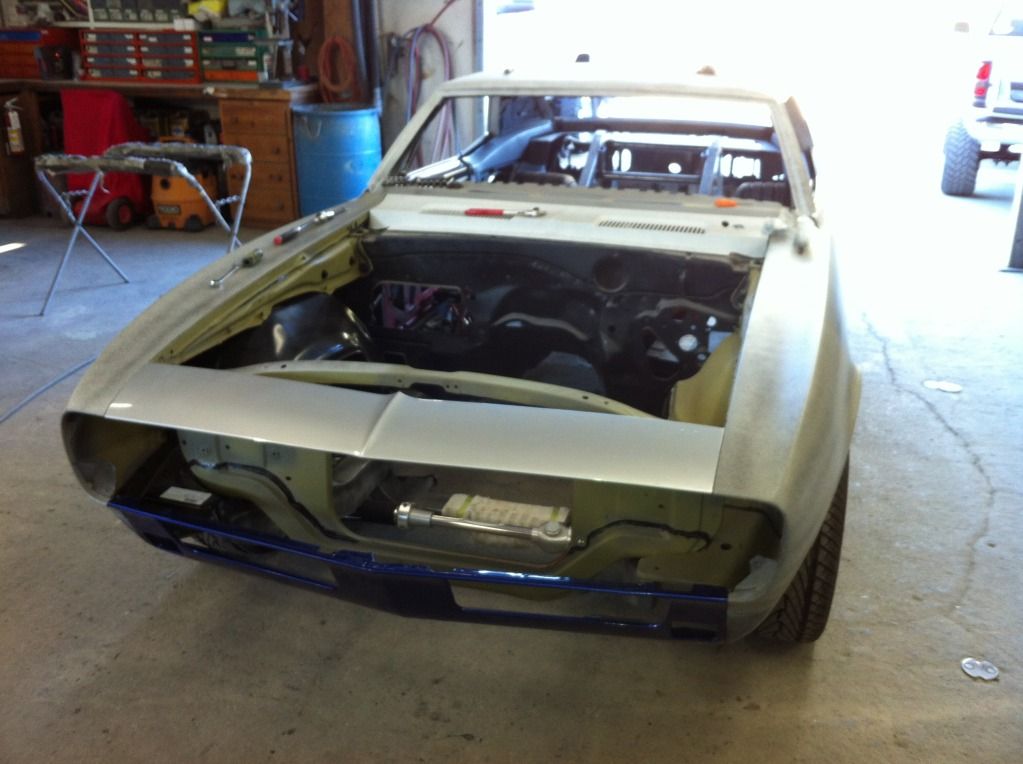
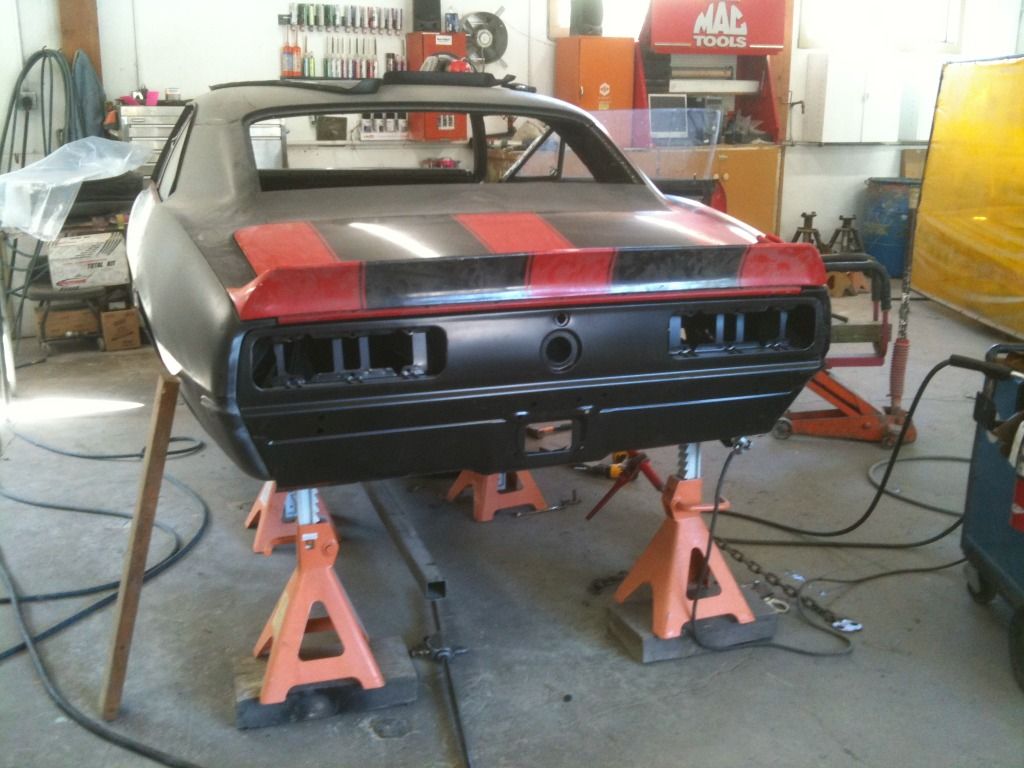
New tail panel test fit.
1347412640.jpg

1347412623.jpg
 

dslhtrdr

Always learning
Nov 22, 2012
262
0
0
Sebastopol, Ca
Here's how I patched in the driver side quarter. Since I had to screw around with fixing the door gap on the passenger side quarter (which I don't have pictures of...) I decided to patch the drivers side. I taped out the perimeter of my cut, cut out the old rotten wheel well, removed and treated some surface rust, etch primed and sealed everything, traced out my new patch panel with the old quarter on top of the new, cut it out, punched out a lot of holes for my spot welds, and then welded it on.

1347412610.jpg

1347412599.jpg

1347412588.jpg

1347412576.jpg

1347412562.jpg

1347412551.jpg

1347412535.jpg

1347412520.jpg

1347412507.jpg
 

dslhtrdr

Always learning
Nov 22, 2012
262
0
0
Sebastopol, Ca
I cut out a portion of the dash that was rotten. Forgot to take pictures of the finished product.

1347412493.jpg

1347412477.jpg

1347412464.jpg


Then I started on the floors.

1347412450.jpg

1347412436.jpg

1347412419.jpg

1347412406.jpg

1347412379.jpg

1347424480.jpg


I removed all the surface rust, seam sealed and sprayed primer sealer on the floor inside and underneath. I also patched a couple spots on the passenger side but again, I forgot to take pictures.
 

dslhtrdr

Always learning
Nov 22, 2012
262
0
0
Sebastopol, Ca
On my birthday in February I drove down to Pinole, CA and bought my rear axle. I found it on craigslist the night before. It's a Chris Alston's Chassisworks Fab9 housing with their eliminator 2 4 link brackets. I got the link bars with heims, wish bone locator, brake rotors, calipers, aluminum 3rd with 3.89's, Moser 40 spline axles and spool, 11/16" wheel studs, hardware, anti roll bar, coil over shocks and a few other things. I got a really good deal and couldn't pass it up.

1347412688.jpg


1347412670.jpg
 

dslhtrdr

Always learning
Nov 22, 2012
262
0
0
Sebastopol, Ca
I bought my rear subframe kit from Chassisworks. It's their Eliminator 2 rear frame kit. My friend/coworker/future brother in law Bernie has helped me through this portion of the project. All of the welding on the rear subframe has been done by him.

IMG_0543.jpg

IMG_0542.jpg

IMG_0545.jpg

IMG_0544.jpg

IMG_0554.jpg

IMG_0553.jpg

IMG_0552.jpg

IMG_0560.jpg

IMG_0573.jpg

IMG_0572.jpg

IMG_0571.jpg

IMG_0570.jpg

IMG_0567.jpg

IMG_0566.jpg
 

dslhtrdr

Always learning
Nov 22, 2012
262
0
0
Sebastopol, Ca
Measured 25" forward of the rear axle centerline to mark the floor for my cut for the front crossmember.

IMG_0613-1.jpg

IMG_0611-1.jpg
IMG_0614.jpg

IMG_0610-1.jpg


Then I got to cutting.

IMG_0627.jpg

IMG_0626.jpg

IMG_0616.jpg


This is what it looked like before.

IMG_0607.jpg

IMG_0606.jpg
 

dslhtrdr

Always learning
Nov 22, 2012
262
0
0
Sebastopol, Ca
Here's some random pictures of some mud work and how it looked before the final prime.

IMG_0465.jpg

IMG_0464.jpg

IMG_0463.jpg

IMG_0397.jpg


I got the whole car in it's second prime, basically ready to be final blocked for paint. I wanted to get this done before we started back-halving it.

IMG_0499.jpg

IMG_0498.jpg

IMG_0497.jpg

IMG_0496.jpg

IMG_0495.jpg

IMG_0494.jpg
 

dslhtrdr

Always learning
Nov 22, 2012
262
0
0
Sebastopol, Ca
Here's the rear tubular crossmember tacked in place.

IMG_0637.jpg


We made fish plates to weld to the inner rockers so there was a stronger foundation for the front crossmember to attach to. Bernie finished the spot welds after I took the pics.

IMG_0635.jpg

IMG_0634.jpg

IMG_0636.jpg

IMG_0640.jpg

IMG_0639.jpg

IMG_0638.jpg
 

dslhtrdr

Always learning
Nov 22, 2012
262
0
0
Sebastopol, Ca
I went to Reliable Hardware and Steel in Santa Rosa And bought a 6' long, 6" wide by 1/8th" thick piece of steel for the fish plates and this new inner rear body that Bernie fabricated. We held it in place with the bumper bolt holes, and drilled holes in the tail panel to weld them together.

IMG_0628.jpg

IMG_0632.jpg

IMG_0631.jpg


Bernie notched and bent the center of the plate to clear the license plate hole, and it was the perfect amount to weld the trunk latch support to. Funny how things work out unintentionally sometimes.
 

dslhtrdr

Always learning
Nov 22, 2012
262
0
0
Sebastopol, Ca
We wanted to get a little more motivation early on so we put the wheels and tires on. I looks a little weird like this...

IMG_0575.jpg

IMG_0574.jpg


Here's the rear subframe with everything mocked up. Almost ready to disassemble it and get it in the car.

IMG_0625.jpg

IMG_0624.jpg

IMG_0623.jpg
 

dslhtrdr

Always learning
Nov 22, 2012
262
0
0
Sebastopol, Ca
Some quick pics of when we were trying to establish the rear axle center line. The stock camaro wheel tubs left much to be desired as far as wide tires are concerned.

IMG_0550.jpg

IMG_0549.jpg

IMG_0548.jpg

IMG_0547.jpg

IMG_0546.jpg


The drivers side didn't stick out as much because I had a DSE mini tub on that side. When I did the mini tub, I realized that the car was wrecked bad enough on the other side that we couldn't go forward with the mini tubs, which led to back halving the car 6 years later...
 

dslhtrdr

Always learning
Nov 22, 2012
262
0
0
Sebastopol, Ca
It took a lot of maneuvering and cutting, then notching the package tray and driveshaft tunnel to get the subfame in. But when we finally got it in, it fit like a glove.

IMG_0659.jpg

IMG_0658.jpg

IMG_0650.jpg

IMG_0649.jpg

IMG_0648.jpg

IMG_0647.jpg

IMG_0646.jpg

IMG_0660.jpg

IMG_0657.jpg

IMG_0656.jpg

IMG_0655.jpg

IMG_0654.jpg

IMG_0653.jpg

IMG_0651.jpg

IMG_0652.jpg
 

dslhtrdr

Always learning
Nov 22, 2012
262
0
0
Sebastopol, Ca
Here's my front subframe. It's the Chassisworks G-machine front subrame. I bought it 6 years ago, primed and assembled it. It was finally ready to mount on the camaro.

IMG_0617.jpg


We ran into a few issues getting the link bars and coil overs in. The axle I bought came out of a tube chassis '68 firebird, but their chassis was set up differently than we did my camaro. The coil overs were too short, and the link bars ended up being too long. We fiddled around with the bars and I cut a piece of angle iron to act as a shock simulator. After a couple of hours messing with it, we finally got it on the ground.

IMG_0667.jpg

IMG_0665.jpg

IMG_0664.jpg

IMG_0663.jpg

IMG_0662.jpg

IMG_0661.jpg

IMG_0670.jpg

IMG_0669.jpg

IMG_0668.jpg
 

dslhtrdr

Always learning
Nov 22, 2012
262
0
0
Sebastopol, Ca
A couple days later I mounted the front sheet metal and the deck lid.

IMG_0680.jpg

IMG_0679.jpg

IMG_0674.jpg

IMG_0673.jpg

IMG_0672.jpg

IMG_0671.jpg


We made some temporary link bars to get the axle further forward. The shorter link bars are going to work as the longer lower link bars. I ordered some new link bar ends to shorten the other 2 link bars.

IMG_0678.jpg

IMG_0683.jpg

IMG_0682.jpg

IMG_0681.jpg
 

dslhtrdr

Always learning
Nov 22, 2012
262
0
0
Sebastopol, Ca
The wheels are 15x7 in the front and 15x14 in the rear. It was a great day when they showed up at my door step.

IMG_0351.jpg

IMG_0350.jpg

IMG_0349.jpg

IMG_0348.jpg

IMG_0347.jpg


The front tires are Kumho Ecsta AST's 225/50r15 and the rears are Hoosier Pro Street Radials 29X18.50x15. One of the Kumho's showed up later from being on backorder. A 29" tall tire is the largest you can fit in the stock wheel opening for a 1st generation Camaro.

IMG_0333.jpg

IMG_0332.jpg


Hoosier Daddy?
 

dslhtrdr

Always learning
Nov 22, 2012
262
0
0
Sebastopol, Ca
I bought the Chassisworks bolt on subframe connectors that are designed for their g machine front subframe a few years ago. They slide onto the end of the front subframe and bolt to where the front leaf spring perch mounts. Obviously, I no longer have leaf springs.

The rear subframe came with 2 2x3 rectangular tubing subframe connectors that you use to tie into your existing frame.

What we did was cut off the portion of the g machine subframe connectors that bolt to the leaf spring mounts. We then made up the difference with the 2x3 subframe connector, cut at an angle, and then welded them together, capping off the excess 2x3 with another angled cut out of the 2x3.

We notched the floor for the connectors to fit through. The g machine connectors hung down lower than we liked so we flipped them upside down.

IMG_0701.jpg

IMG_0700.jpg

IMG_0704.jpg

IMG_0703.jpg

IMG_0702.jpg

IMG_0710.jpg

IMG_0709.jpg

IMG_0708.jpg

IMG_0707.jpg

IMG_0706.jpg

IMG_0705.jpg

1347852034.jpg

1347851484.jpg

1347851453.jpg

1347851433.jpg

1347851410.jpg

1347851390.jpg

1347851363.jpg

1347851334.jpg

1347851310.jpg

1347851269.jpg

1347851246.jpg


I finish welded the floor to the subframe connectors and capped off the main frame rails on the front crossmember. It gave me newfound faith in my own welding ability.[/QUOTE]