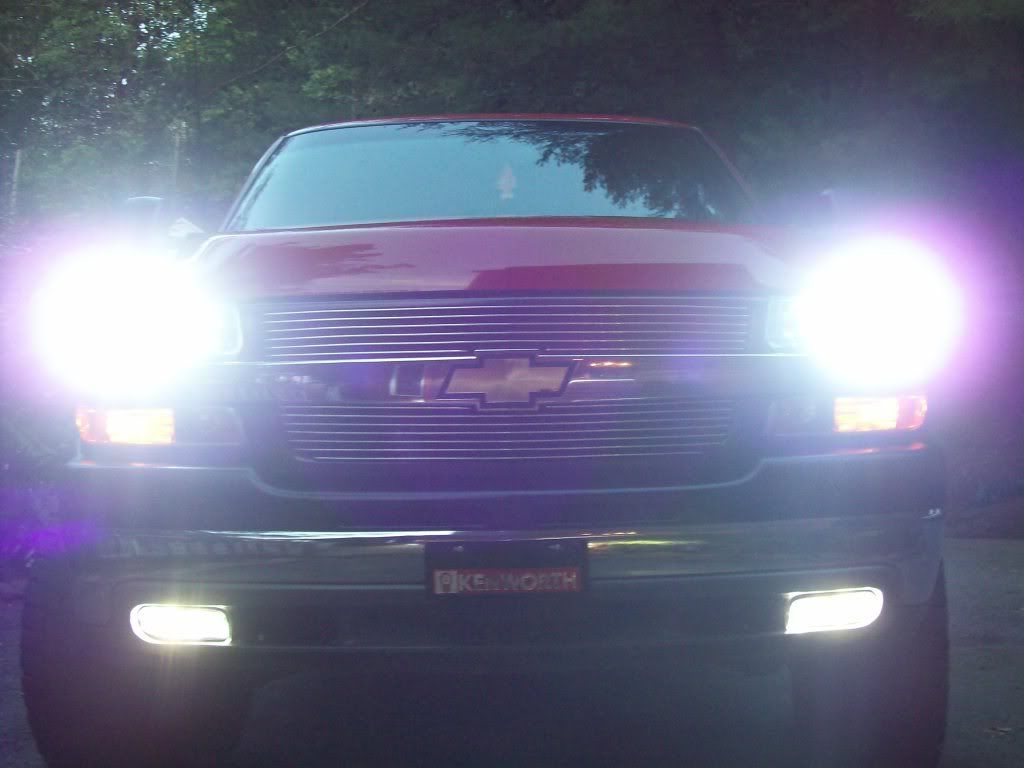
If your like me and have these model year of truck Im sure your hating your stupid fog lamps that are no brighter than your kids nightlight and leak a TON of moisture. Also if you install any kind of aftermarket bulb with higher wattage they charcoal the housings in as little as 2 months. I was on my 3rd set and same thing happened so I got sick of it and starting researching what sizes and how the lamps were made. I finally got around to ordering the Hella FF75 kit from summit racing ($125 shipped). Upon inspection I am pleased with the construction of the lamps themselves. Ive had a set on a '97 4Runner since it was new with only replacing a lens once so I know the quality is there.
The one thing I wanted was to install the new lamps on the OEM bracketry as I HATE seeing cars roll down the road with their foglights bouncing all over the place looking like they are flickering from not having a secure mounting spot. So here it was I did. It was all from what was included in the package from Hella and from the OEM stuff I took off.
Needed:
Grinder with metal cutoff wheel
Screwdrivers (both phillips and straight)
Sharpie
Pliers and crimpers
Knife (utility)
Hammer
3+ hours of your time (alot of test fitting involved if you are meticulous)
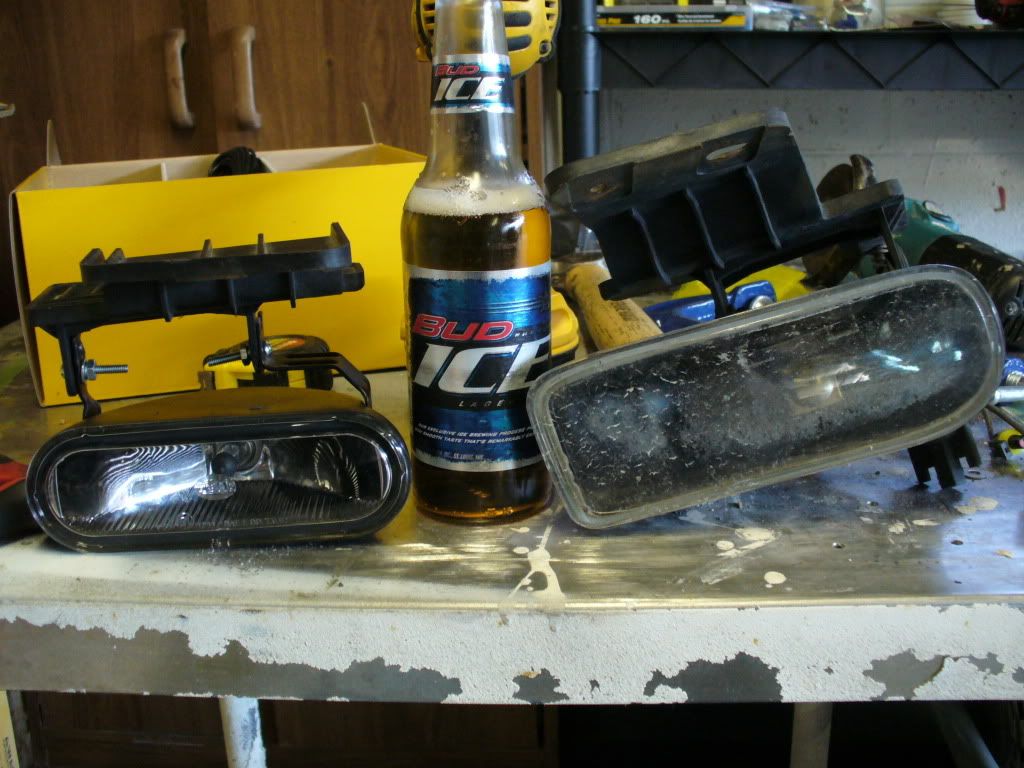
So first start off by removing the OEM foglights and unplug the proper connections. They are held on by (2) 10mm bolts up on the lower part of the bumper. Its easier to use the 1/4" drive as it fits better in there. Here it what you should have with one off and the new ones....
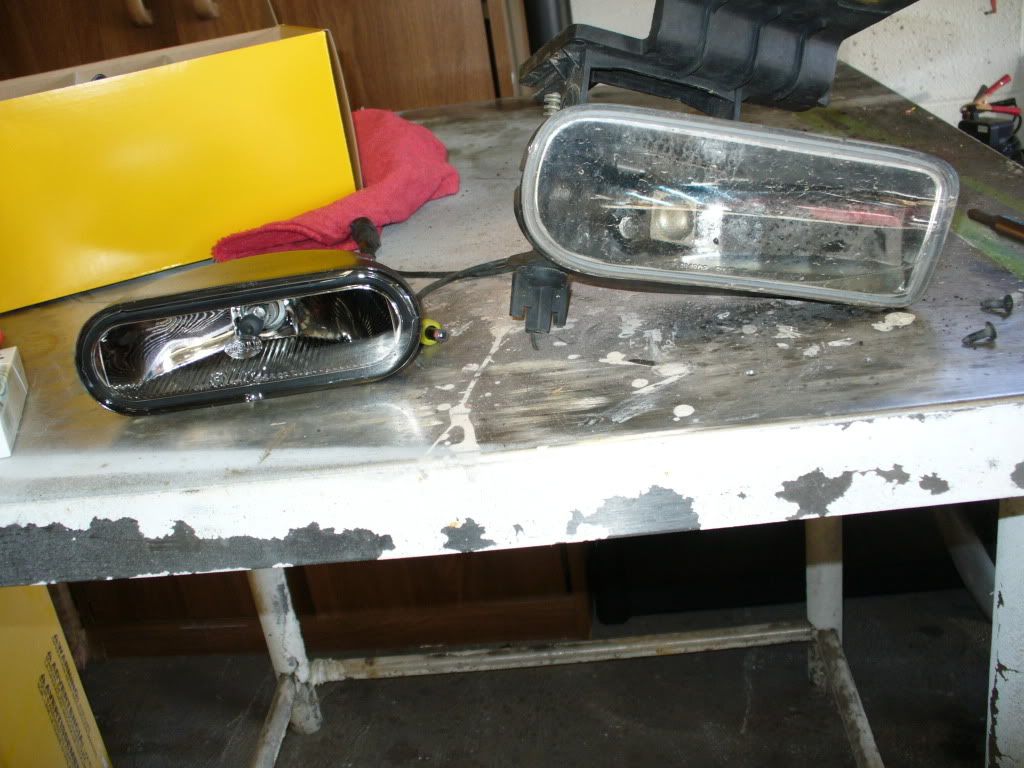
Now on the factory brackets remove the (2) trim screws that hold the actual lamp housing on to the bracket and unscrew the adjuster wing nut at the bottom....
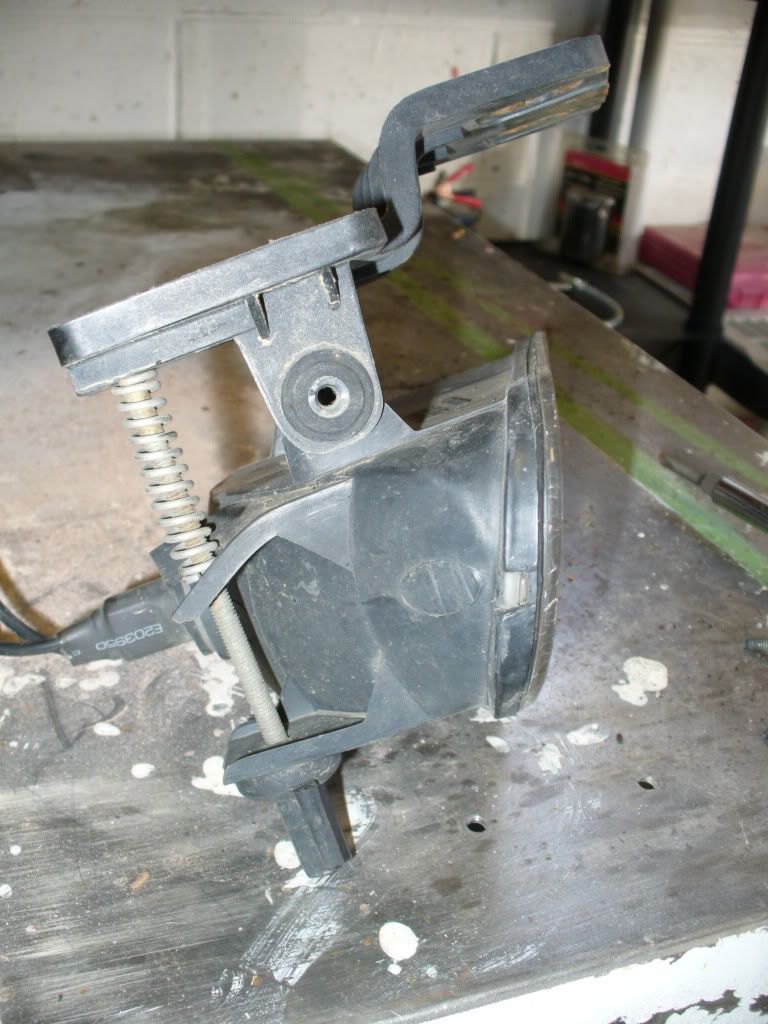
Here it what you are left with....
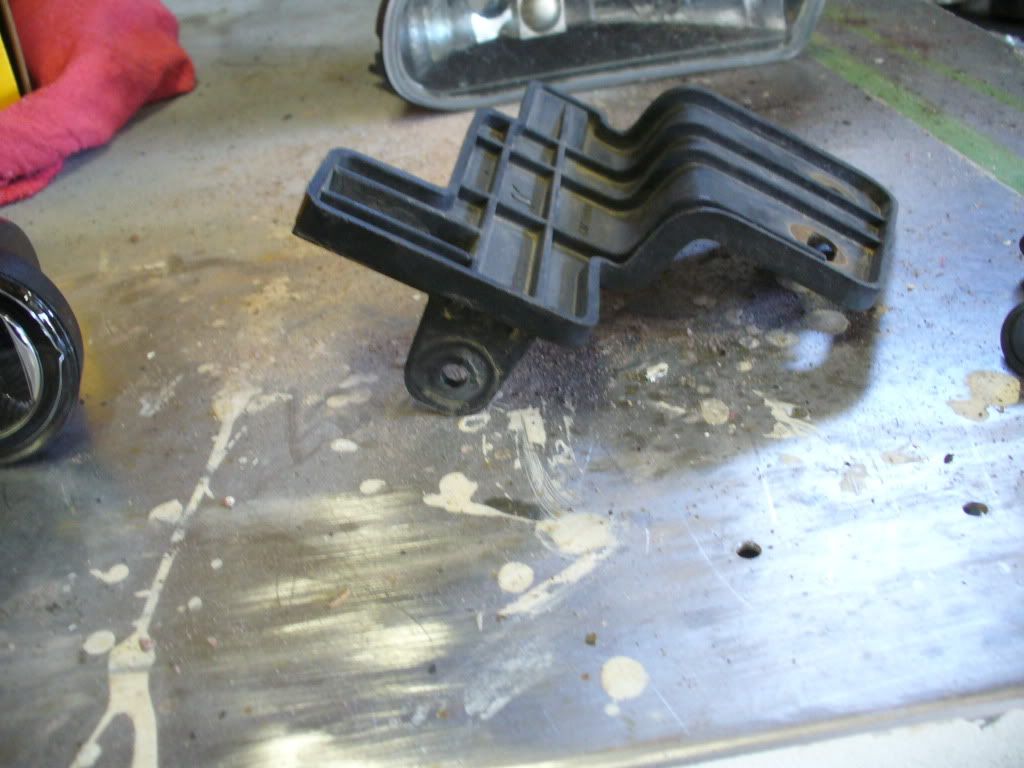
Here is the Hella bracket that came with the lights...
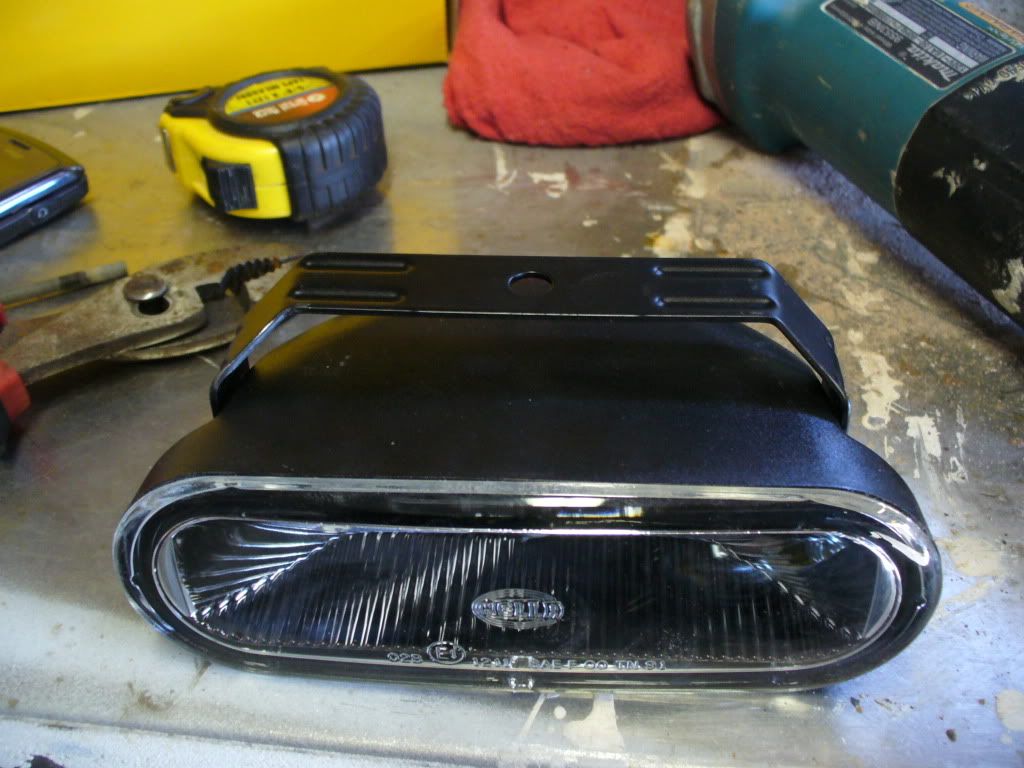
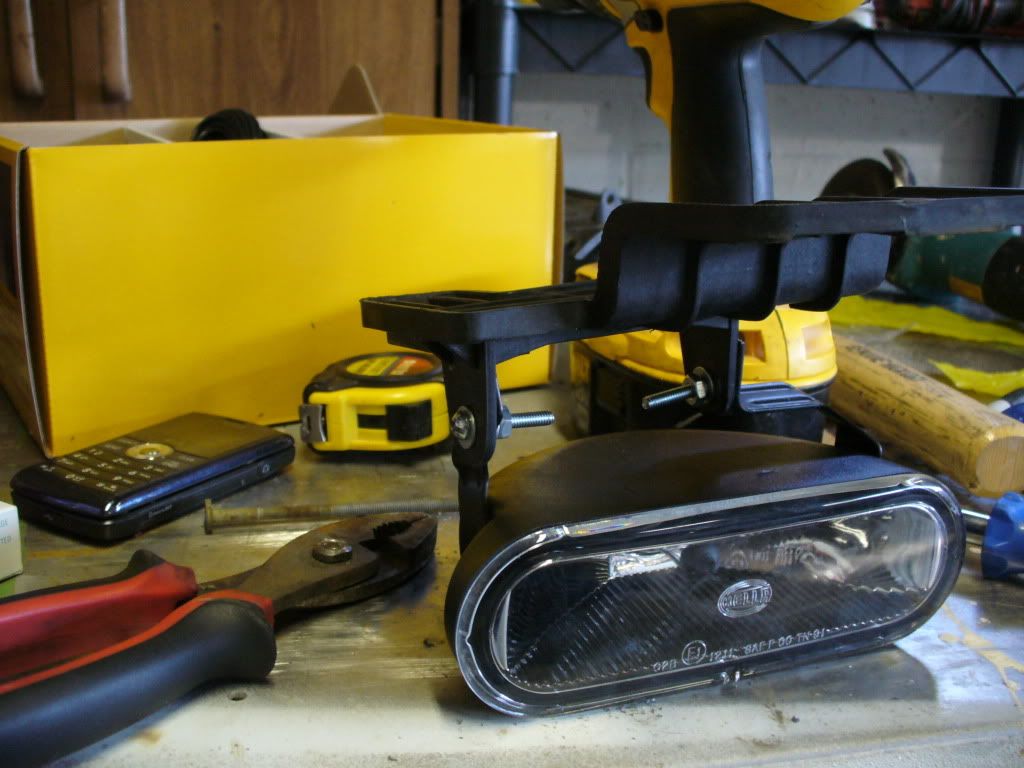
This first light was the passenger side (for reference). I then cut the Hella bracket on the left side a little past the point where it comes across the top. After that I used a hammer to flatten it out so its pointing straight up....
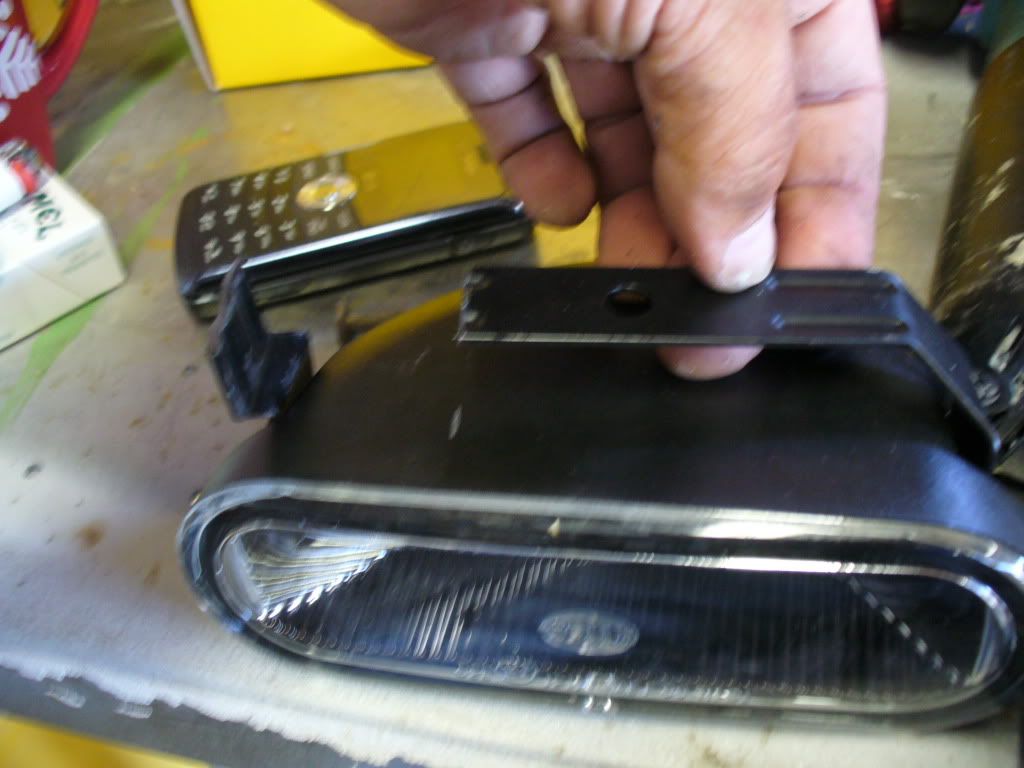
At this point you should attach the Hella bracket to the lamp and install the OEM bracket in the truck for fitment. Once its bolted in take a sharpie and shim up your light to where its on center in the opening and where you want it left to right and mark on the straight cut bracket where it meets the OEM tab and hole. Take the bracket back out and drill a hole in the Hella bracket that matches with your mark. I used #8 screws and hardware for mock up but then switched out to 1/4" bolts with lock washers and teethed washers on the inside so it doesnt move.
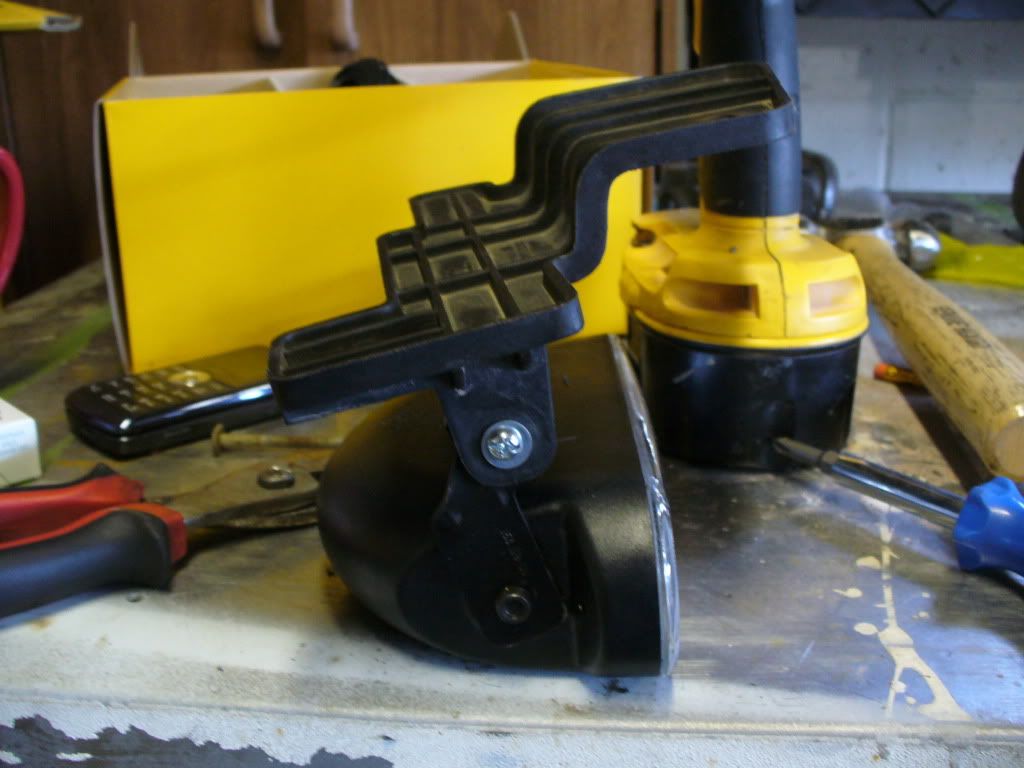
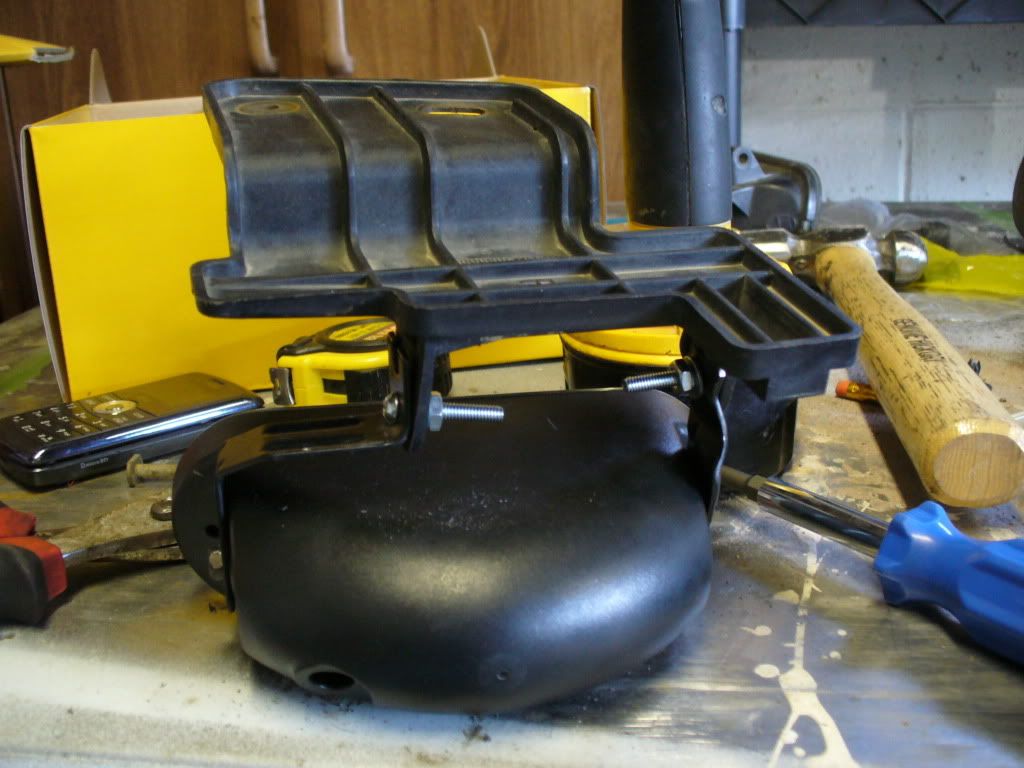
For the other side I again bolted in the bracket but this time with the one side already attached to the OEM bracket and the other side attached with the remainder of the Hella bracket coming straight across. Once its in you can again shim up your light to your likings and mark where you want to make a 90* bend in the Hella bracket to meet up with the OEM bracket. After its marked take off the whole thing again and make the bend in the bracket you just marked.....
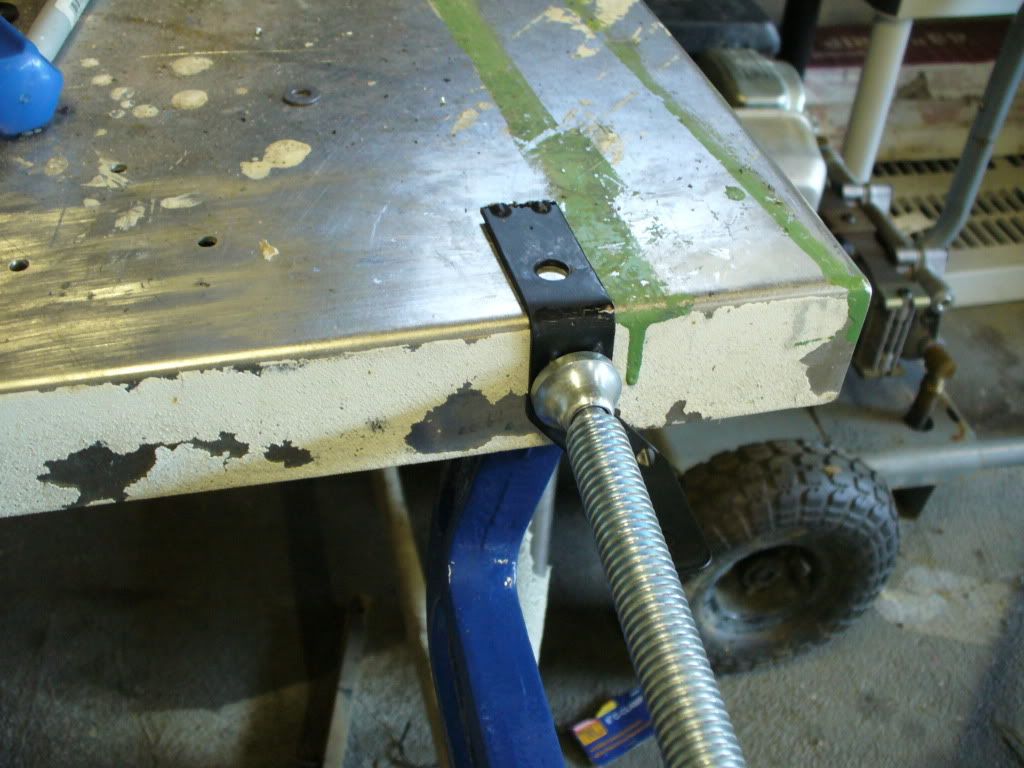
Again drill a hole in the Hella bracket to match up with the hole in the OEM bracket. Install your hardware and bolt it up on the truck again for fitment. I had to enlarge the mounting holes on top of the OEM bracket to get more adjustability out of the whole bracket.
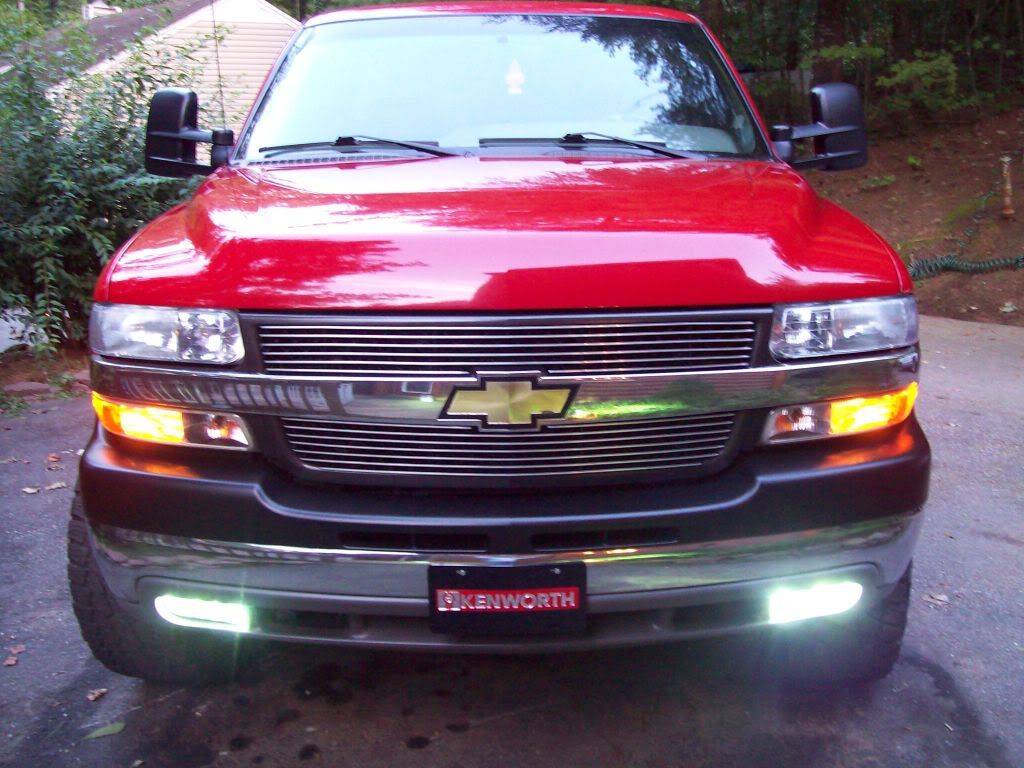
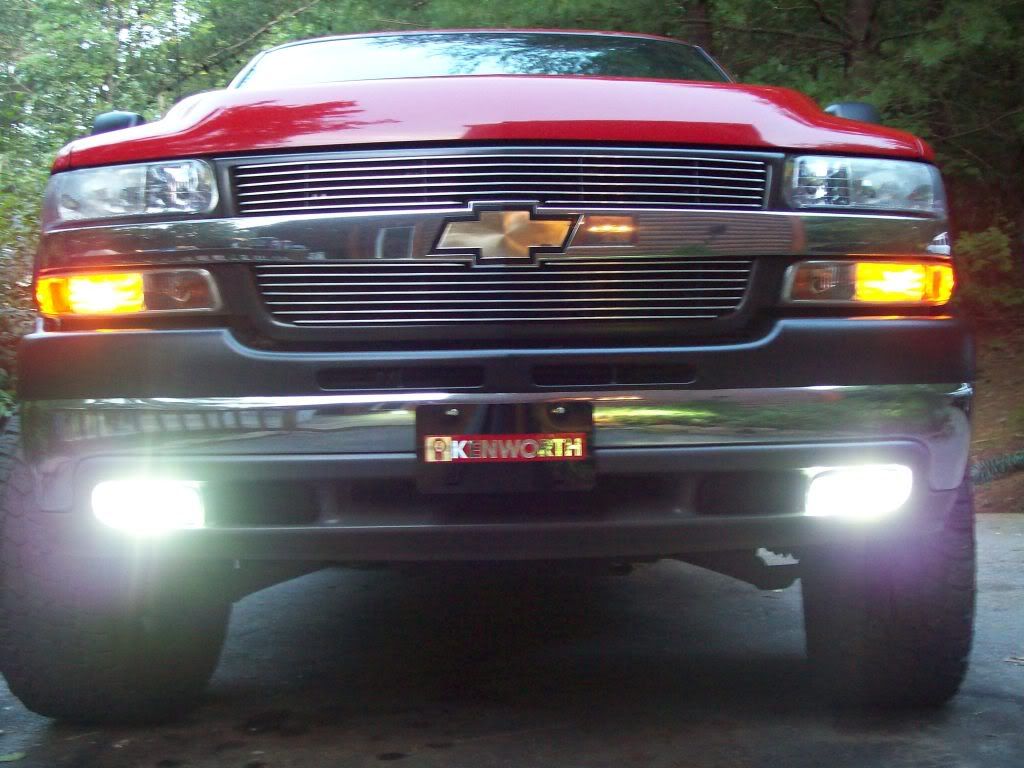
Here is the final product....
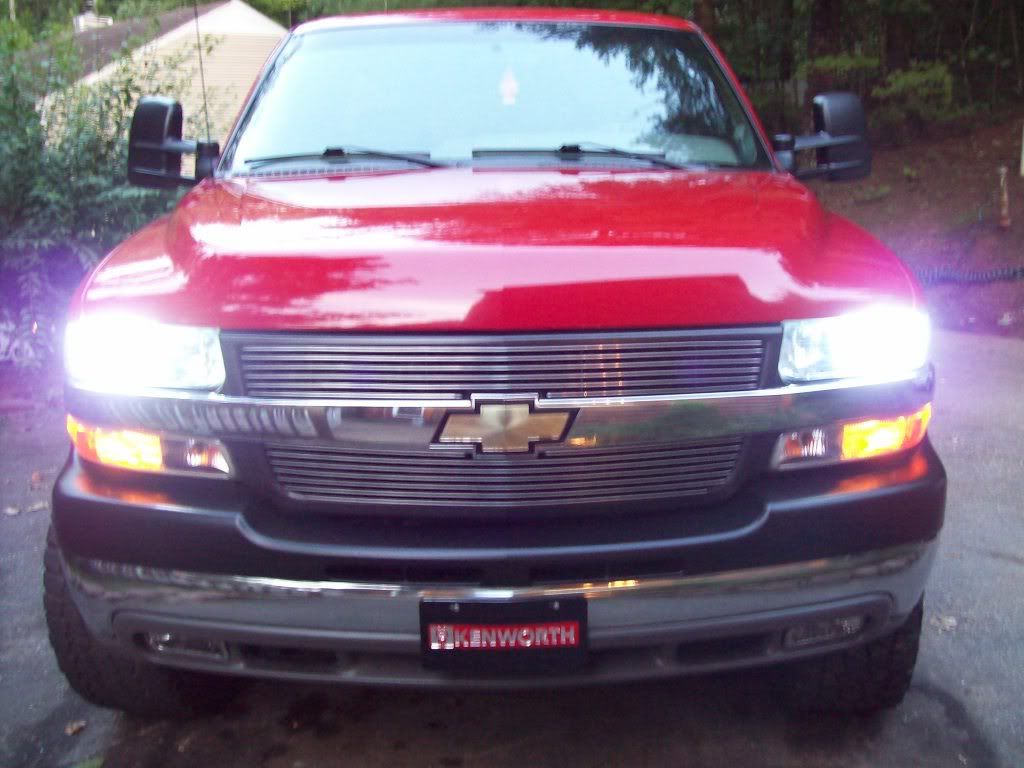
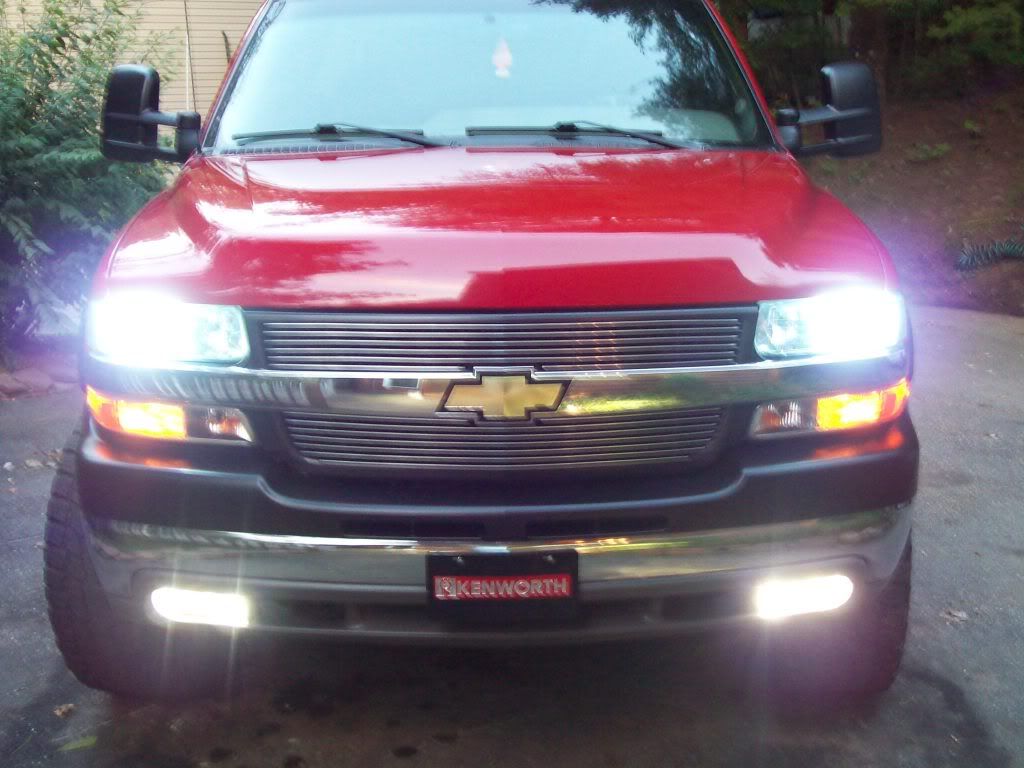
After all is good from a fitment standpoint go ahead and wire up the lights inside the housings and adjust when its dusk outside. Make sure to tighten everything back down after adjusting. I havent got my HIDs for these yet as they are on order but thats easy to install. Its an H7 bulb.
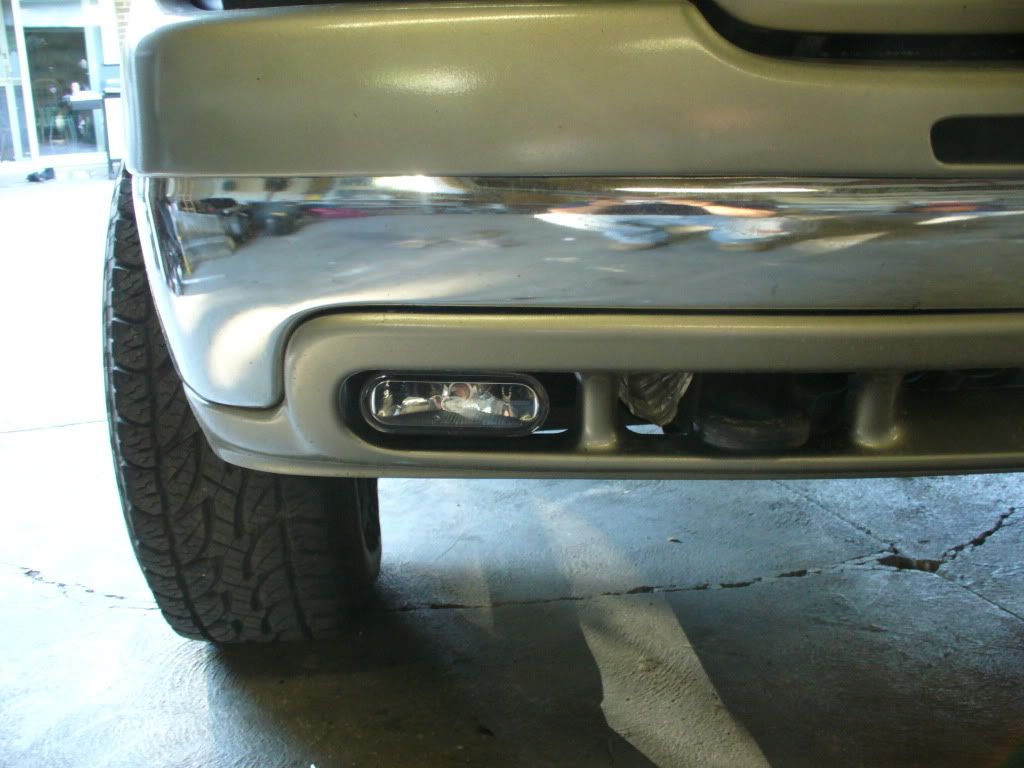
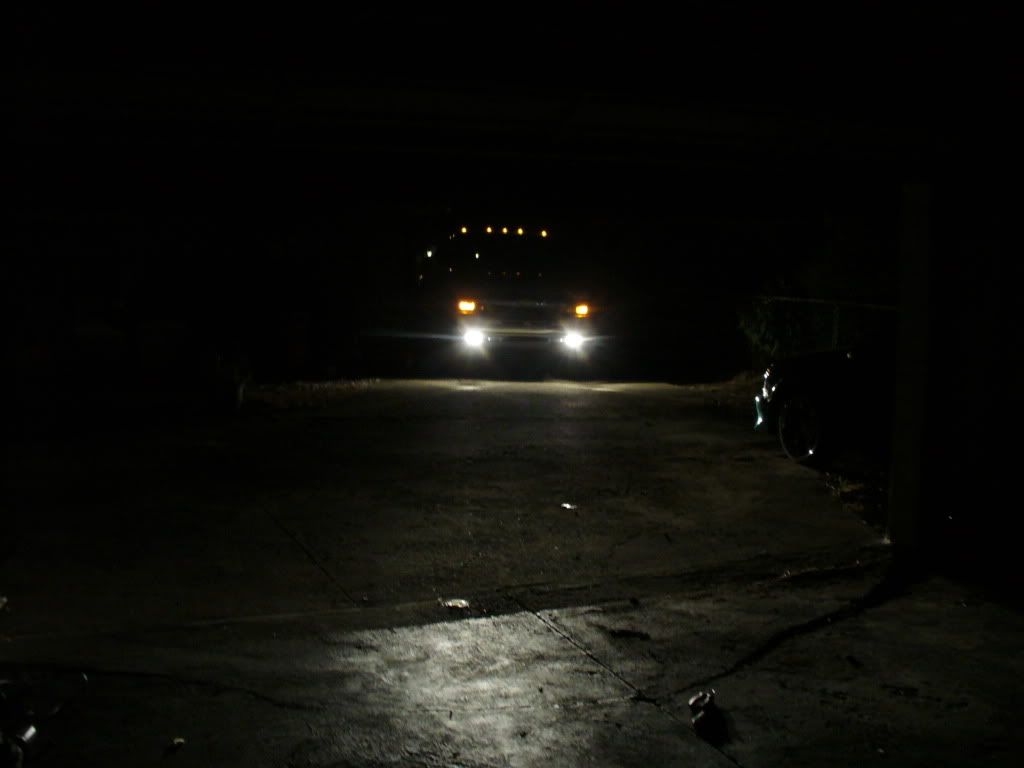
Here they are before adjusting....
The one thing I wanted was to install the new lamps on the OEM bracketry as I HATE seeing cars roll down the road with their foglights bouncing all over the place looking like they are flickering from not having a secure mounting spot. So here it was I did. It was all from what was included in the package from Hella and from the OEM stuff I took off.
Needed:
Grinder with metal cutoff wheel
Screwdrivers (both phillips and straight)
Sharpie
Pliers and crimpers
Knife (utility)
Hammer
3+ hours of your time (alot of test fitting involved if you are meticulous)
So first start off by removing the OEM foglights and unplug the proper connections. They are held on by (2) 10mm bolts up on the lower part of the bumper. Its easier to use the 1/4" drive as it fits better in there. Here it what you should have with one off and the new ones....

Now on the factory brackets remove the (2) trim screws that hold the actual lamp housing on to the bracket and unscrew the adjuster wing nut at the bottom....

Here it what you are left with....

Here is the Hella bracket that came with the lights...

This first light was the passenger side (for reference). I then cut the Hella bracket on the left side a little past the point where it comes across the top. After that I used a hammer to flatten it out so its pointing straight up....

At this point you should attach the Hella bracket to the lamp and install the OEM bracket in the truck for fitment. Once its bolted in take a sharpie and shim up your light to where its on center in the opening and where you want it left to right and mark on the straight cut bracket where it meets the OEM tab and hole. Take the bracket back out and drill a hole in the Hella bracket that matches with your mark. I used #8 screws and hardware for mock up but then switched out to 1/4" bolts with lock washers and teethed washers on the inside so it doesnt move.

For the other side I again bolted in the bracket but this time with the one side already attached to the OEM bracket and the other side attached with the remainder of the Hella bracket coming straight across. Once its in you can again shim up your light to your likings and mark where you want to make a 90* bend in the Hella bracket to meet up with the OEM bracket. After its marked take off the whole thing again and make the bend in the bracket you just marked.....

Again drill a hole in the Hella bracket to match up with the hole in the OEM bracket. Install your hardware and bolt it up on the truck again for fitment. I had to enlarge the mounting holes on top of the OEM bracket to get more adjustability out of the whole bracket.
Here is the final product....


After all is good from a fitment standpoint go ahead and wire up the lights inside the housings and adjust when its dusk outside. Make sure to tighten everything back down after adjusting. I havent got my HIDs for these yet as they are on order but thats easy to install. Its an H7 bulb.
Here they are before adjusting....


