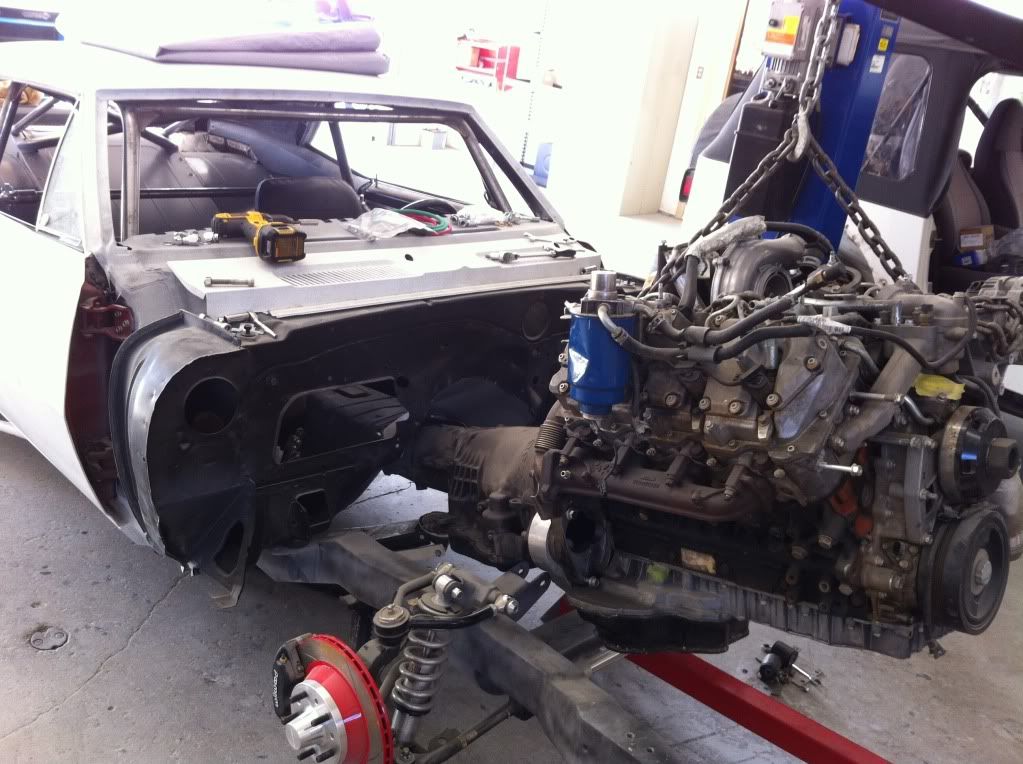
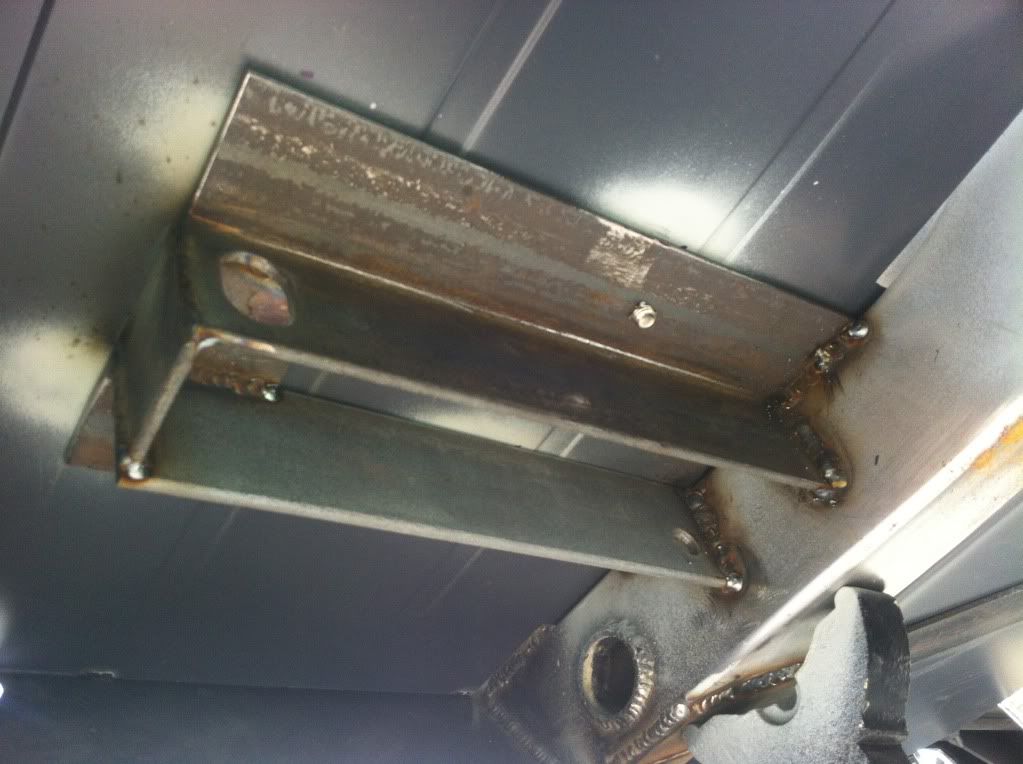
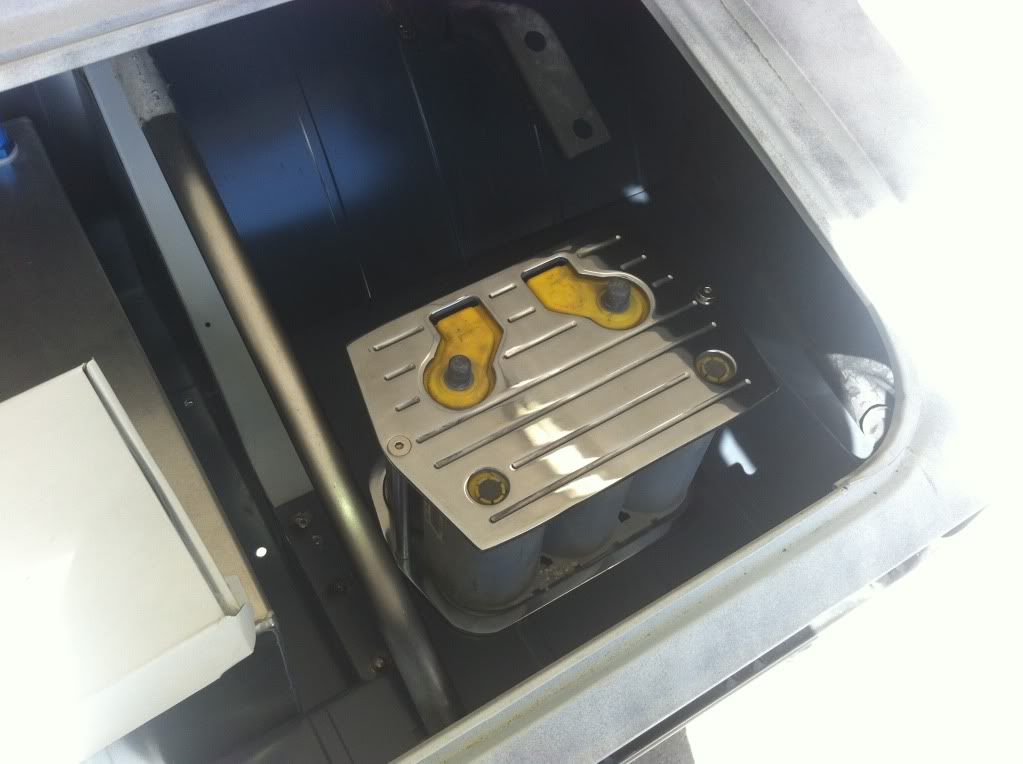
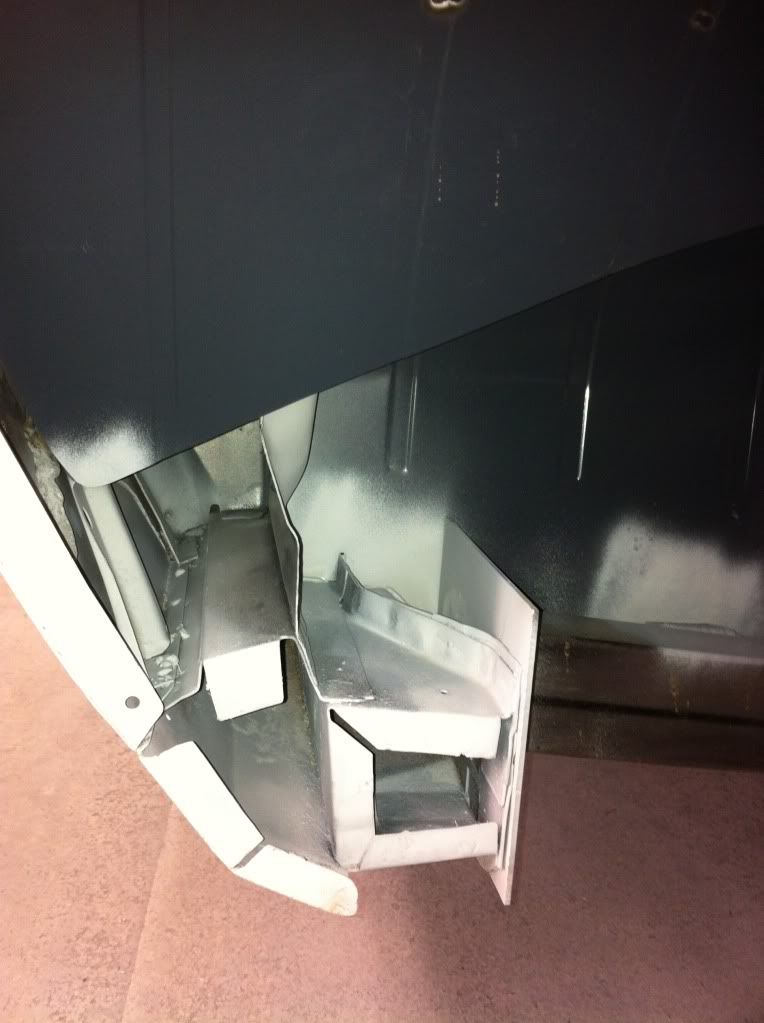
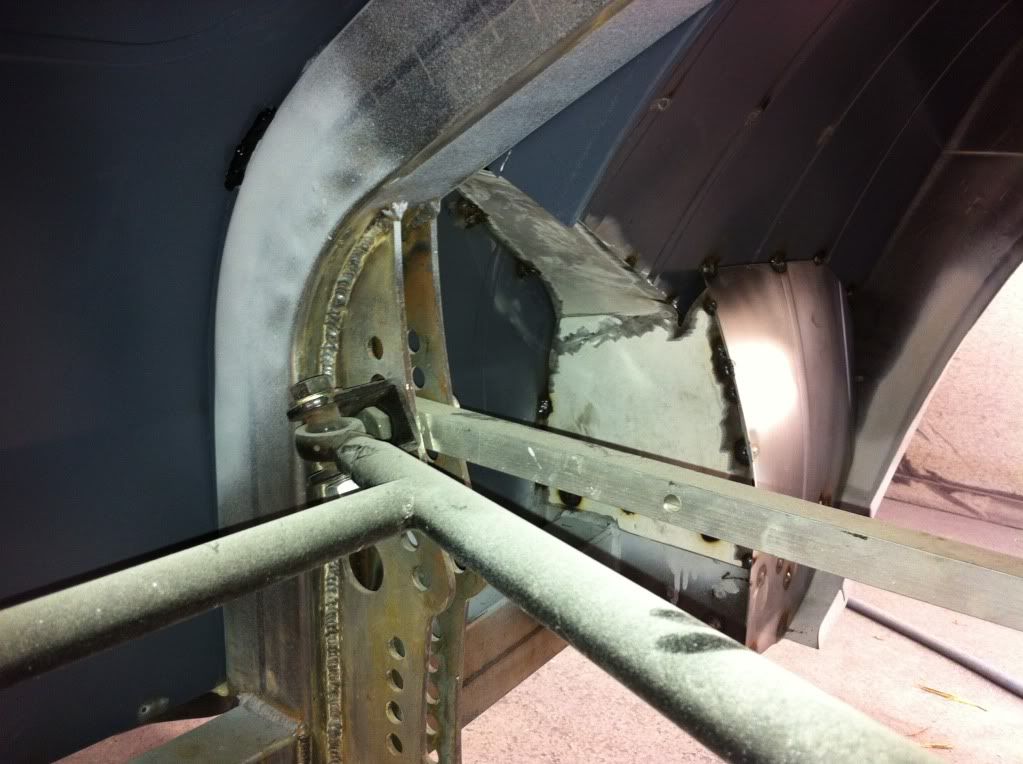
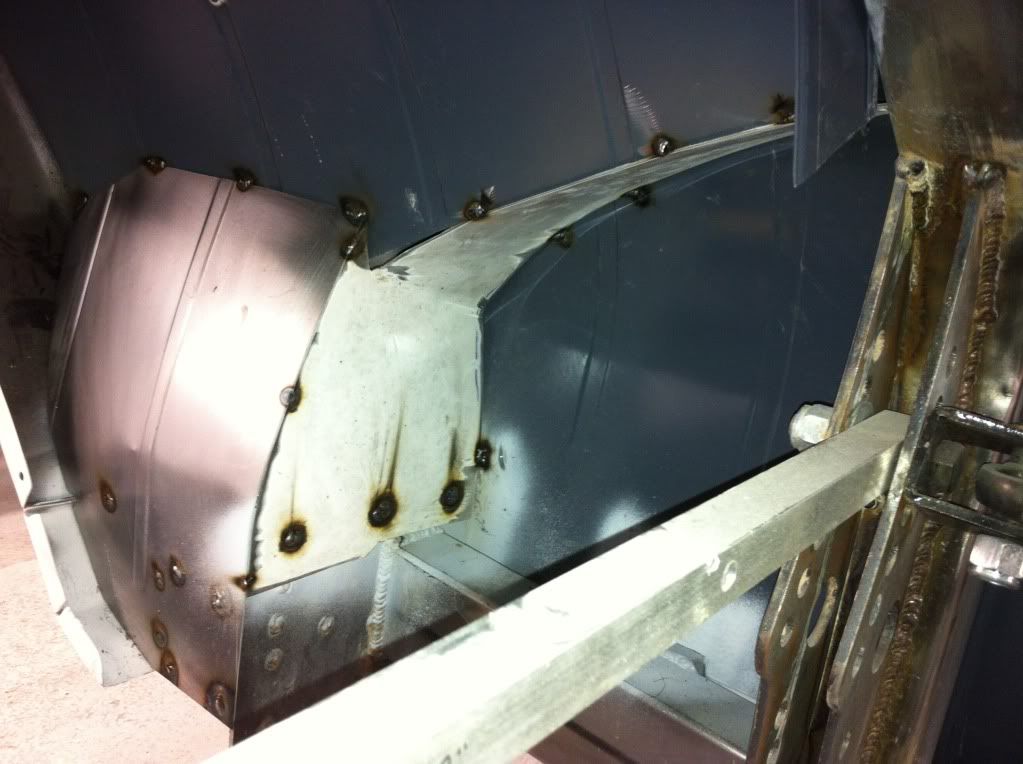
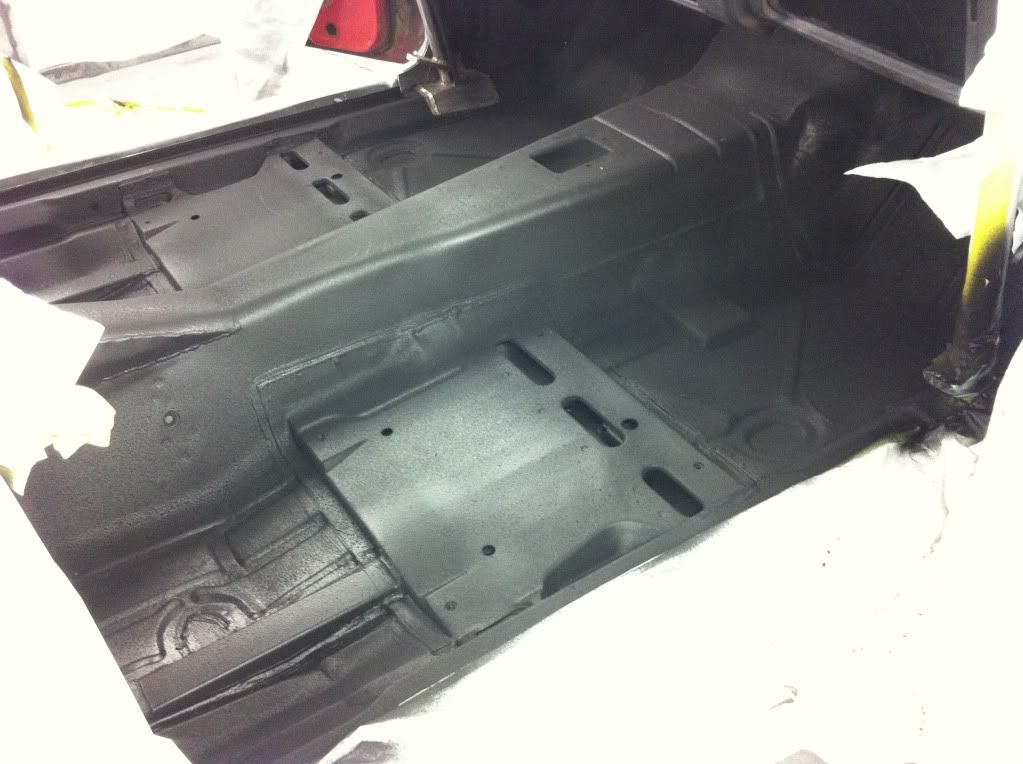
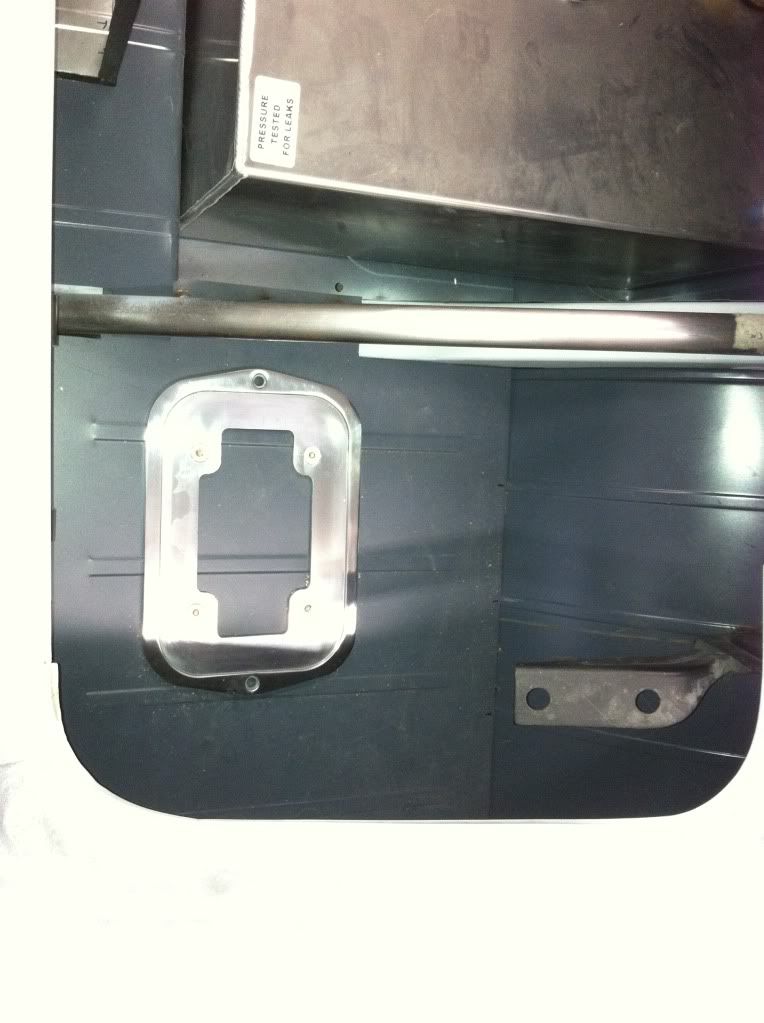
And I also mounted the battery tray in the truck. Still need to weld some bracing to the floor and the frame to support the weight.


wow, what a project!! very nice, where are you located? stick with the stock set up, you will have plenty of power and be less complicated............ trust me, i know. What tranny is that, i must have missed it in the build.
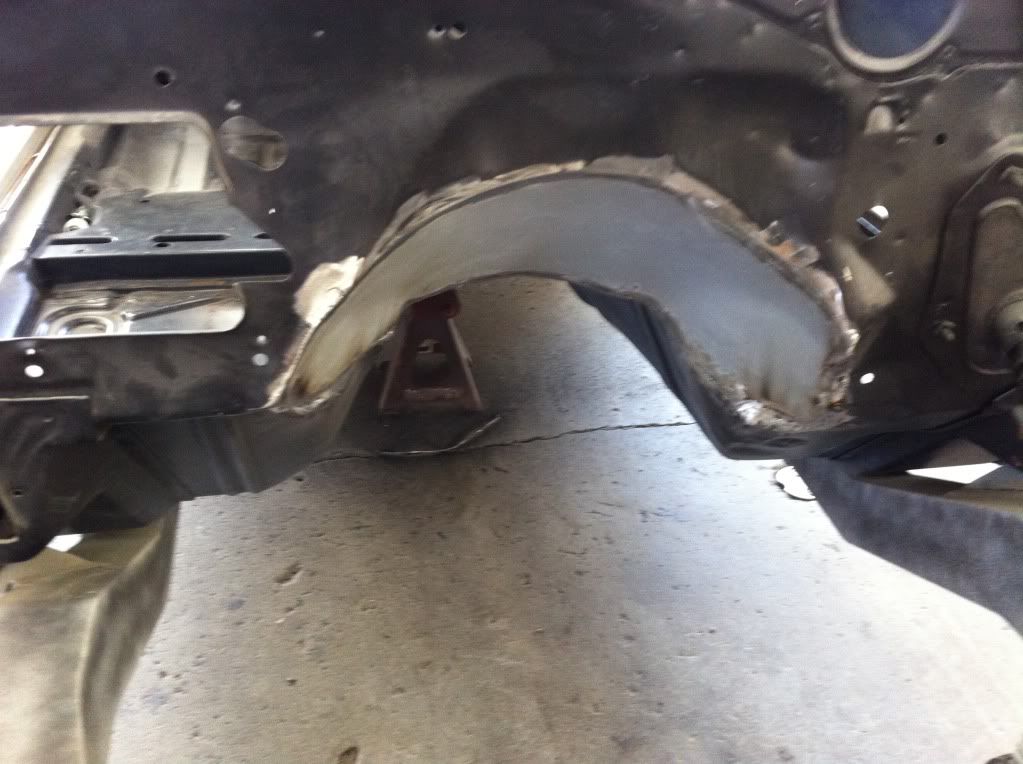
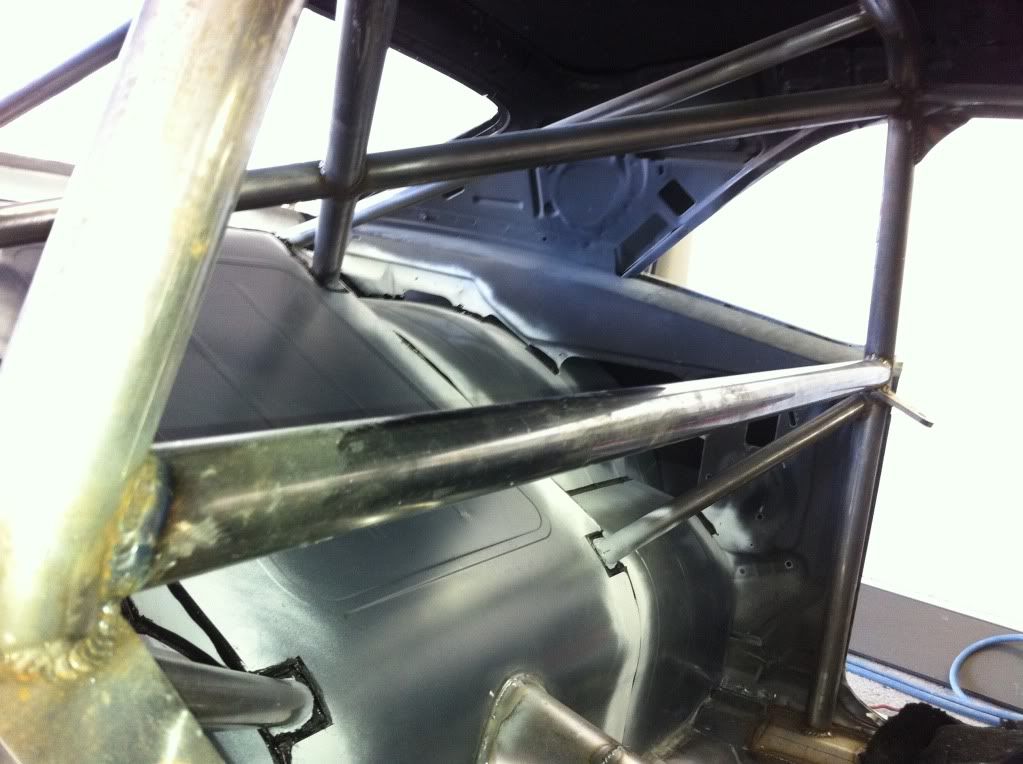
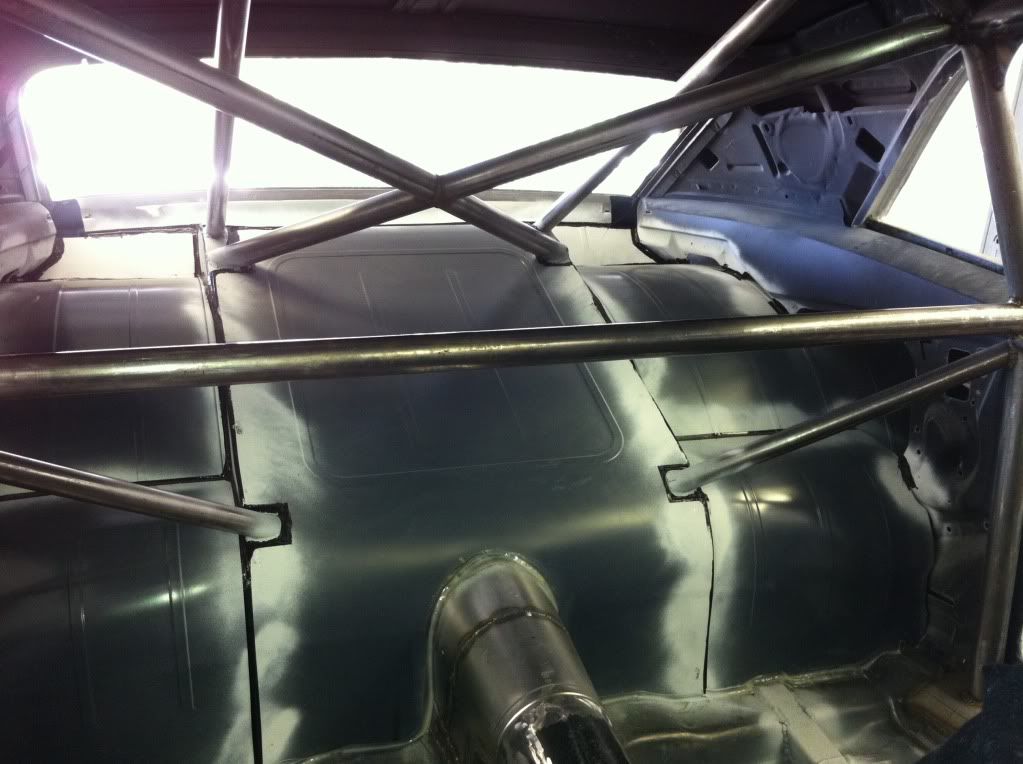
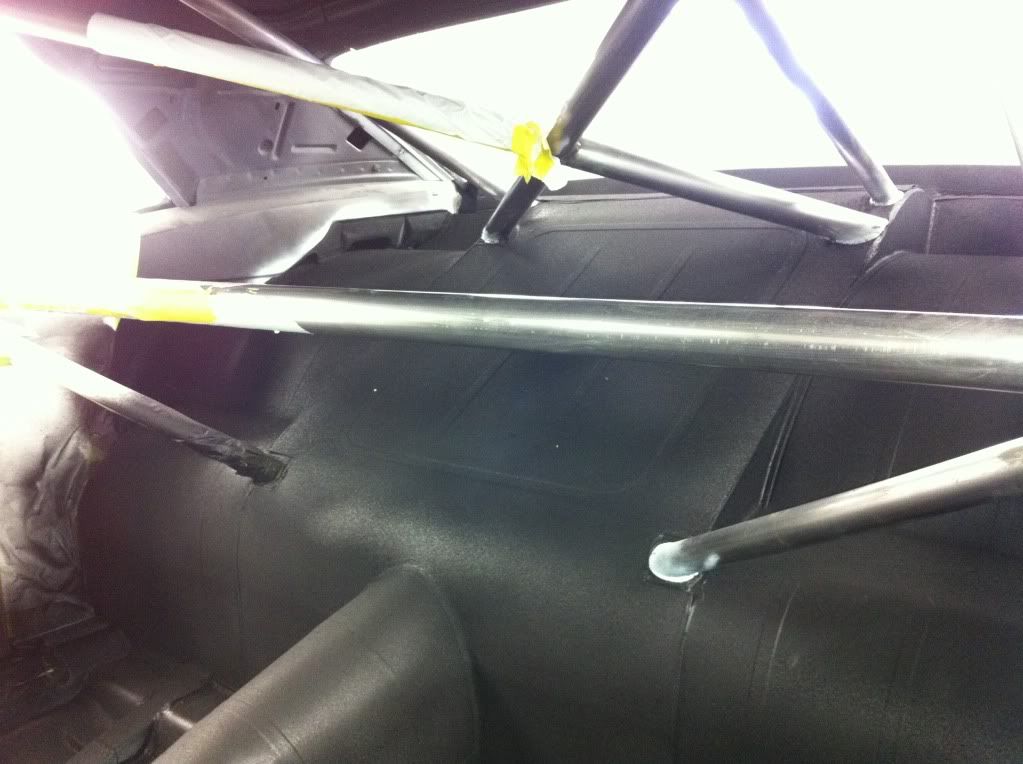
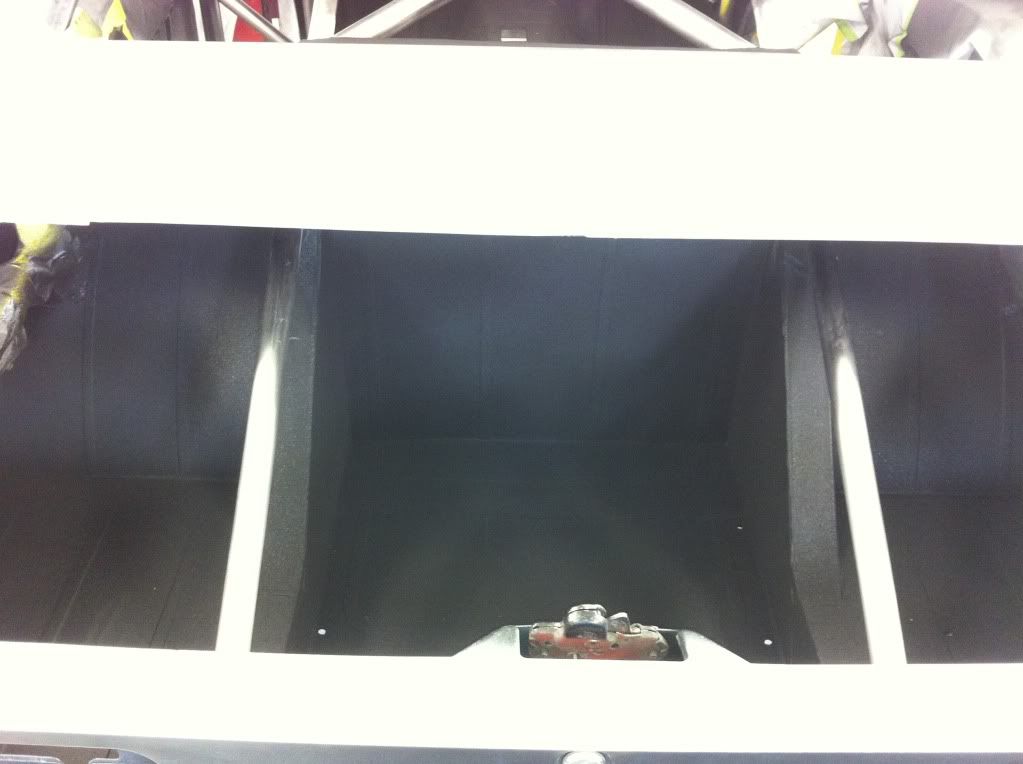
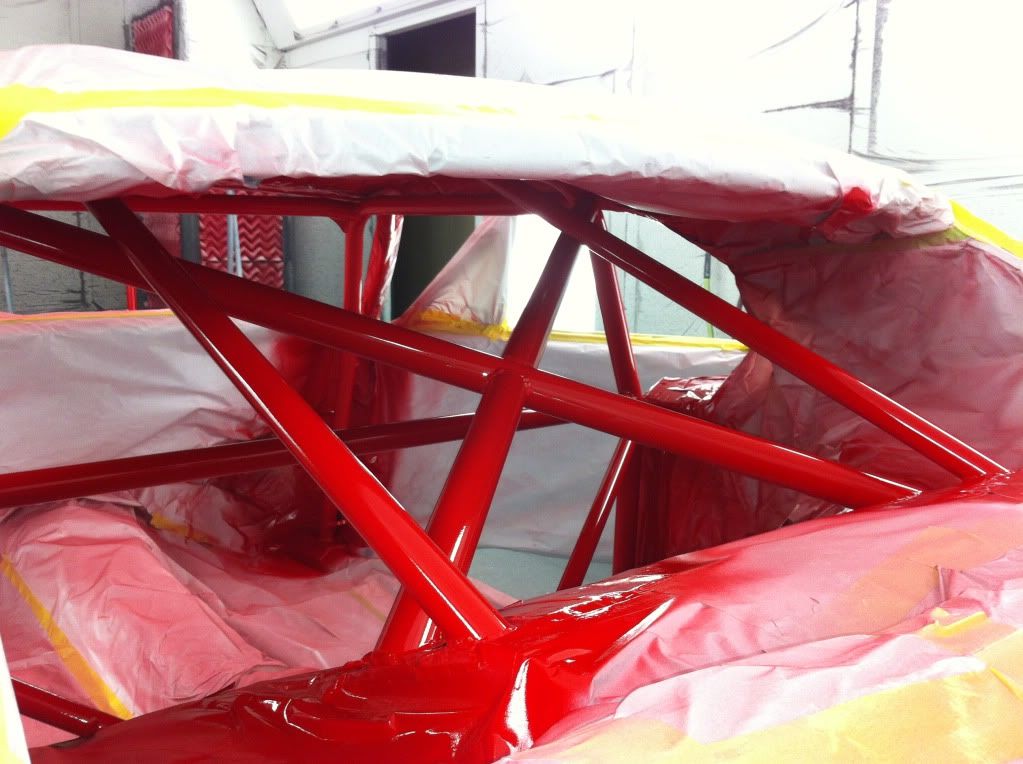
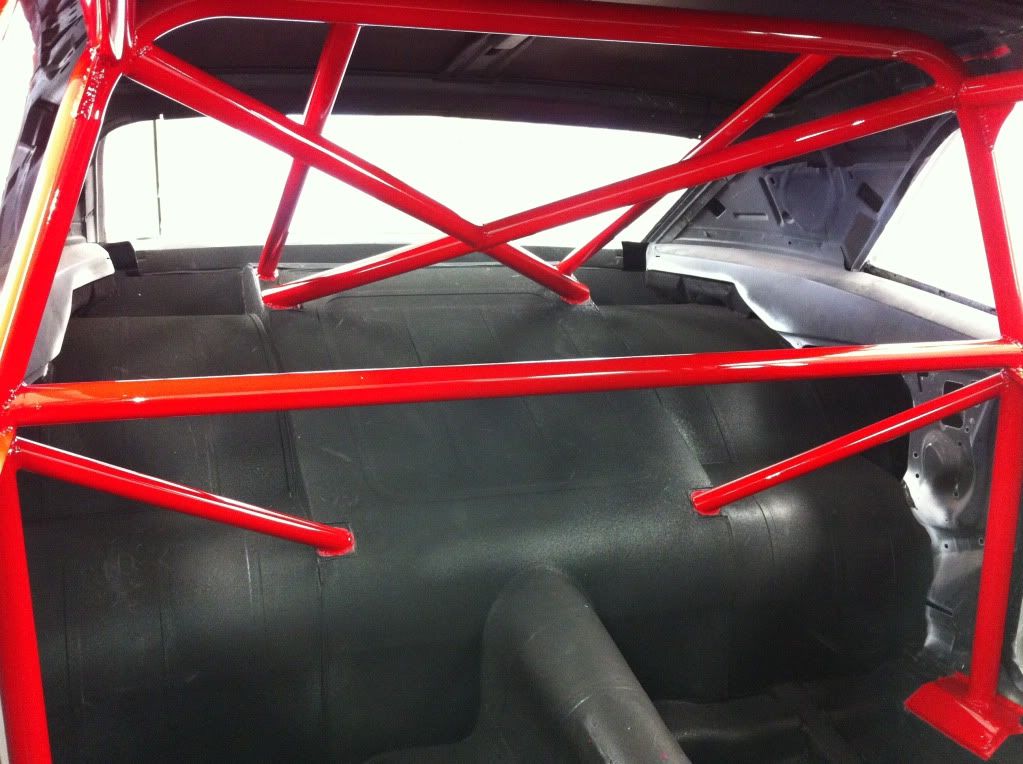
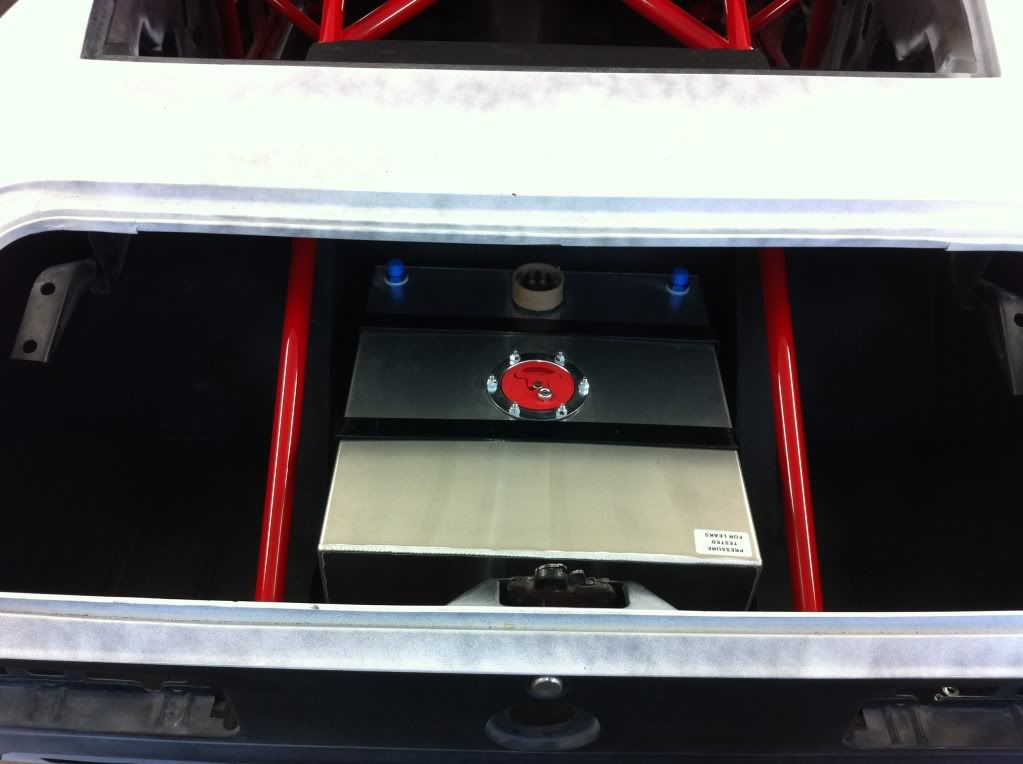
looks like a sweet back 1/2
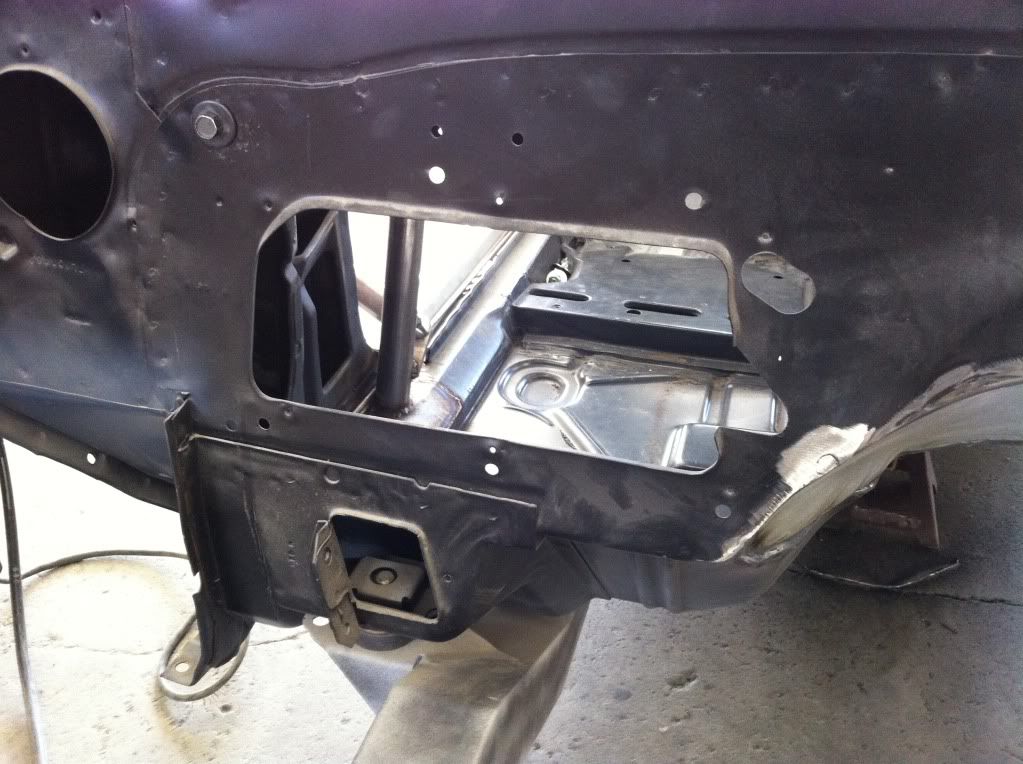
Awesome thread
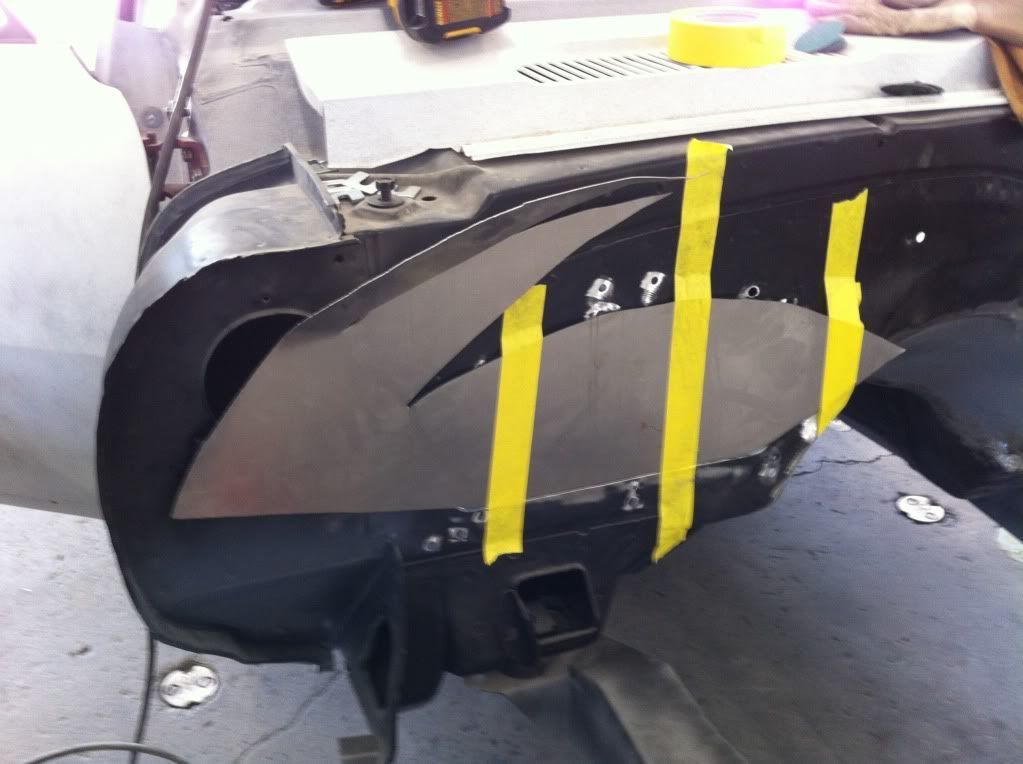
that is sweet
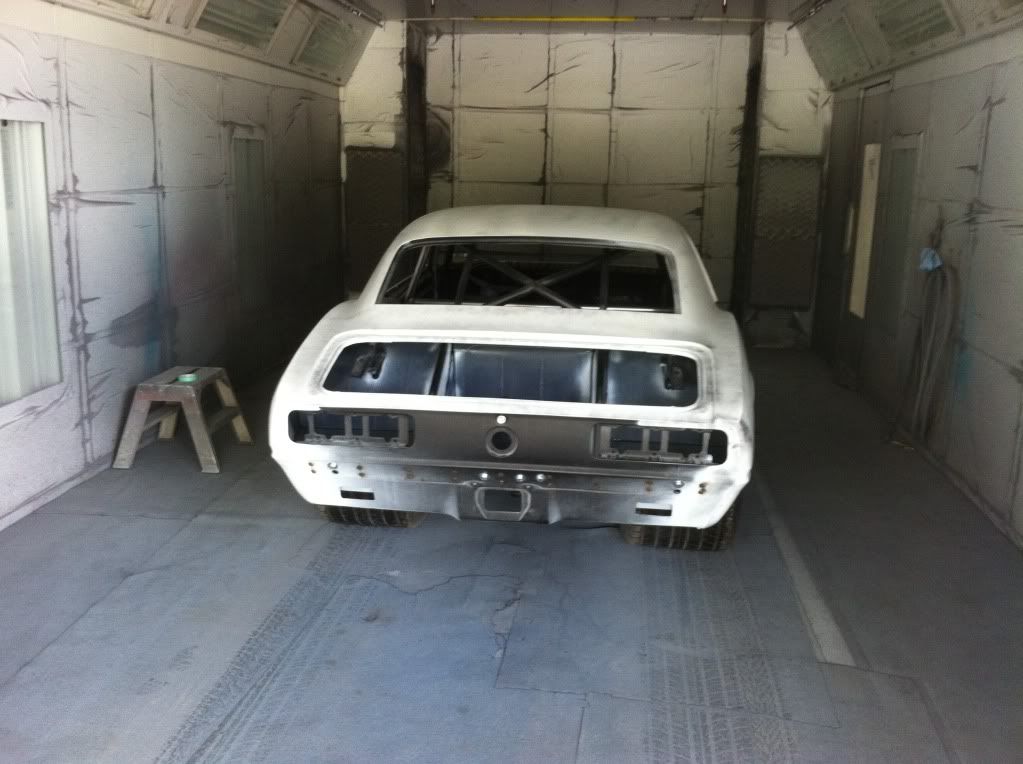
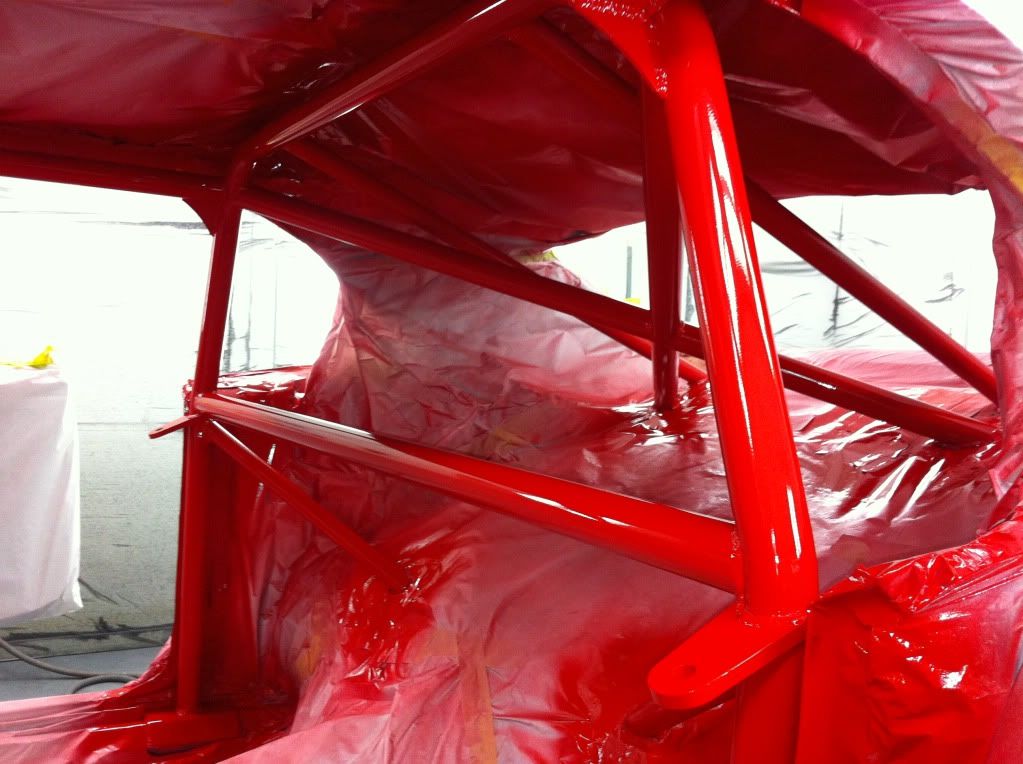
going to be one nice ride!