1967 RS Duramax Camaro
- Thread starter dslhtrdr
- Start date
You are using an out of date browser. It may not display this or other websites correctly.
You should upgrade or use an alternative browser.
You should upgrade or use an alternative browser.
It's been awhile since I updated this thread.
My phone crashed on new years eve and lost pretty much all of my pictures, but I still have plenty to show.
Not too long after I was almost finished with the trunk floor sheet metal, I realized that I didn't take into account the need for a fuel cell. So some modifications to what I already did was necessary...
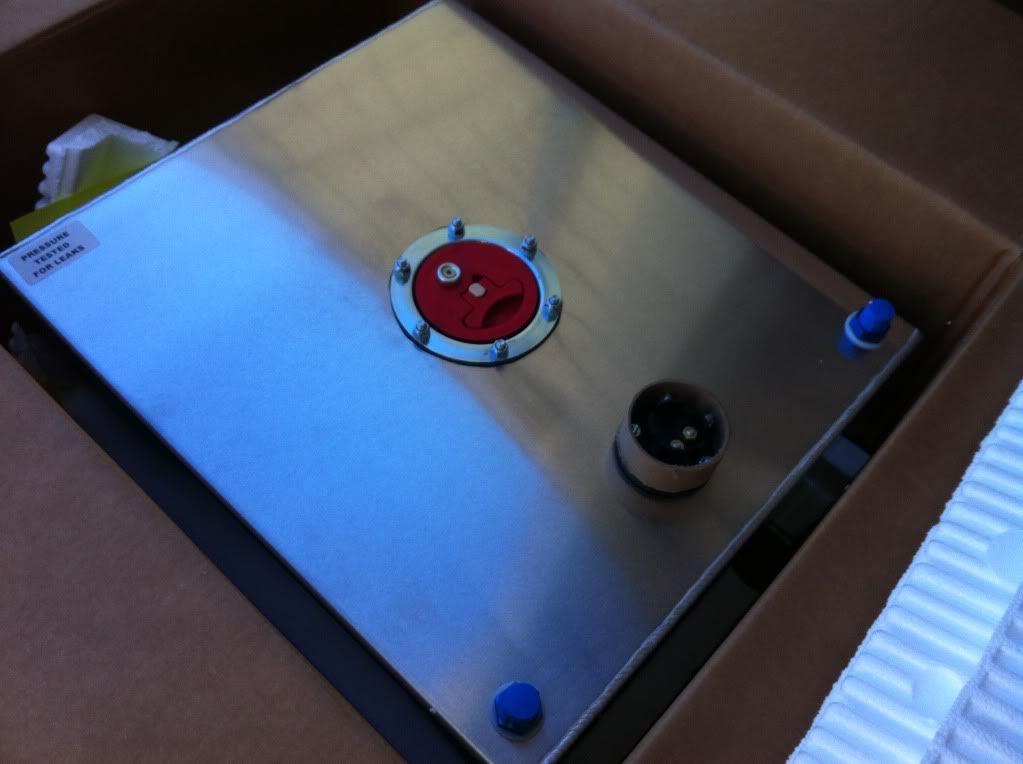
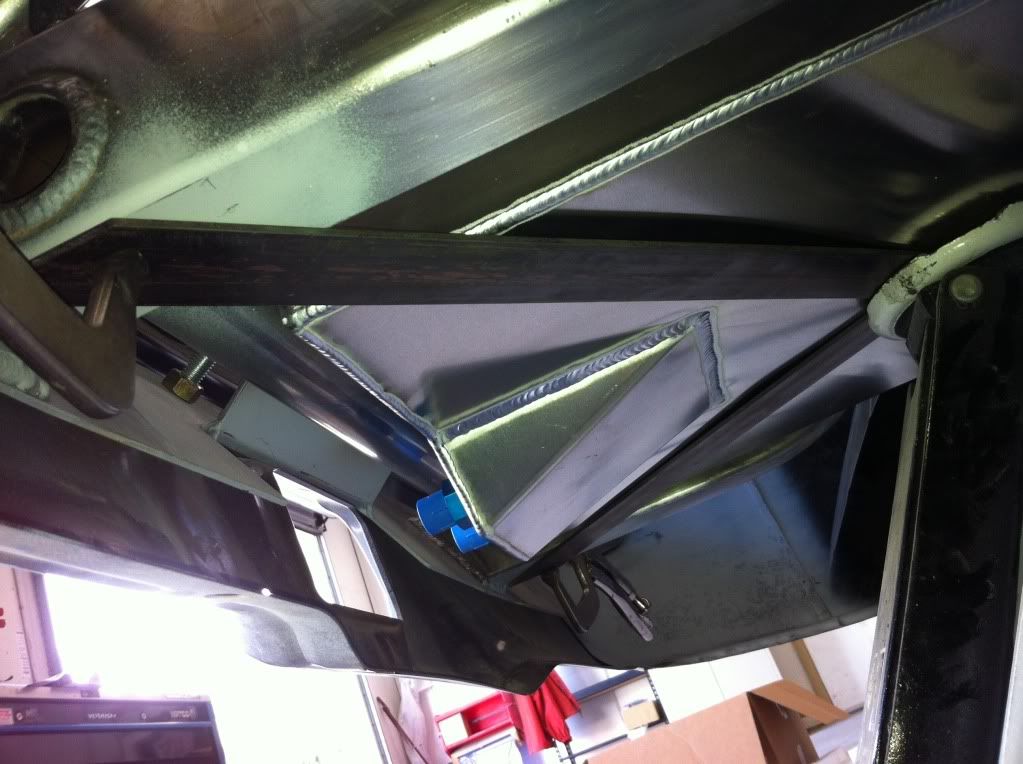
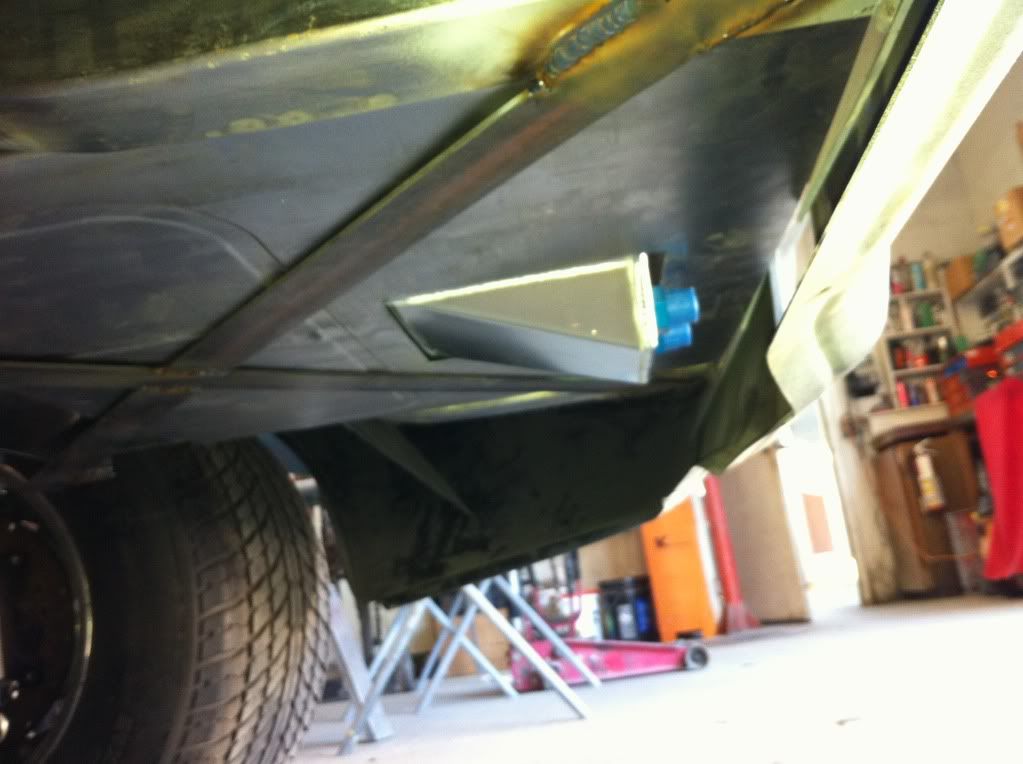
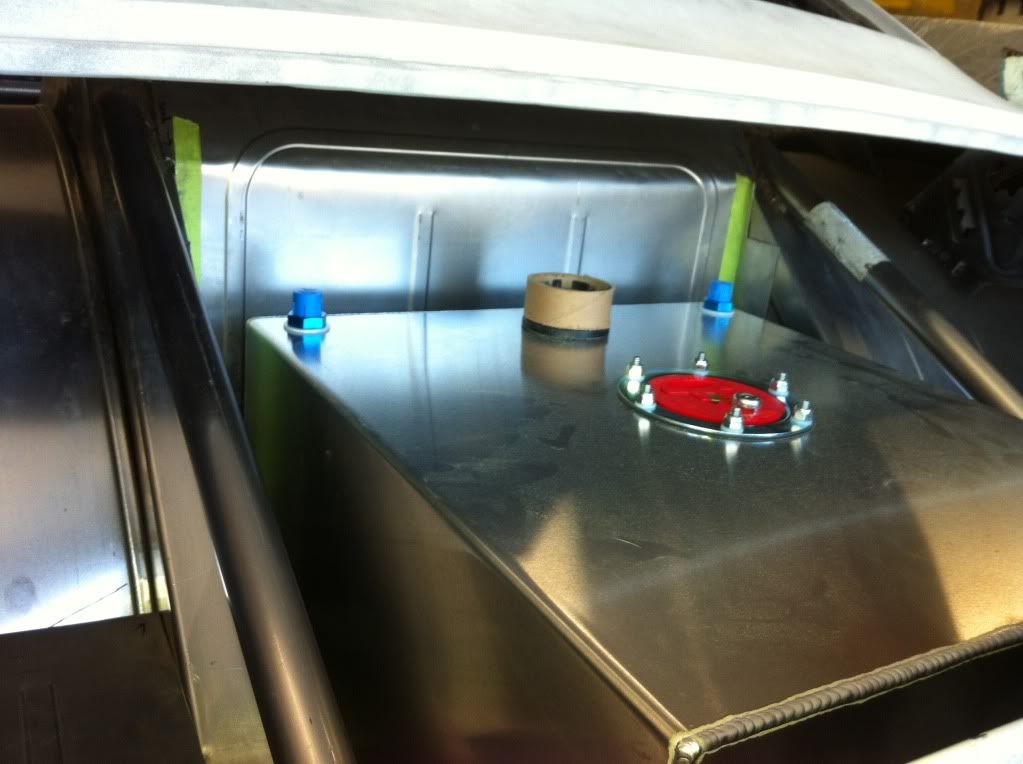
Here's my fuel cell. 15 gallon Summit Racing cell with sending unit for a fuel gauge.
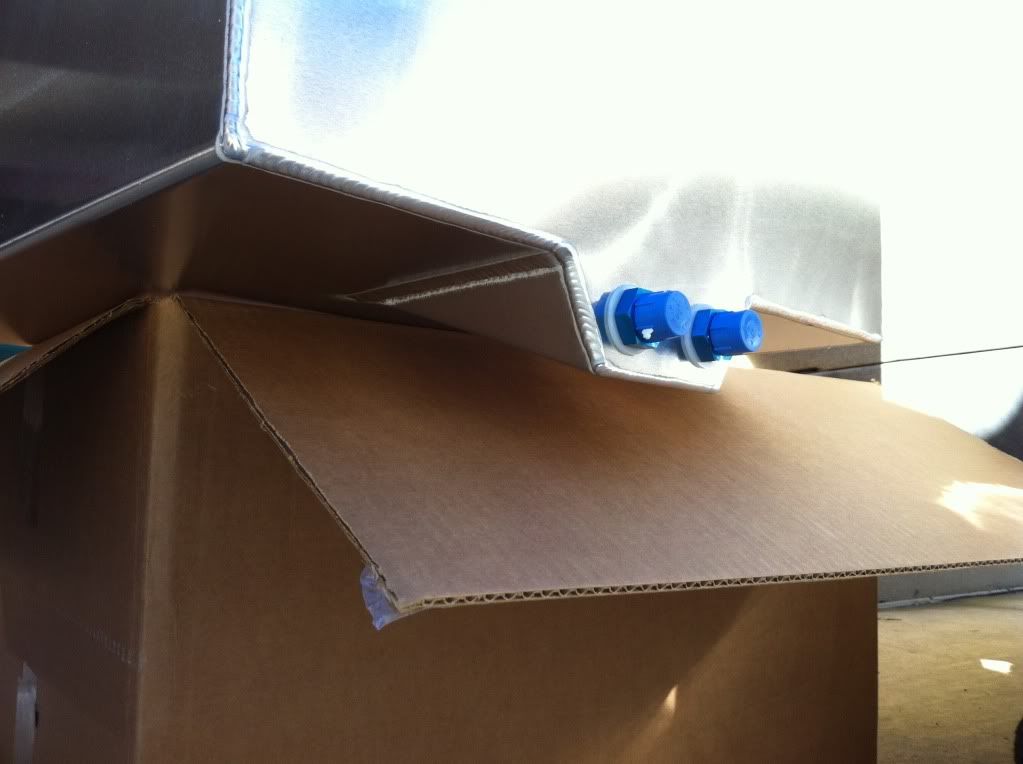
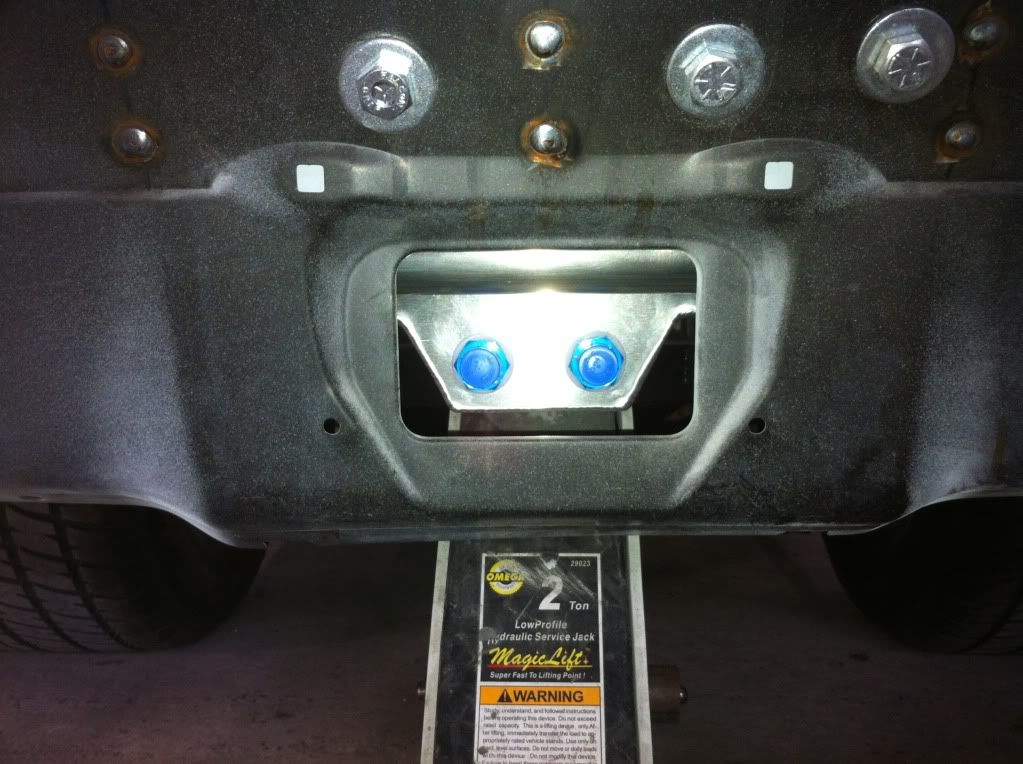
Rough placement.
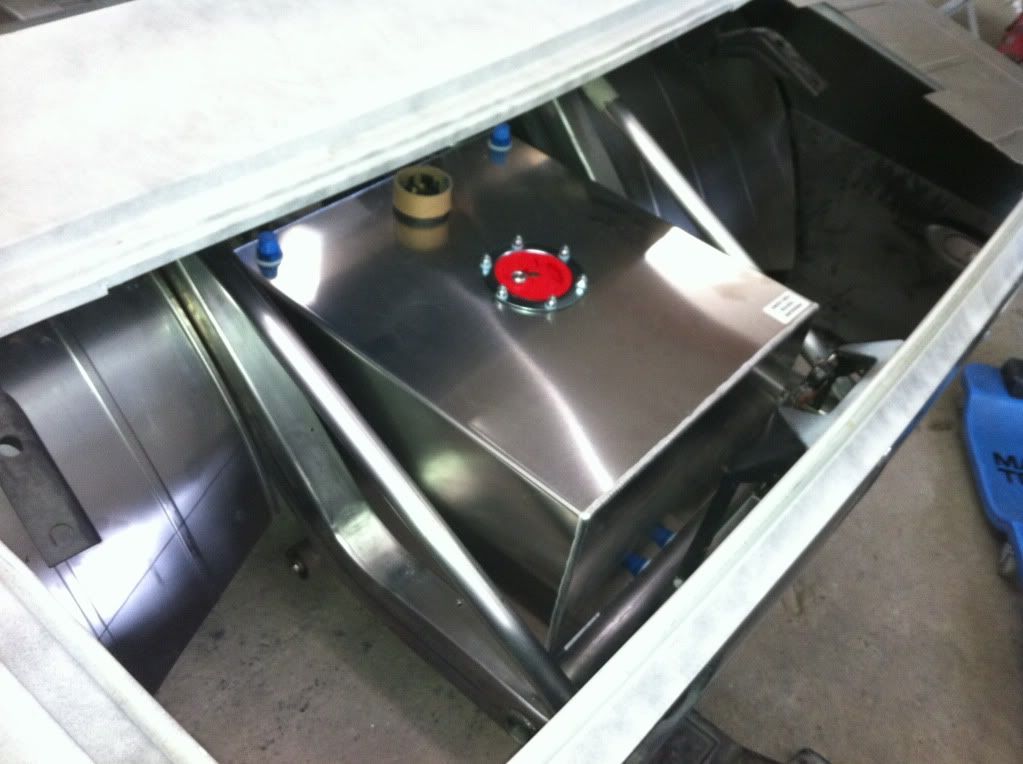
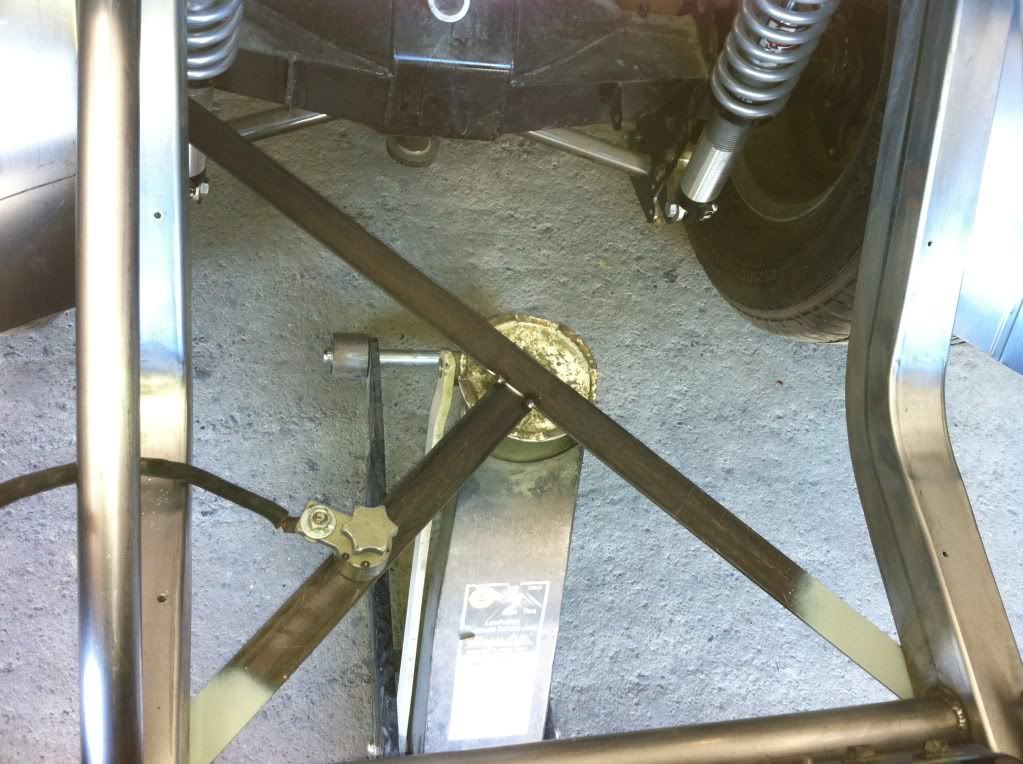
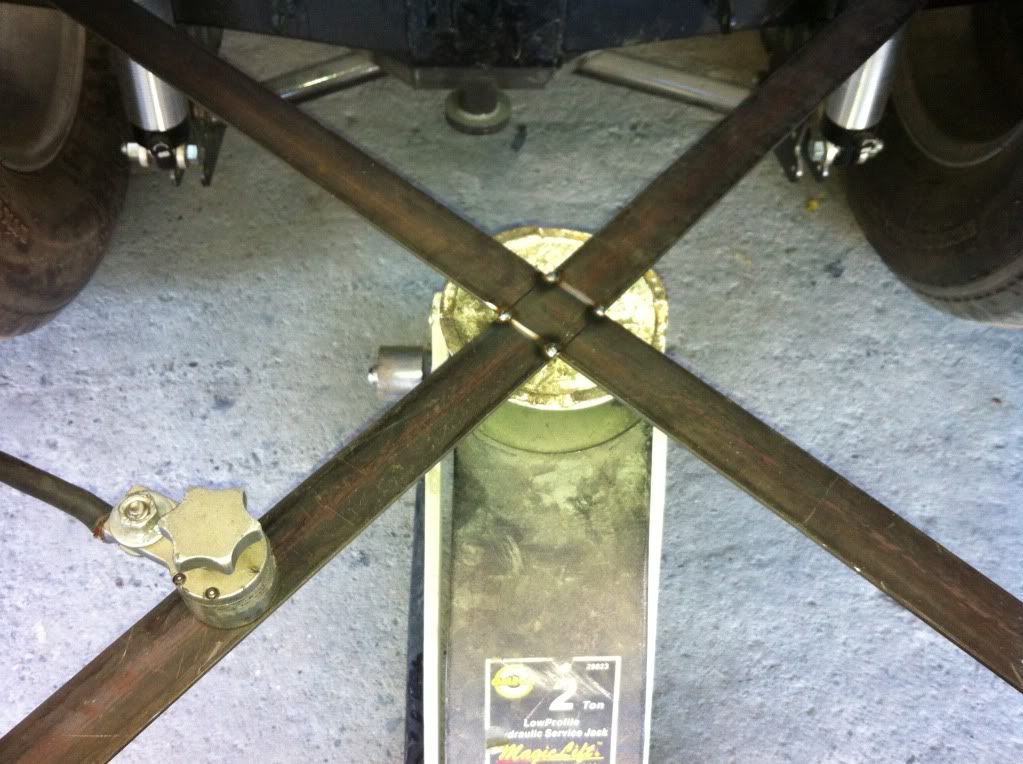
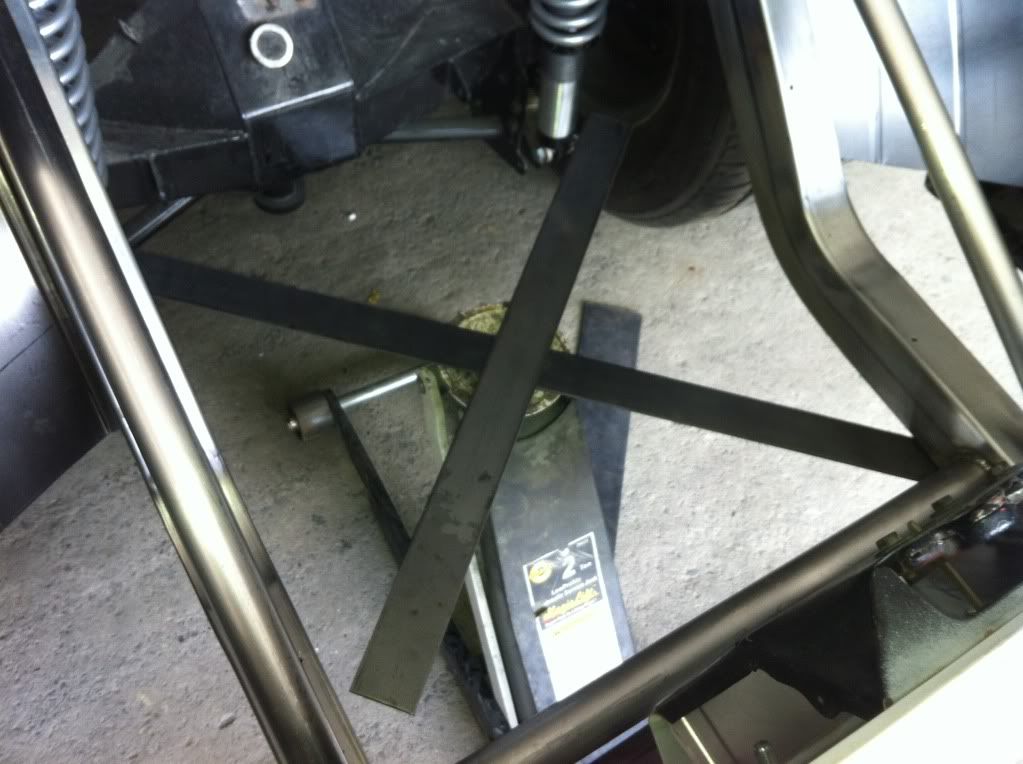
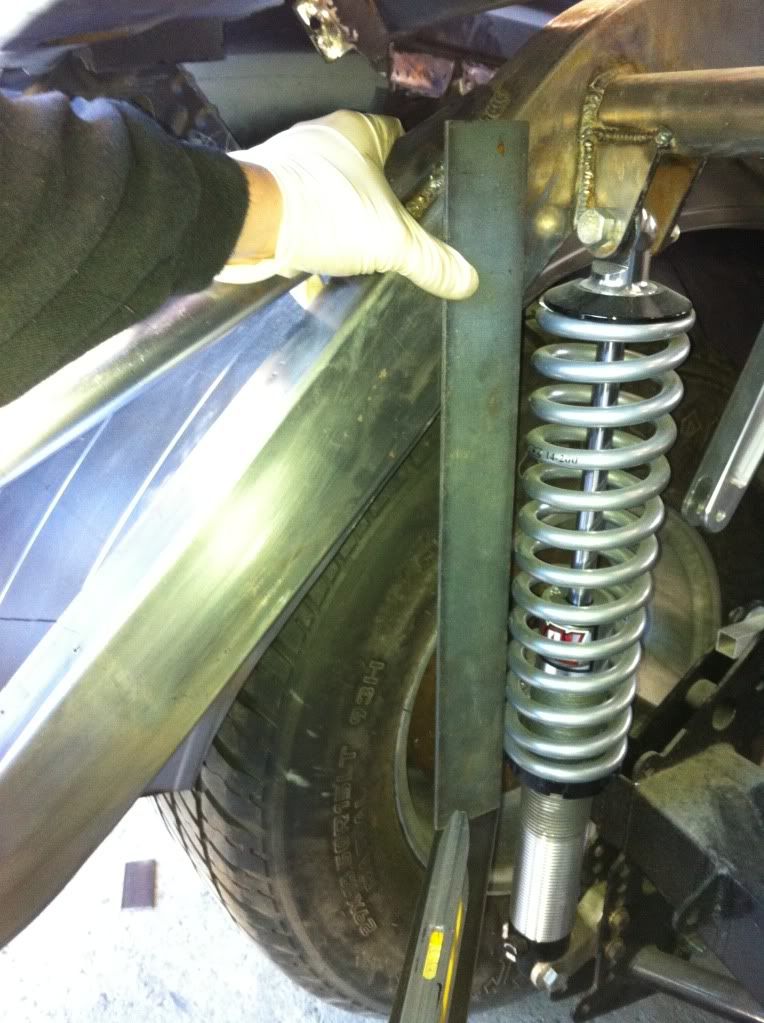
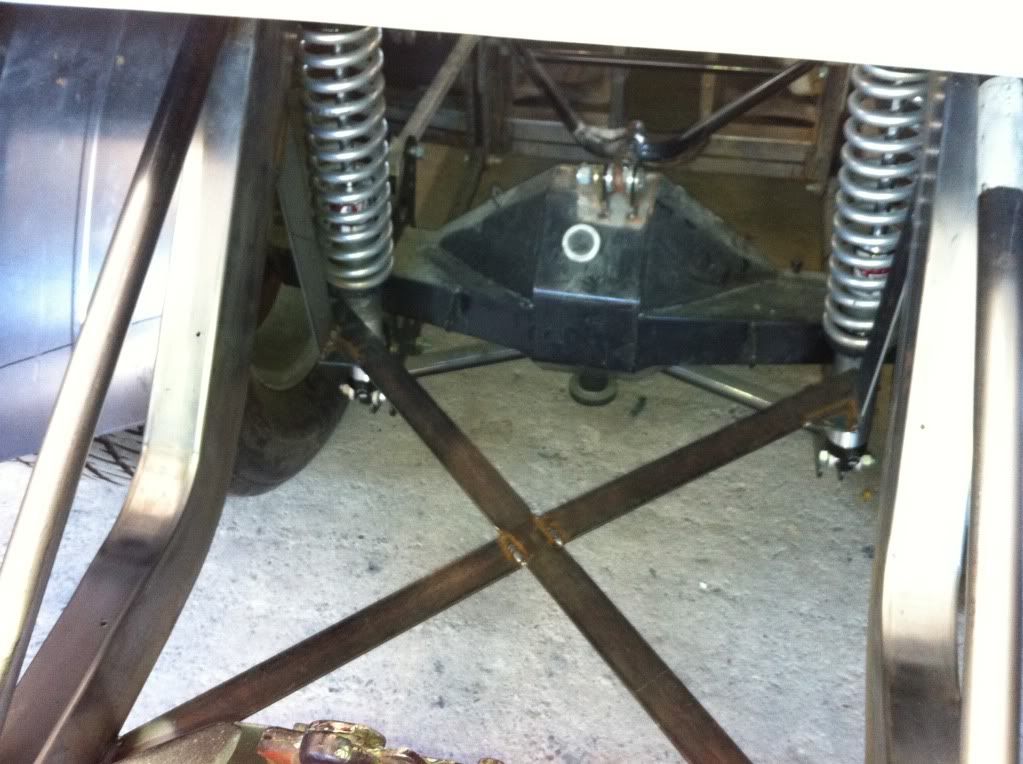
I had to support the cell with something other than 20 gauge sheet metal, so I built an x-brace to hold the weight.
My phone crashed on new years eve and lost pretty much all of my pictures, but I still have plenty to show.
Not too long after I was almost finished with the trunk floor sheet metal, I realized that I didn't take into account the need for a fuel cell. So some modifications to what I already did was necessary...
Here's my fuel cell. 15 gallon Summit Racing cell with sending unit for a fuel gauge.


Rough placement.


I had to support the cell with something other than 20 gauge sheet metal, so I built an x-brace to hold the weight.


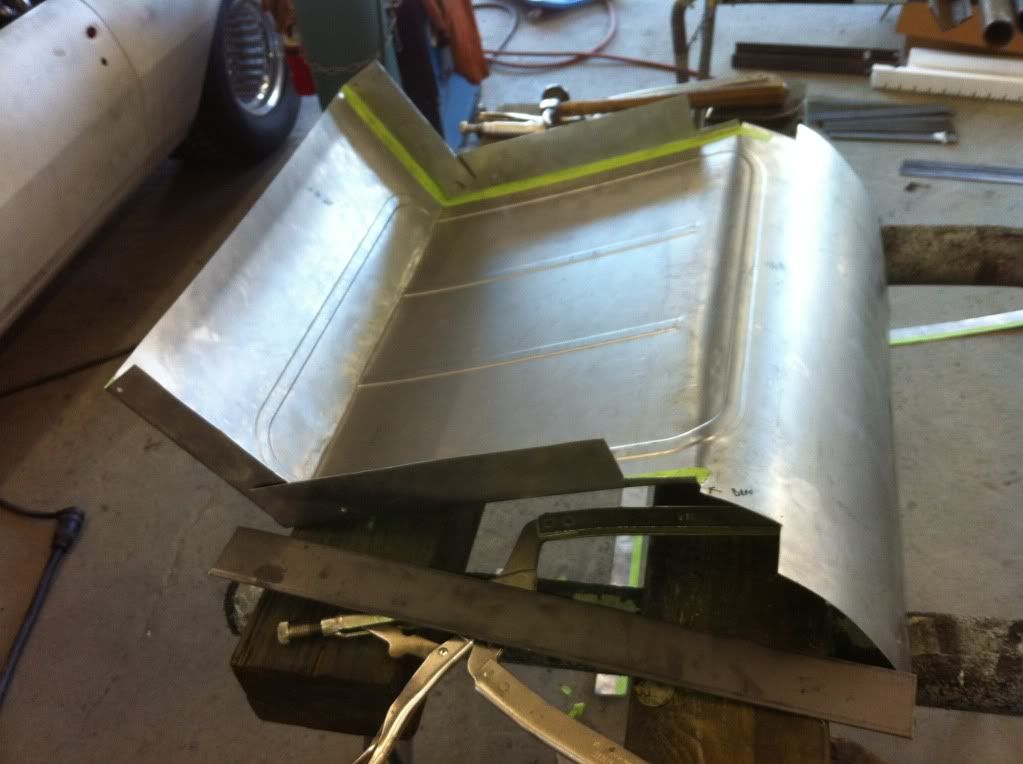
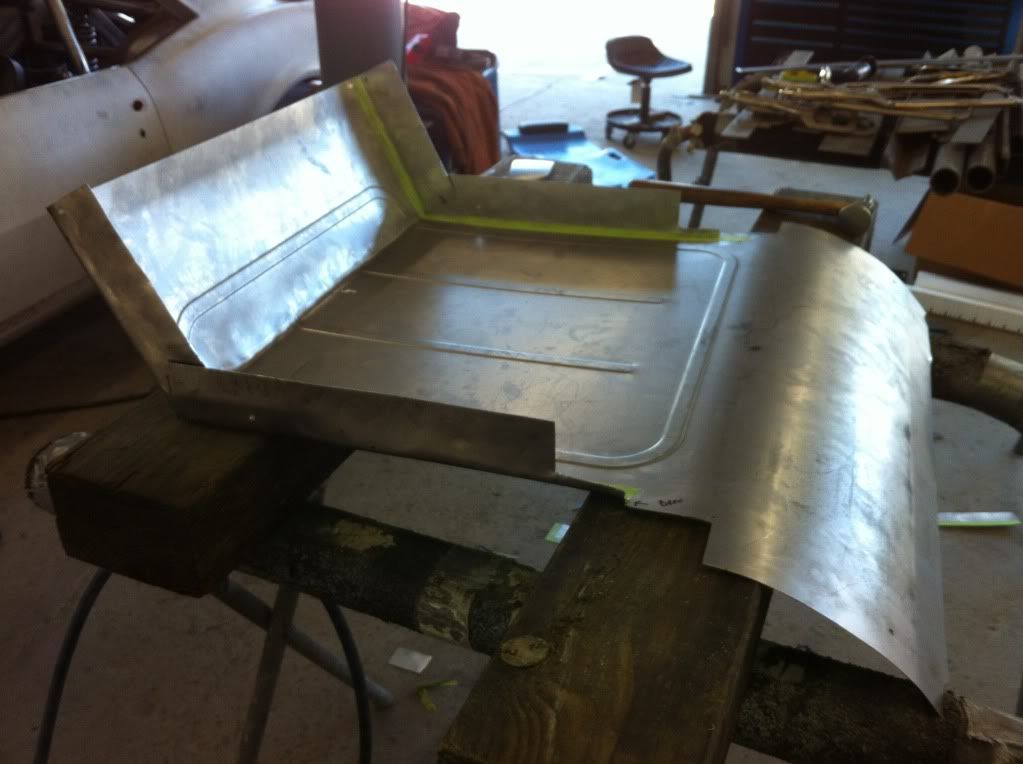
I needed to modify the existing pieces I had already made fit. I think it turned out alright.
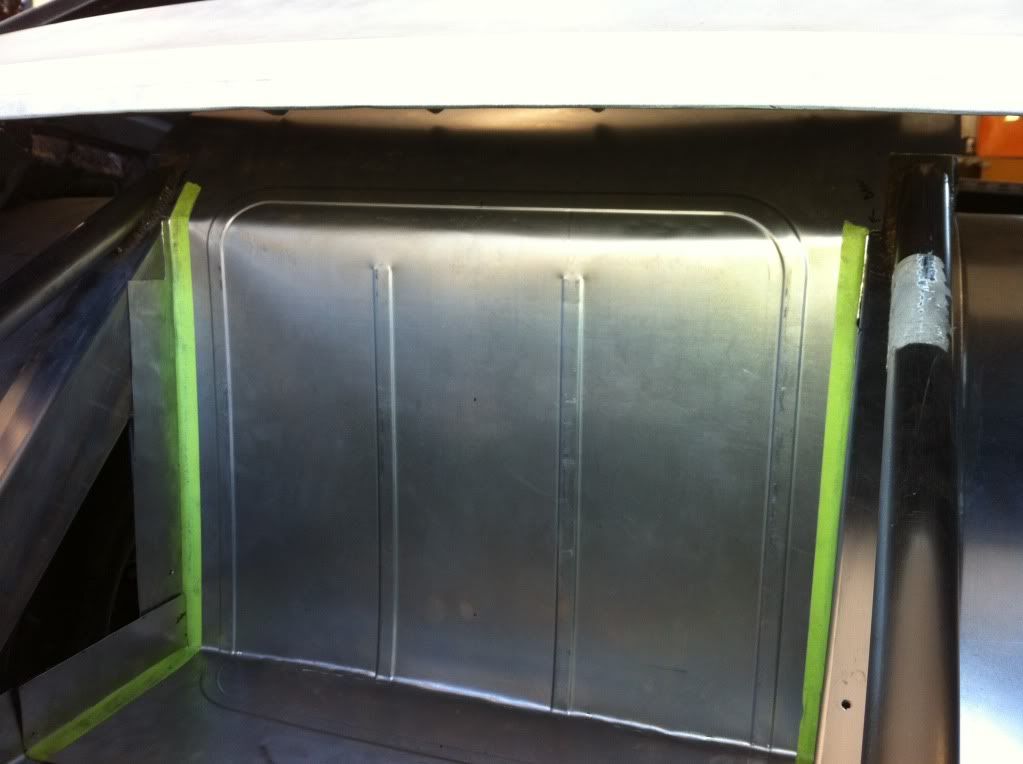
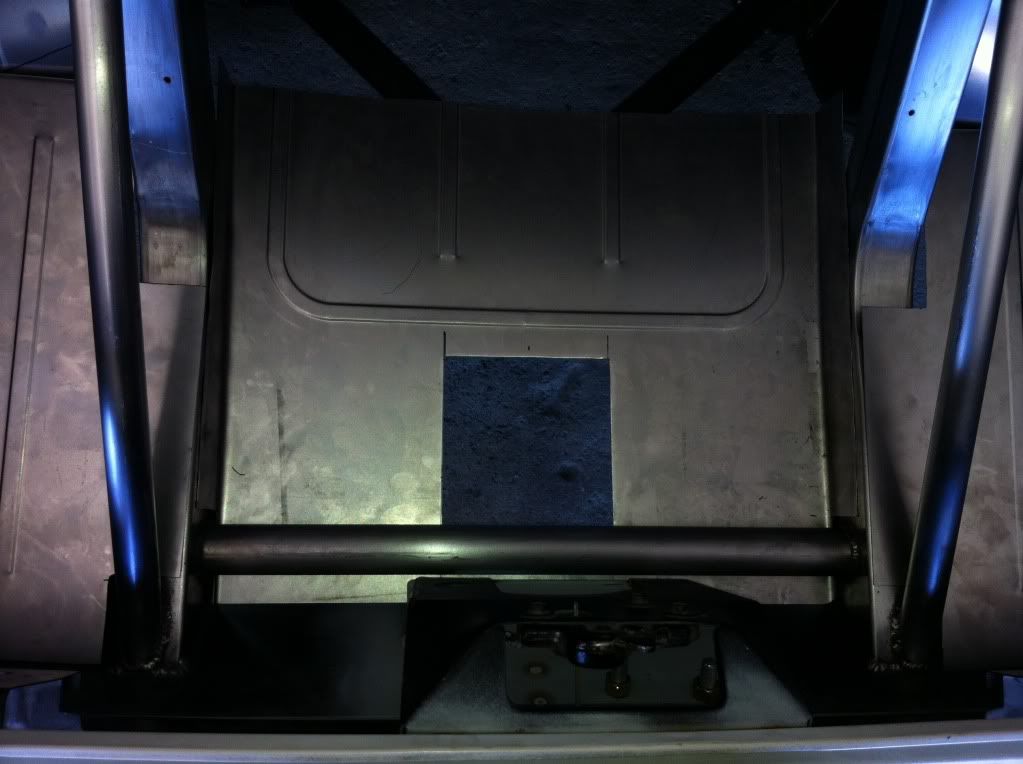
The main trunk floor piece required the most extensive modification. It ended up looking like a seat.
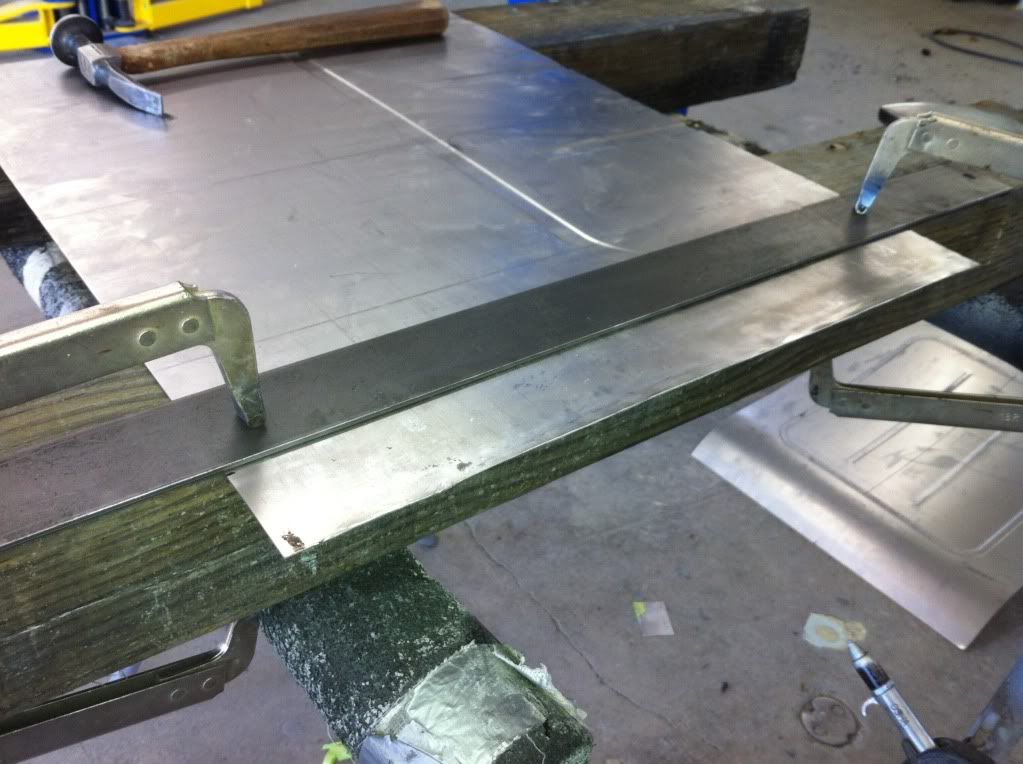
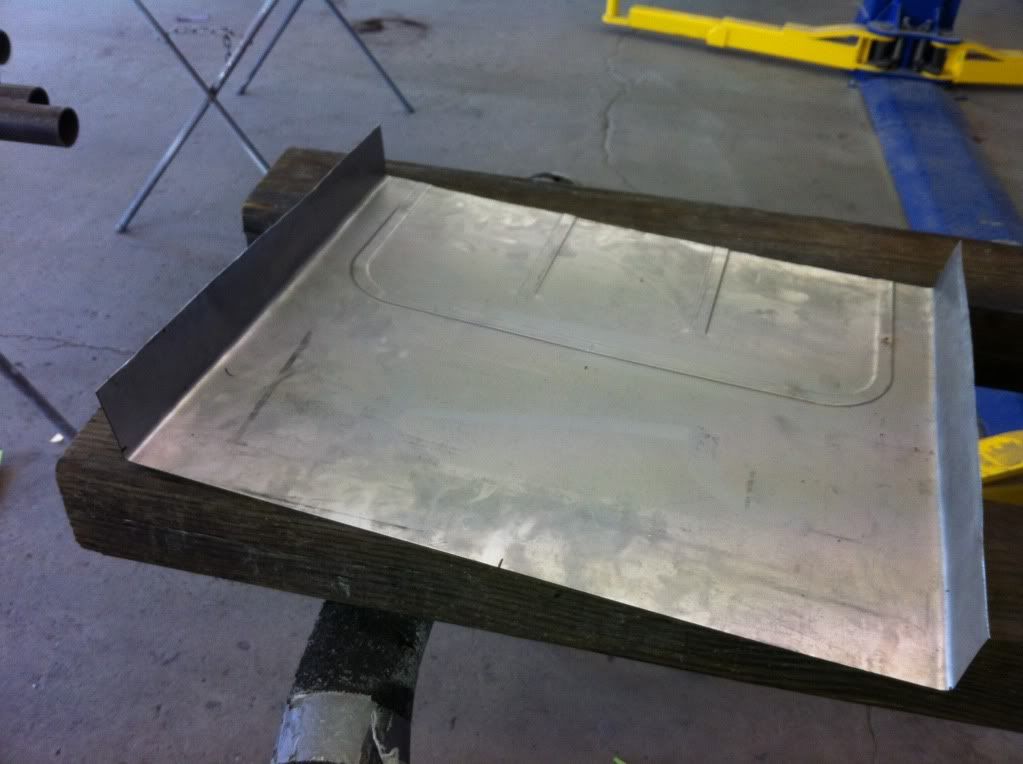
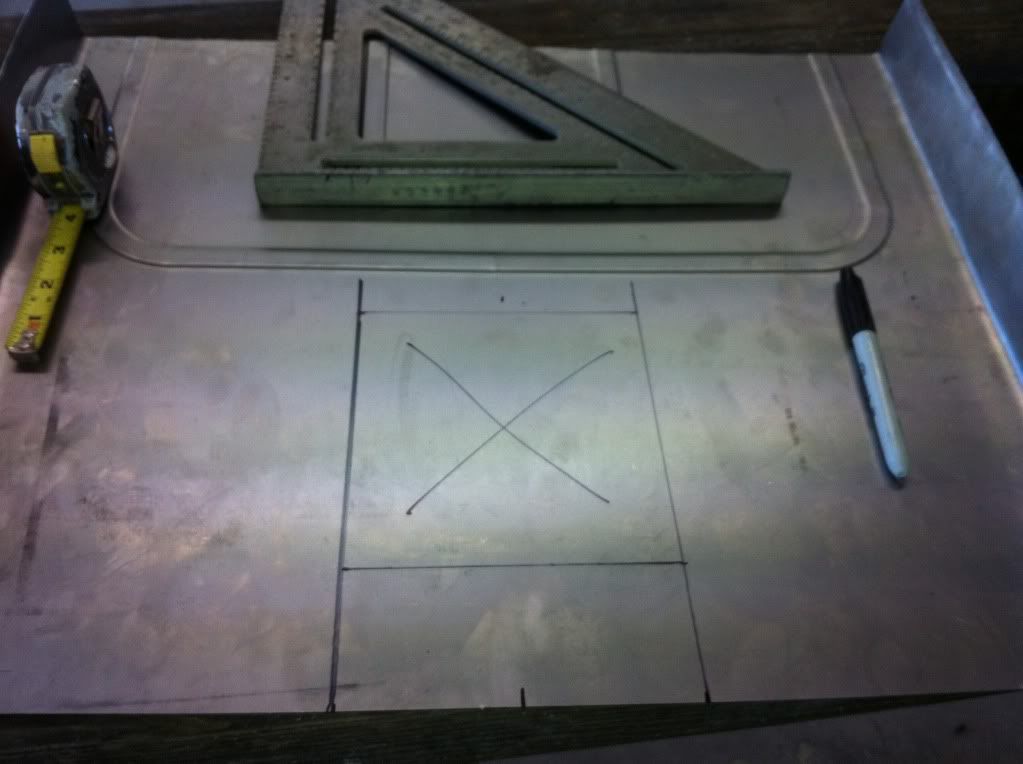
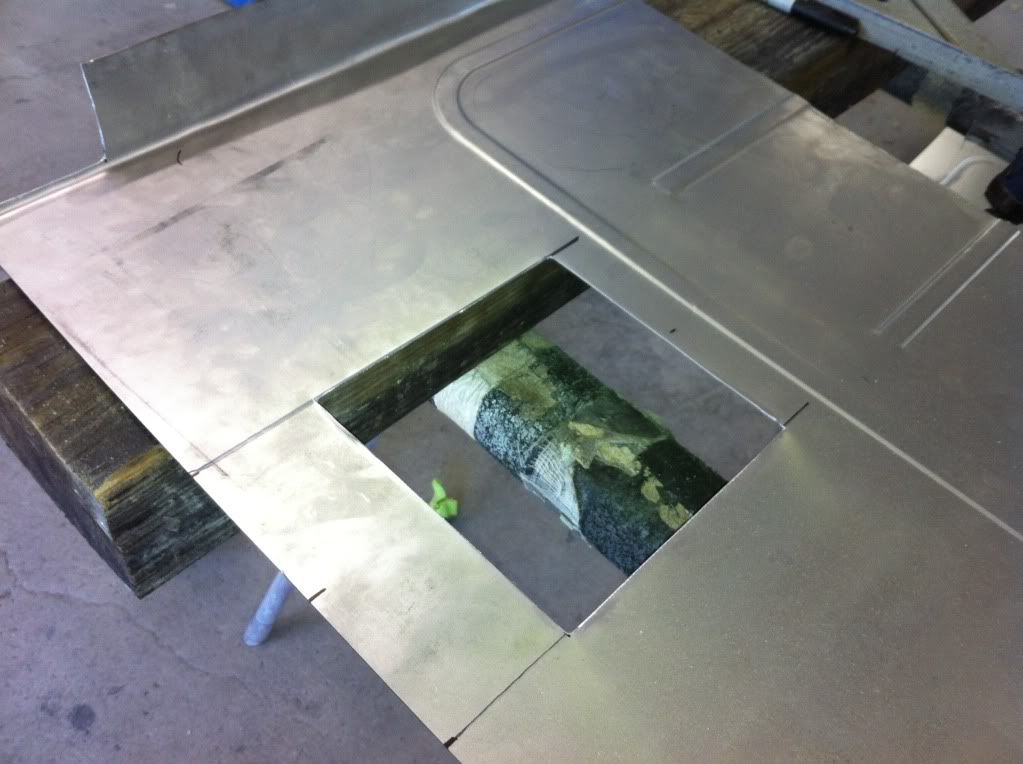
Then the floor extension was next. I needed to bend the edges and cut a hole for the sump.
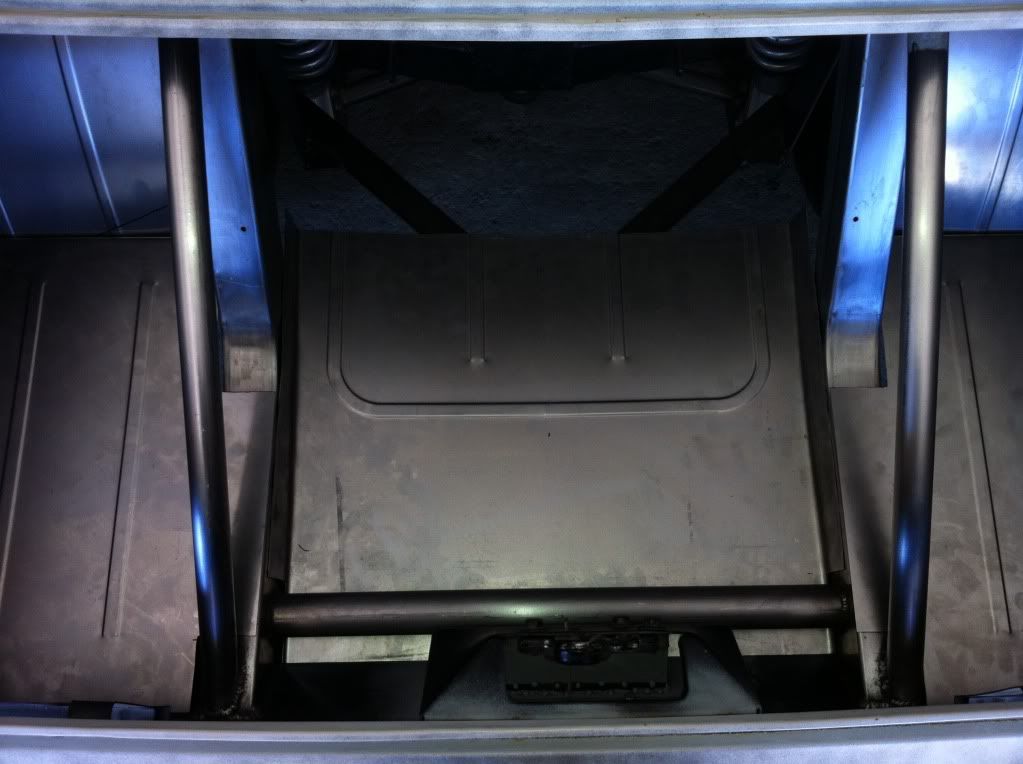
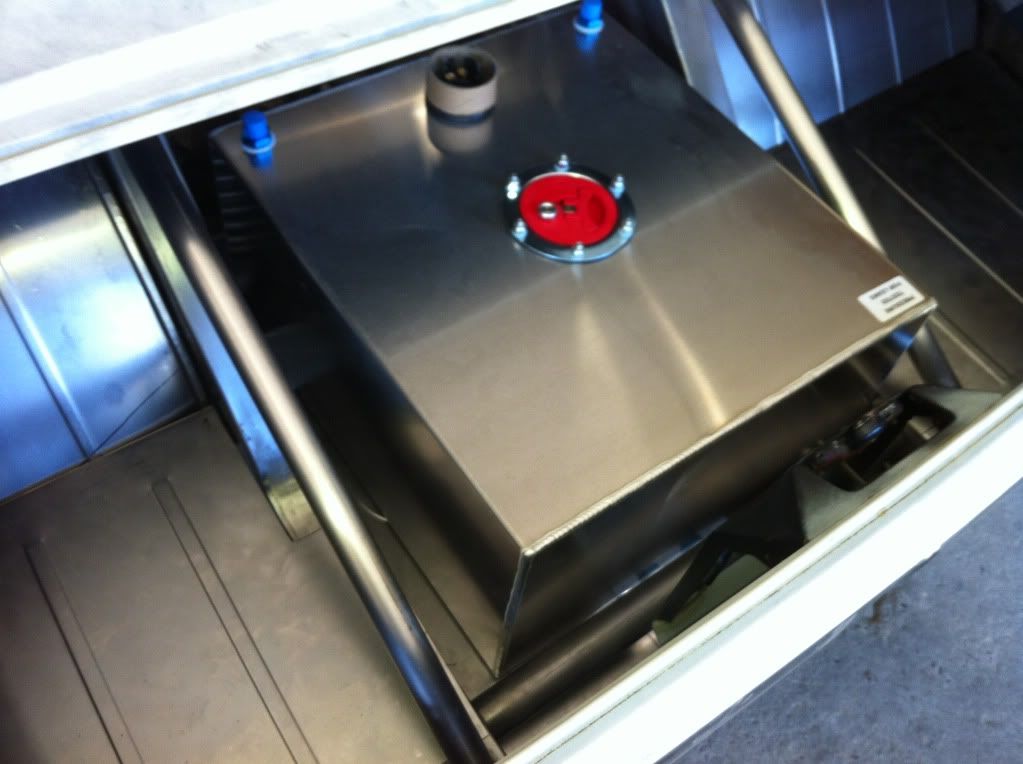
It's a tight fit.
The main trunk floor piece required the most extensive modification. It ended up looking like a seat.


Then the floor extension was next. I needed to bend the edges and cut a hole for the sump.


It's a tight fit.
It's such a tight fit, I had to remove the sump fittings in order to get it in.
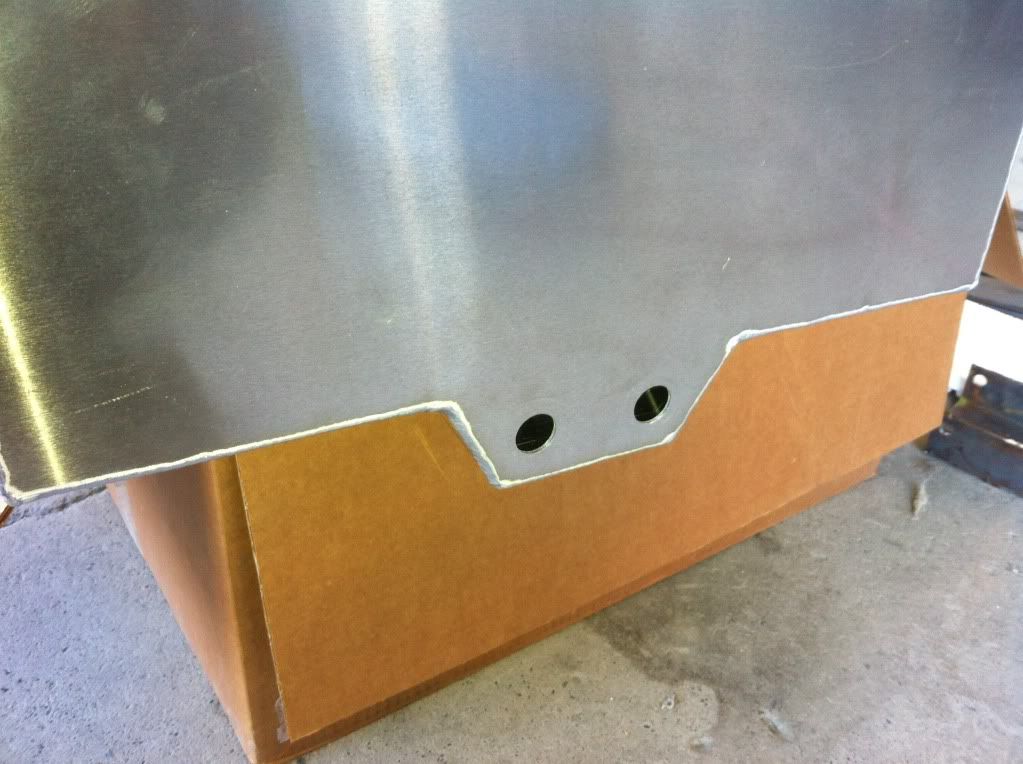
Made some close outs from the leftover wheel tub sheet metal.
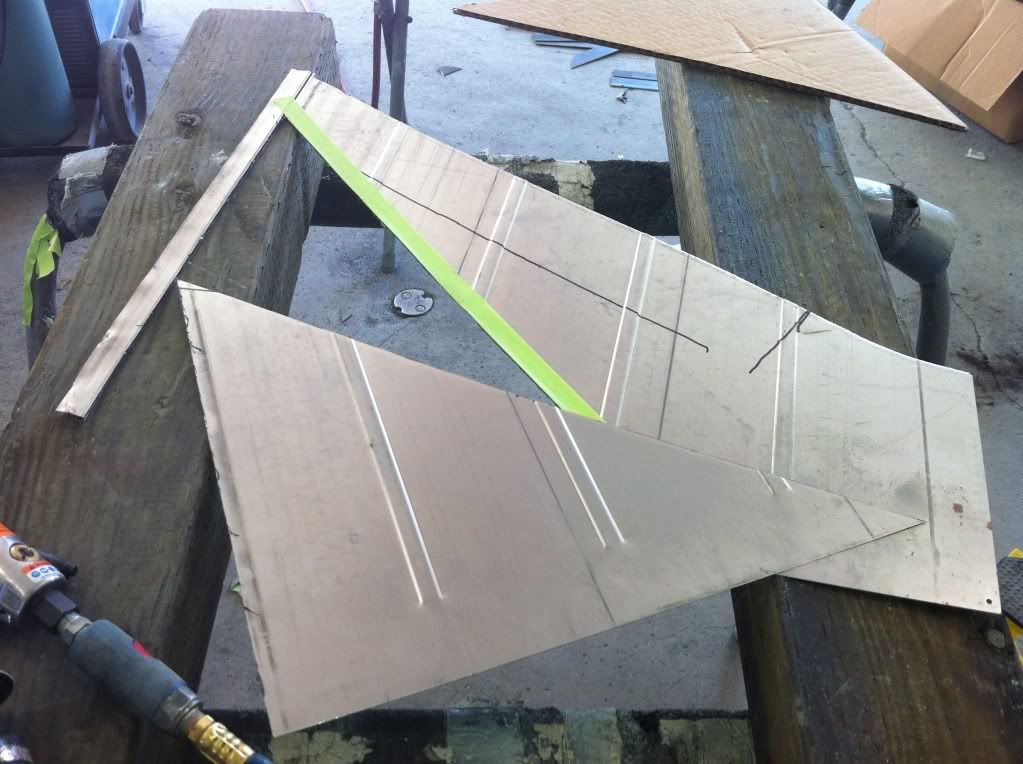
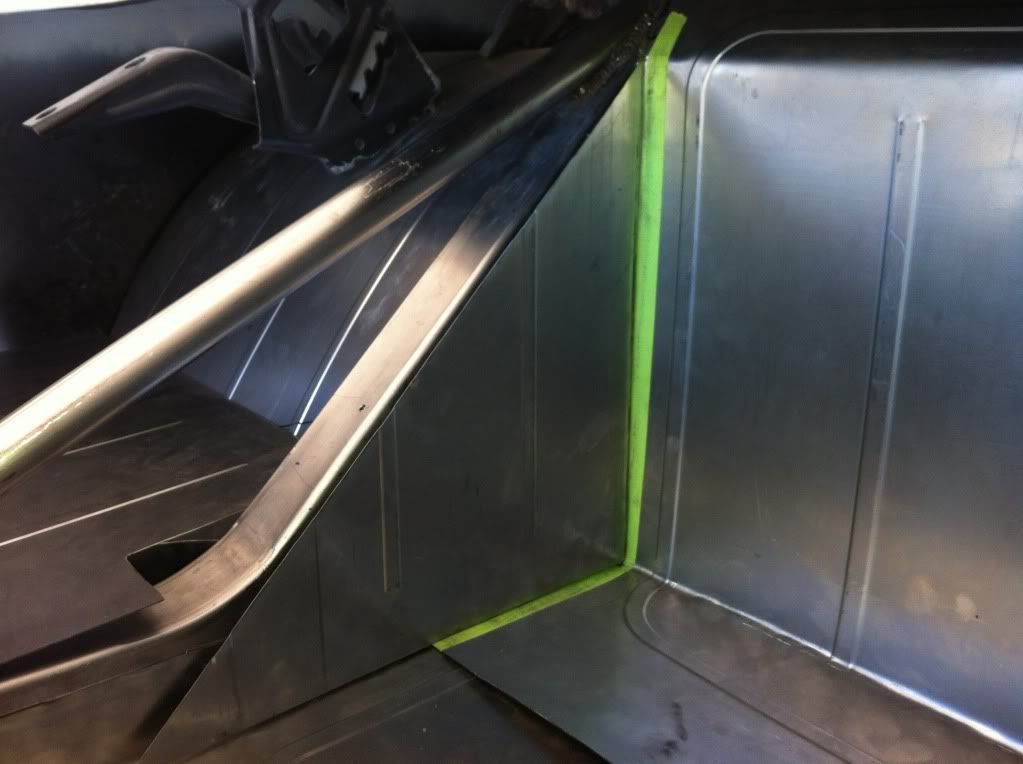
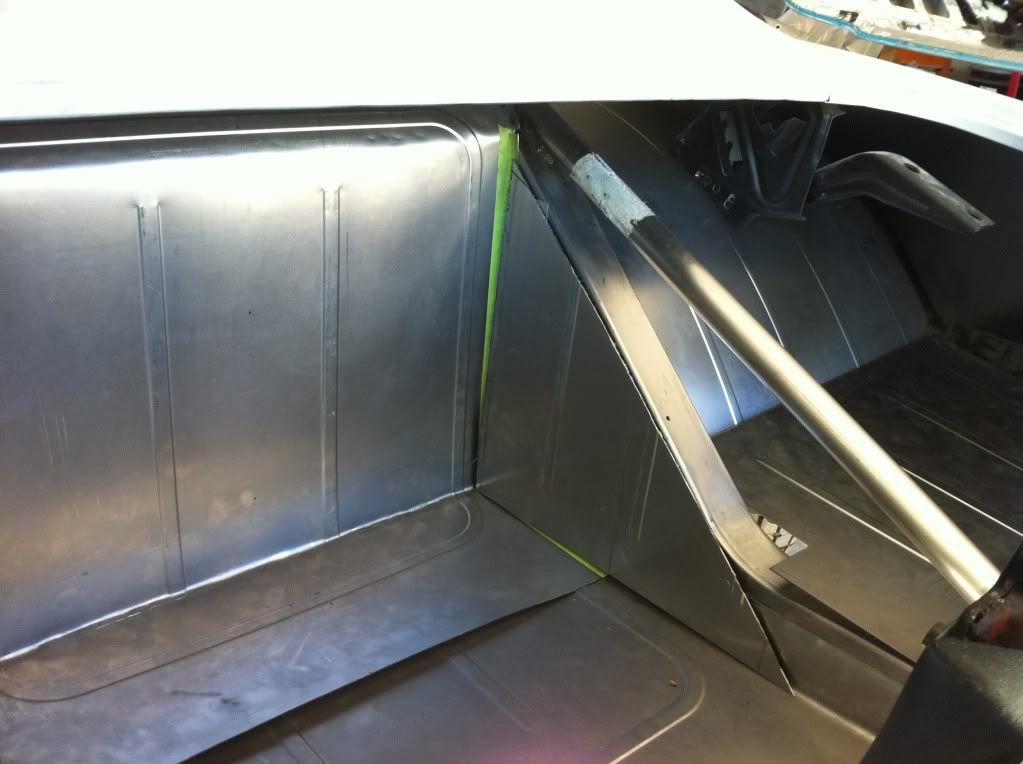
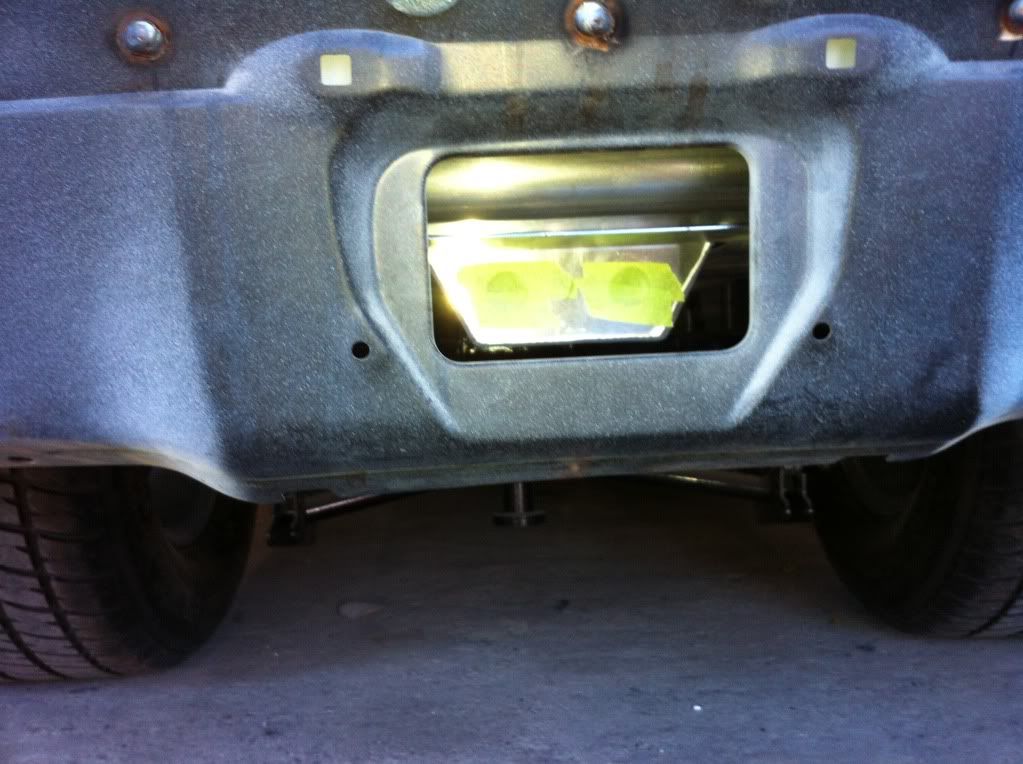
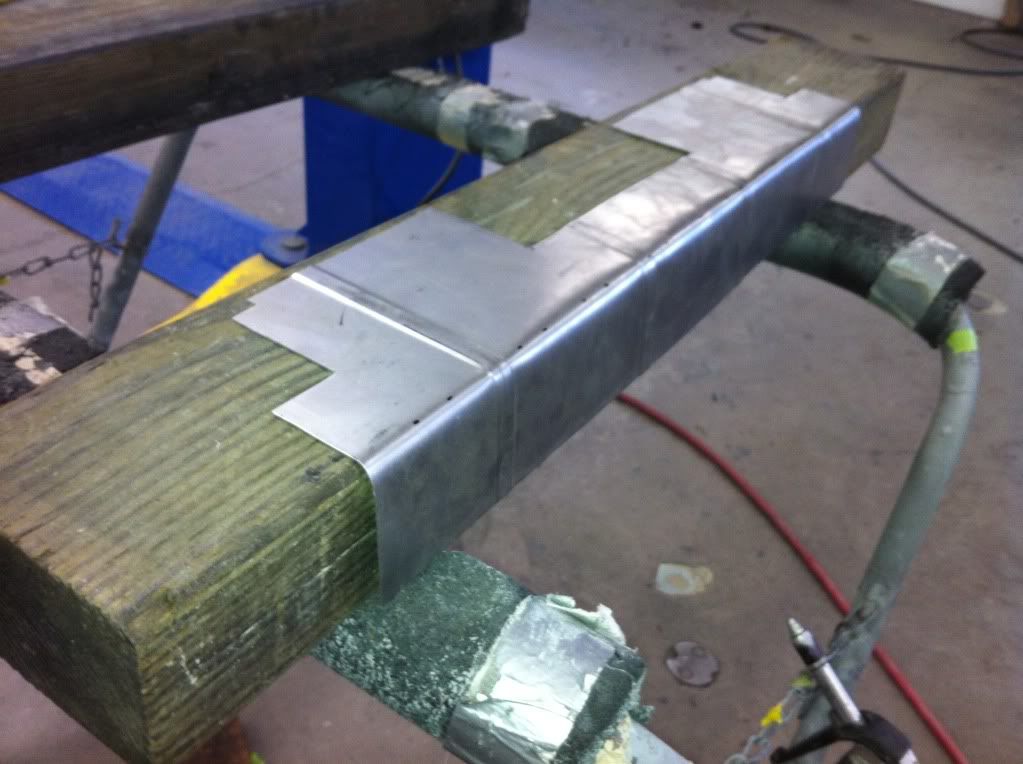
Then I made this little piece to cover the rear tubular crossmember. Still undecided if I will keep it or not...

Made some close outs from the leftover wheel tub sheet metal.


Then I made this little piece to cover the rear tubular crossmember. Still undecided if I will keep it or not...


I moved onto the driveshaft cover.
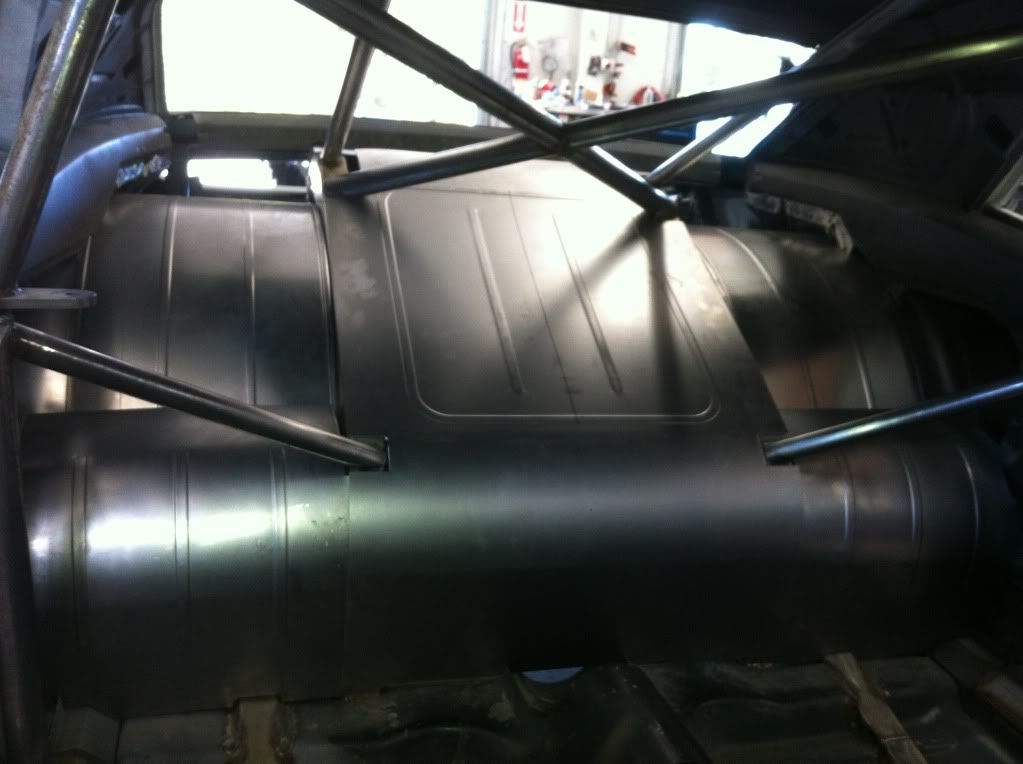
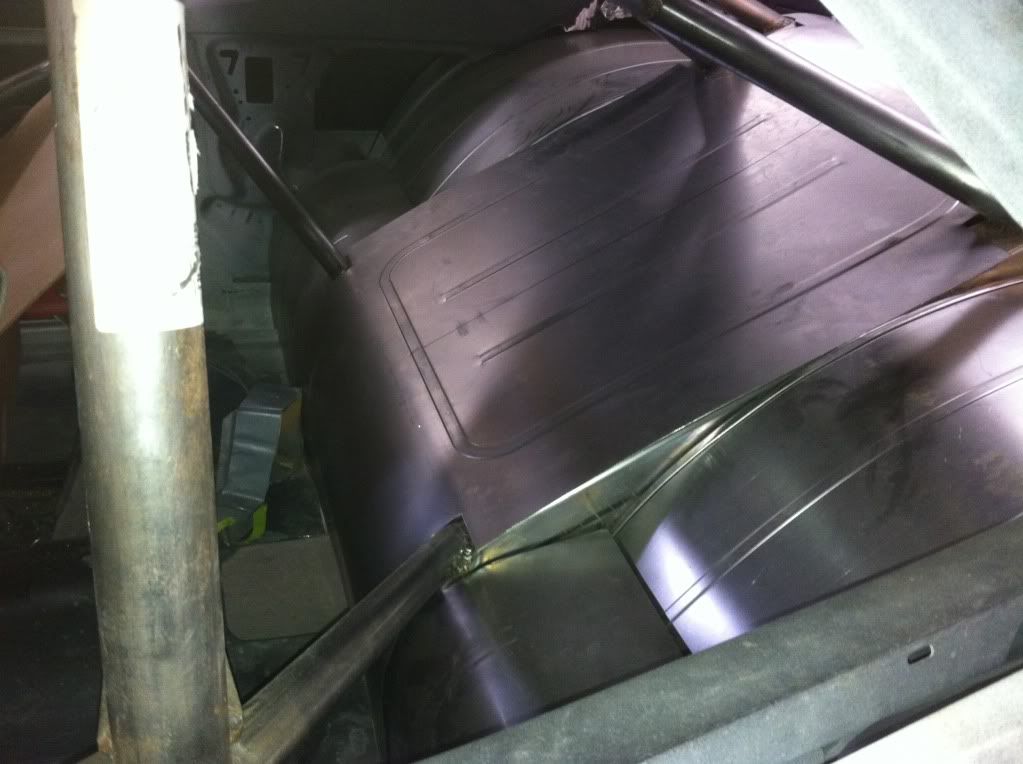
I traced out the driveshaft loop from behind, the cut it out.
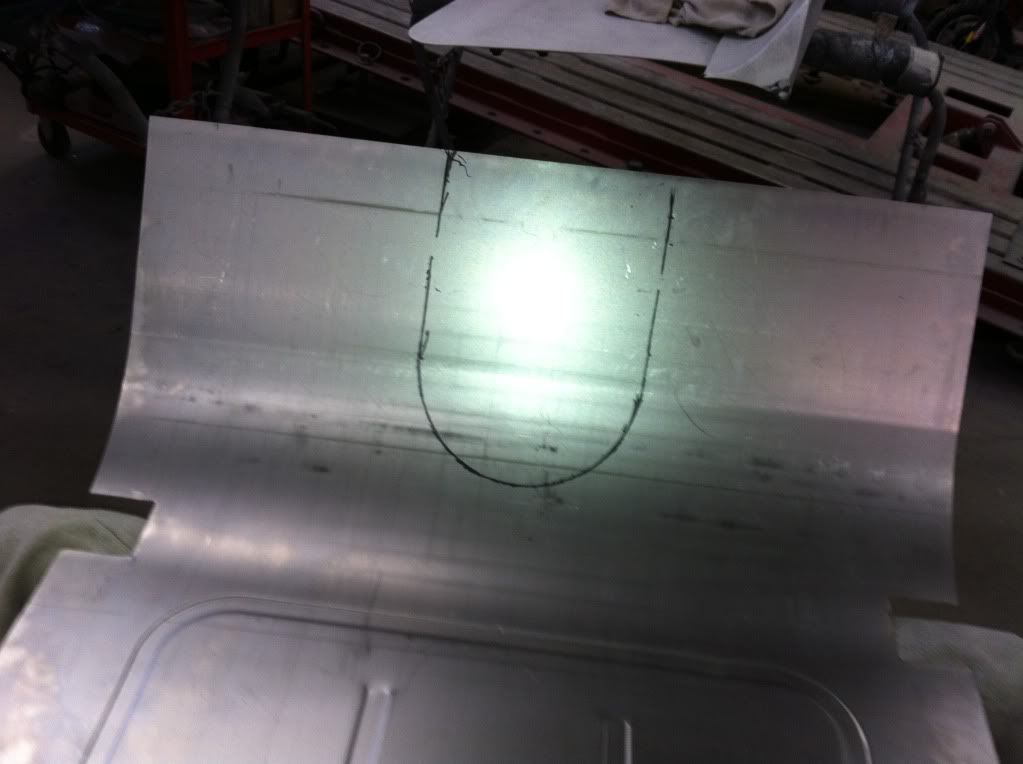
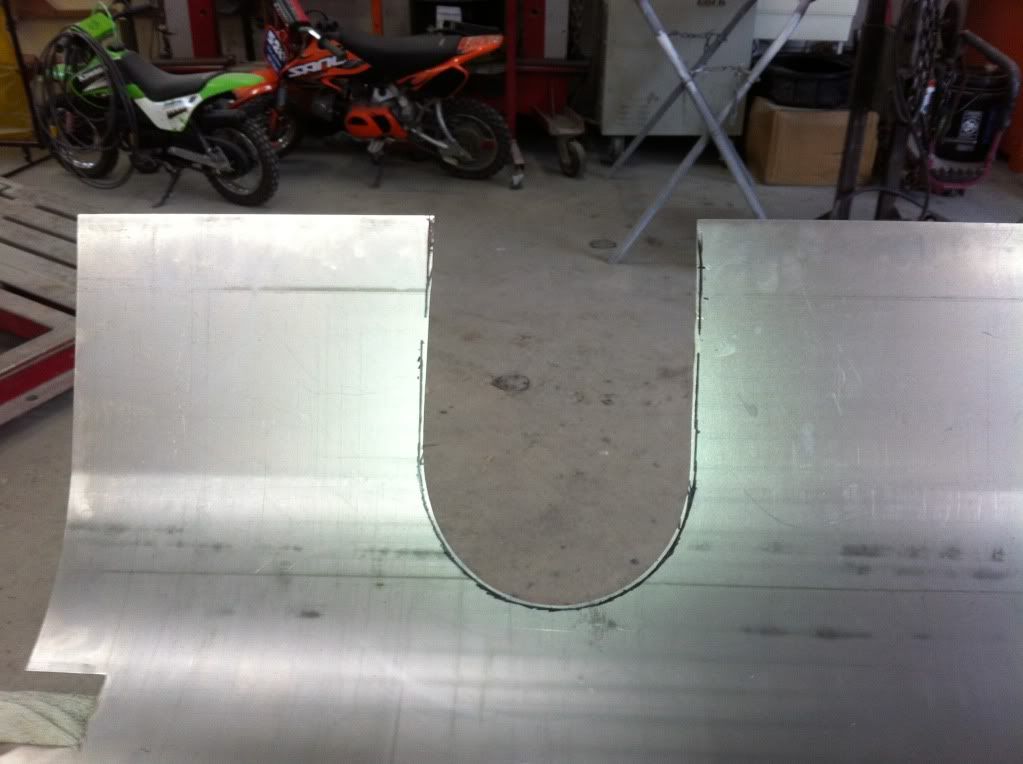
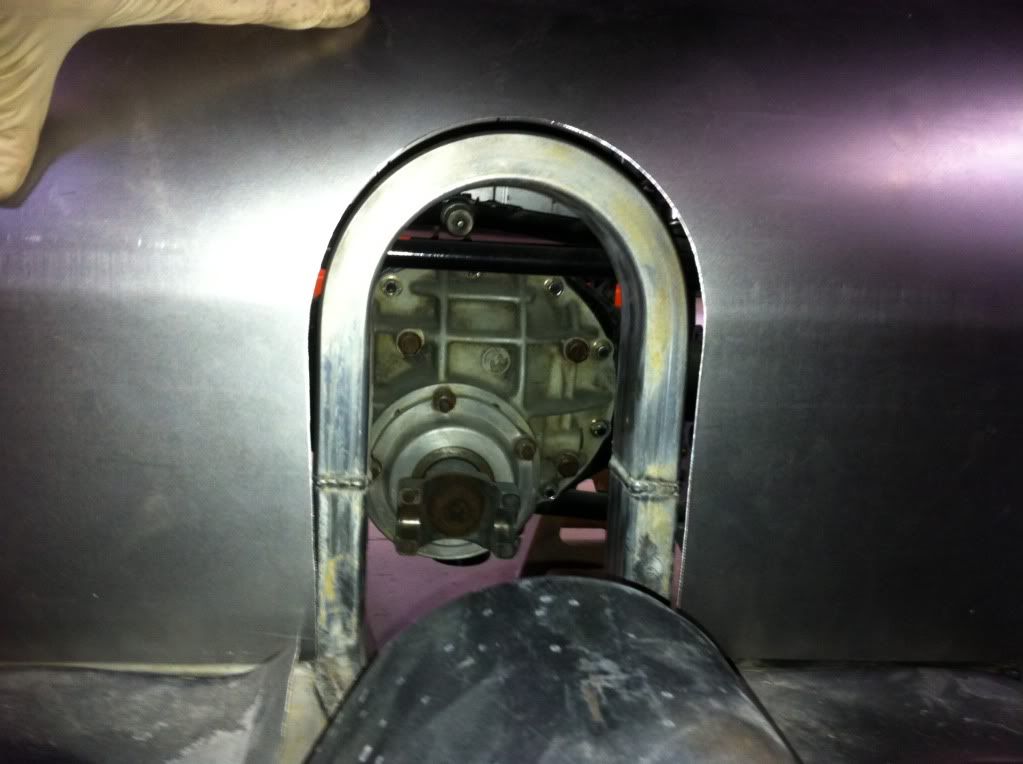


I traced out the driveshaft loop from behind, the cut it out.


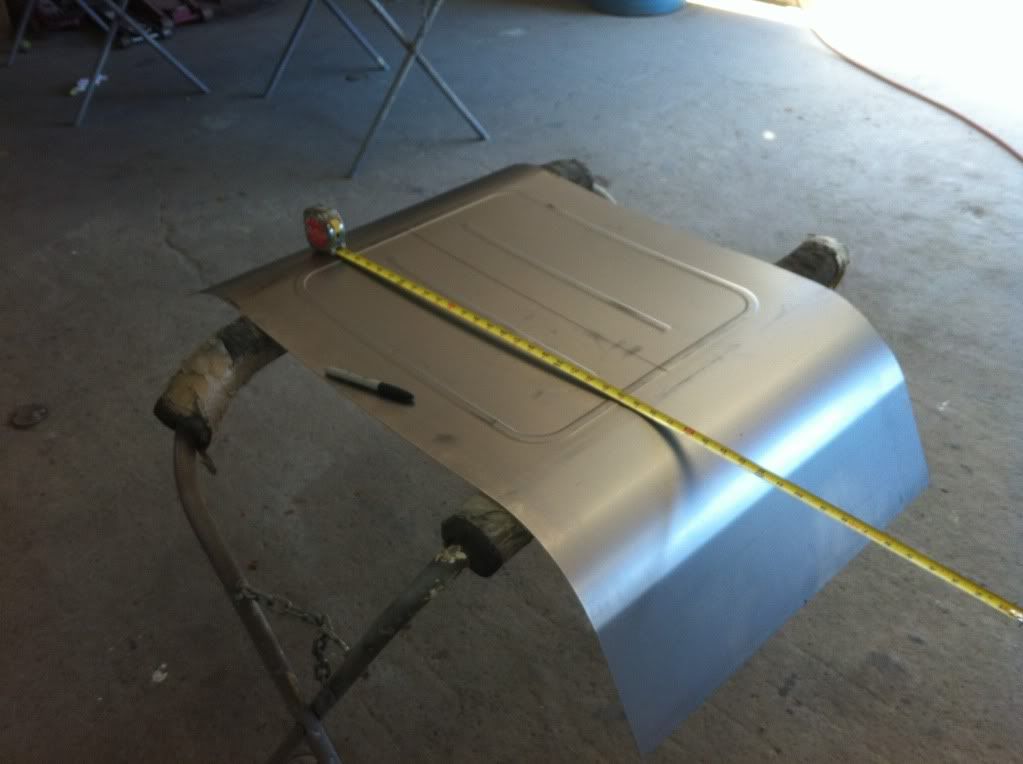
I wasn't really sure how I was going to connect the existing tunnel to the loop, so I came up with the idea to pie cut the tunnel, then make up the difference with leftover pieces from the wheel tub extensions. I bent the extensions over my leg to achieve the proper bend/radius to match the driveshaft loop.
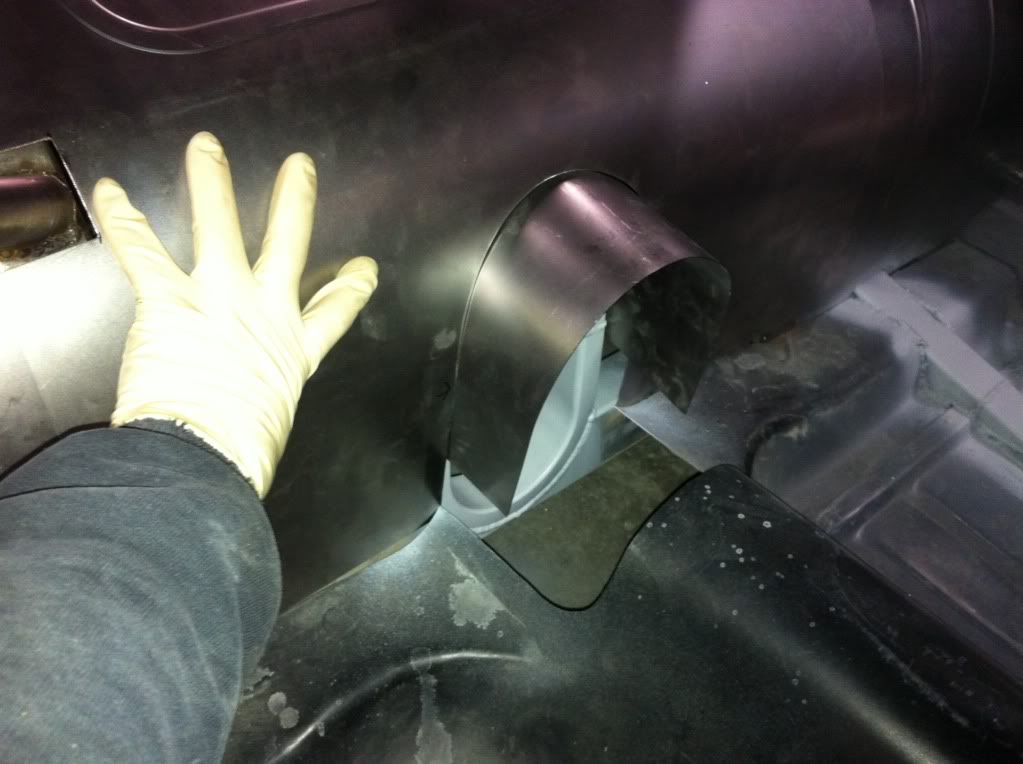

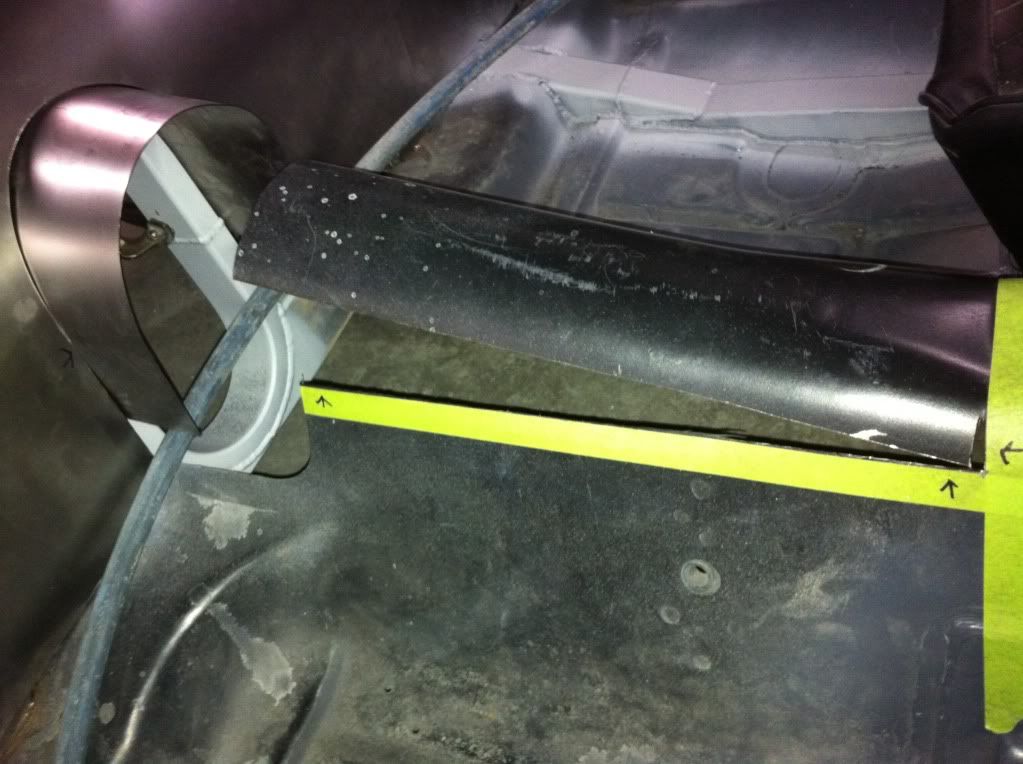
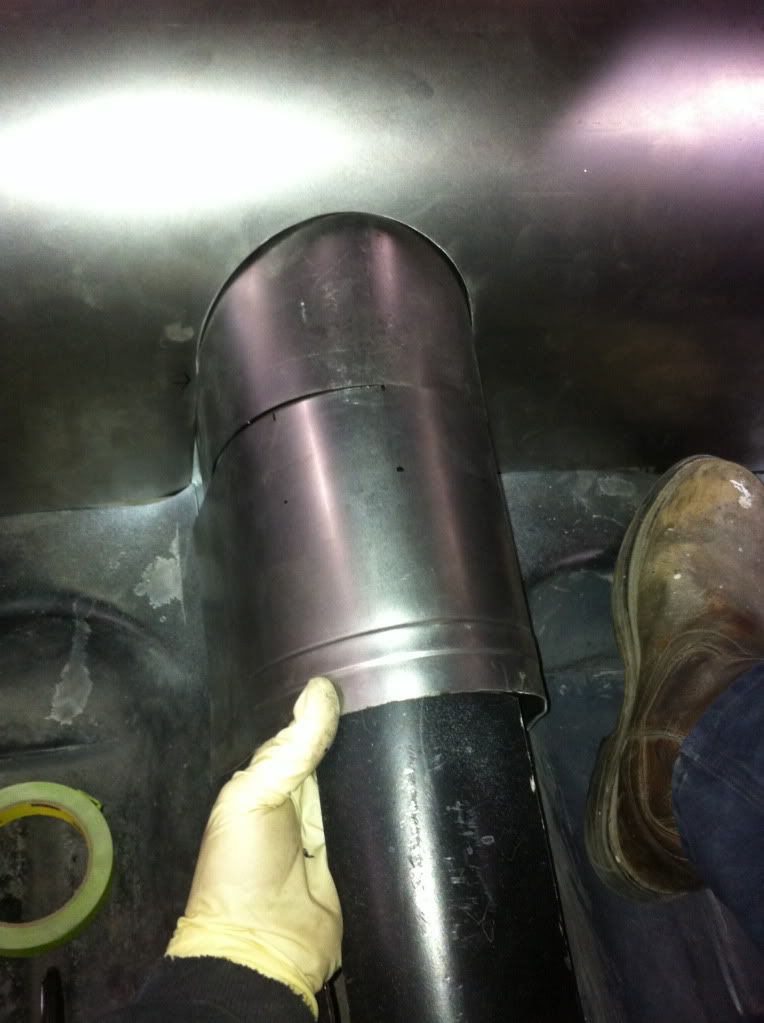

Then I made theses pieces to close it up.
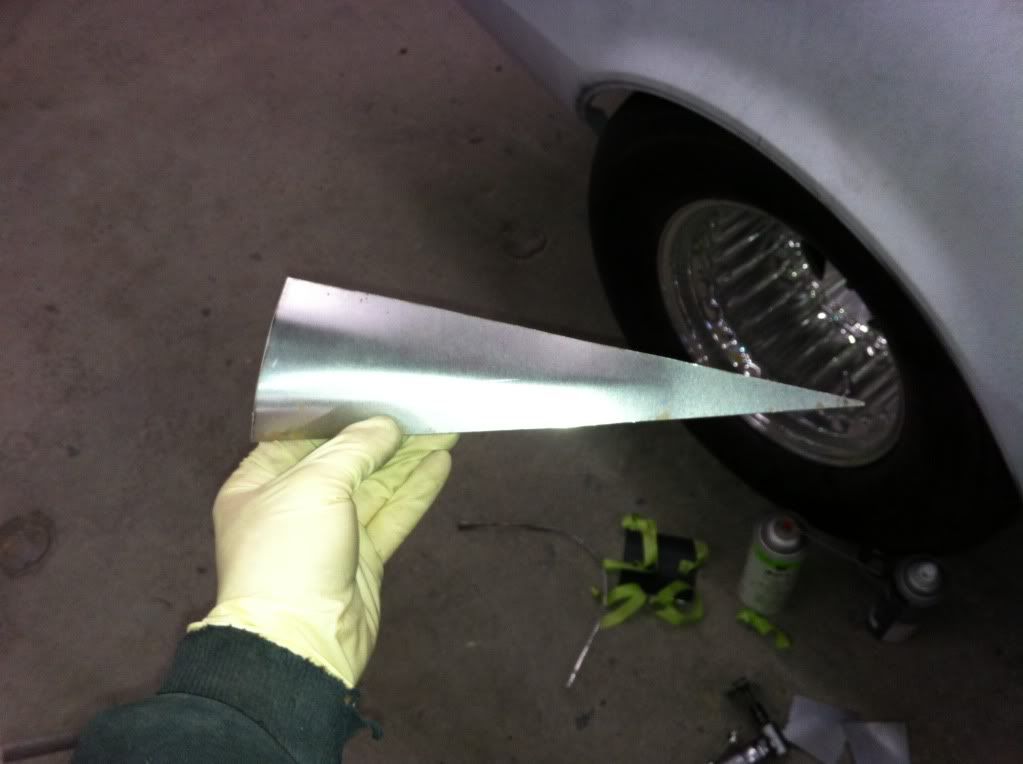


Then I made theses pieces to close it up.


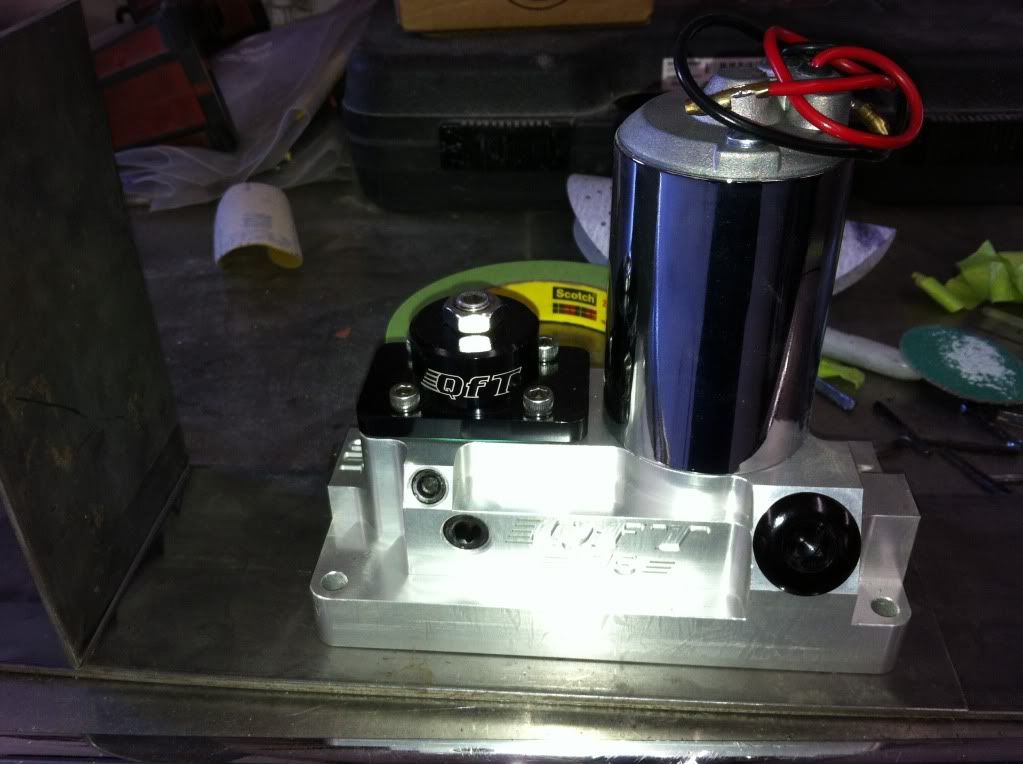
I took Josh's advice and bought a Quick Fuel 175 gph lift pump.
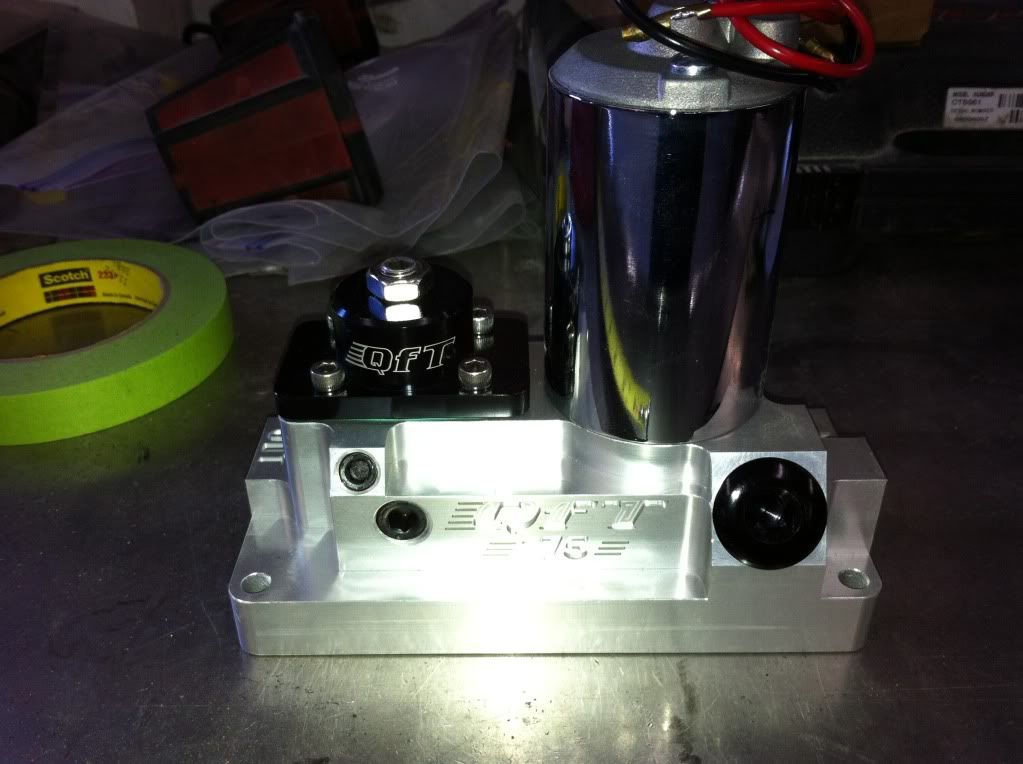
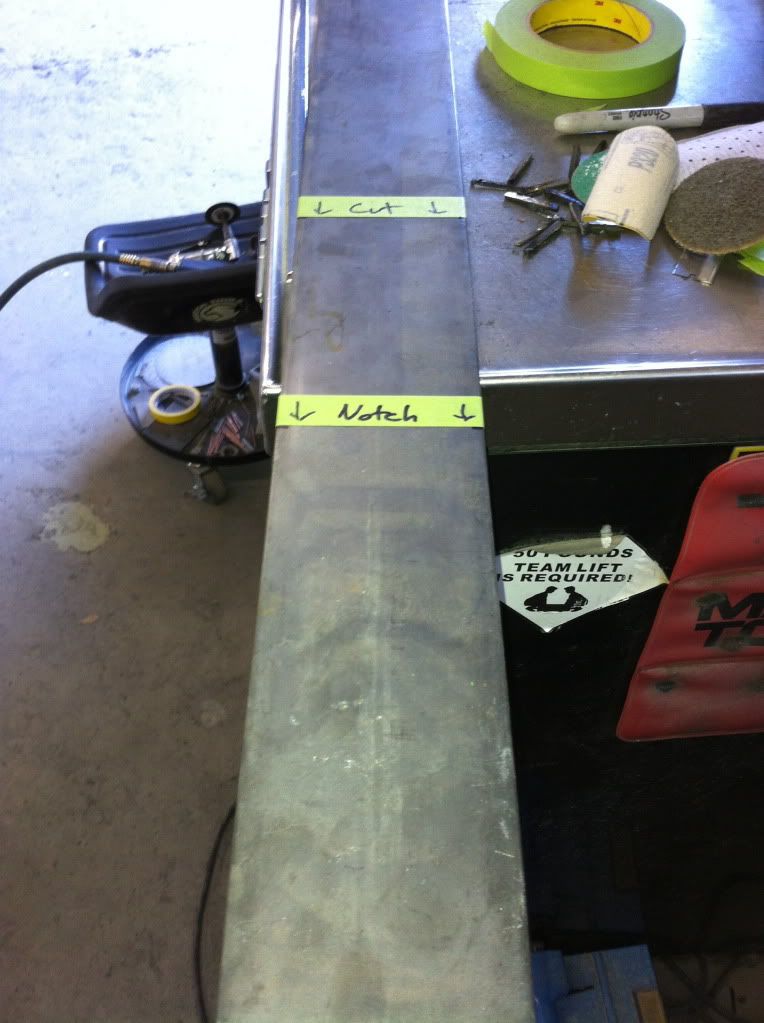
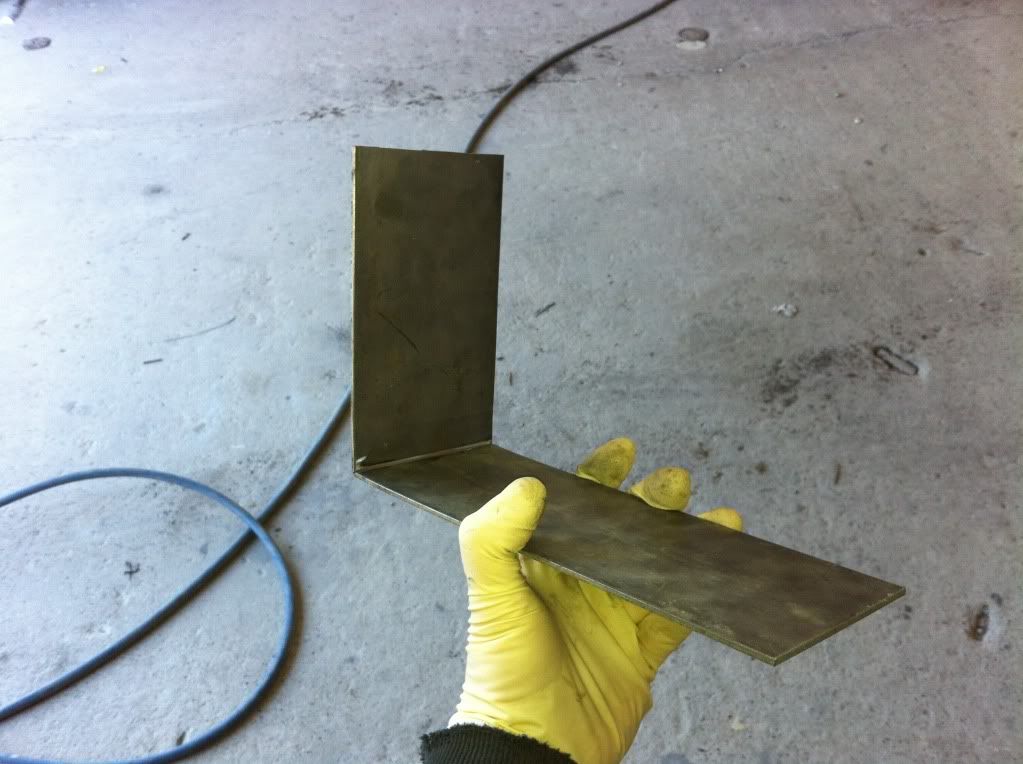
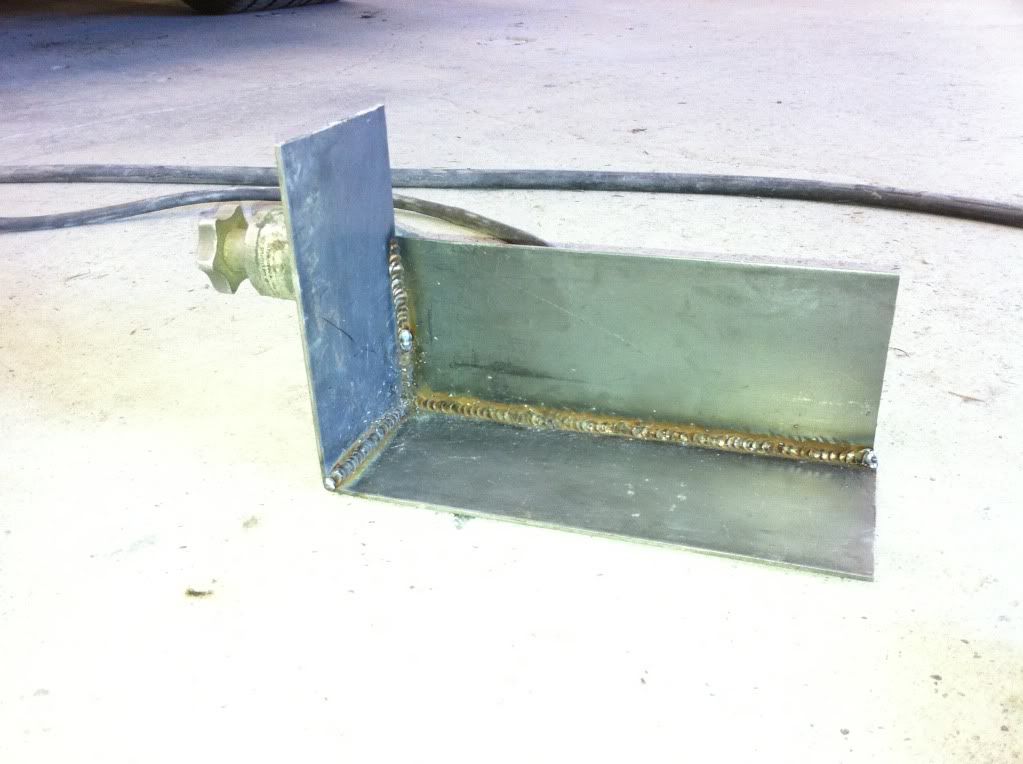
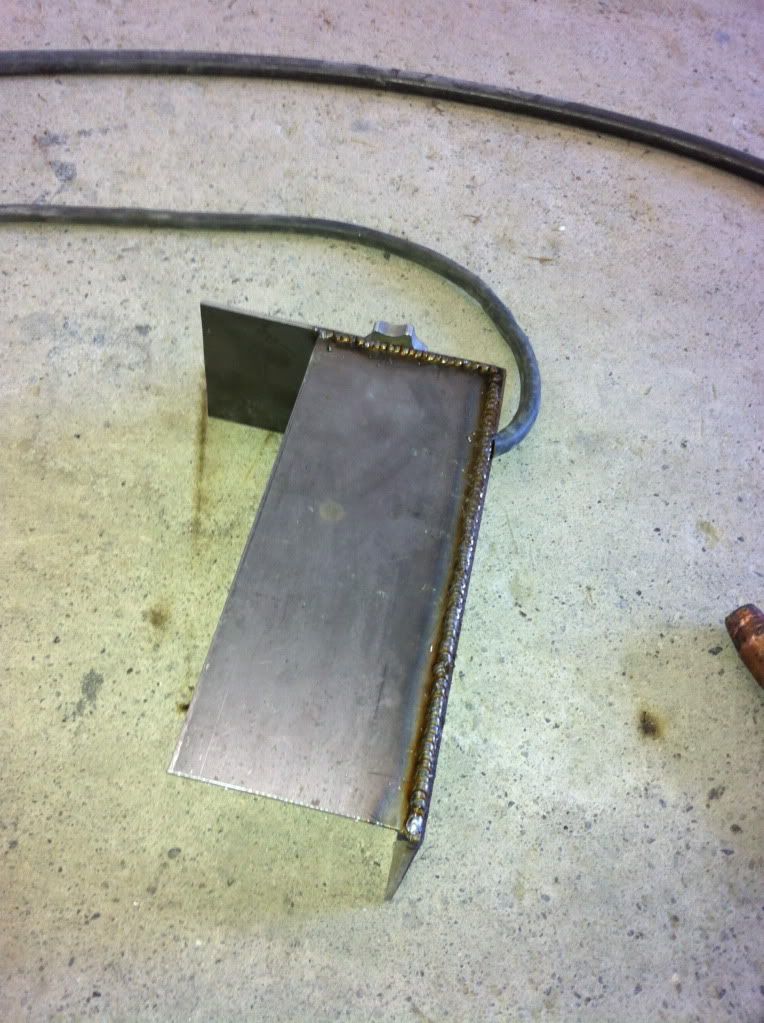
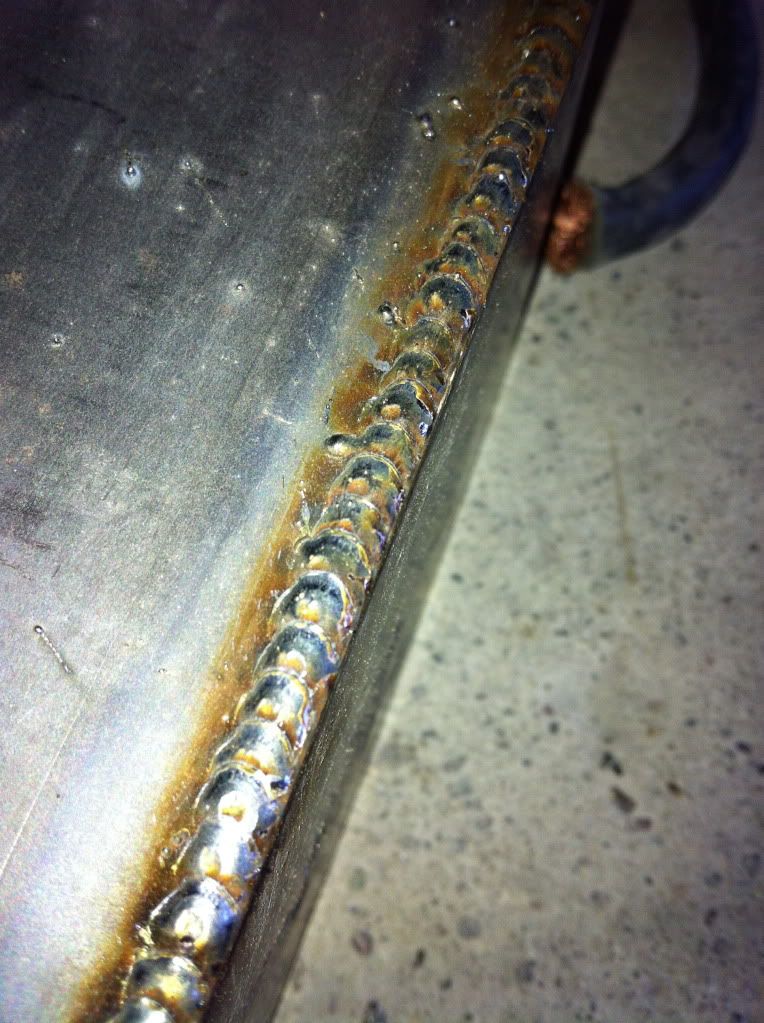
I had to make a mounting bracket for it. I notched and bent a piece of 1/8th" plate and welded it together.


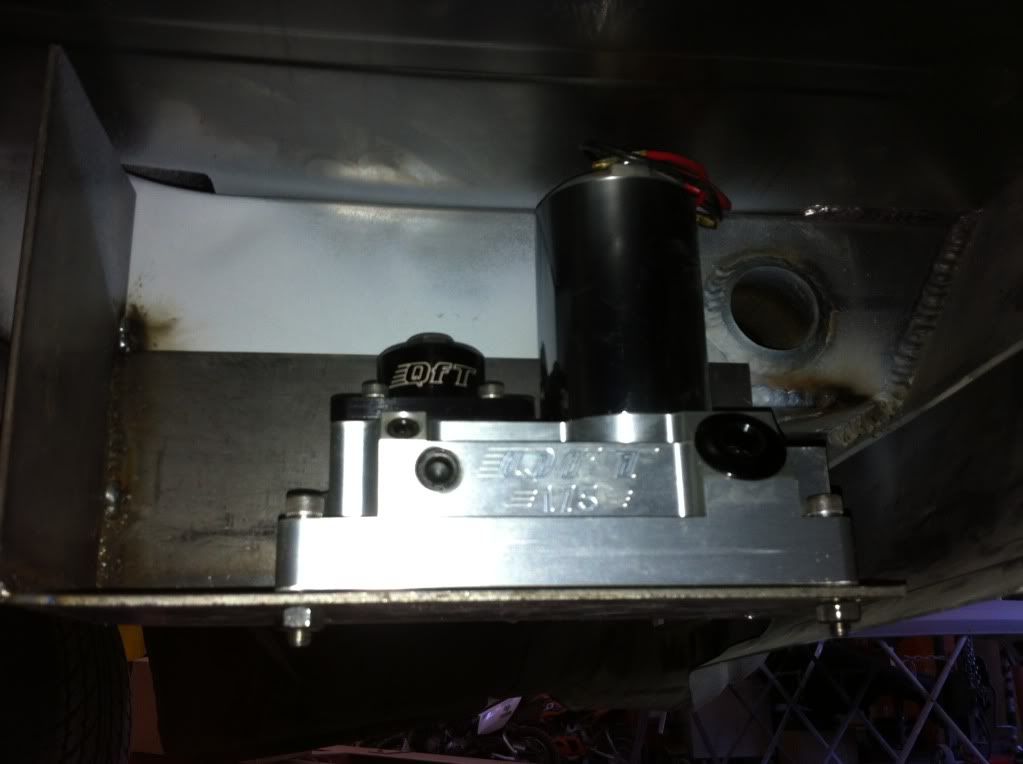
It sits high enough that it is completely not visible from the outside of the car, but sits low enough that it has room under the trunk floor with some wiggle room.

I had to make a mounting bracket for it. I notched and bent a piece of 1/8th" plate and welded it together.


It sits high enough that it is completely not visible from the outside of the car, but sits low enough that it has room under the trunk floor with some wiggle room.
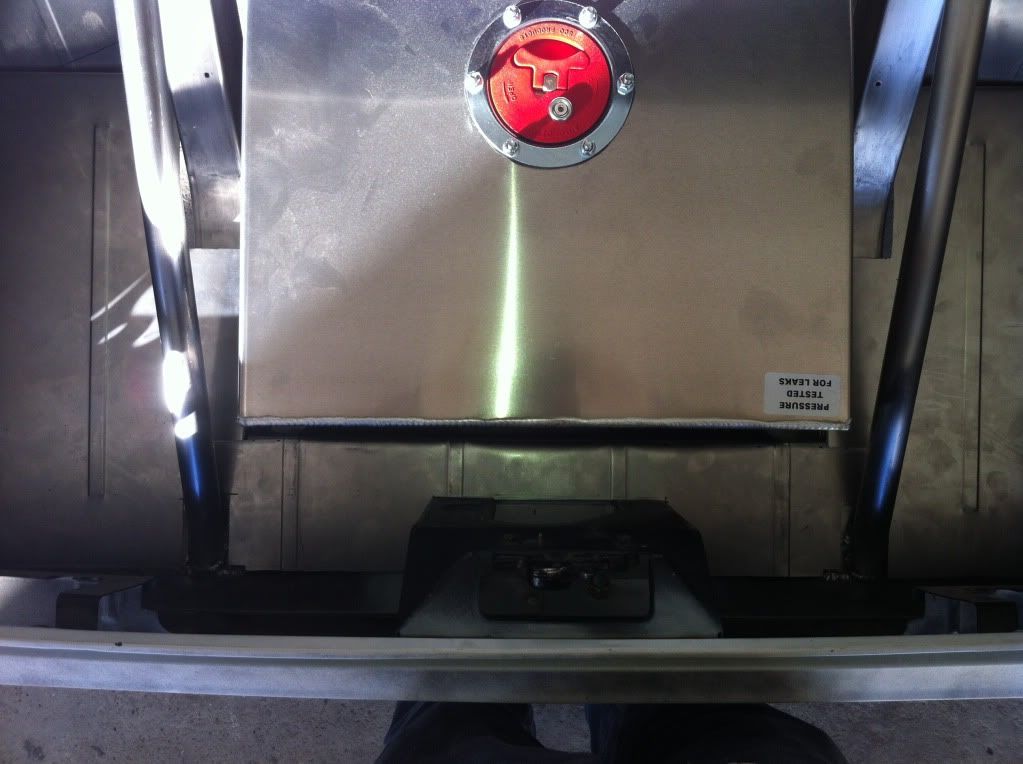
Finally came time to strap the fuel cell down. I had to trim some material off of all the straps because it's such a tight fit, but it turned out good.


wow thats so badass that you can do all of that yourself. i only dream of being able to build something like that. cant wait to see it run
I was finally able to pull all of the trunk floor apart and get it etched and sealed.
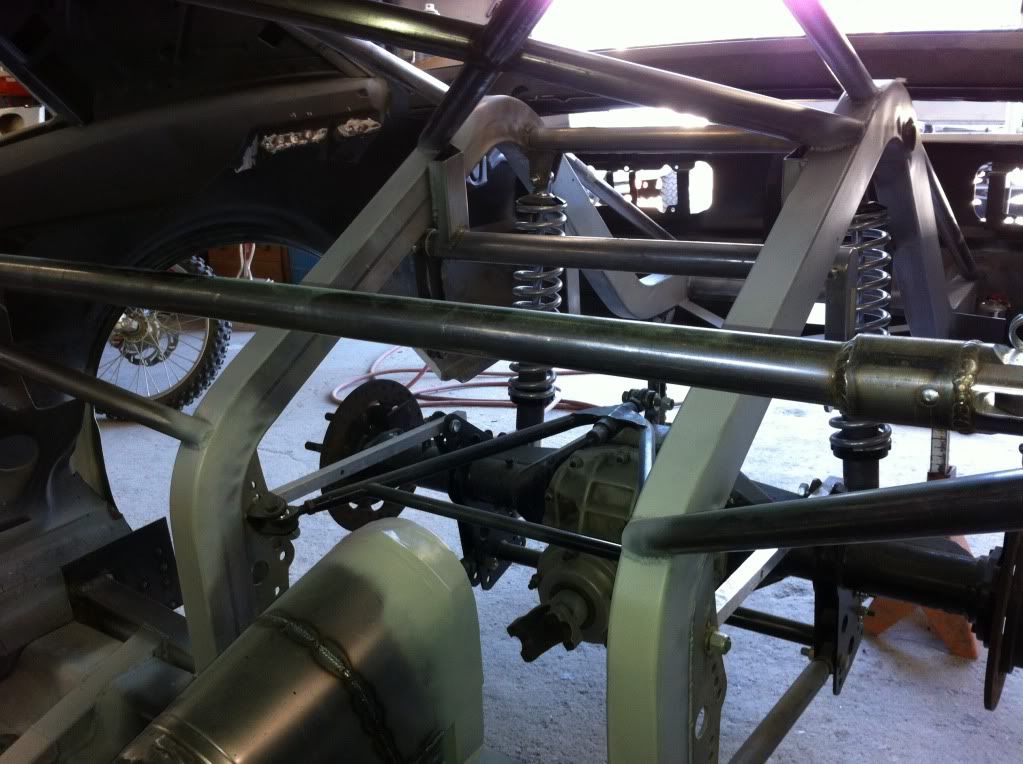
I sprayed a weld through self etching primer on the chassis.
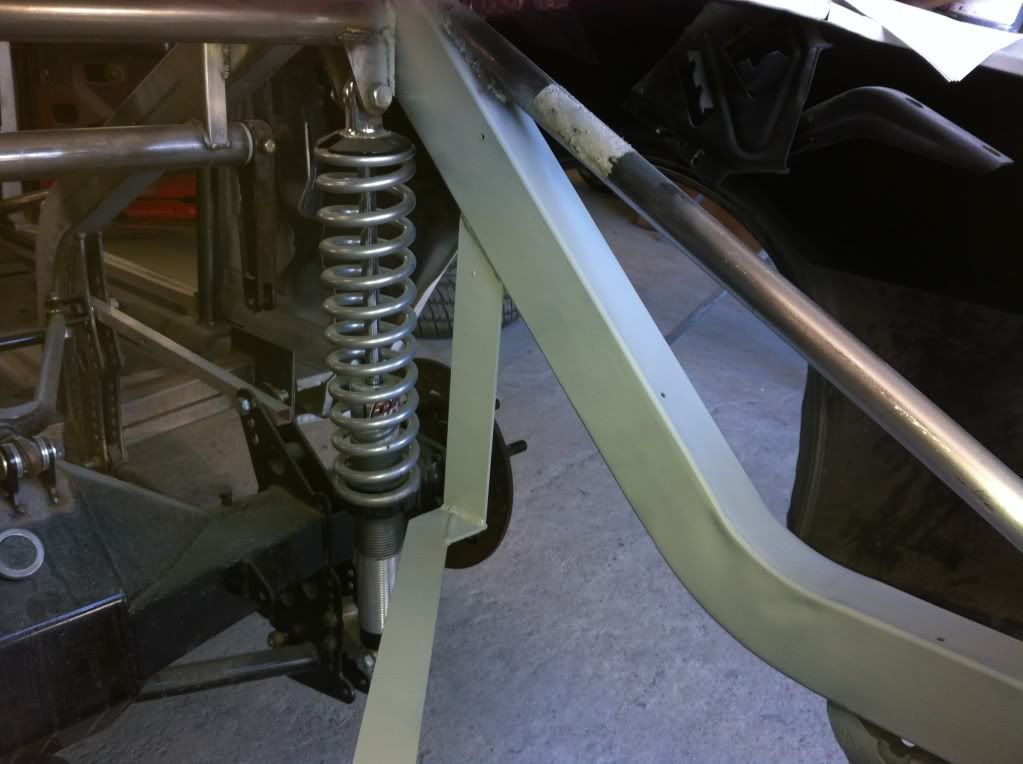
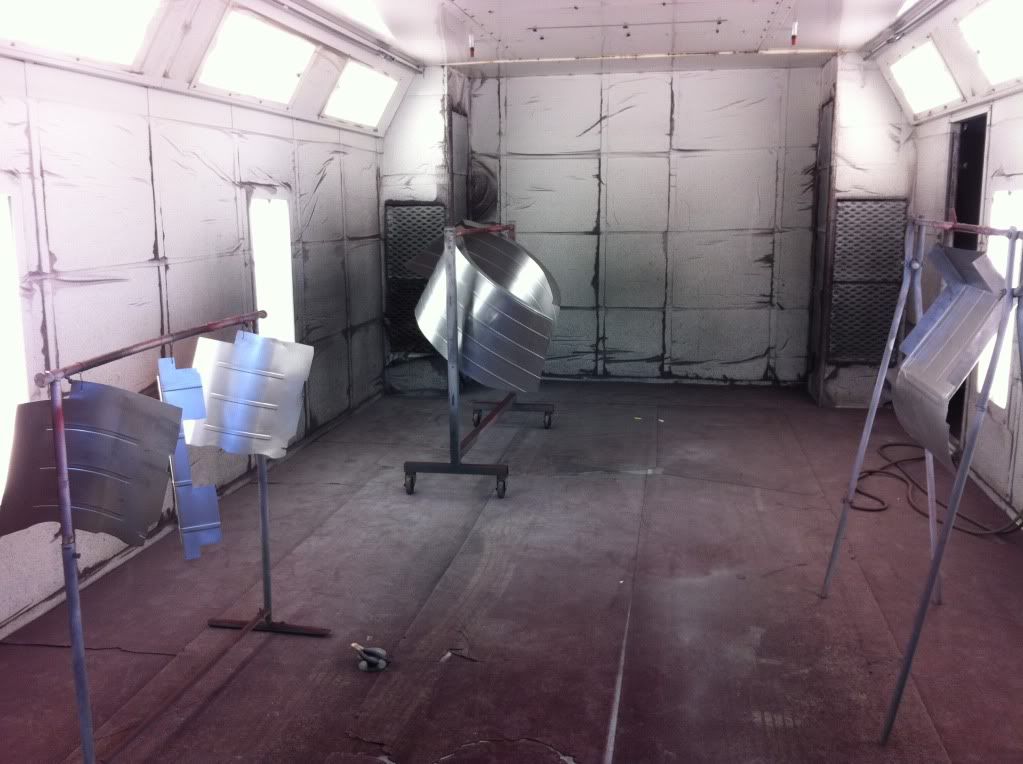
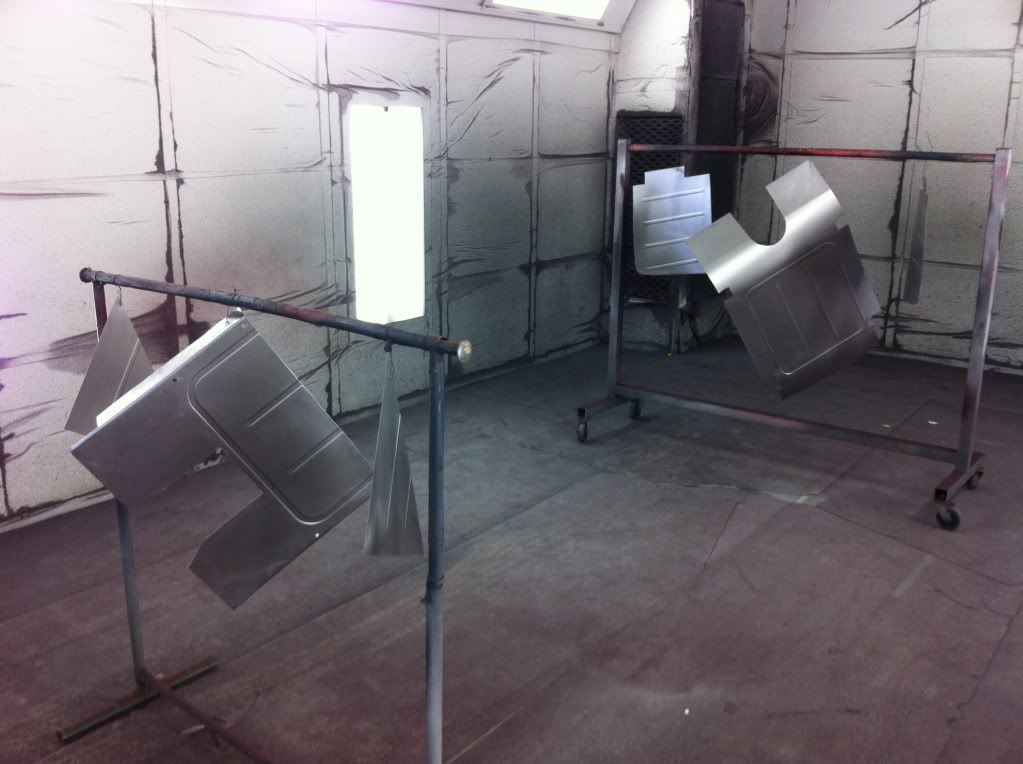
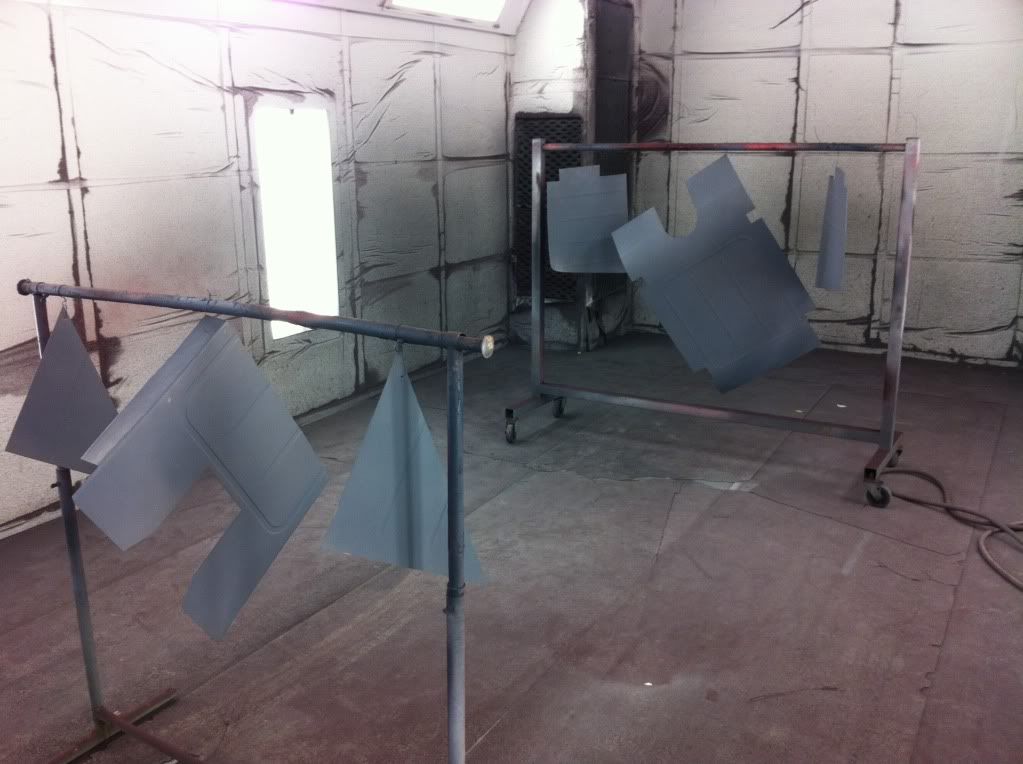
I had to spray everything in 2 separate shoots. I first scuffed everything with lacquer thinner and a red scotch brite, then hung each piece and sprayed an etch primer, let it flash off, then sprayed a dark gray sealer over that, protecting everything from corrosion (rust).
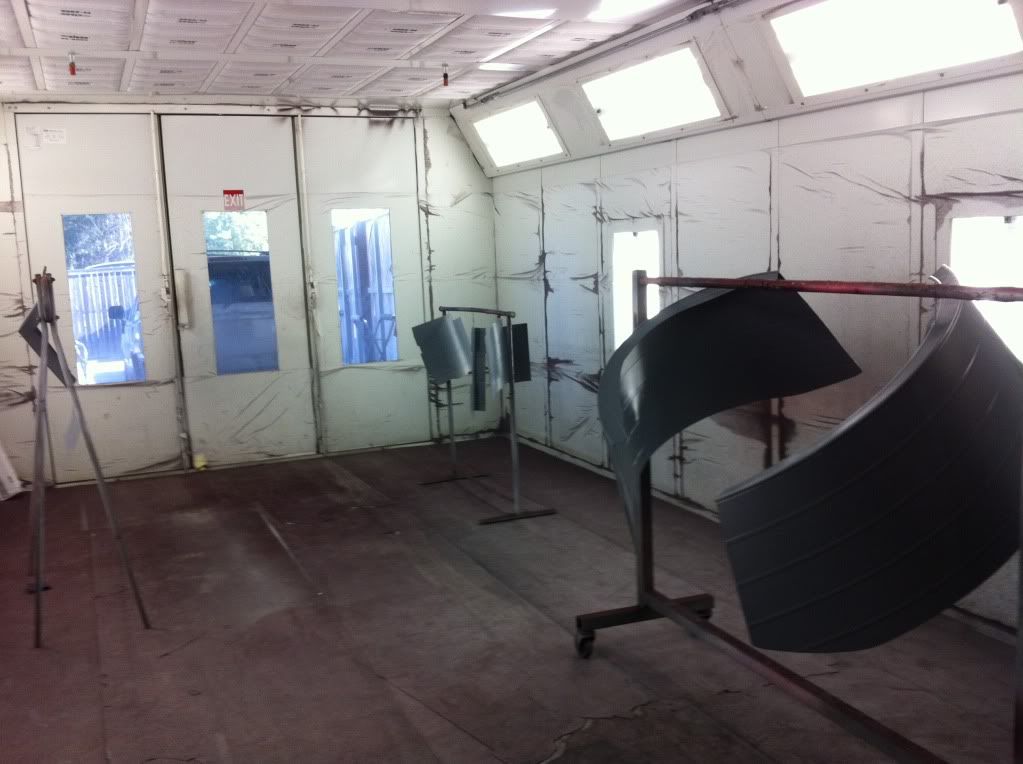
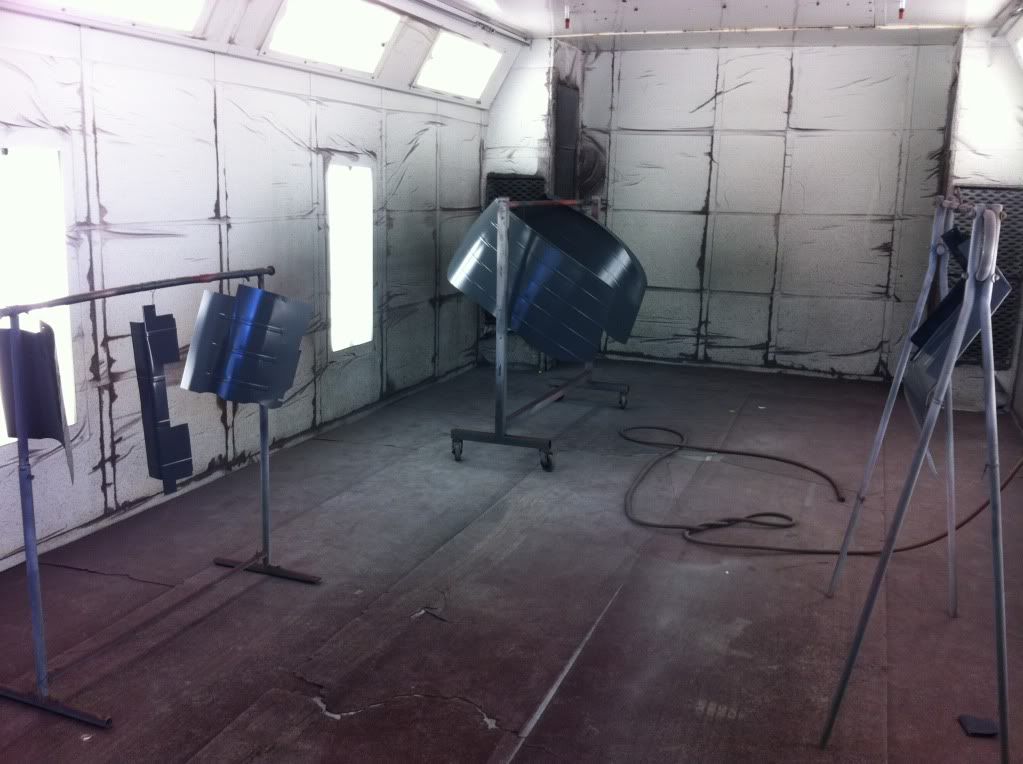
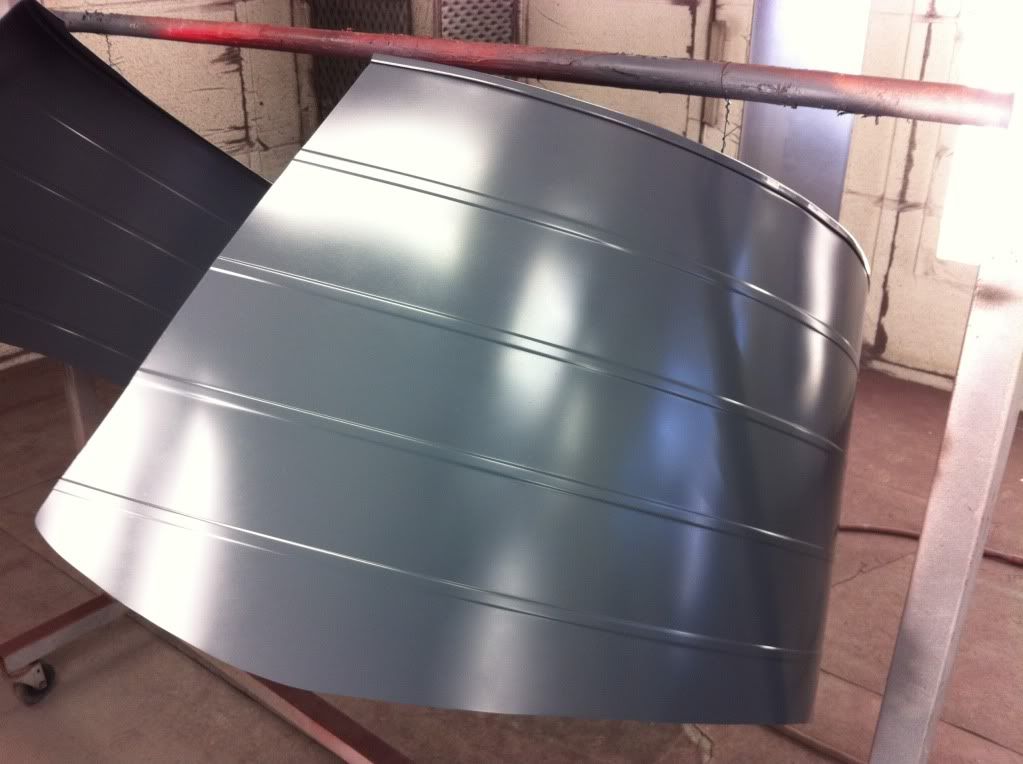
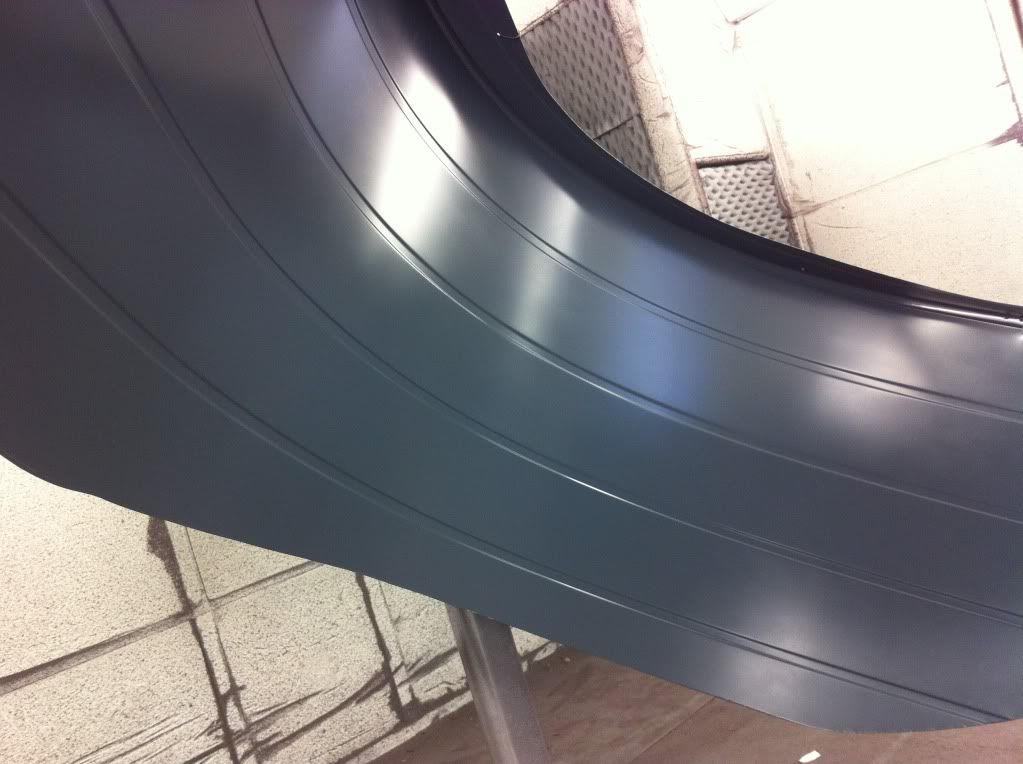
Then I reinstalled everything.
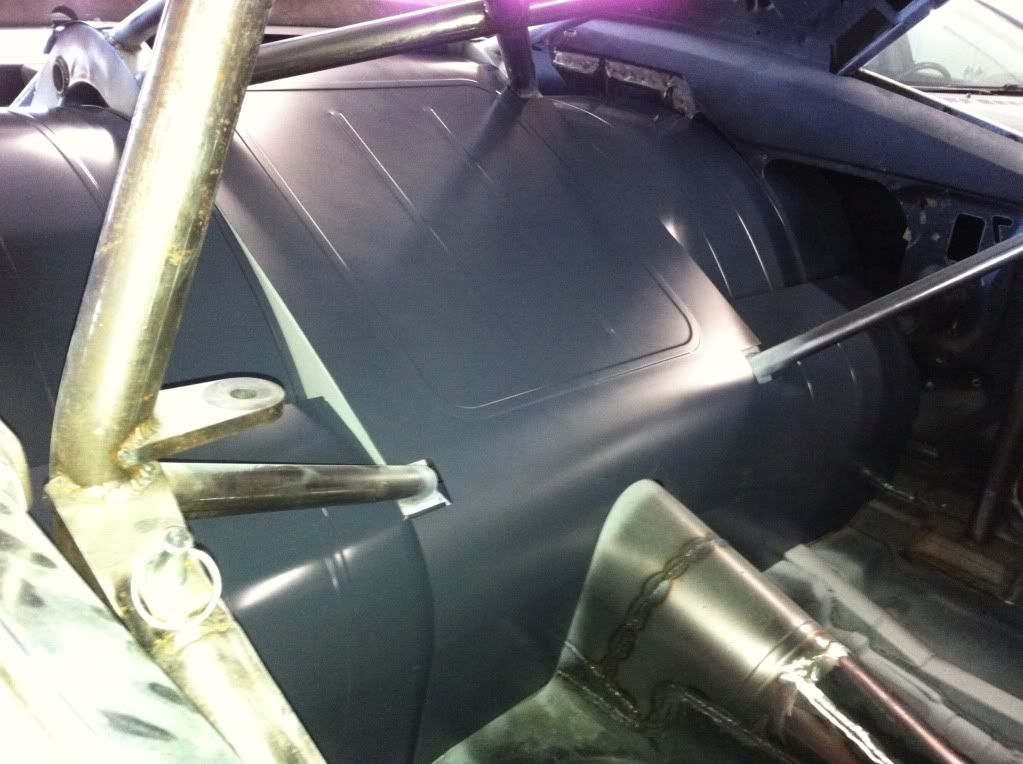
I sprayed a weld through self etching primer on the chassis.


I had to spray everything in 2 separate shoots. I first scuffed everything with lacquer thinner and a red scotch brite, then hung each piece and sprayed an etch primer, let it flash off, then sprayed a dark gray sealer over that, protecting everything from corrosion (rust).


Then I reinstalled everything.

wow thats so badass that you can do all of that yourself. i only dream of being able to build something like that. cant wait to see it run
Thank you, it's been testing my abilities to say the least. Being such a novice at this stuff has really slowed the process down, but overall it's come out well and has taught me a lot. I also can't wait until it runs. If all goes to plan, which I'm praying it does, it should be running and driving by May.
Currently I have 99% of the floor welded in (no pics though). Last weekend I pulled the tranny out of my girlfriends truck to be built, and this weekend (tomorrow) I am putting it back in, so next weekend I hope to finish it up the floor.
Little by little, it's getting there.
Little by little, it's getting there.
Been a little while since I've updated. I had a 3 week period where I had to do a lot of repairs on my truck and my girlfriends truck. Last weekend I was able to get some stuff done.
I made some closeout panels to essentially "close out" the trunk area from the drivers compartment.
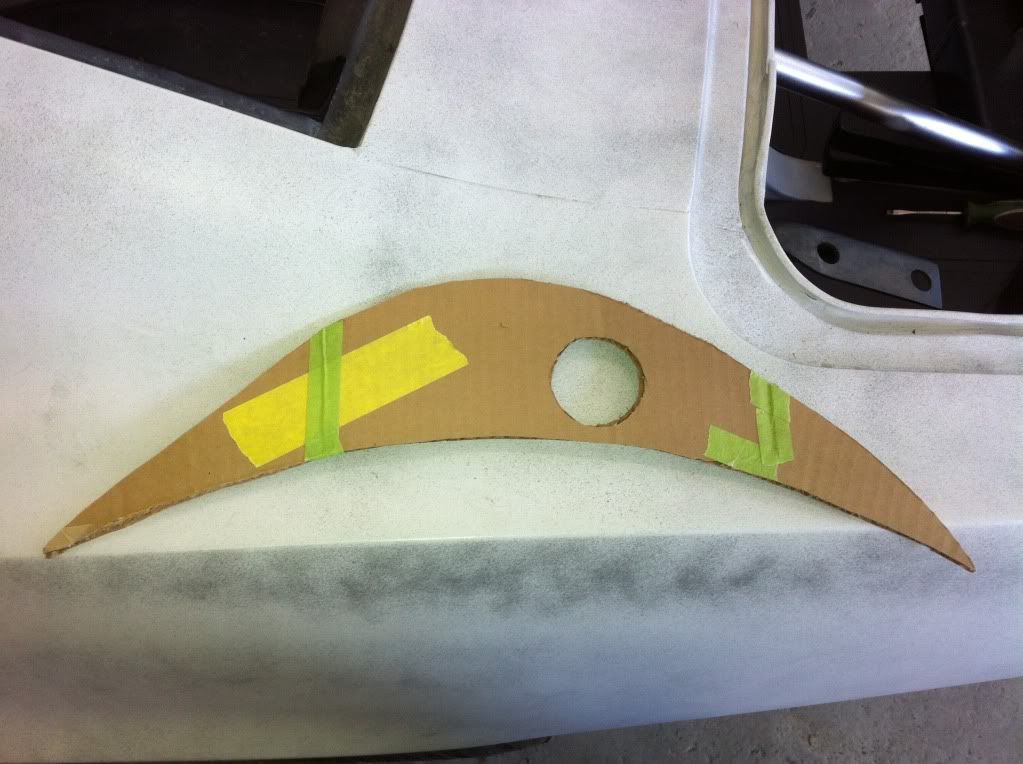
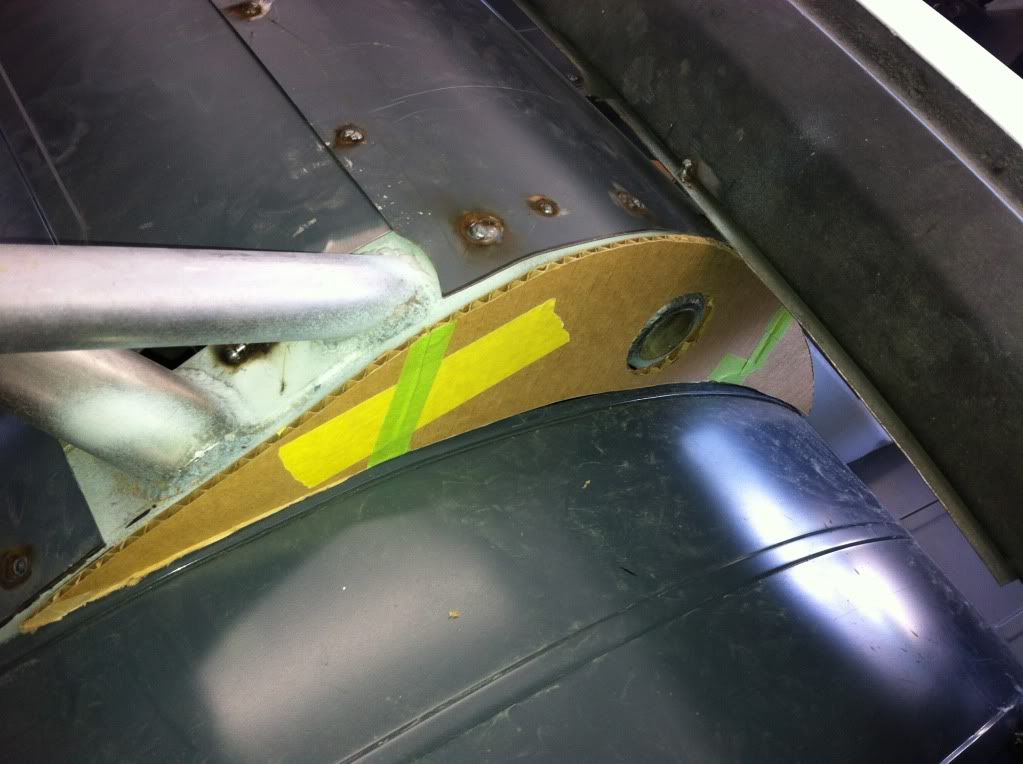
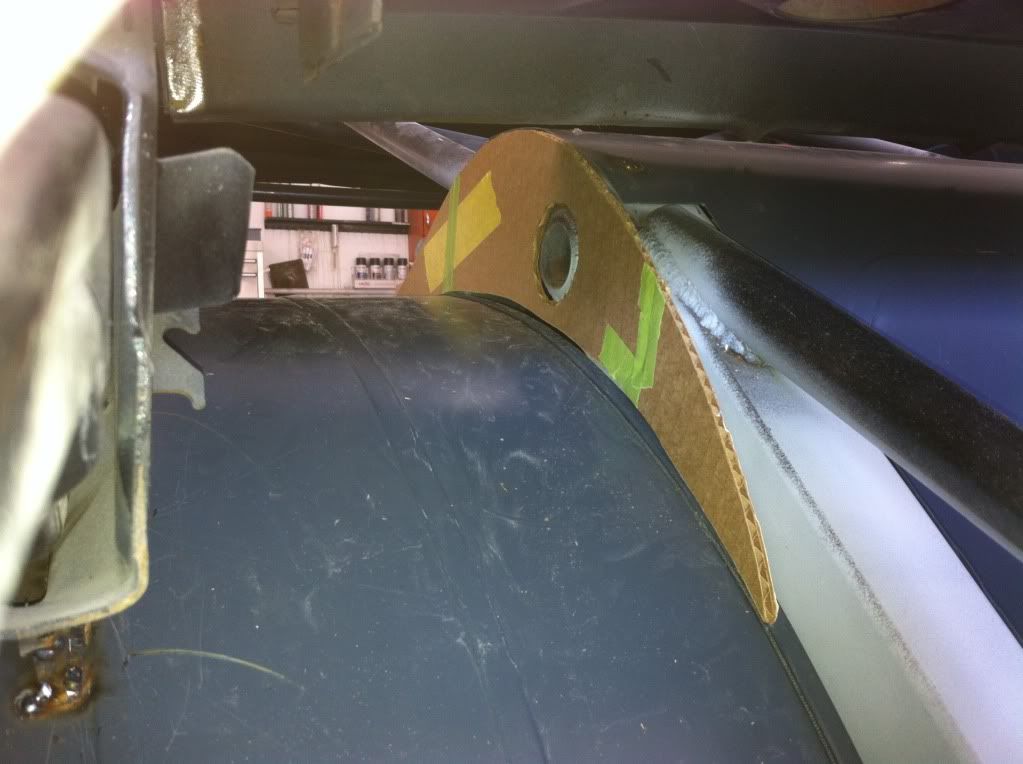
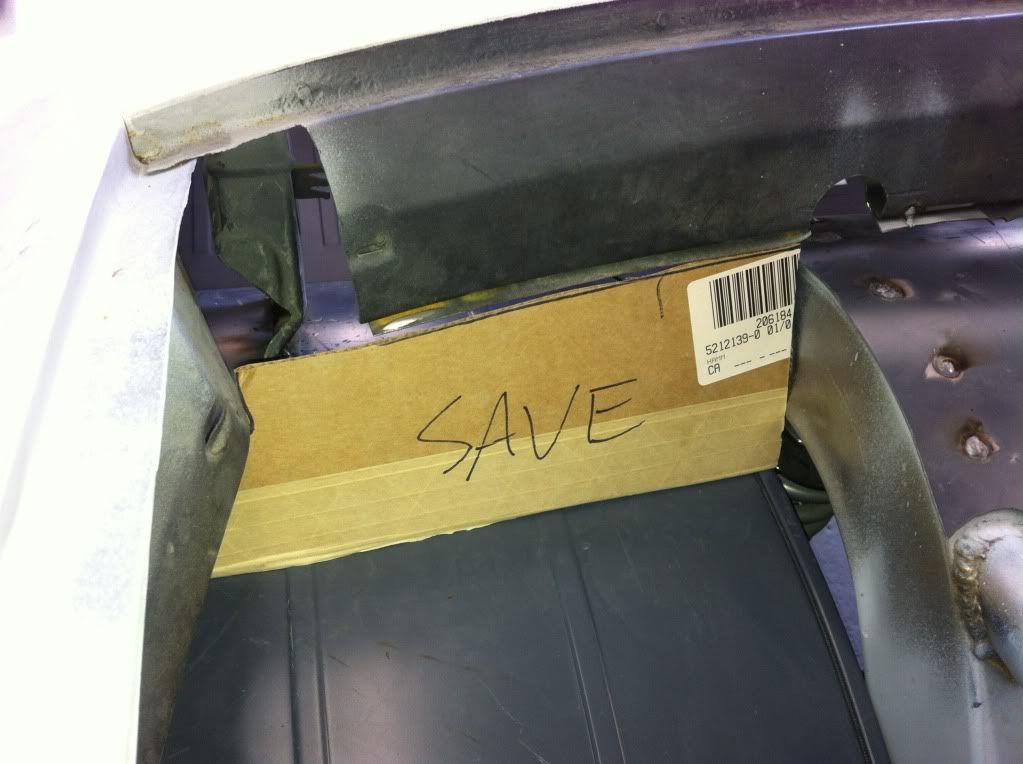
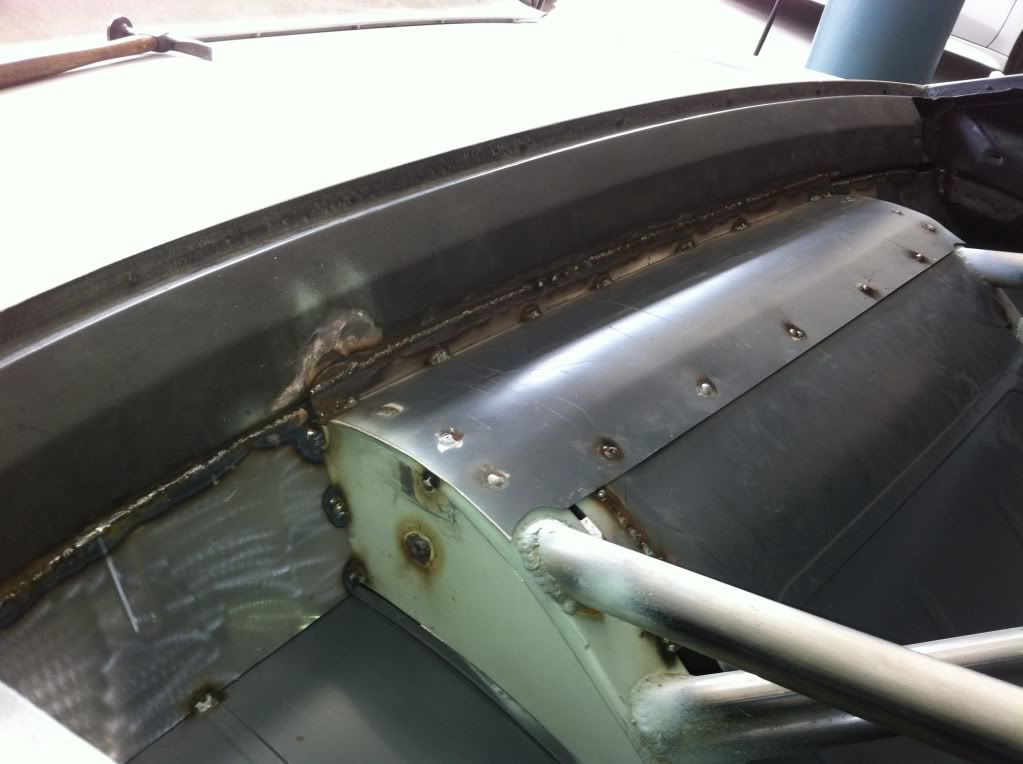
Then it was time to move onto the tranny tunnel.
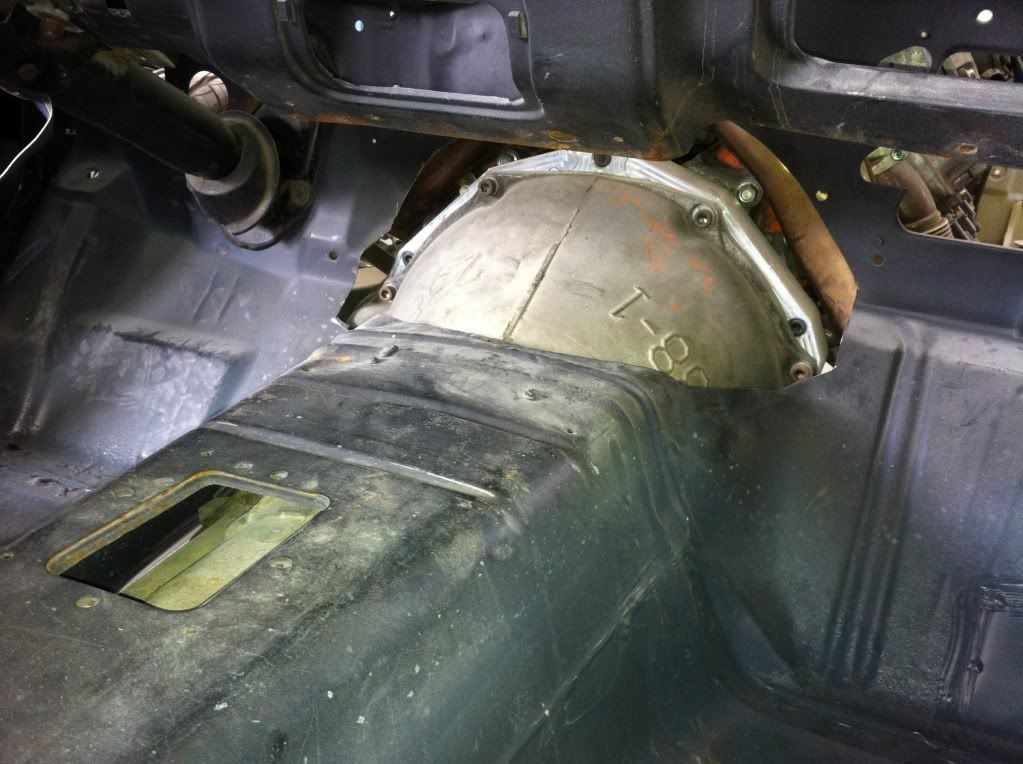
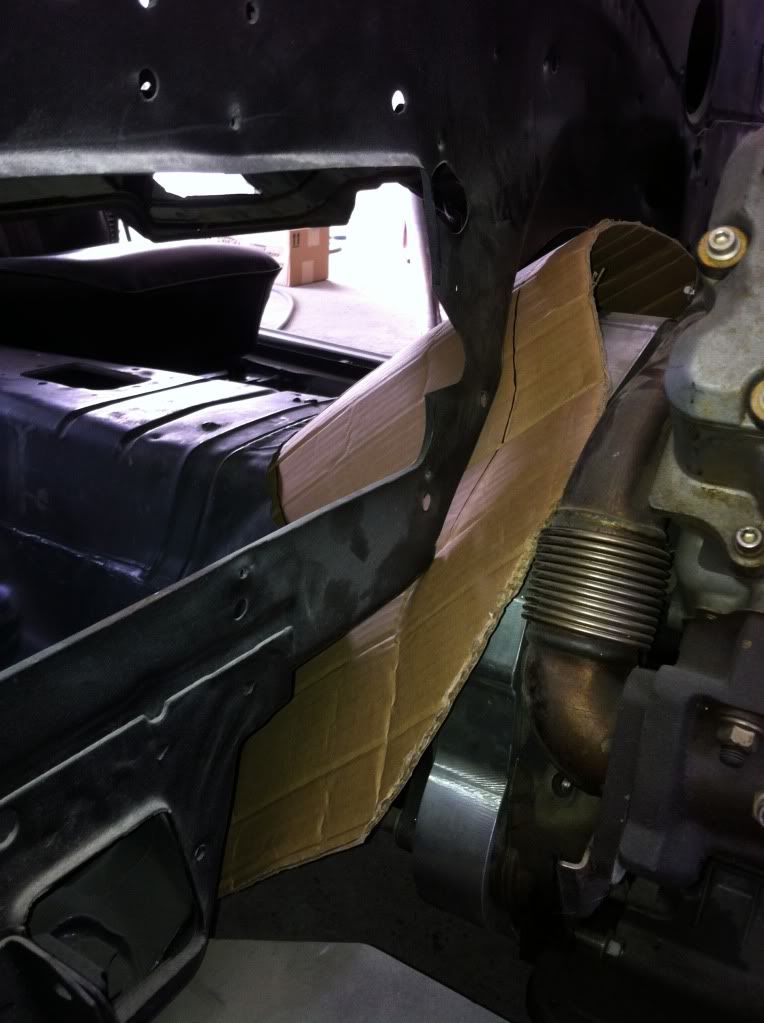
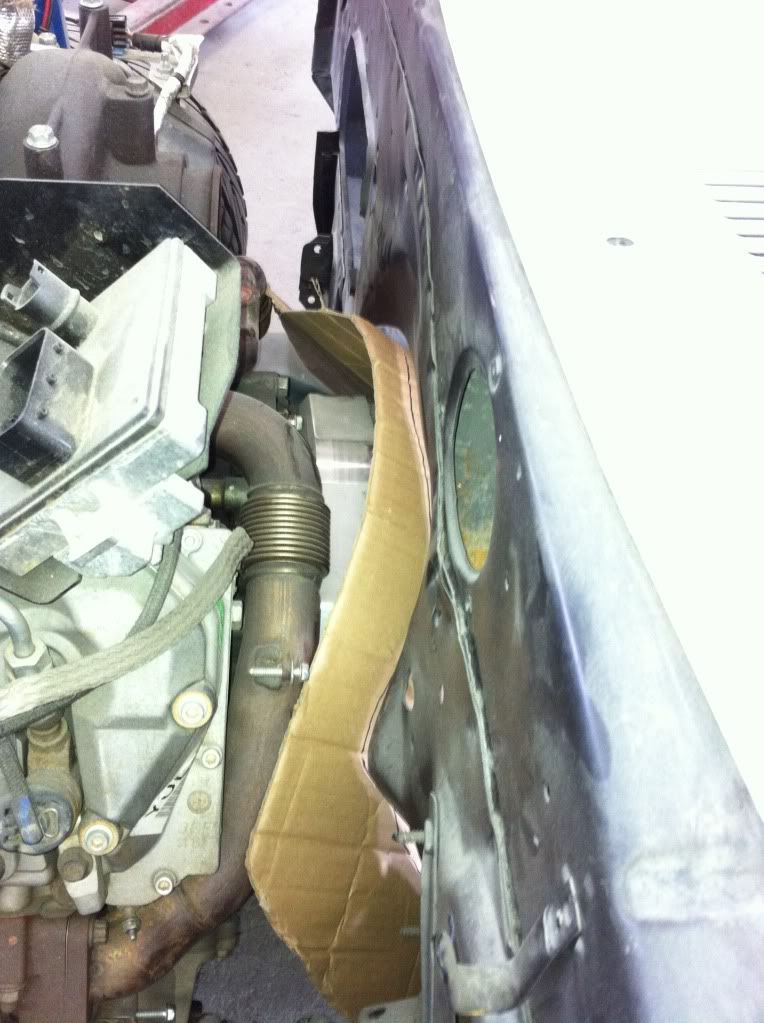
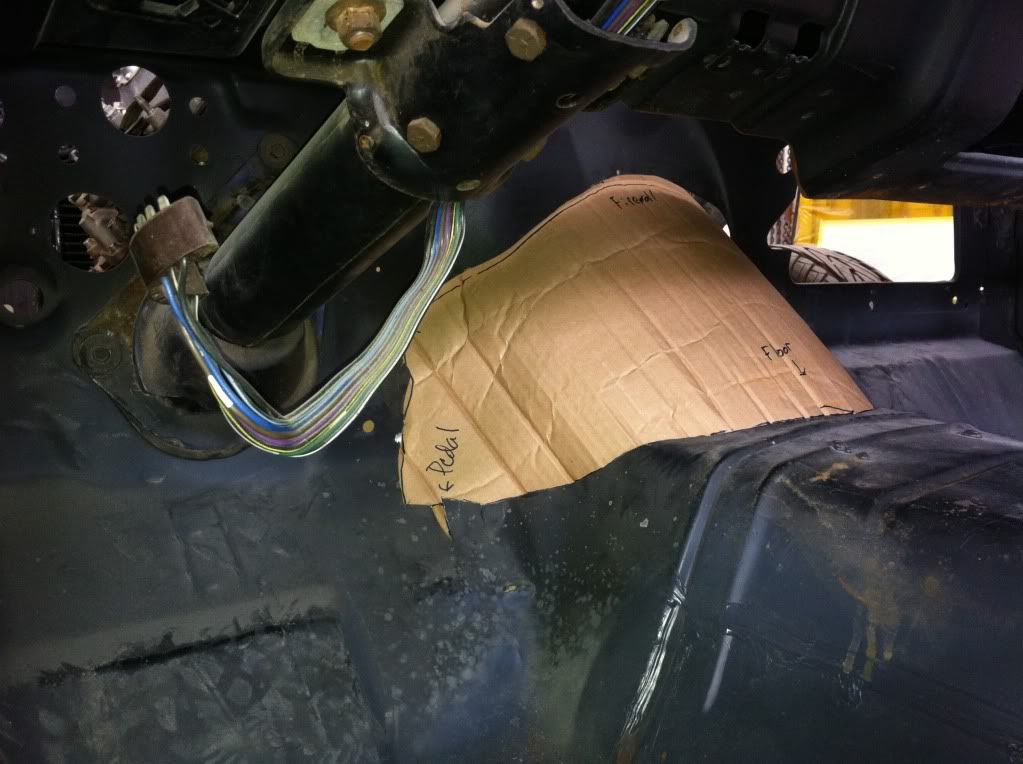
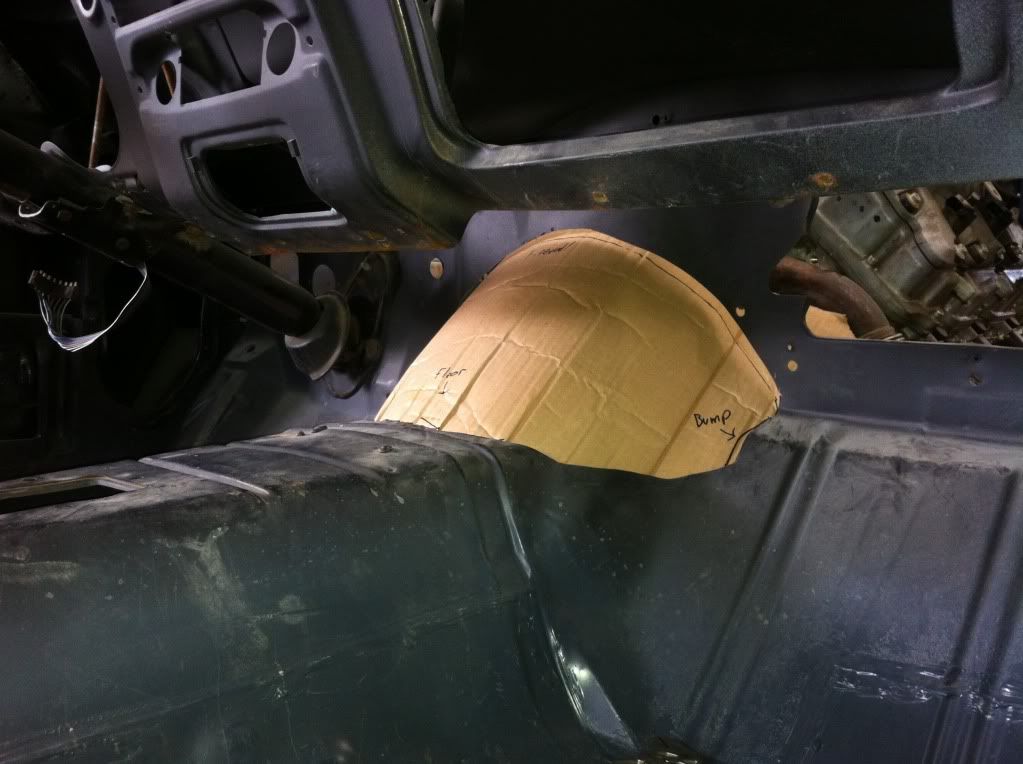
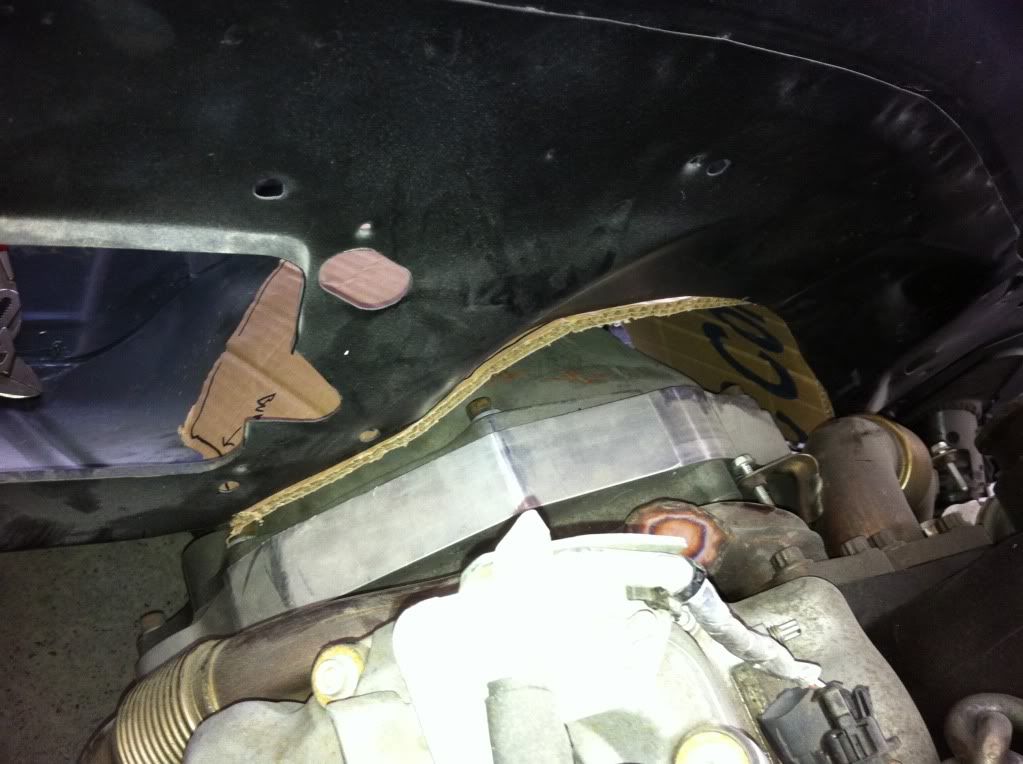
I made some closeout panels to essentially "close out" the trunk area from the drivers compartment.


Then it was time to move onto the tranny tunnel.


Then I mounted my pedals to get an idea where I can mount the go pedal. Ignore the clutch pedal, it will be removed.
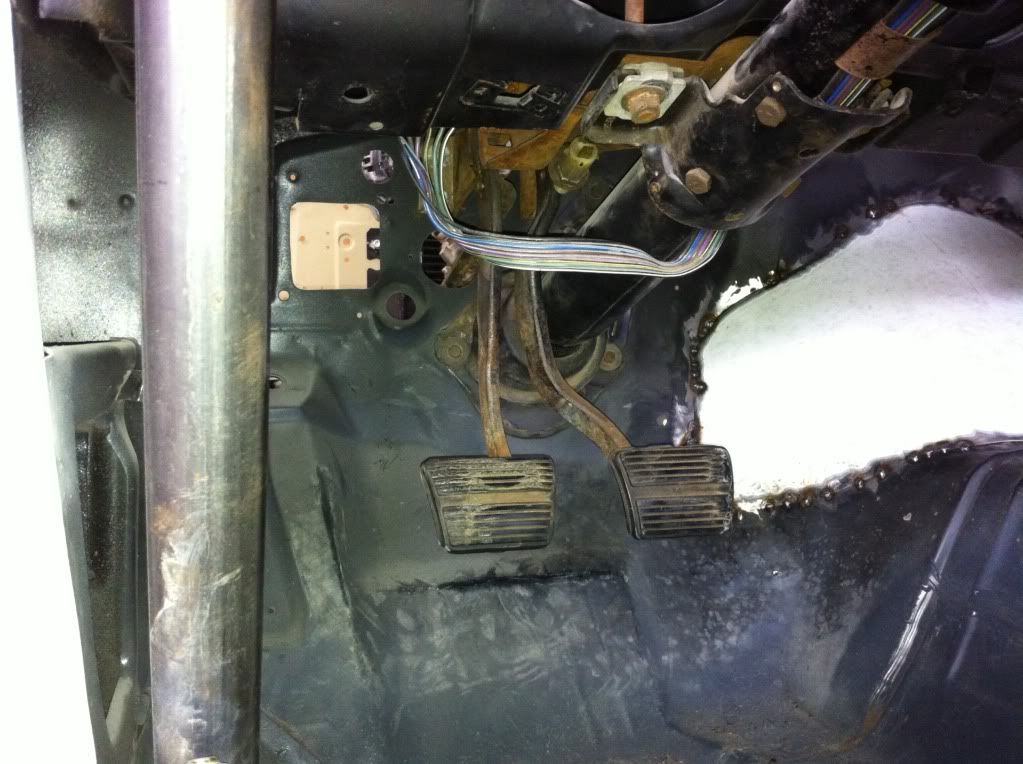
I made a small mounting plate for the pedal to bolt to. Still needs to be finished, because I need to get a master cylinder and booster to get the brake pedal at the right spot/depth so I can properly position the throttle pedal.
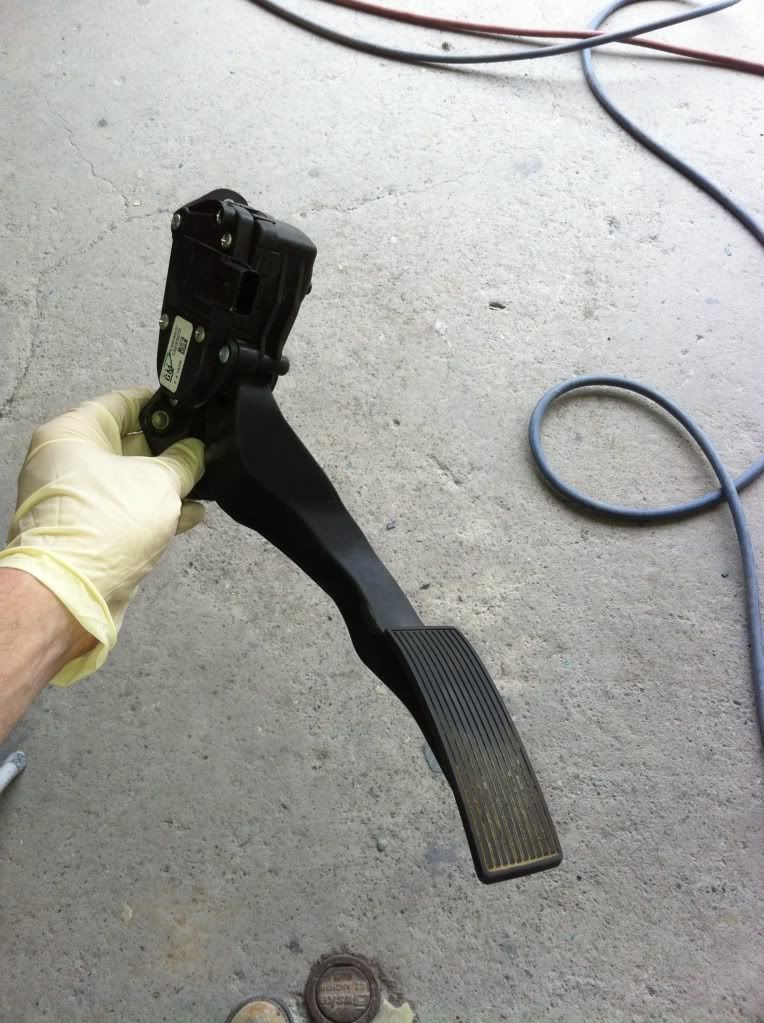
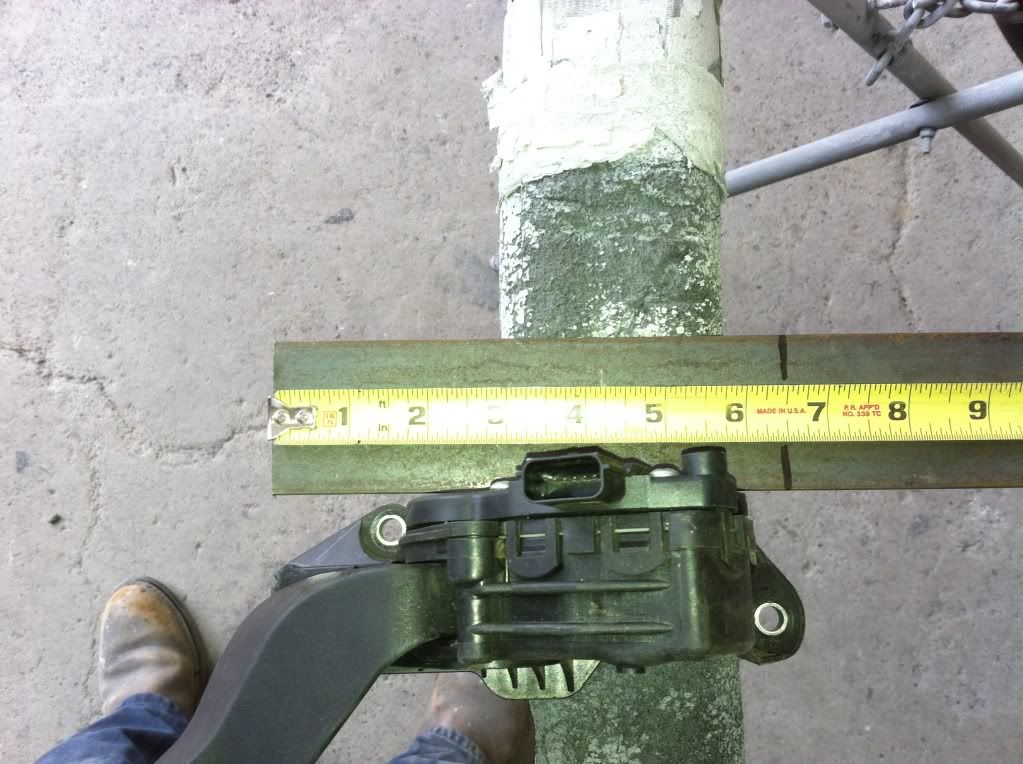
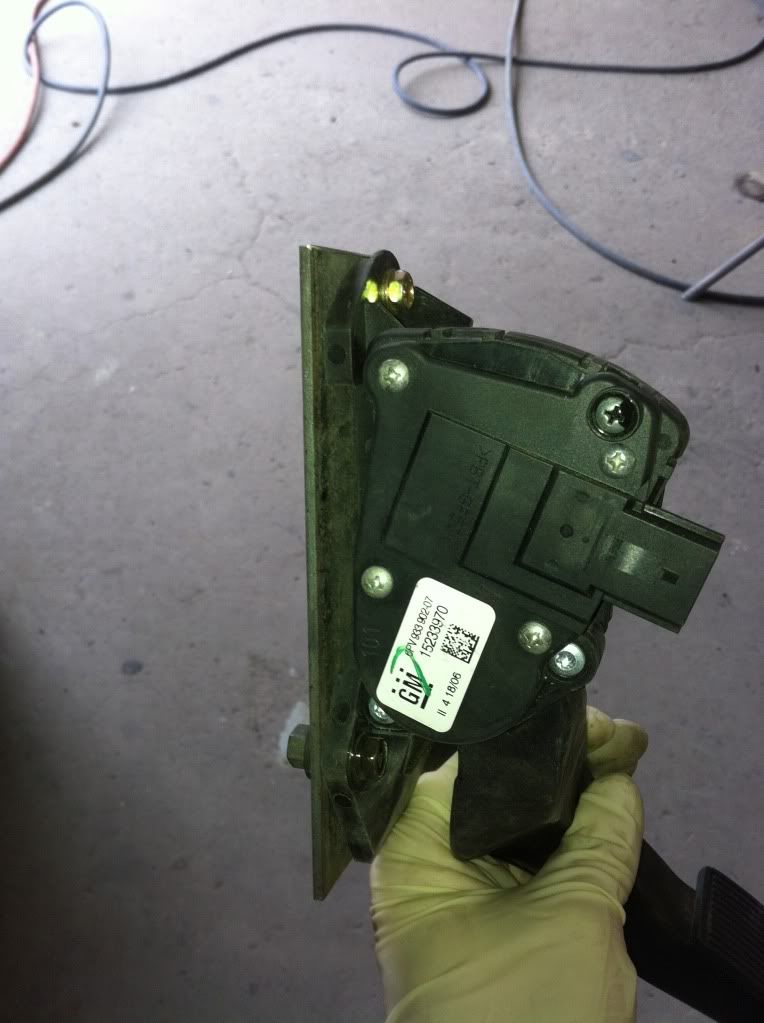
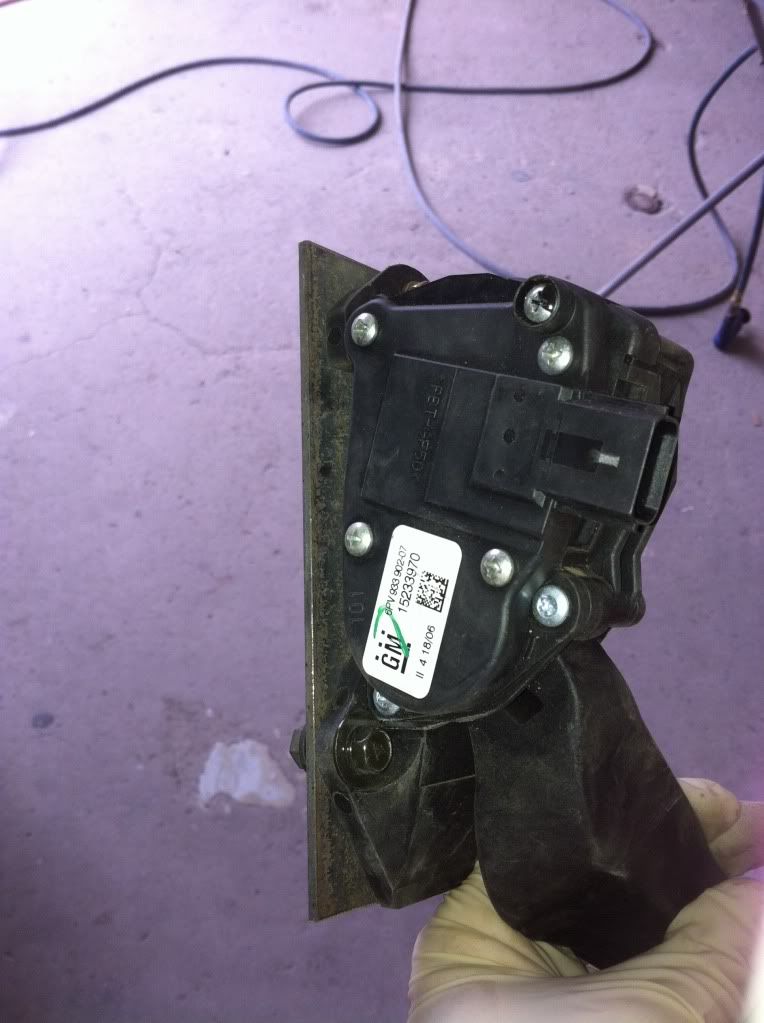

I made a small mounting plate for the pedal to bolt to. Still needs to be finished, because I need to get a master cylinder and booster to get the brake pedal at the right spot/depth so I can properly position the throttle pedal.


