LBZ: Pro Stock Diesel Pickup Build

Michael

ISSPRO Engineering Mgr
Feb 17, 2009
77
0
0
Happy Valley, OR
Hopefully you guys will be interested in seeing my truck build. This started a few months ago and will continue for many more months!

Episode 1 (or should I start with Episode IV like Star Wars?)
I will probably live to regret this, but I have taken delivery of a tube chassis truck that I intend to build into a diesel Pro Stock truck.
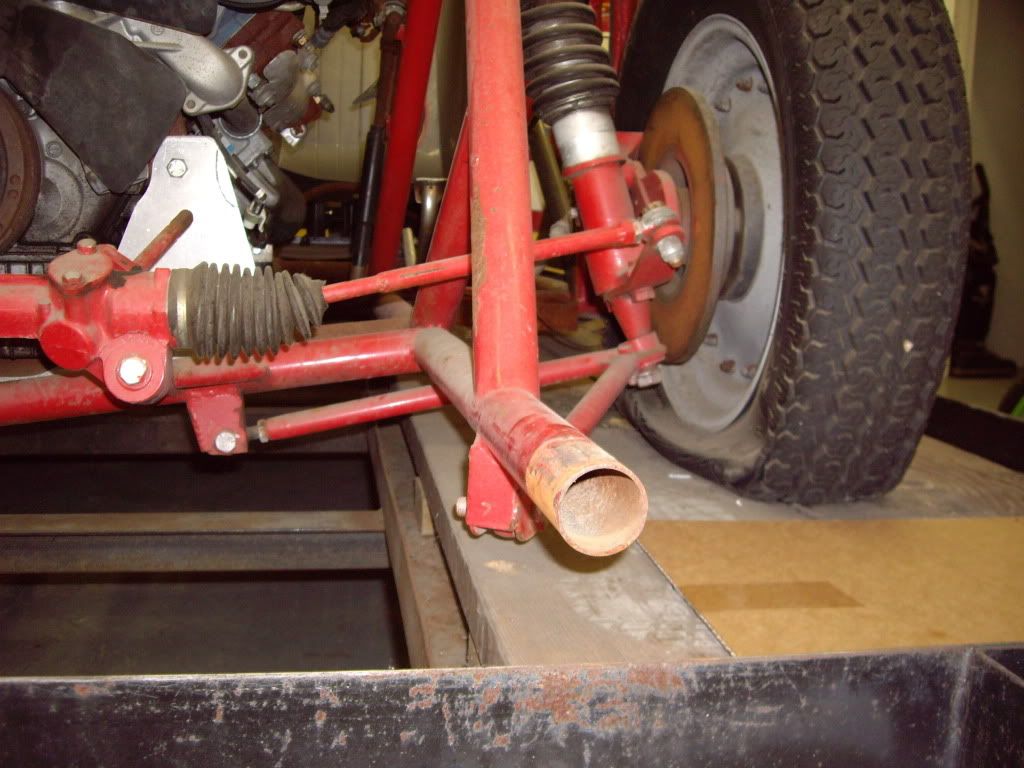
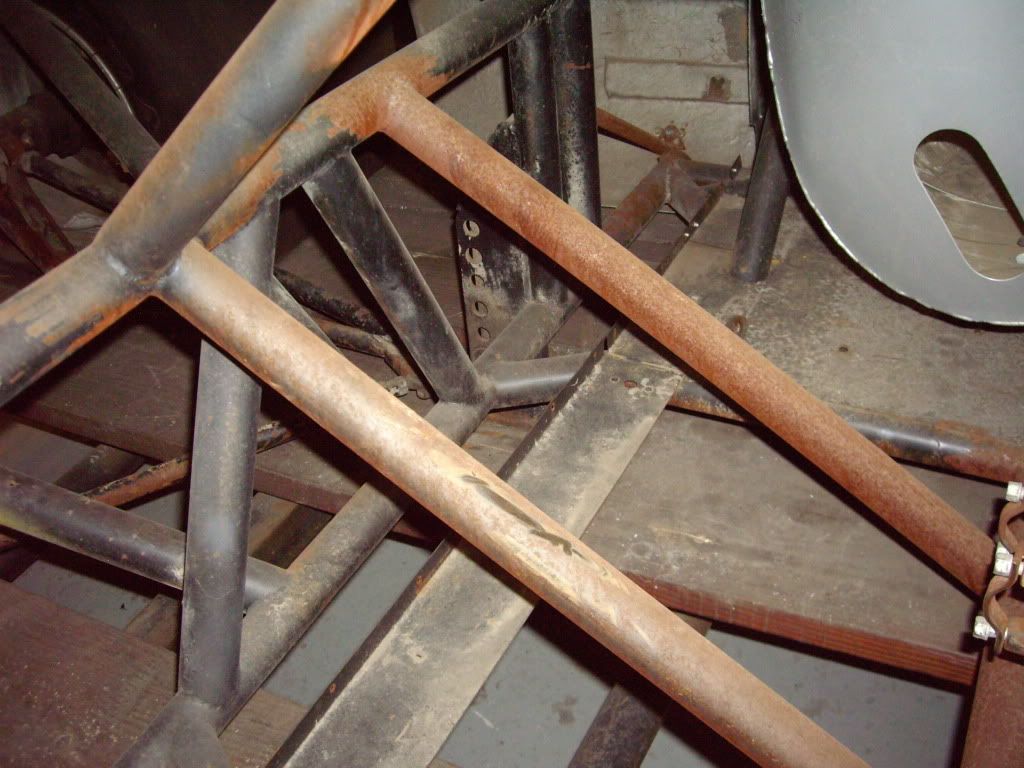
IMGP9610.jpg


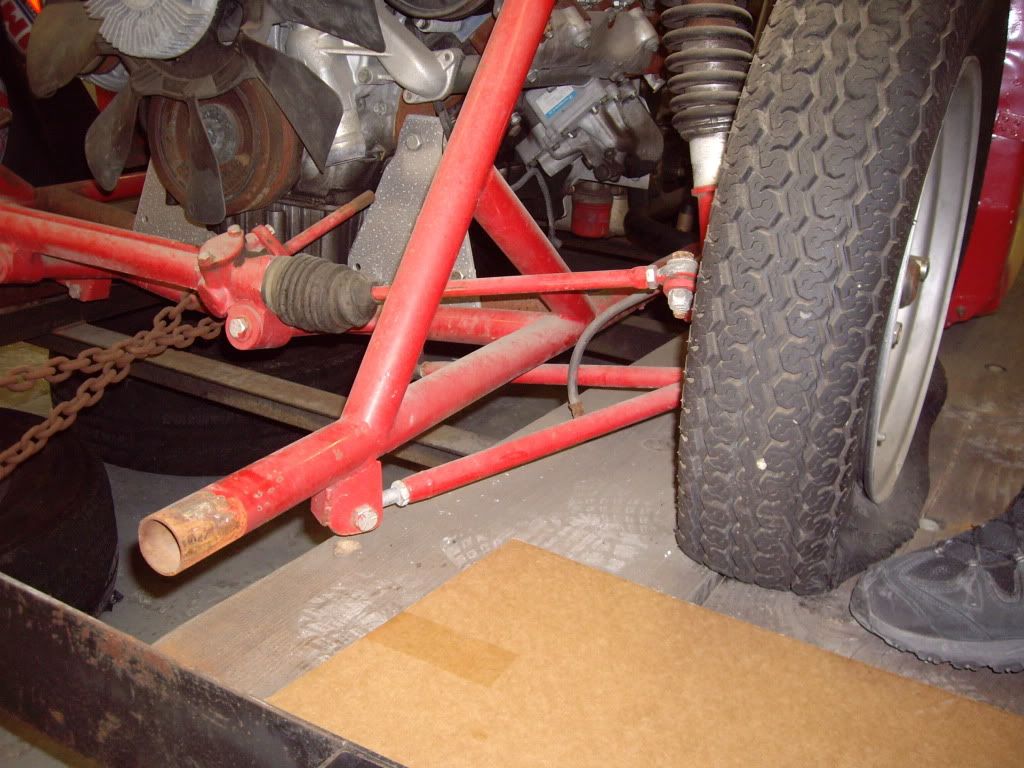
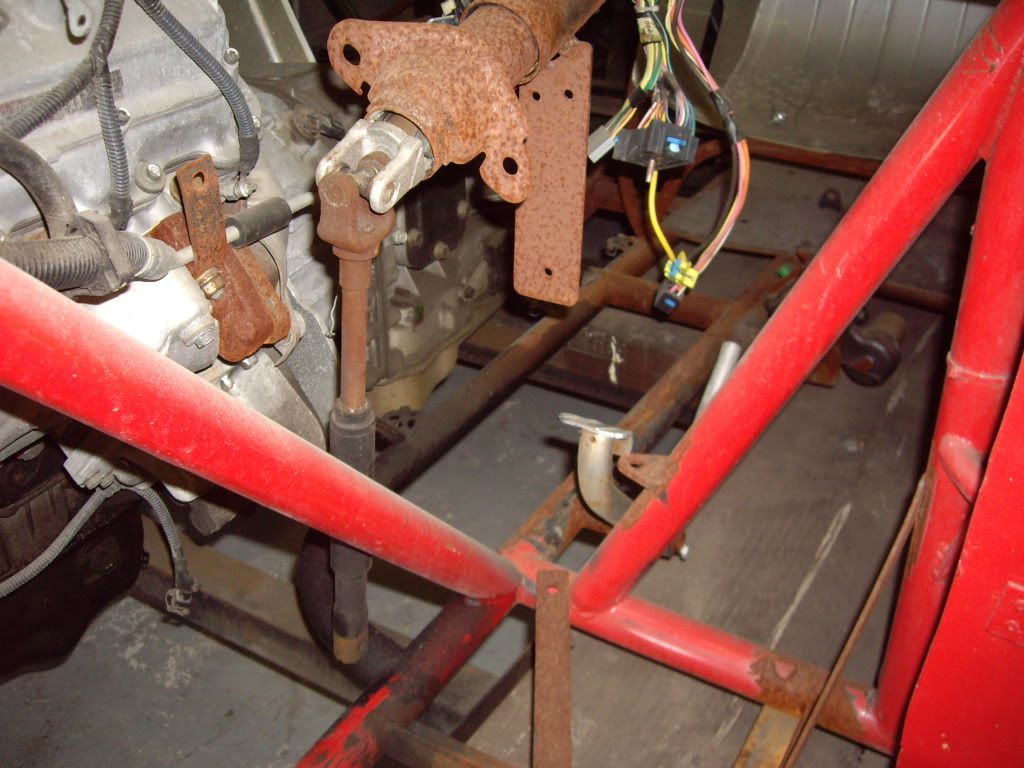
IMGP9611.jpg


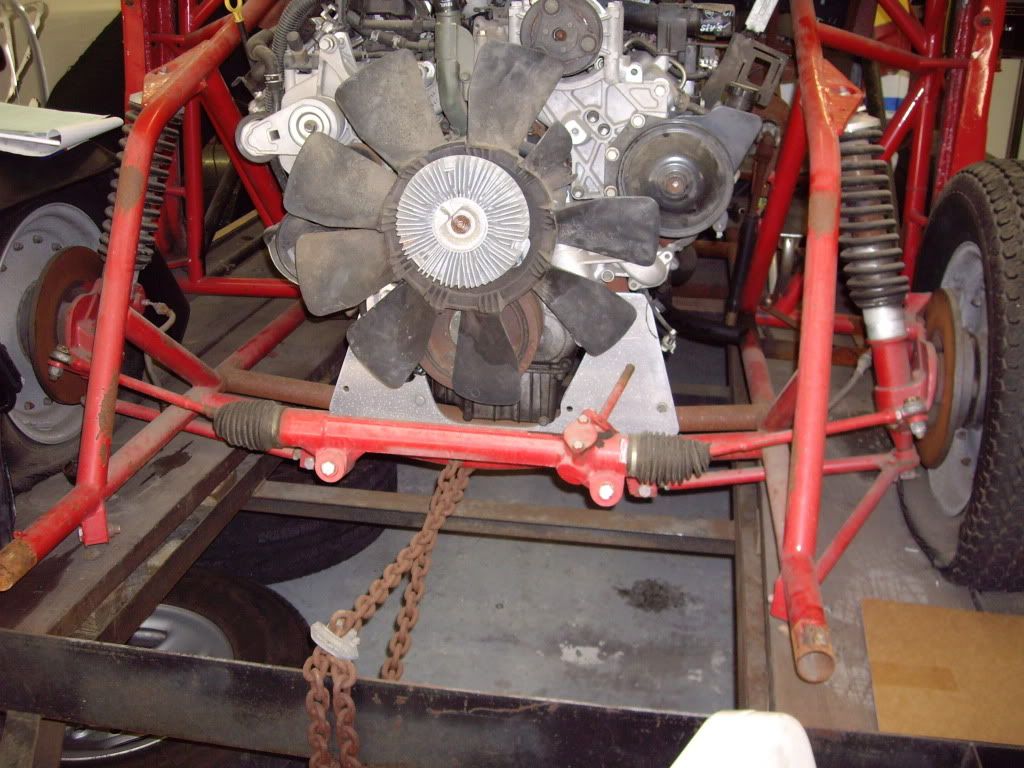
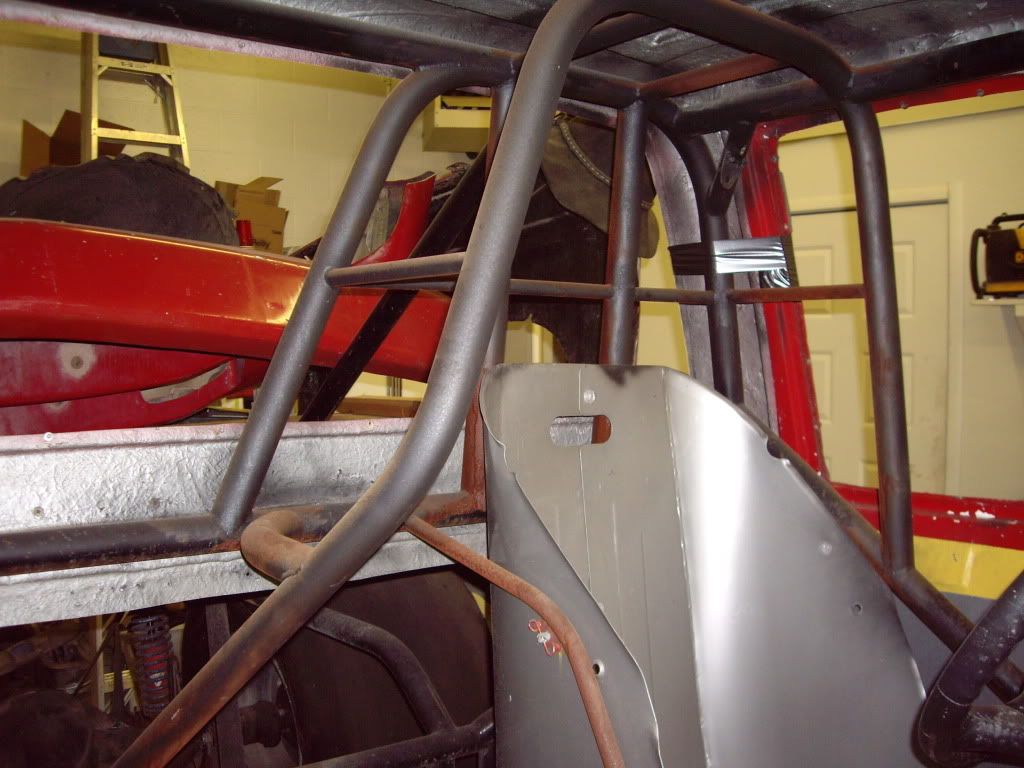
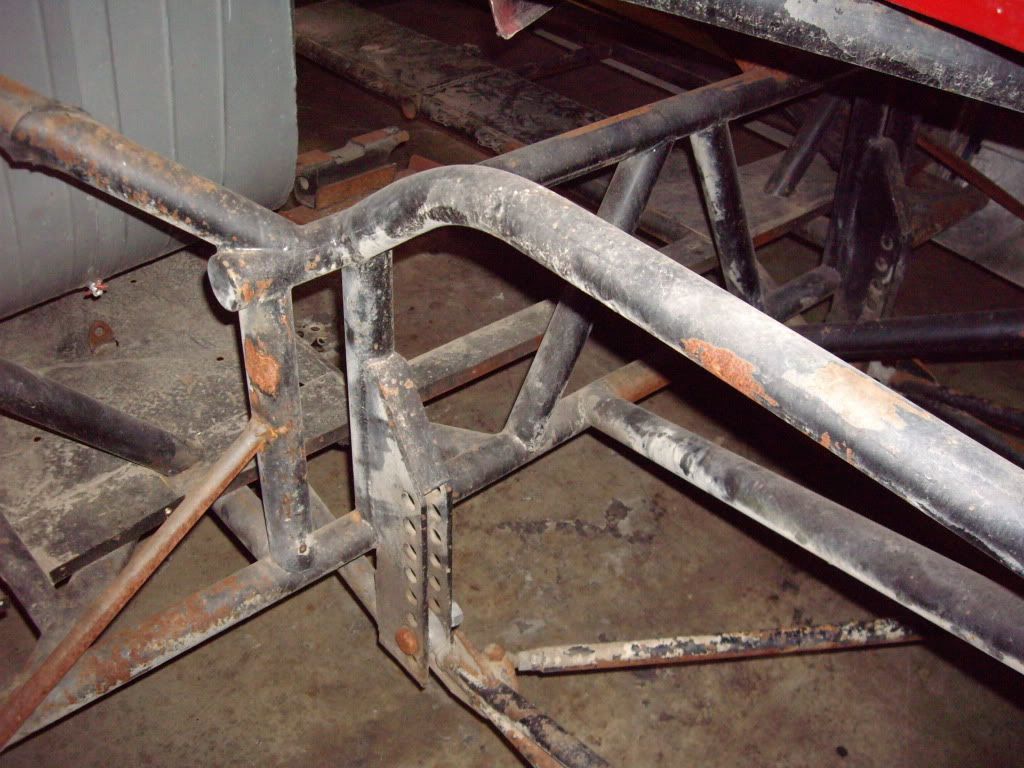
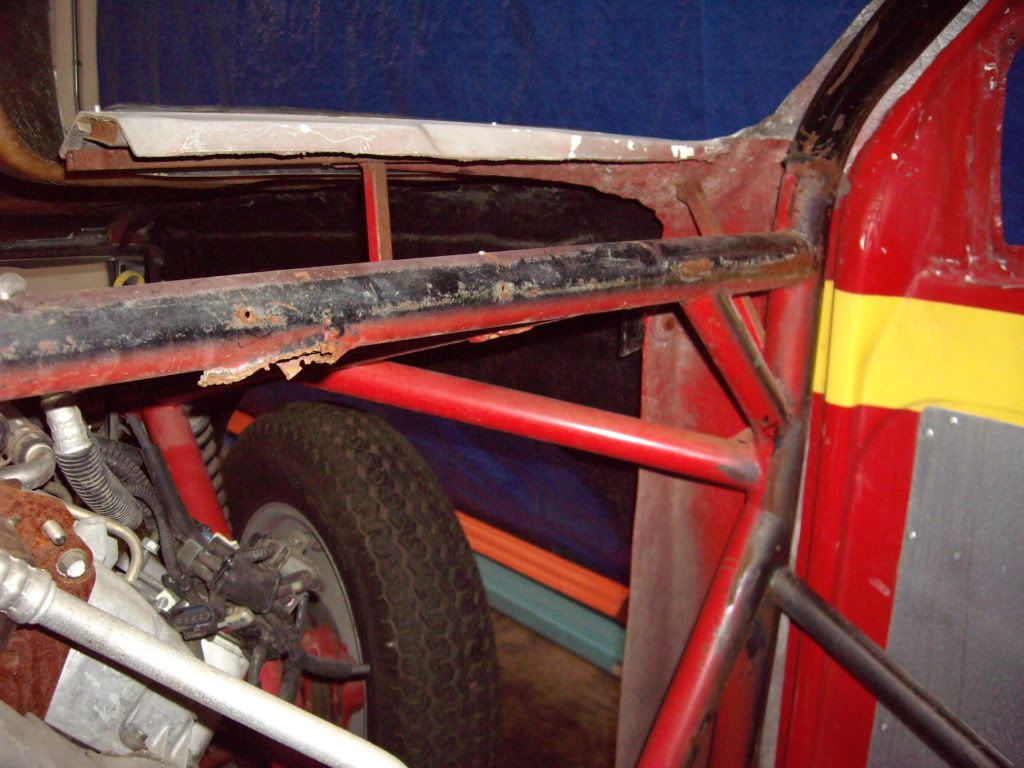
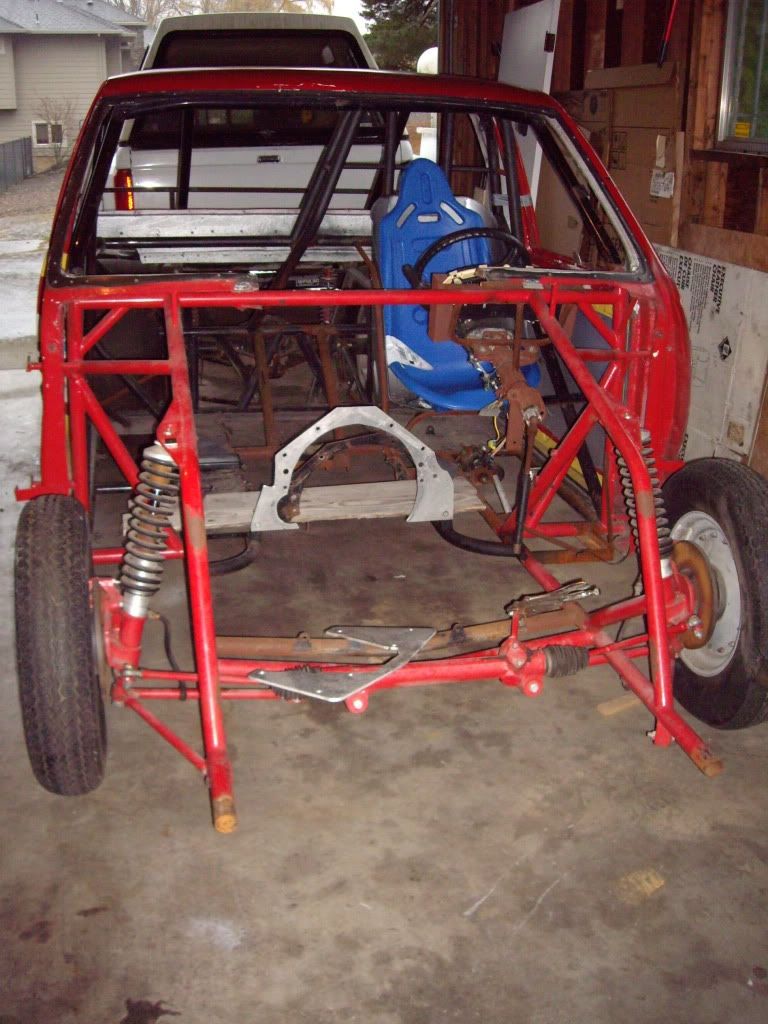
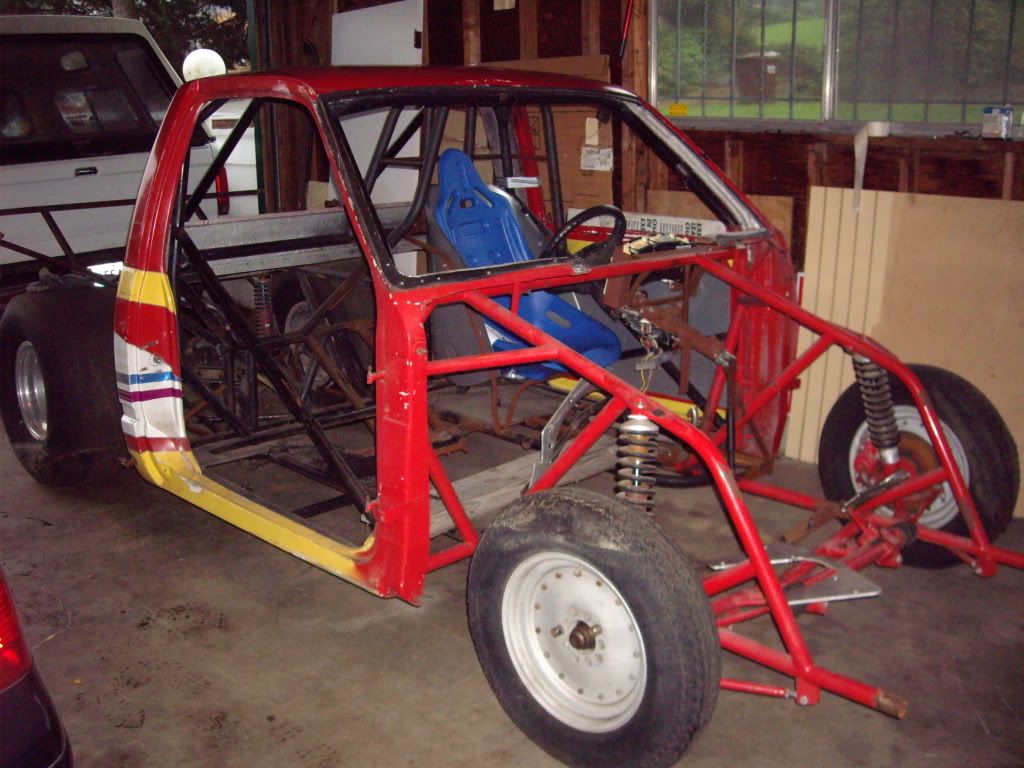
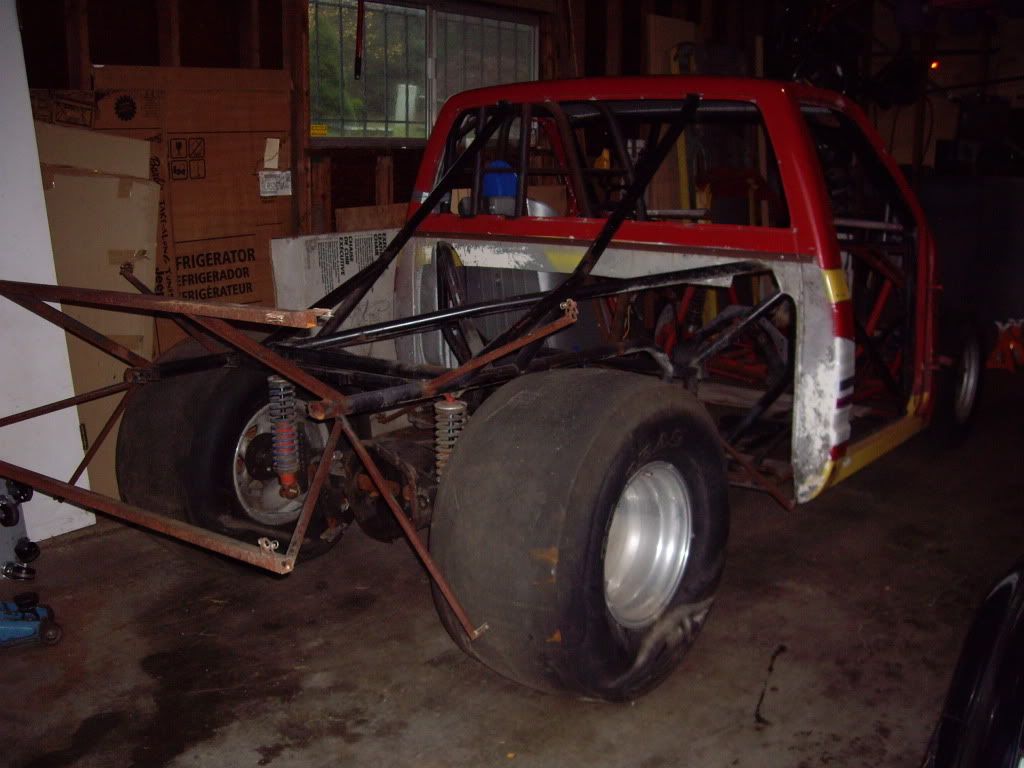
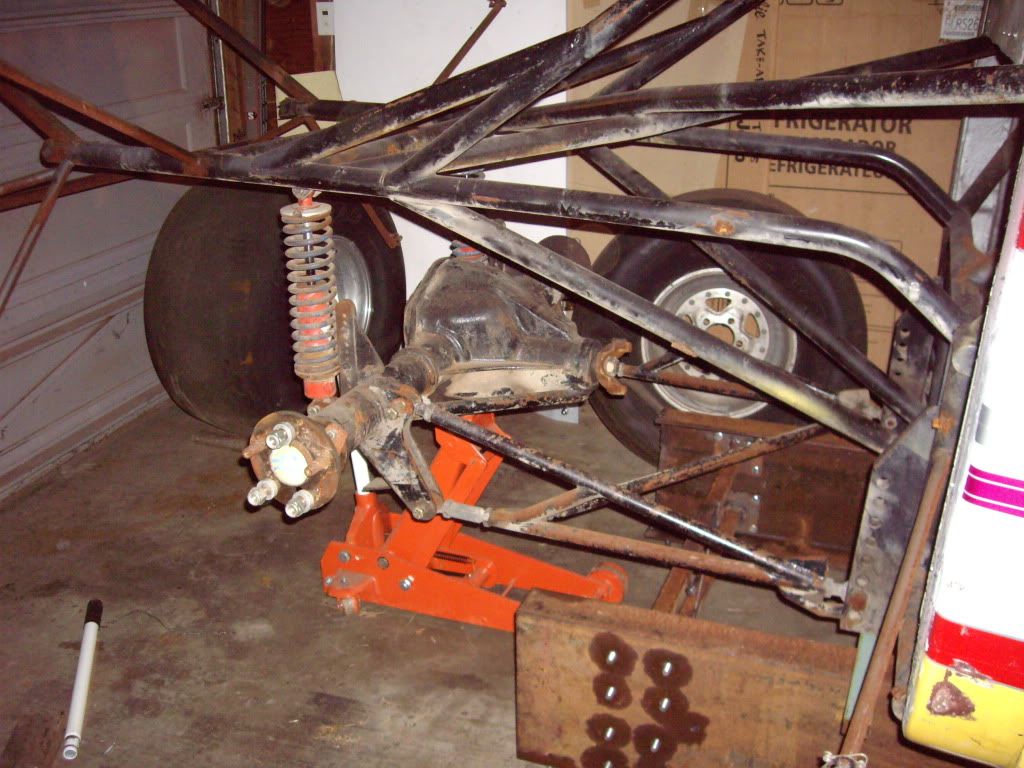
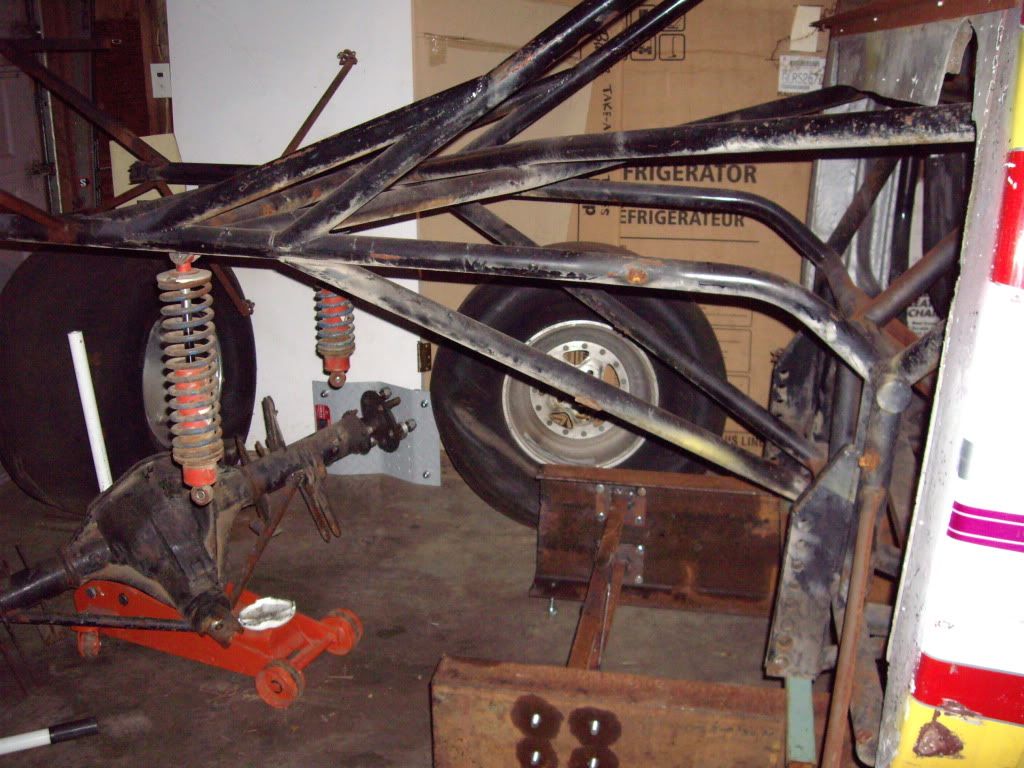
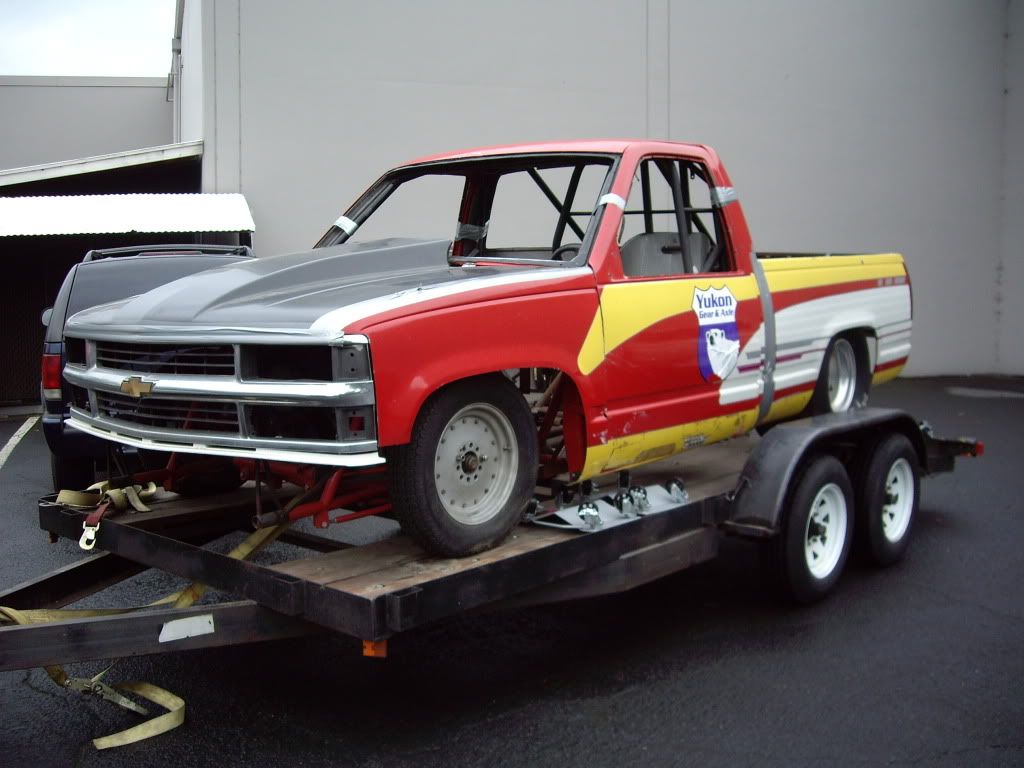
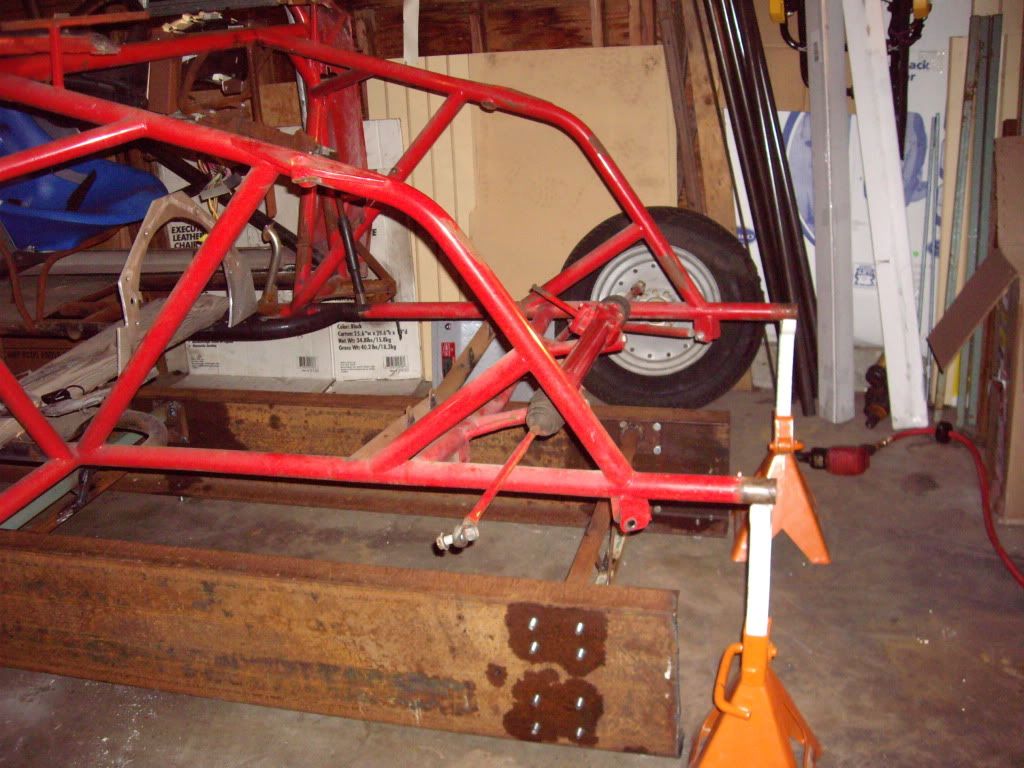
Some of you may recognize the chassis as the one the Max'd Out team (Subman) bought earlier this year. We reviewed the chassis with an NHRA chassis certification tech, and saw that it needs quite a few updates. The Max'd Out crew will be searching for something needing a little less chassis work. The chassis was apparently built to run Top Sportsman with a big block Chevy engine, and run briefly before being sold to someone who started the conversion to diesel. It came with a low mileage stock LB7 and Allison (I passed on the Allison since I plan to run the new Hughes XP5 lockup Pro-Mod Powerglide), and the interior and windows have been stripped out of it. It is a Chrome Moly round tube chassis, with a strut front (appears to be a factory import car strut, a practice that was popular before aftermarket struts were more readily available). The rear of the chassis is built in the standard 4-link configuration, but had a Dana 60 with ladder bars.

My first task will be to add the necessary bars to allow it to certify to at least 6.00 seconds, and stiffen up the chassis where necessary (similar to a "double frame rail" chassis). Next I will convert it to either 4-link or "swing arm", and either build or buy a fabricated 9" housing and also add a beefy anti-roll bar. The front struts and steering look like they will need some geometry changes, as the existing angles would cause significant bump steer on the track (possibly the reason it was retired from Top Sportsman in the first place). I plan to use a steel firewall, which according to NHRA rules will let me run with either forced induction or nitrous WITHOUT an SFI 3.2A/15 firesuit (same as Top Fuel racers wear). Once it is running quick enough I plan to run it in NHRA Top Sportsman, which requires a steel floorpan on the driver's side. The rest of the interior will be aluminum, custom formed and bead-rolled. Before it is track-worthy I plan to sell the LB7 and replace it with a stock long-block LBZ, then eventually build a serious LBZ with all the trick components.
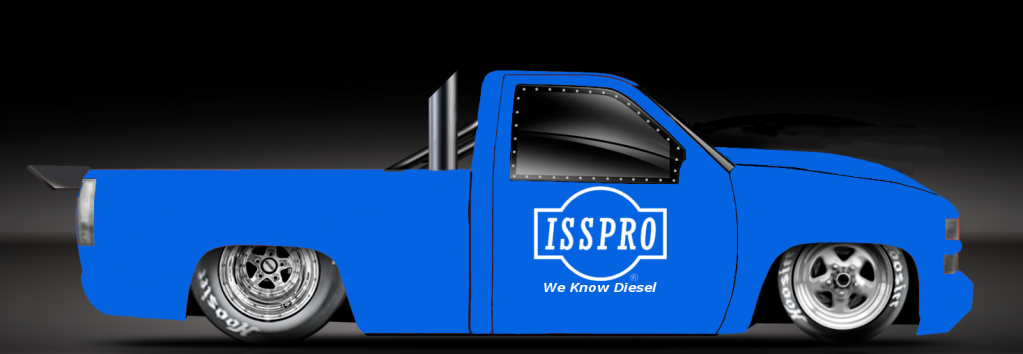

2DMax03-1.png

Here is a very rough rendering of what it will look like. Once I find someone to do some fancy graphics (both for the rendering and the actual truck), it will probably get something more exciting than a solid color!

As with all race trucks, it needed a name. At this point I am calling it PerforMax, both for the tie-in to the ISSPRO Performax series of gauges and dataloggers, and the play on DuraMAX. Yes, I know there are both condoms and male enhancement drugs with that name (and just to be clear, ISSPRO had the name before they did). If you're planning to prank me by leaving samples of either of those on the race truck or trailer at the track, I've already thrown the idea out there so you won't be original!!!
 

Michael

ISSPRO Engineering Mgr
Feb 17, 2009
77
0
0
Happy Valley, OR
Episode 2:
Here are some updates and more photos:
IMGP9565.jpg

IMGP9564.jpg

IMGP9555.jpg

IMGP9547.jpg

IMGP9542.jpg

IMGP9540.jpg

IMGP9538.jpg

IMGP9536.jpg

IMGP9666.jpg

IMGP9665.jpg

IMGP9662.jpg

IMGP9660.jpg


I weighed the truck, with me in it, and some weights to simulate the transmission, converter, interior, windows, etc, the corner weights are as follows:
792 LF 729 RF
451 LR 390 RR

That's right, it's 2362 lbs total! Even with other stuff I forgot, we should still be under 2500 race ready. The downside is that the weight distribution is notably nose-heavy, with 64% on the front.

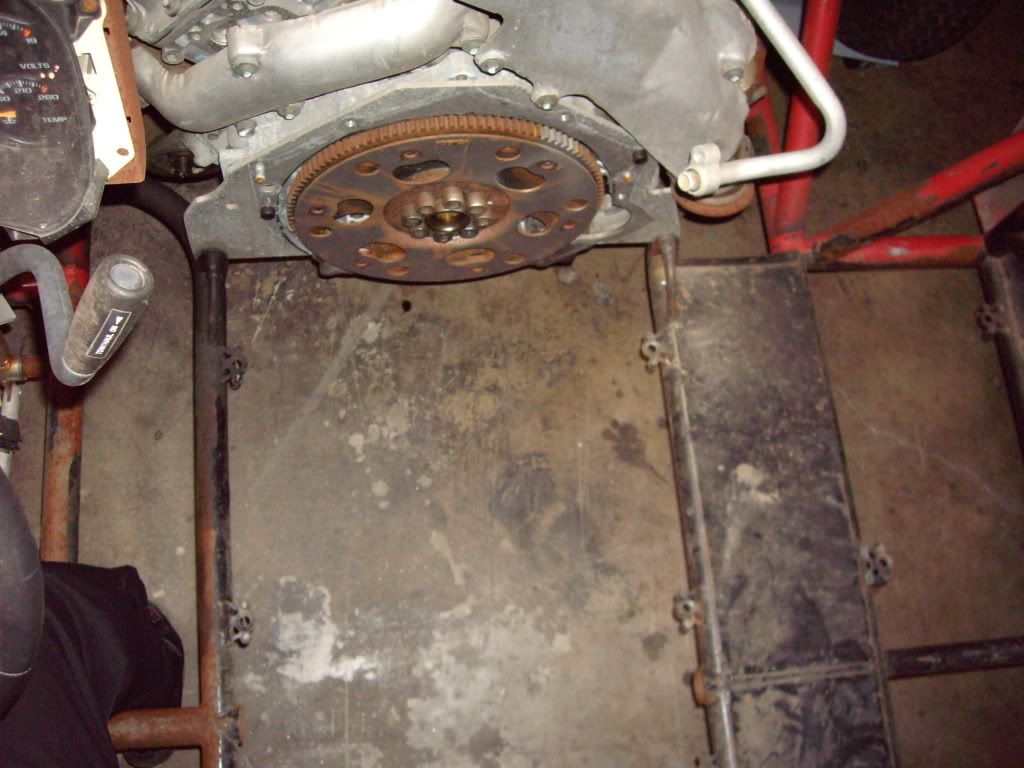
After more measuring and research, it looks like the optimum weight distribution would be 52% on the front (similar to what my gasser is without any ballast). To achieve that with a Duramax I would have to move the engine back 26" from where it sits now!!! While the wide cab would allow this (with me sitting right next to the engine), after seeing some catastrophic engine failures I don't think I want the risk of taking a connecting rod to the side of the head or abdomen! It would also involve a "tunnel" over the engine like a van, and that would add its own set of headaches. I think I will move the engine back 12", which still keeps the rotating assembly only as far back as my feet. I can build a pretty good shield to protect my feet in the event of a failure, and will also run a 360° flexplate shield.
I've been taking a lot of measurements and studying both the SFI specs and the Dave Morgan chassis book, and just ordered the Jerry Bickel chassis book. I also started practicing with my TIG welder, I want to be damn good and "in practice" when I start welding the tubes on this thing! There are a few "gray areas" in the specification, and I plan to get the NHRA chassis cert technician to "pre-OK" my interpretations on these. At a recent race I spent a bunch of time peeking in the fast doorslammers to see how they did their parachute mounts and interior tinwork. LOL, some of this was in the staging lanes against people I was potentially getting paired up with, they probably thought I was weird or trying to psych them out!

I have learned that the front struts on the chassis are from a Datsun/Nissan 240Z. Apparently this was a semi-popular option before modern struts were available. It's weird given the late 90's timeframe of this chassis build, but maybe the customer was just being cheap! Given the awkward geometry of the struts (and the aforementioned nose-heavy weight issues), I'll probably try to work a set of aluminum Strange or Lamb struts into the budget. The ultimate would be to get a double-adjustable set of struts, but I'll probably be content with single external adjustments.
 

Michael

ISSPRO Engineering Mgr
Feb 17, 2009
77
0
0
Happy Valley, OR
Episode 3:
Okay, I'll throw in a quick update!

Like I mentioned before, I've spent a lot of time on "procurement". I have my order in now for all of the suspension stuff (front struts, steering rack, column, 4-link, wishbone, anti-roll-bar). This is part of a sponsorship deal with Chris Alston's Chassisworks. They came highly recommended from several people I talked to in the industry, and it turns out their Sales Manager worked previously in the diesel industry and was eager to sponsor a diesel truck!

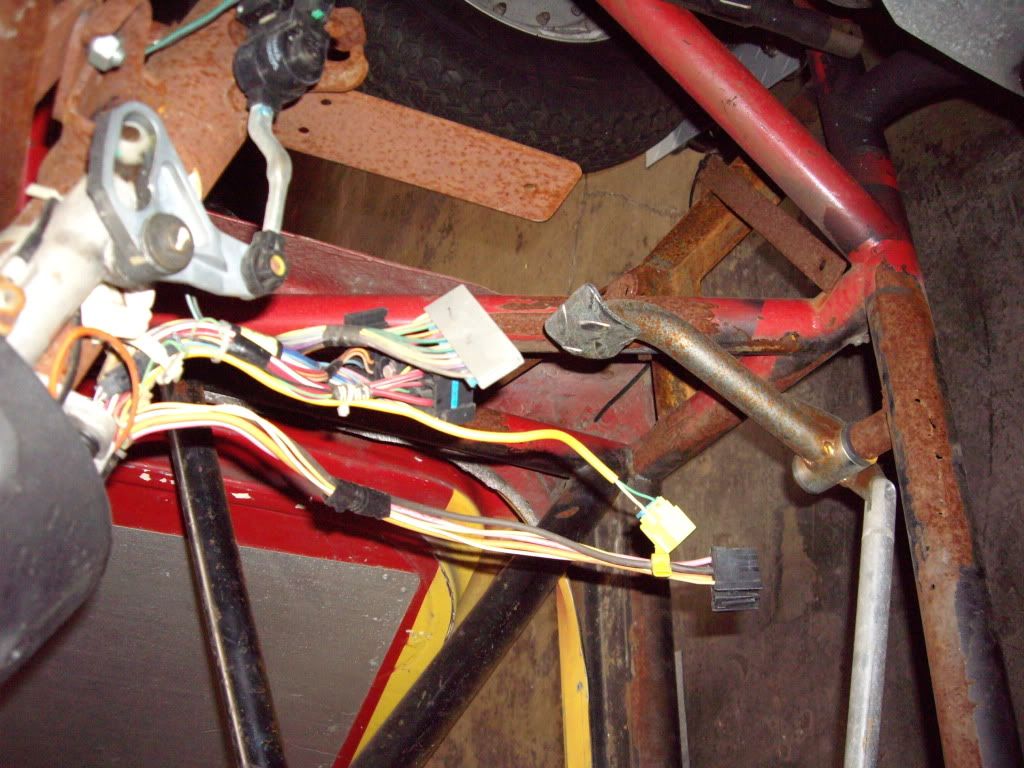
Also working on the engine combination, and just bought my atmospheric charger (106 mm ball-bearing unit), when I came across a killer deal on a new-in-box unit. I'll be working with Industrial Injection and Adrenaline Truck Performance (Idahorob) on the rest of my combination. I have the LMM engine at my house now, but need to get it torn down and get the CP3 and injectors sent off to Industrial for reworking. LOL, I didn't realize that you have to pull the dang oil pan off before you can remove the bellhousing adapter so you can bolt it to an engine stand!

Speaking of killer deals, I have a long list of parts to buy as I can afford them, and that includes electronic scales for initial chassis setup and continuous monitoring. I had picked out a specific model I wanted after checking them out at the PRI show. Lo and behold, the week after PRI a set pops up on Racingjunk, brand new and only used once (still in the shipping plastic), for $250 less than new and with free shipping. I was lucky enough to see the ad just after it was posted, and the guy told me he would sell them to whoever was the first to get him a postal money order for the amount. I rushed to the post office and overnighted him one, and he confirmed that I was the first to get the money to him (and that a local buyer was planning to come by the next day). I get a weird message from him the next day that the shipping was going to be over $500 and he was going to refund my money. I called him back and suggested that he may have clicked on "overnight" to get that shipping quote (he did), and to please check the ground freight prices, and if it was too much I might share the freight with him. After not hearing from him again for a while, he just called and said he was sending my money back, it appears he just sold them to the local customer to save himself the shipping. I hate it when someone does not keep their damn word!

I spent a couple of evenings getting my TIG and plasma machines set up on a cart with all their supplies, so it should be a lot easier now to cut and weld without dragging things out and putting them back away.

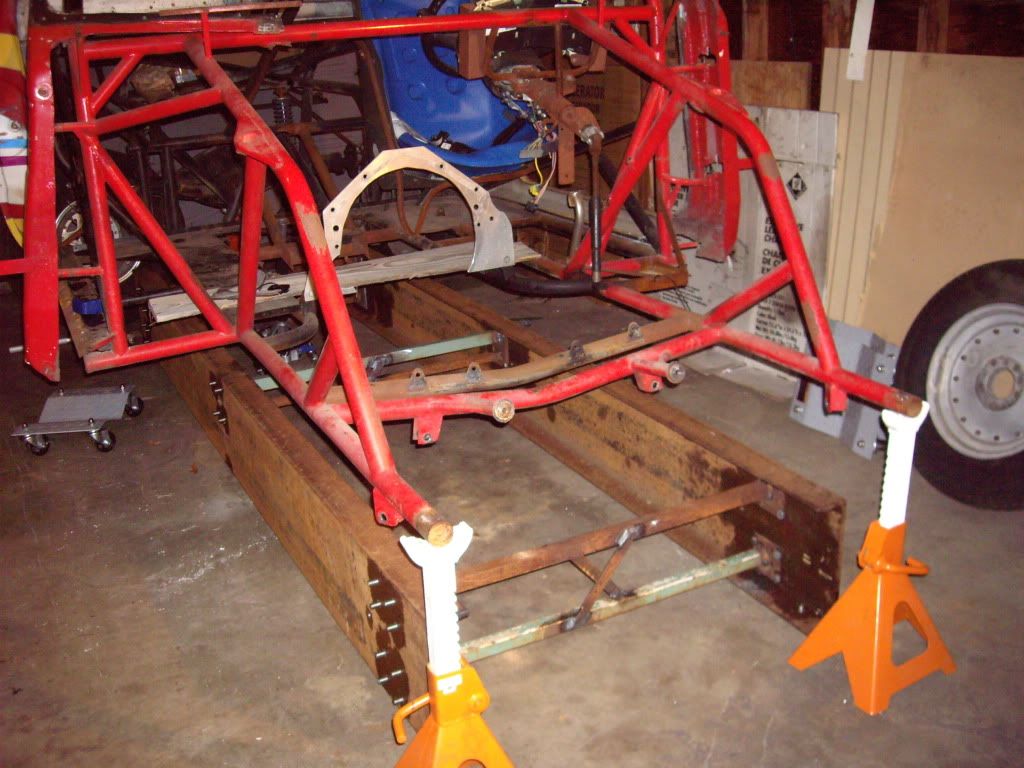
I have the chassis at home now to continue the work. No, I don't have a spacious shop, just an oversize 2-car garage! In these photos I have removed all the body panels except the cab, and was test-fitting the new plastic seat.

IMGP9884.jpg


IMGP9882.jpg


IMGP9883.jpg


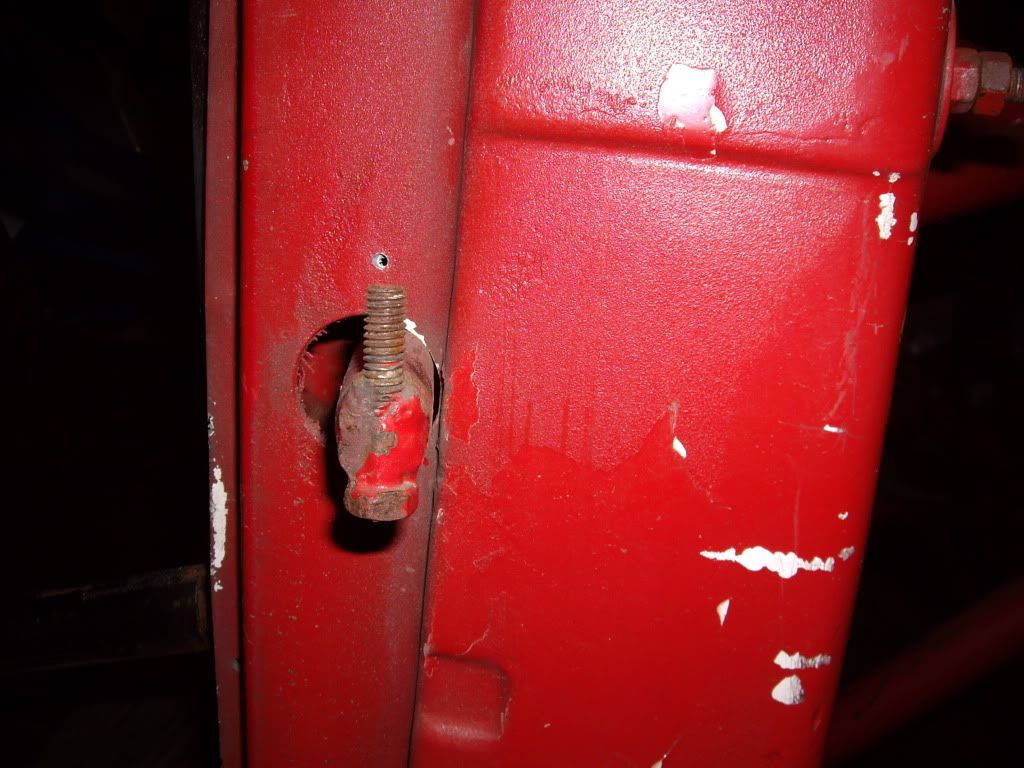
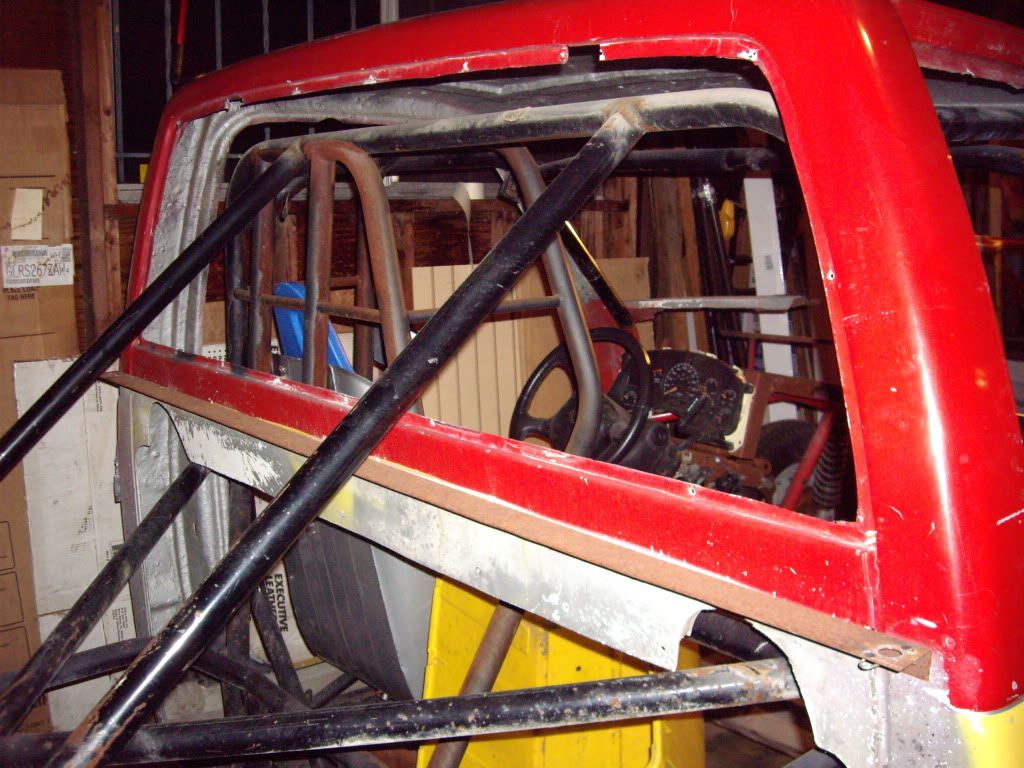
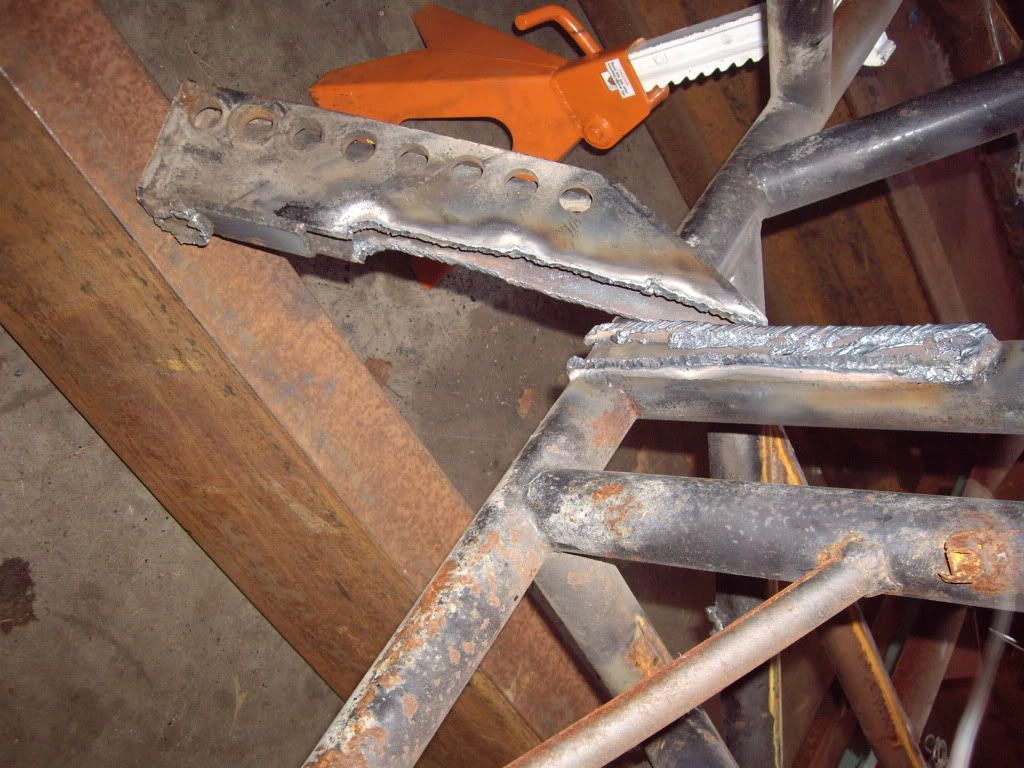
I went to remove the cab, and discovered that some of the items had been welded on after the cab was put on. I already knew that the rear rollcage struts would have to be removed before pulling the cab (since they passed through the rear window opening). Even the dang door hinges were put on afterwards, so I had to notch the cab fiberglass to remove it.

IMGP9972.jpg


Once I did that I was able to lift the cab a ways, so I could get access to the top of the rear supports for cutting them out (wanting to cut them as close as possible so I could reuse the tubes in other locations).

IMGP9975.jpg


I decided to hold off on cutting any more tubes out until I get the chassis jig finished and this thing mounted on it. I think I've finally figured out my design for the chassis jig, and have all the parts in hand. The real bear will be getting the chassis on top of it!

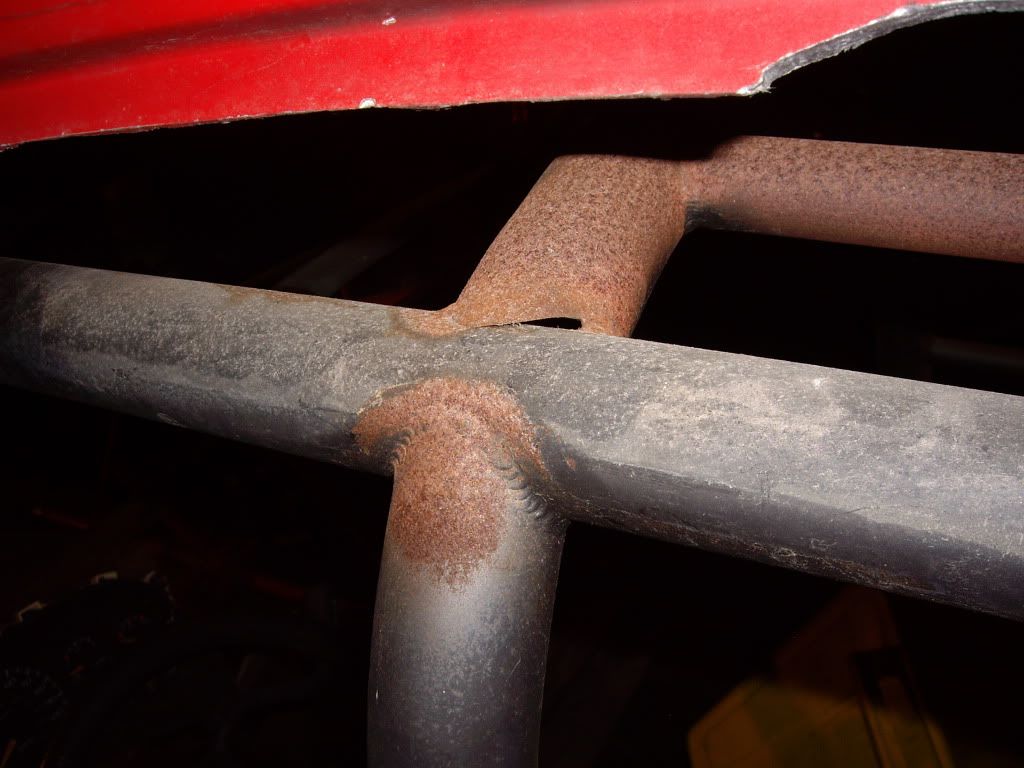
One thing I discovered once the cab was raised up - the top of the rollcage around the driver's head was NOT welded!!!
IMGP9976.jpg


I'm so glad I am tearing into this thing completely so I can be sure it's done right (or if it's done wrong it's my fault)!!!
I hope to get the jig finished and the chassis mounted on it over the next couple of days, then resume cutting bars out. I just discovered another undersized bar in the cage, so I'm glad I bought extra tubing!
 

Michael

ISSPRO Engineering Mgr
Feb 17, 2009
77
0
0
Happy Valley, OR
Episode 4:
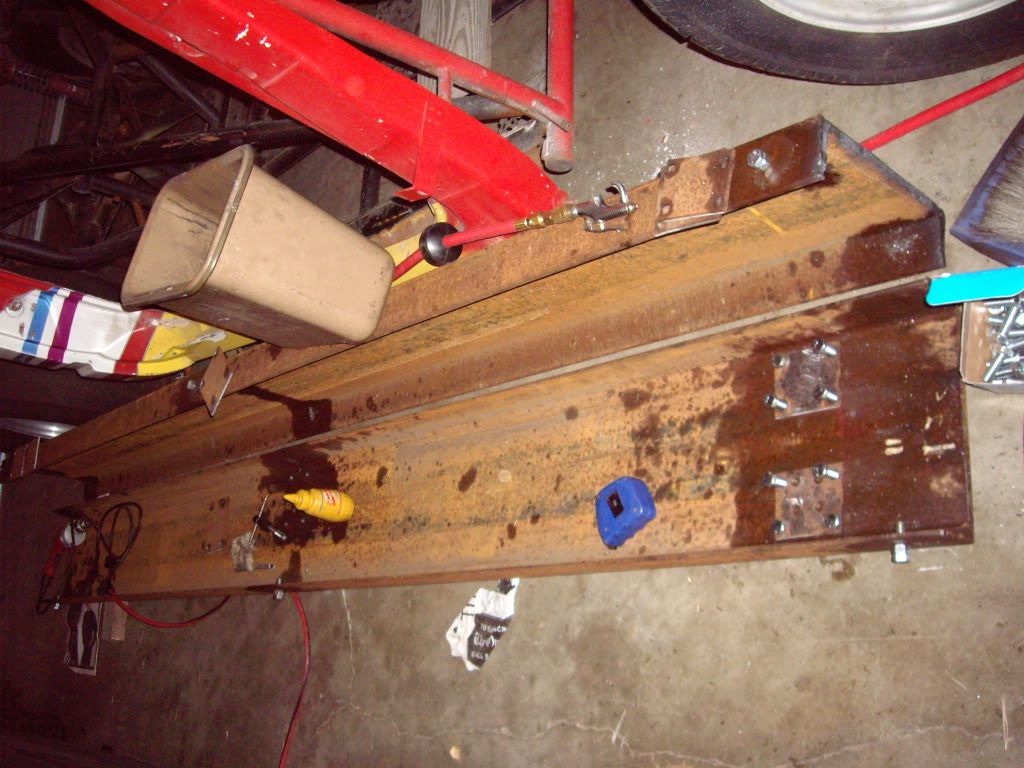
Okay, I went for a while without making much progress, first getting ready for Christmas, then just after Christmas I had a bit of a freak accident. I was trying to move and flip over one of the big 305 lb C-channels that make up my jig rails, picking up one end and trying to flip it in the direction with the channel "legs" facing the ground. Just as I had it almost rotated over, the other end (resting on the pavement while I had my end chest-high), slid violently away from me, pulling me out of my good lifting stance, while spinning in the other direction that gravity felt better about. Within a few minutes I couldn't feel my left hand, and I knew I really tweaked the muscles in my left leg and back. I was unable to walk when I woke up in the morning, which was pretty dang scary!
IMGP0052.jpg


After several weeks of healing and rehabilitation exercises (and a few prescription drugs) I am finally feeling like myself again.

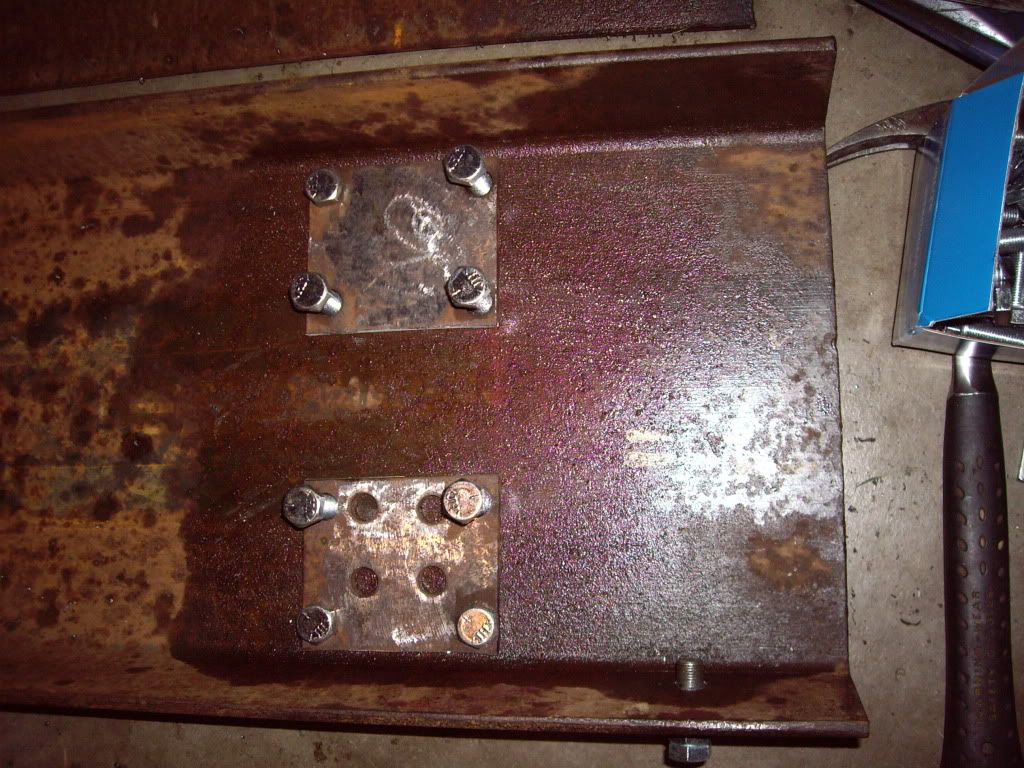
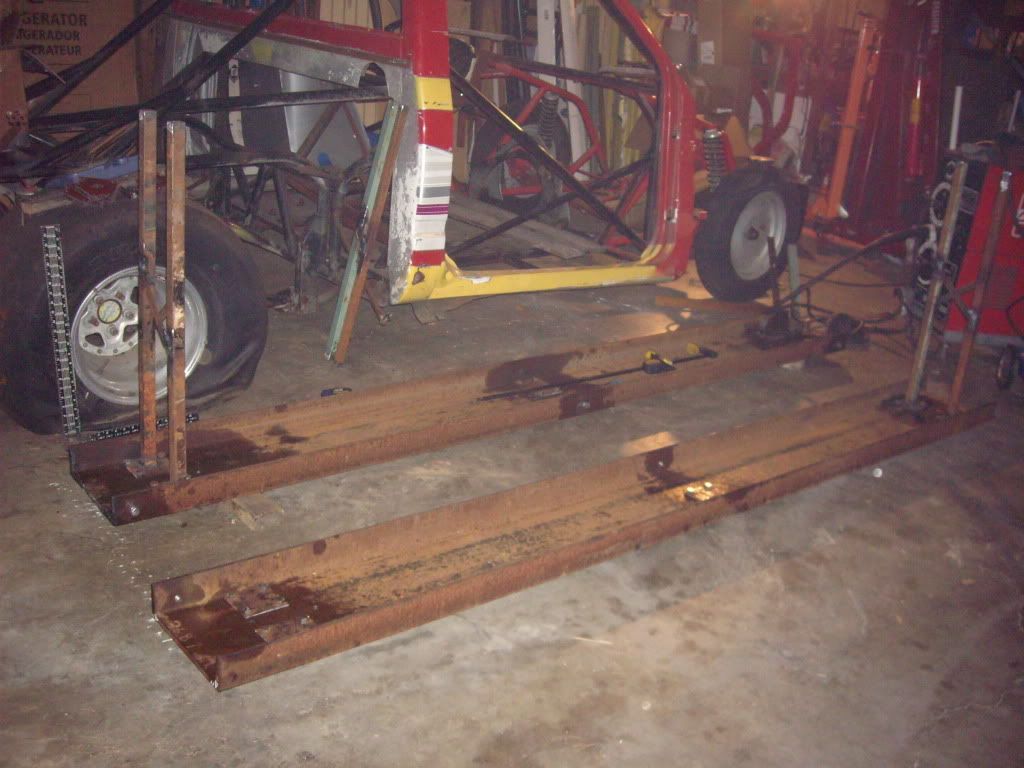
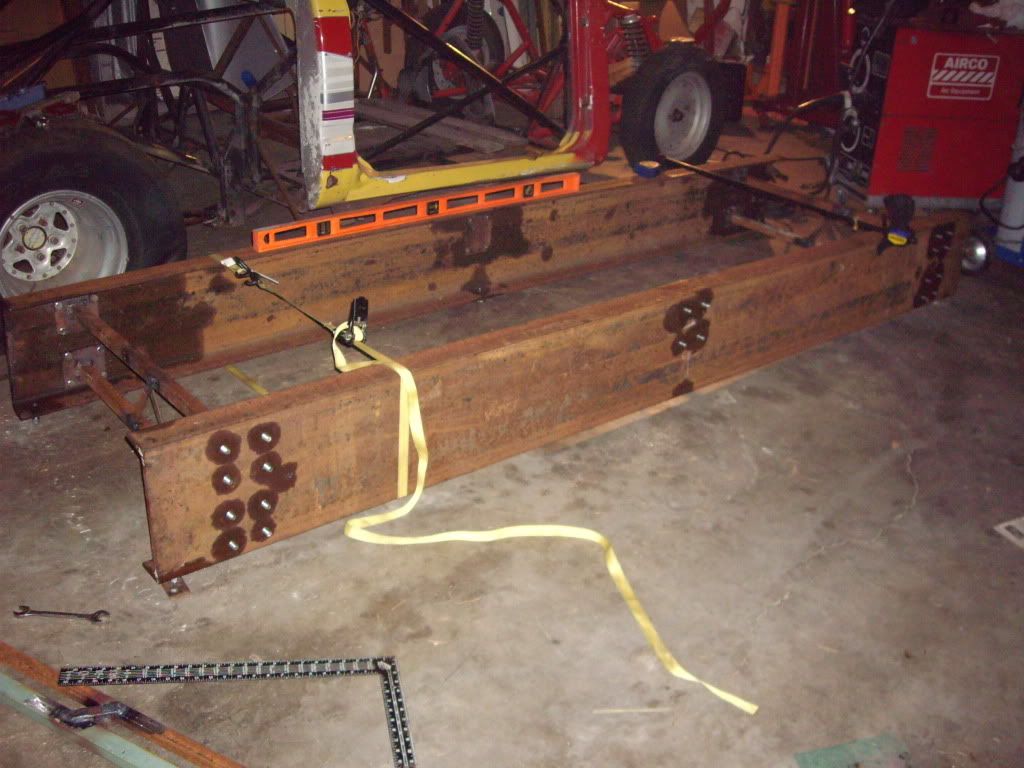
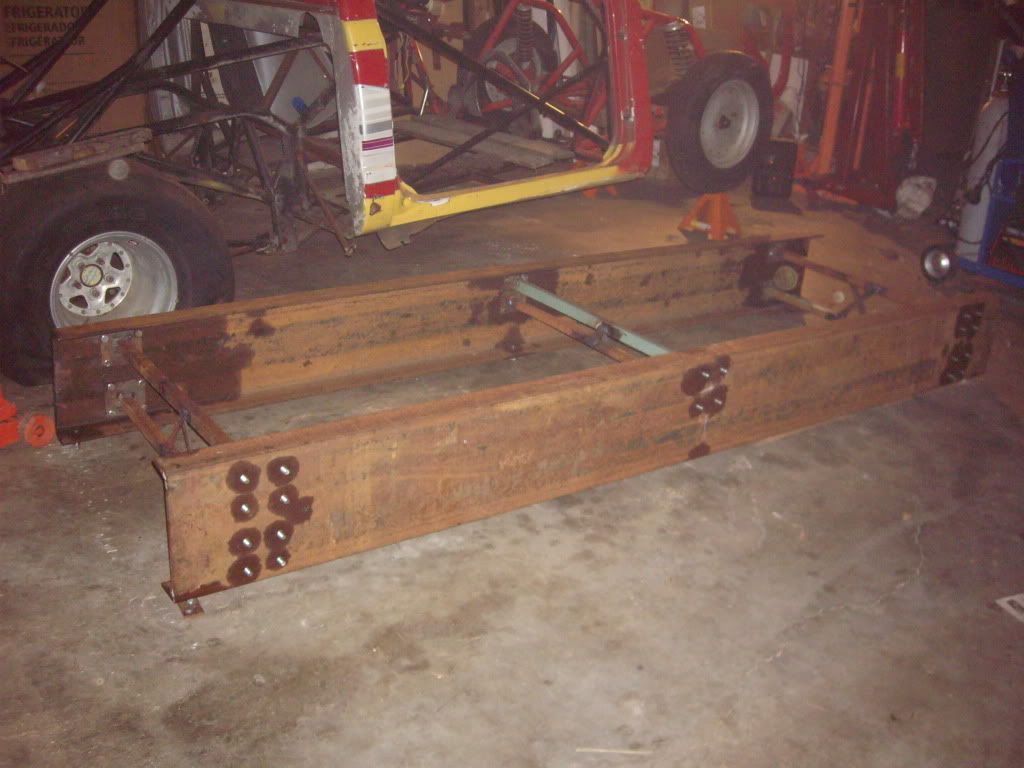
As my back was slowly healing, I started drilling and tapping the 1/2" holes (24 per side), and finished the first side. Having learned a thing or two, I used more mental power than brute strength to move the 2nd channel into position for drilling and tapping. I squared everything up then welded crossmembers to the bolted-in plates. I want this thing to be very rigid, but I want to be able to dismantle it for storage after I am done.
IMGP0053.jpg


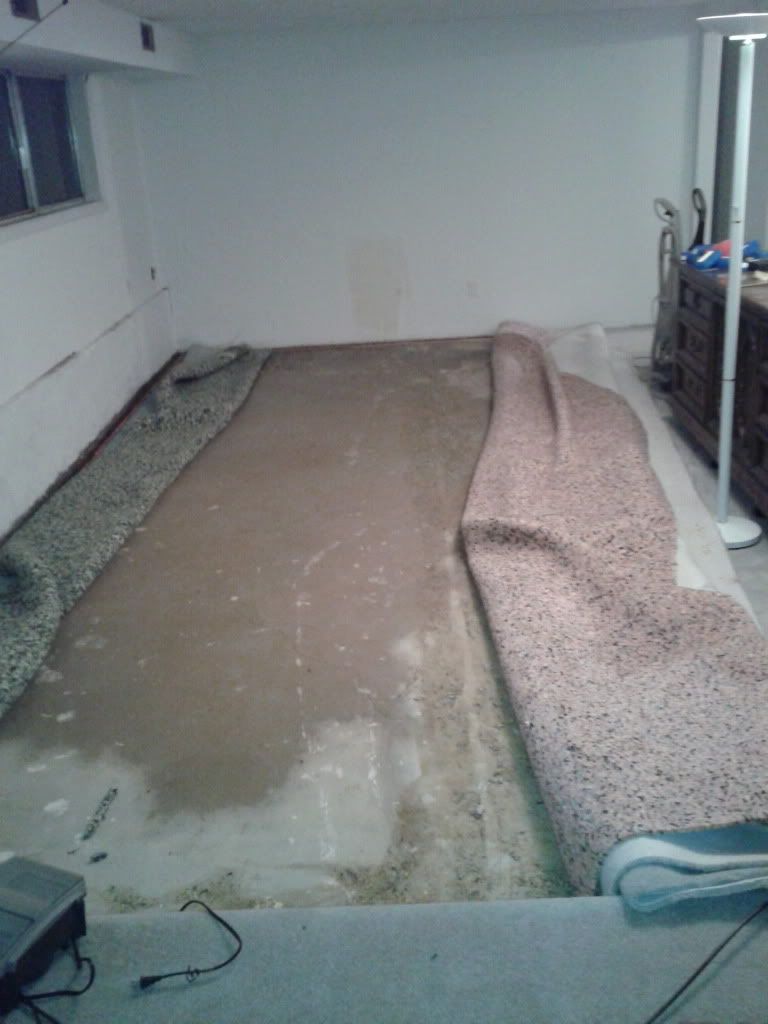
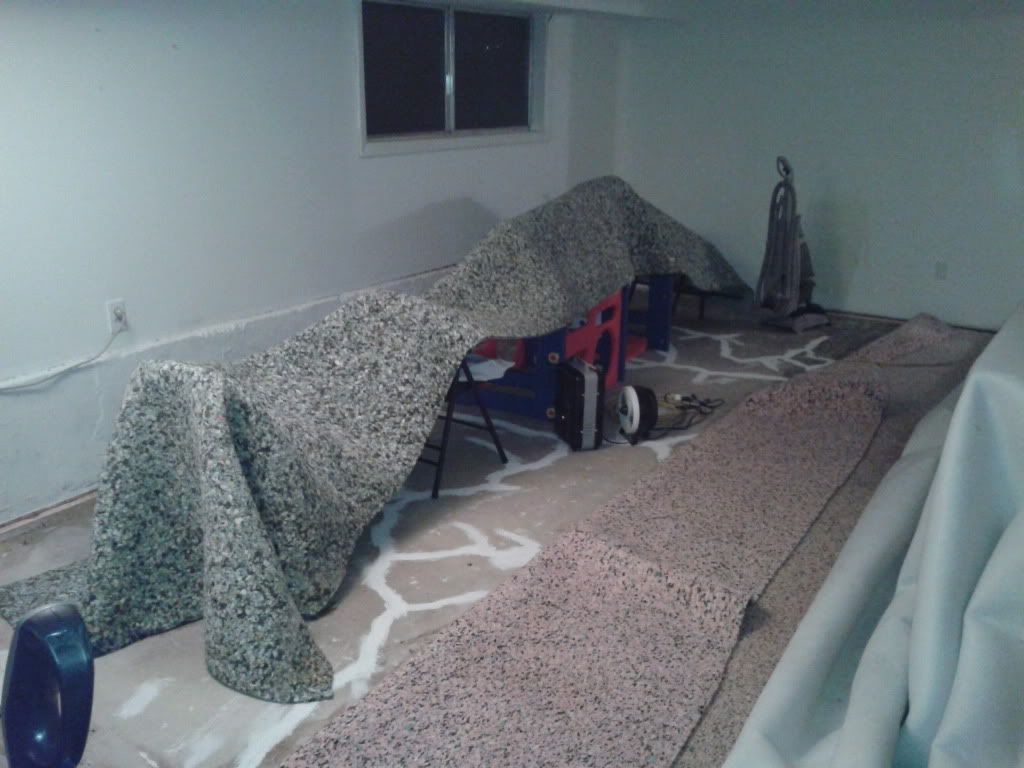
It sometimes seems like God either doesn't want me to finish this project, or REALLY wants me to appreciate it once I am done! Just as my back was feeling well enough to resume heavier work, I spent a long evening working on the truck then was heading to bed (part of my bedroom has a sunken floor), stepped down and felt water gush through my toes. Yes, my bedroom was flooding. We had been deluged by rain and snow for weeks, and the storms had also totally filled my gutters and clogged my downspouts with pine needles. There is a small crack in the concrete floor that is letting the water in when the ground is that saturated. After hours of wet vacuuming to keep the carpet as dry as possible (while more water was coming in), and a treacherous time on my roof cleaning out the gutters (in the dark early morning, with high winds and pounding rain, with spots of slippery moss to add to the difficulty), the water inflow finally stopped. I pulled the carpet and pad, and spent several days with heaters and fans getting the place dried out, then sealed the cracks up. I also discovered that wrestling with a wet roll of 330 square feet of carpet is exhausting! I finally have everything put somewhat back together, but still need to do a final stretching of the carpet to get out the wrinkles.
2012-01-21182201.jpg

2012-01-22141444.jpg

2012-01-22213307.jpg


While laid up with the back injury I was able to do a bunch of "parts shopping". I need to take some photos of the new parts stacked up here, will do so later. I think I smelled smoke coming off of my credit card after all of those purchases! I do think the UPS man is going to file a workman's comp claim before this project is done. Within a 1 week period I had several "over 70 lbs" packages arrive, including a couple that were 120+ lbs.

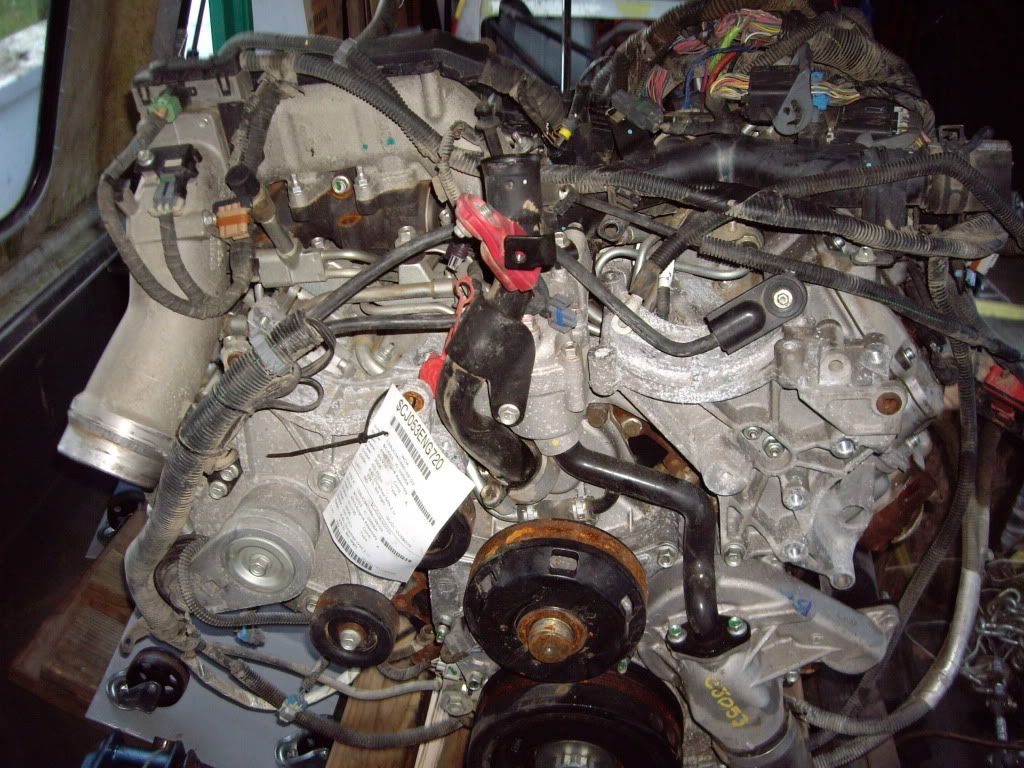
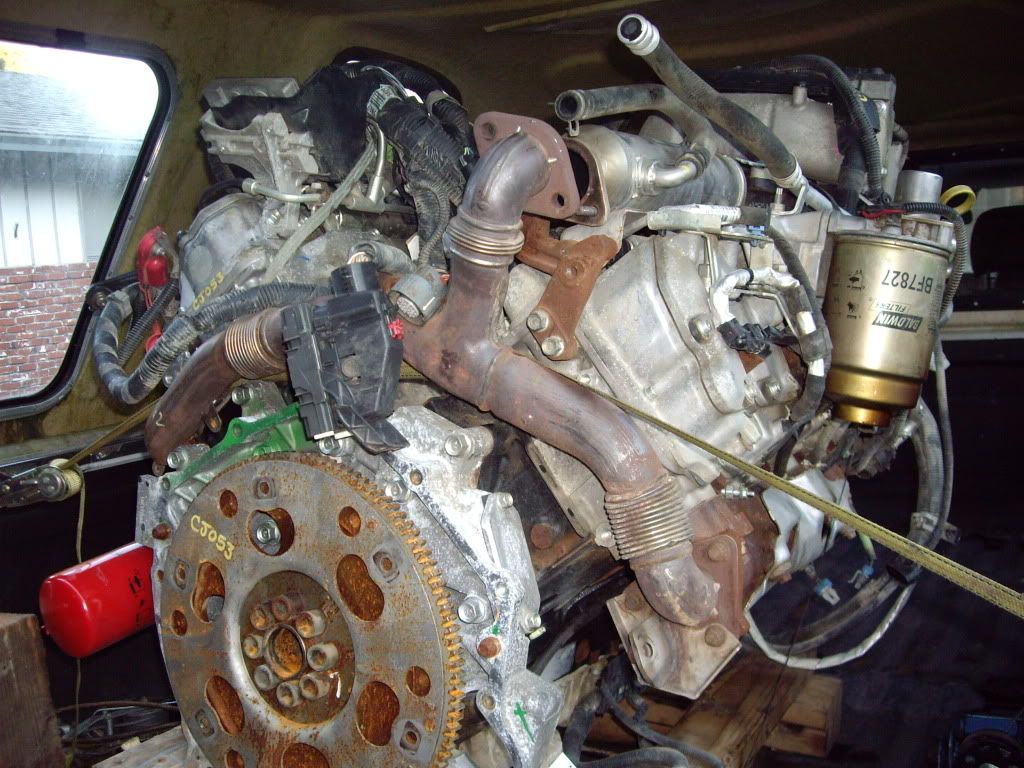
I previously picked up my core engine, which was supposed to be an LMM. As long as it was an LBZ or LMM I didn't care, but it might matter for harness purposes. It turned out to be an LBZ, which should make things a little easier.

IMGP0062.jpg

IMGP0055.jpg


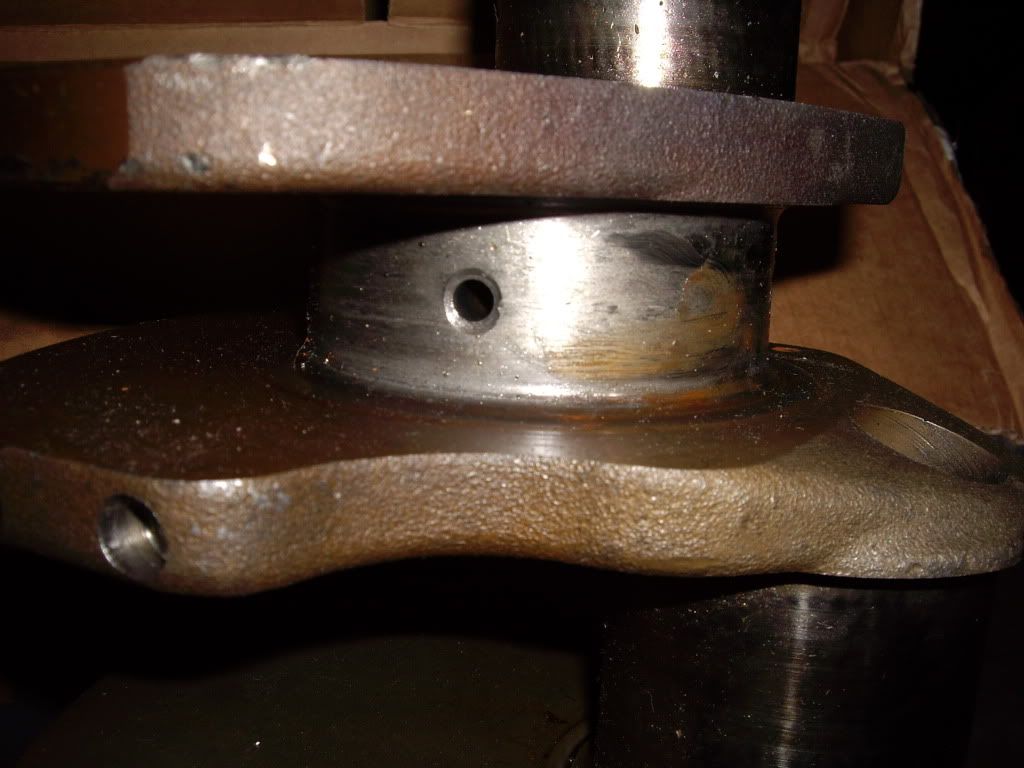
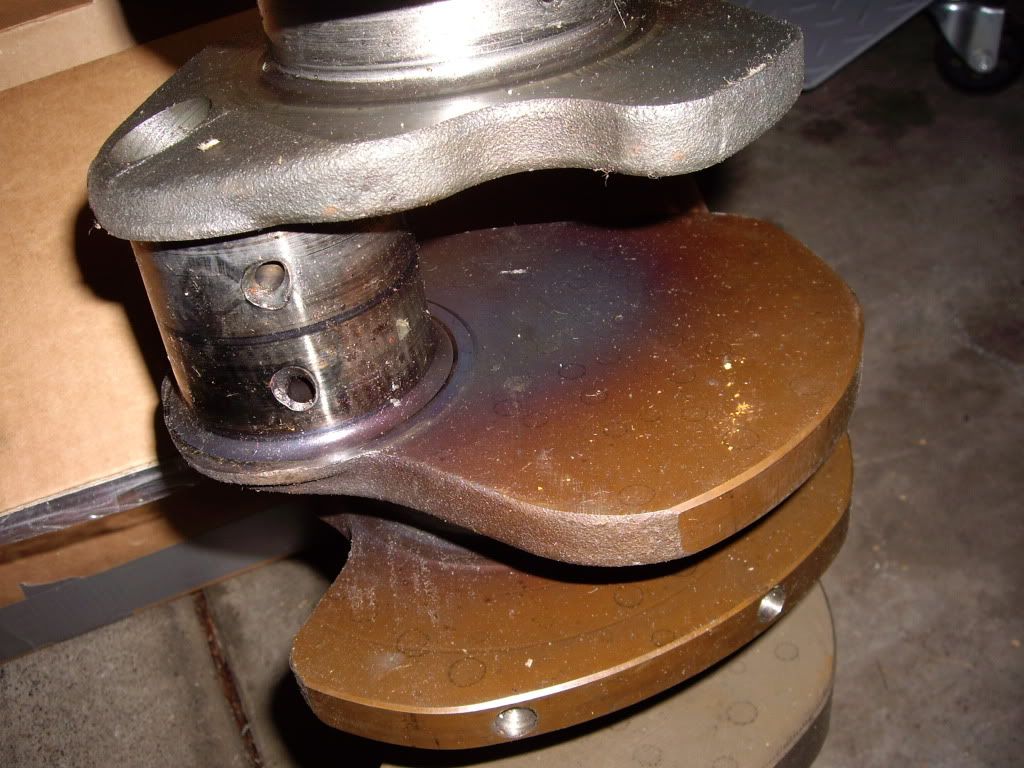
I picked up an LMM throttle pedal assembly off of a wrecked truck, but will have to confirm that they are interchangeable (and will just buy a new LBZ one if they are not). After doing some research I learned that the LB7 cranks were stronger, so I started searching for one. Thanks to a tip from one of my online buddies, I picked up an LB7 crank from a wrecking yard in California.
IMGP0084.jpg

IMGP0083.jpg


It obviously spun the #1 main bearing, and probably got driven a ways like that seeing how much burned oil residue there is around the front 2 mains.

I'll be getting my machine work done by Tabor Machine, a local gasser race engine shop that did the work on Jerry Mullins' Super-Street Duramax. After discussing it with Richard Tabor, I decided to find a crank that didn't require grinding, as apparently it is getting hard to have the cranks re-hardened after grinding. At some point I would like to experiment with an undersize ground crank, with generous fillets left at the edge of each main (and possibly an extra stress relief ground in at that area). While it seems somewhat counterintuitive, sometimes you can make something stronger by removing material, by allowing deflection to occur across a wider portion of the component so that a single spot doesn't "absorb" all the deflection and reach its fracture stress/strain.

I'm planning to go with Mahle pistons (and wish I could wait for the new Monotherms but will go with their forged aluminum parts for now). Also going with Carillo rods.

I have all of the weld-on components for the chassis, courtesy of a sponsorship discount from Chris Alston's Chassisworks. As I was shopping for these kind of components, I was told that the Chassisworks parts are a little more money than the more common mail order parts, but beautiful quality. Looking at the workmanship of the parts like the aluminum double-adjustable front struts, I am glad I went with the premium quality parts! The components include the struts, front brakes and hubs, driveline loops, 4-link brackets & tubes, wishbone (centers the rear axle), anti-roll bar (which helps keep the launch straight), and steering column. Once I get a little further in the chassis build, I will be having Chassisworks build me a Fab9 rearend, with all the extra gusseting and full floating axles. The 3rd member will be all Strange components, with 2.91 large pinion pro gears.

I will eventually add a Gear Vendors overdrive, and may switch to a lower (higher numerically) rear gear at that point. Still probably going to use a Hughes XP-5 lockup Powerglide transmission, but need to figure out if I can work it into my budget!

This past week I was able to make more progress. I finished the jig welding, initially using the TIG welder for more practice, but having to switch to my big MIG welder for the heavier components (the 200A TIG was too slow trying to weld 5/16" wall thickness stuff). Of course I ran out of Argon (75/25 Ar-CO2 mix) on the MIG welder before I was done, and had to finish up with the TIG anyway. If I would have thought about it I could have either grabbed the pure Argon tank from the TIG welder or the pure CO2 tank from the keg.
IMGP0086.jpg

IMGP0087.jpg

IMGP0088.jpg


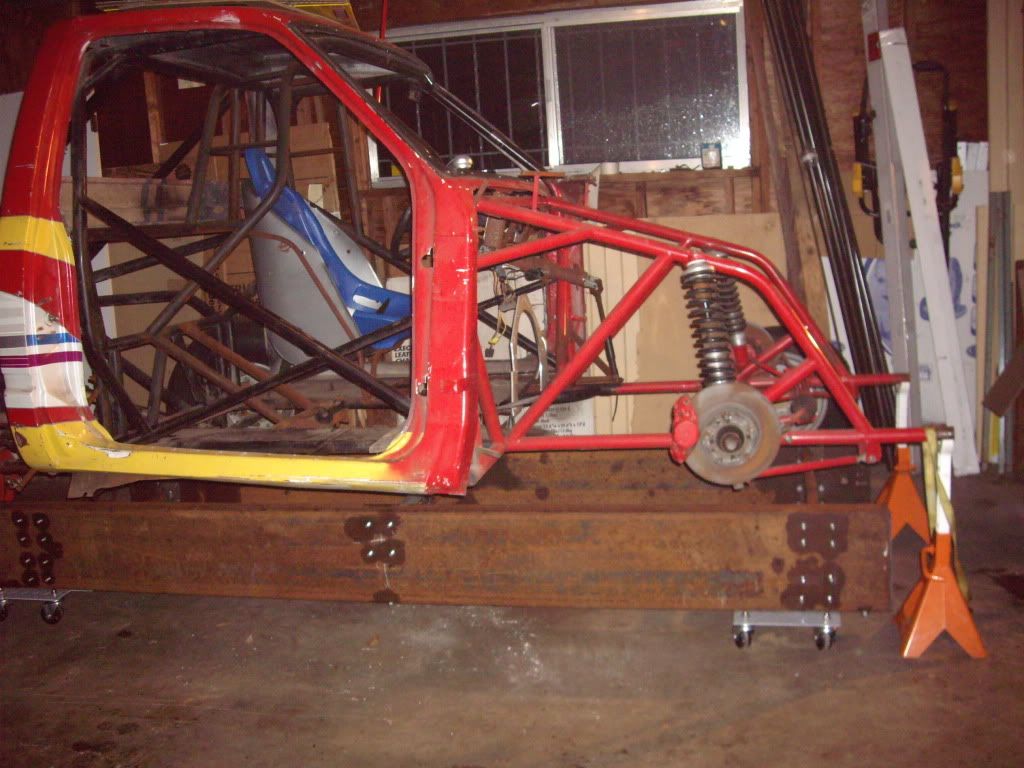
It turned out my garage floor wasn't nearly as level as I thought, requiring longer leveling screws on one end. I was able to get it perfectly level then square up the chassis on top of it. Once the chassis was on the perfectly straight and square jig I could see that the chassis main rails were noticeably crooked, glad I am cutting all of them off! Basically all I am reusing is part of the original cage structure.
IMGP0089.jpg


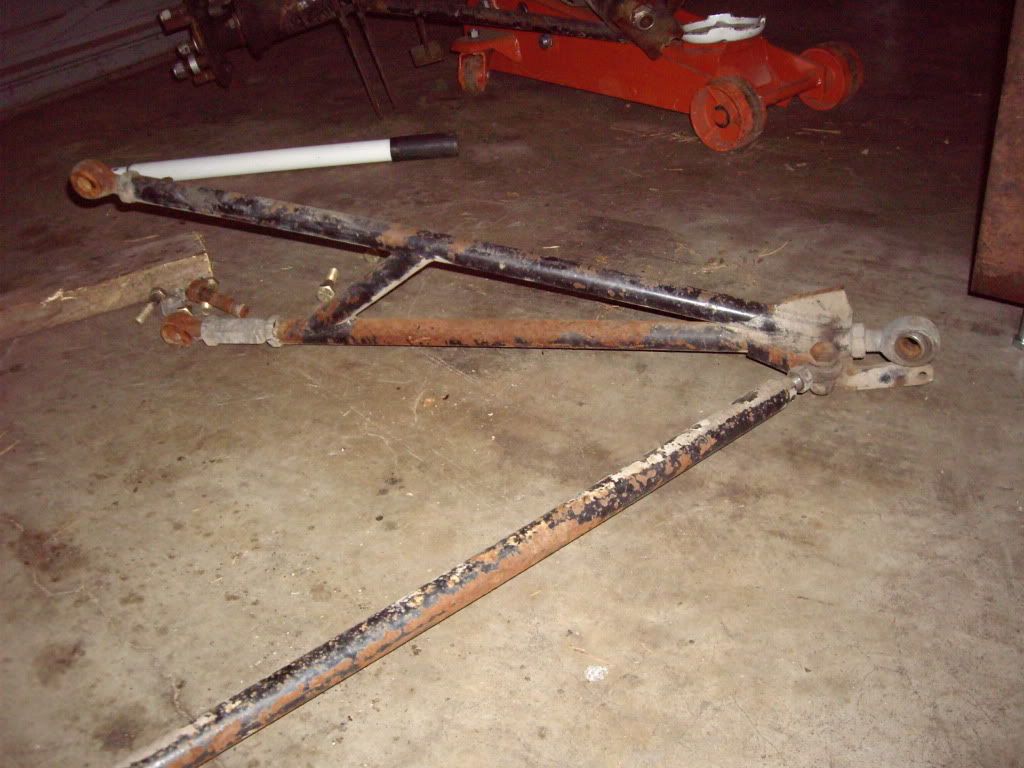
I removed the rearend and ladder bars. I dicovered that the front heim joints on the ladder bars were completely worn out. Good thing I am not reusing the ladder bars!
IMGP0101.jpg

IMGP0103.jpg

IMGP0106.jpg


I removed all of the bolted on components like the front struts and steering rack.
IMGP0098.jpg

IMGP0100.jpg


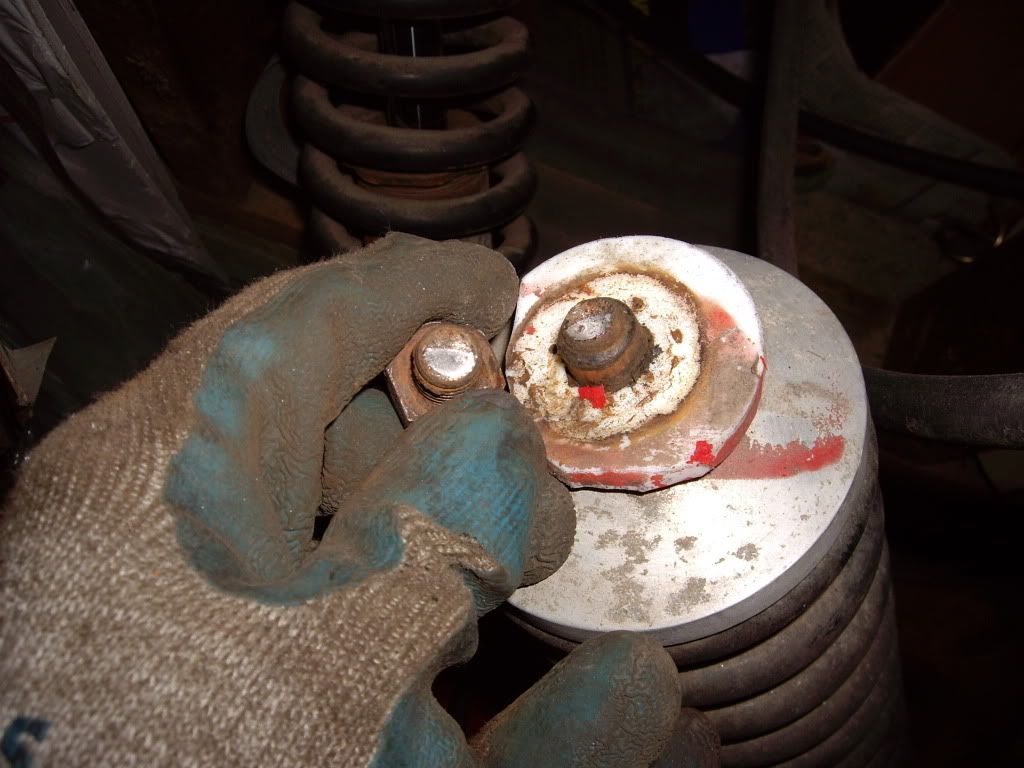
I discovered at this point that I REALLY dodged a bullet in not re-using the struts that came with the chassis. When removing the nut from the driver's side strut's top stud (the single part holding everything important to the chassis at that location), the stud twisted off. It was clear that it was previously cracked halfway through its cross-section, and broke the rest of the way at this time. Yikes, that could have been VERY ugly if it happened on track!
IMGP0097.jpg


About to start firing up the plasma cutter and removing more tubes. Should be a fun next couple of days!
 

Michael

ISSPRO Engineering Mgr
Feb 17, 2009
77
0
0
Happy Valley, OR
Episode 5
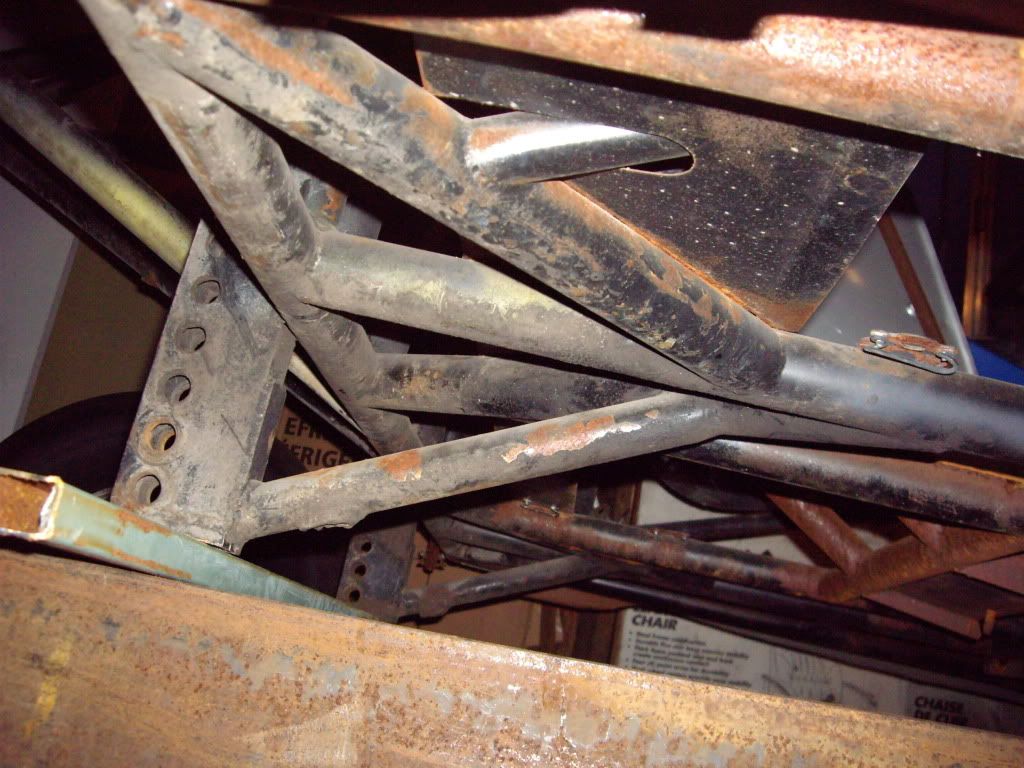
A rough weekend in this build! I ground the welds and removed all of the welded-in floor panels, getting ready to start removing tubes. As I pulled the last panels out I realized that the MAIN crossmember had been spliced in 2 places, obviously when originally built, presumably because the builder ran out of tubes of the proper length. In addition, the splice was a pure butt splice with an insert, not the 30°-45° angled splice required by SFI. This is the "foundation" crossmember, considered "Bar #1" in the SFI specs, and the tube that you usually measure all other dimensions off of. And mine needs to be cut out and replaced!

IMGP0136.jpg


I fired up the plasma cutter and removed two tubes that braced the ladder bar mounts (which stuck out several inches below the chassis).

IMGP0115.jpg


I started using the plasma cutter to remove the 1/4" thick ladder bar mounts, but the cutting speed was painfully slow. I originally wanted to be sure to keep from overheating bar #1, but since this was no longer an issue I dragged out the primitive Oxy-Acetyline cutting torch and made very quick work of those mounts.

IMGP0135.jpg


With those mounts removed I could finally drop the chassis all the way onto the jig. When the chassis was resting on the ladder bar mounts on the jig, it was nice and square with the front strut mounts (the 4 points were in a perfect plane and therefore did not rock). Now that I was down to the tubing in the back (and the strut mounts holding it up in front), I had 3/4" of disparity from planar. In other words, the main cage/frame structure was welded together twisted, but the builder compensated for it by welding the ladder bar mounts in lopsided.

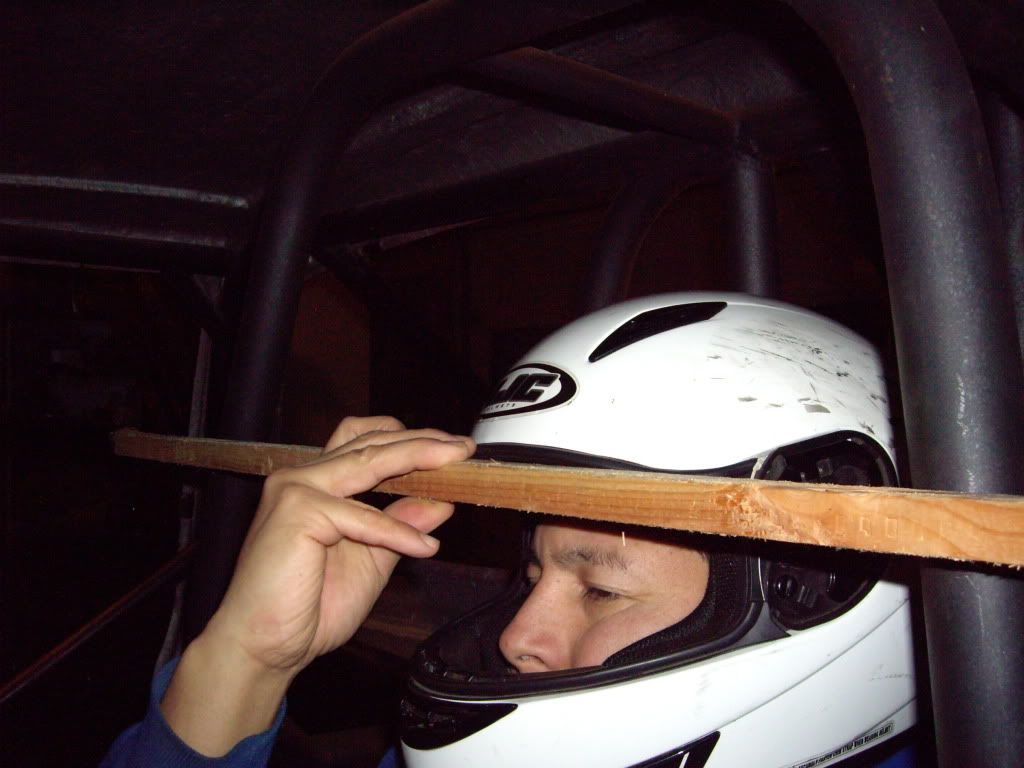
As if my weekend couldn't get any more interesting, I spotted a section in the SFI spec, referring to the Funny Car cage members: : “When required, the Forward Outer Funny Car Cage Bar (#40A) and the Forward Inner Funny Car Cage Hoop (#41B) must be fully forward of the driver’s helmet.” Now when this spec was written, open face helmets were allowed in this type of car/truck. Since then they require full face helmets (which extend a few inches farther forward). However, the position of these tubes in my chassis was such that even an open face helmet would extend past them. I confirmed with NHRA that they check that the tubes protrude past the "forehead" section of the full face helmet. I had 0.75" of protrusion past the tubes.

IMGP0154.jpg


Rather than move those tubes, I will re-contour and reposition the tubes behind my helmet and the top of the seat, running them completely against the cab and rear window, so I can slide my seat back about 1.25". I am now shopping for an inexpensive tubing bender, as these new changes will add enough new bends that it will be inconvenient to run back and forth to the local chassis shop for my bends.

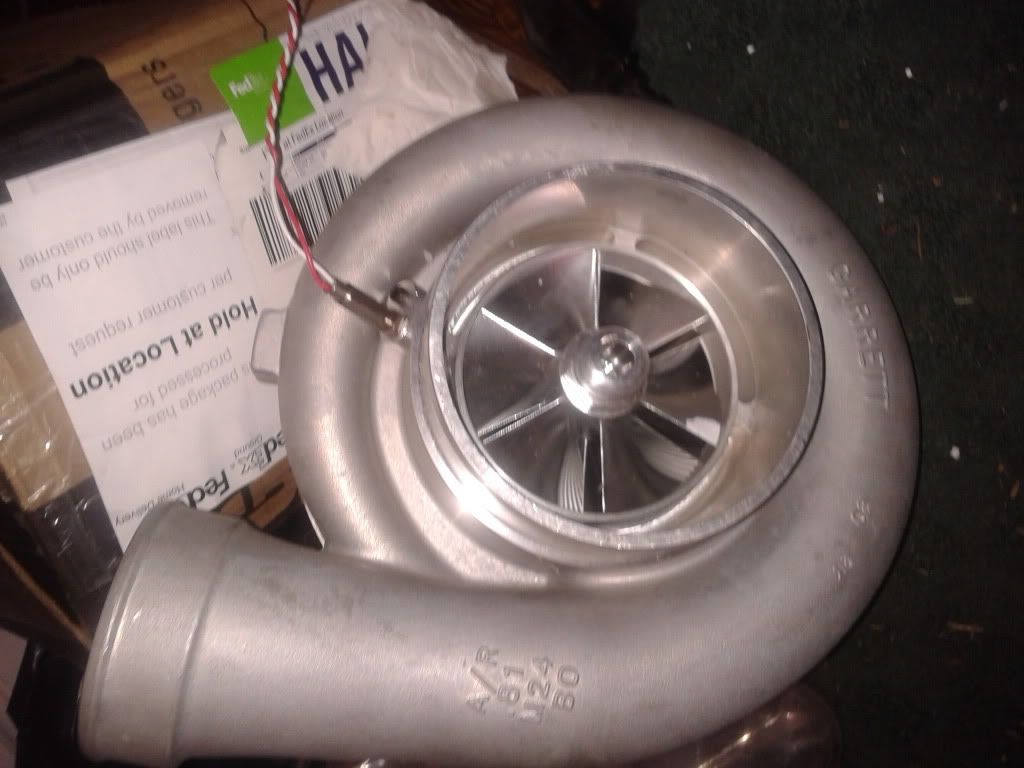
On a positive note, I have my turbos now -

2012-02-03074145.jpg


A Garrett GT4202R ball bearing turbo with chromed compressor cover

2012-02-03074128.jpg


A Garrett GT5541R, which I was surprised to learn comes with a billet compressor wheel from the factory

When I lay out the front section of the chassis I want to make sure I leave room for optimum turbo placement and plumbing, so it will be nice to have these handy!
 

SmokeShow

Well-known member
Nov 30, 2006
6,818
34
48
43
Lawrenceburg, KY
Glad you're starting a thread over hear as well, Michael.

As I commented in your thread on compd, I appreciate your openness during this build. It's so cool seeing what it really takes at every turn to put together this caliber of a racer. I look forward to every update!

Good luck man!


On the bars not being far enough forward to stick out farther than your helmet... Could you weld on crescent moon-shaped tubes to the forward-facing side of those tubes (where your stick is resting) to get the protection required?
 
Last edited:

TheBac

Why do I keep doing this?
Staff member
Apr 19, 2008
15,610
1,866
113
Mid Michigan
You took on quite a project, Michael. As usual, you're doing a very professional job with it. Sorry the chassis wasnt in as good a shape as you hoped. Keep at it. :thumb:
 

Stingpuller

The Pusher Man
Jan 11, 2007
2,019
35
48
57
central Ohio
Sweet!

It will be cool to have new trucks/cars being built. It looks like a lot of work but well worth it the first time you go down the track. Jeff
 

Michael

ISSPRO Engineering Mgr
Feb 17, 2009
77
0
0
Happy Valley, OR
Glad you're starting a thread over hear as well, Michael.

As I commented in your thread on compd, I appreciate your openness during this build. It's so cool seeing what it really takes at every turn to put together this caliber of a racer. I look forward to every update!

Good luck man!


On the bars not being far enough forward to stick out farther than your helmet... Could you weld on crescent moon-shaped tubes to the forward-facing side of those tubes (where your stick is resting) to get the protection required?

I thought about that after writing a long email to the NHRA Tech Director, but then nixed the idea when I remembered that those tubing sections must not be spliced or modified. I suppose it's a bit of a gray area, as I would only be adding to the strength of the tubes in that location, but I could also cause a stress riser that causes it to collapse at a specific point. The tech director did offer one alternative: thick side-impact padding (same as used in Top Fuel) along the front edge, accomplishing the same "extension" of the cage but in a hard padding. I will probably add that as well as move the seat back.