Well, this has been a while in the making. I finally had to take a month off work so it made sense to get to work on the truck.
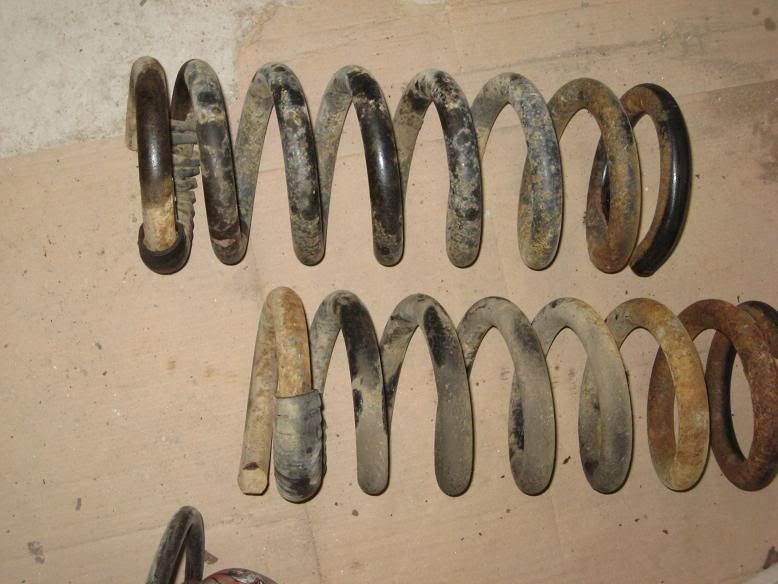
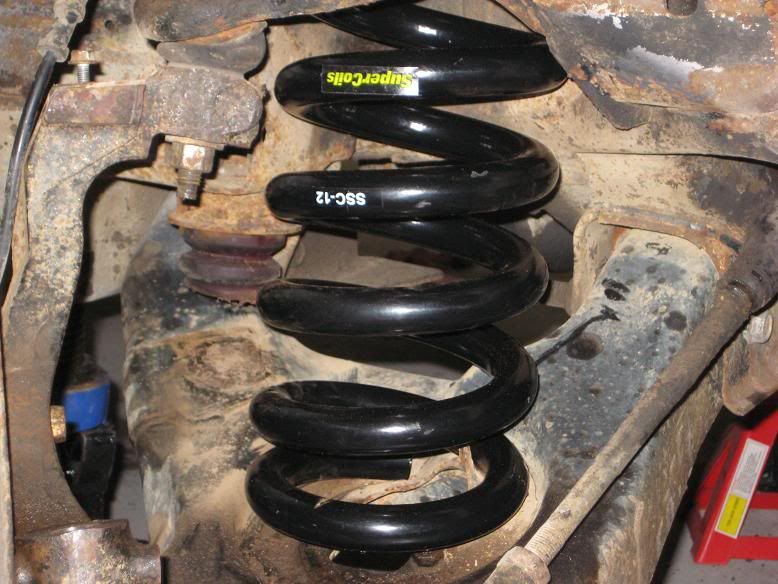
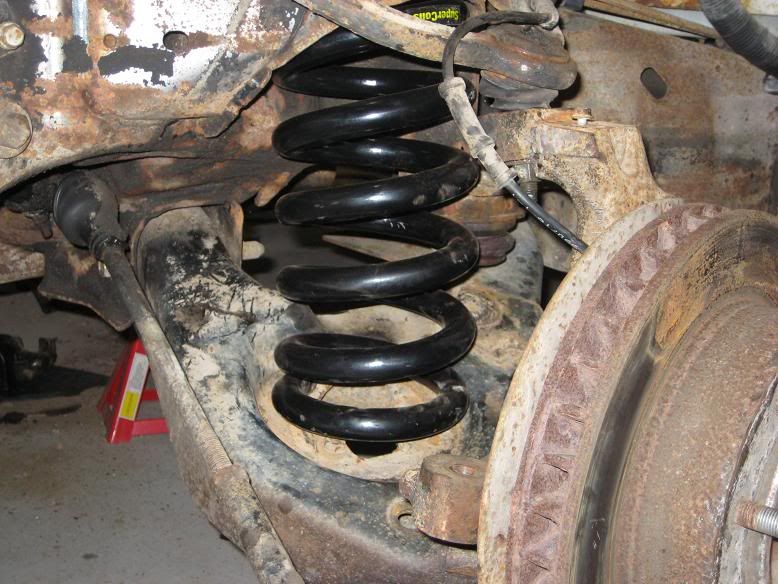
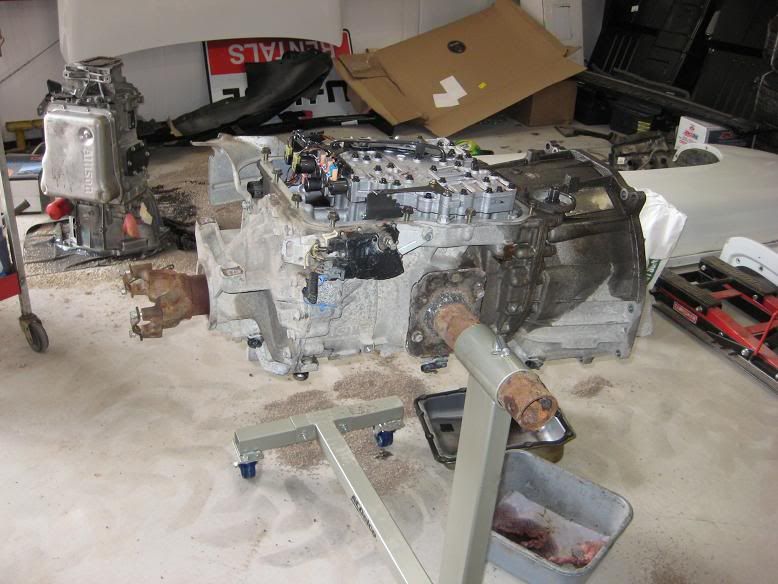
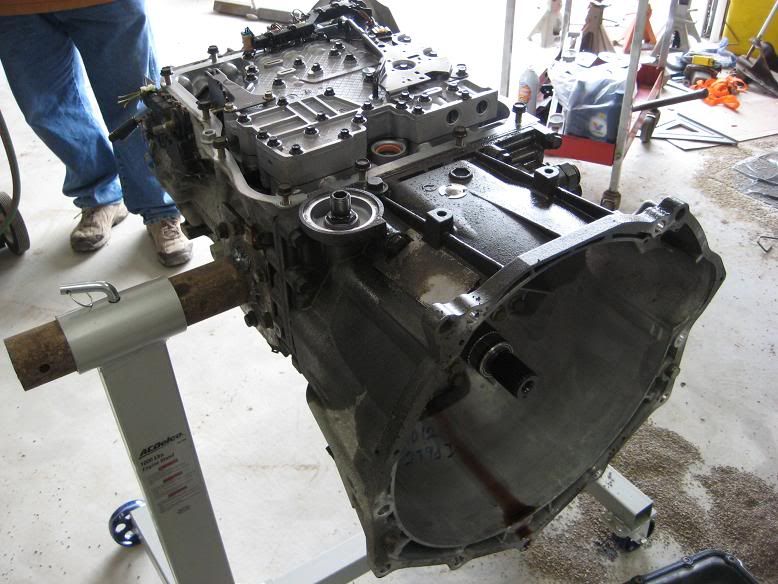
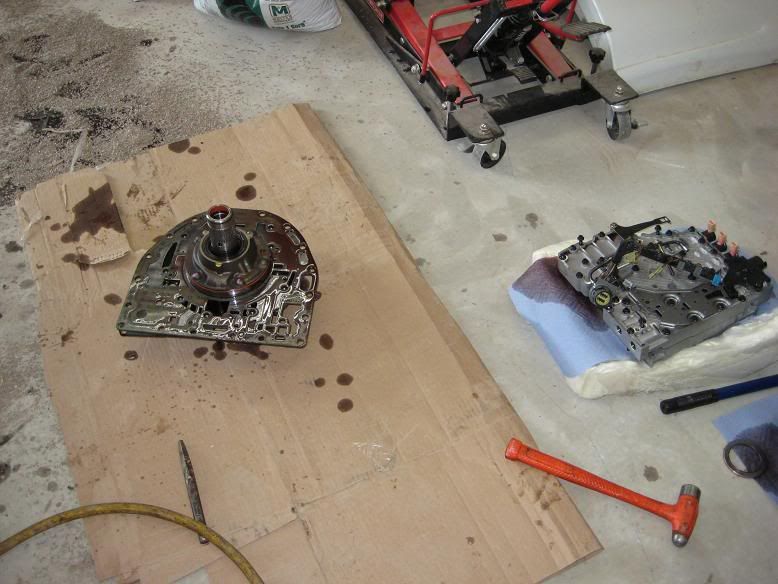
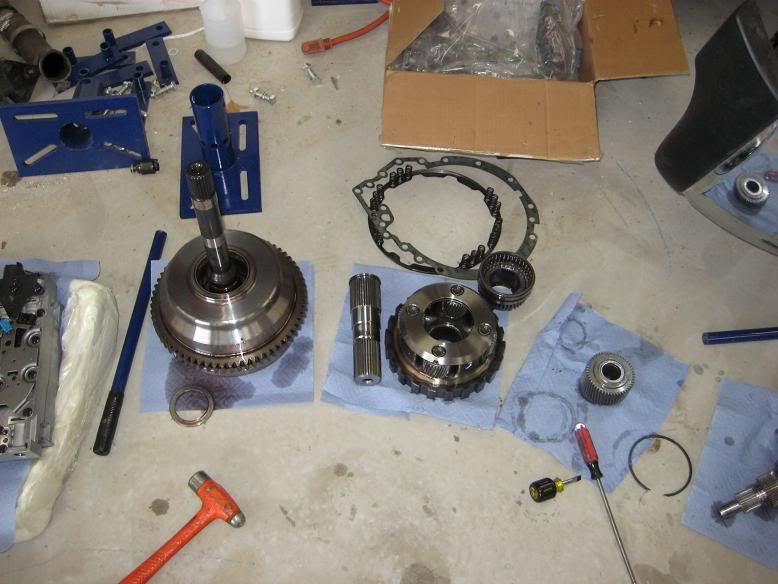
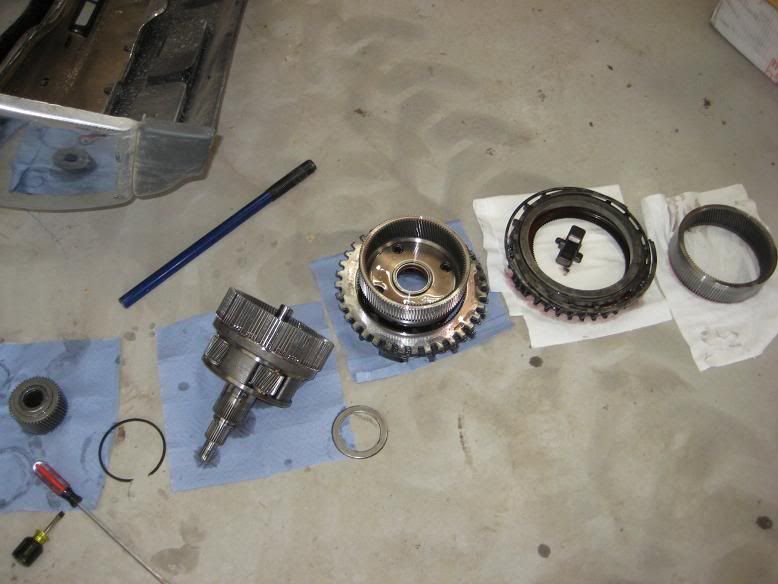
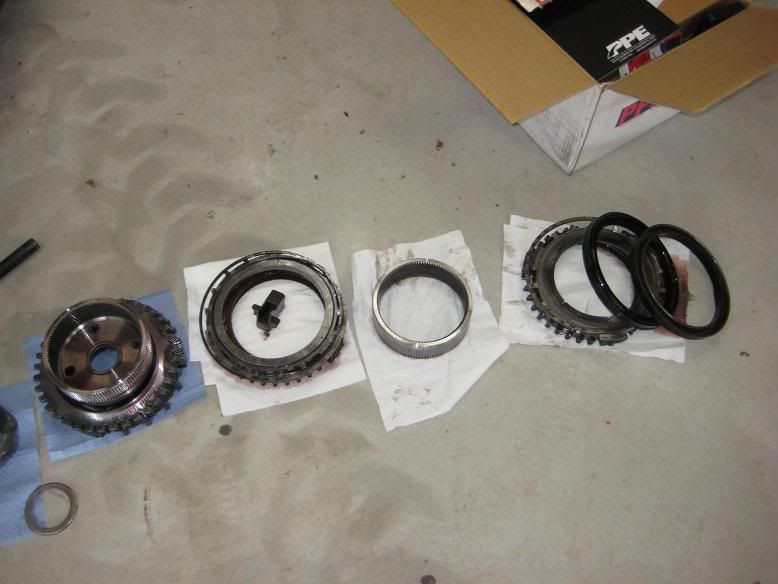
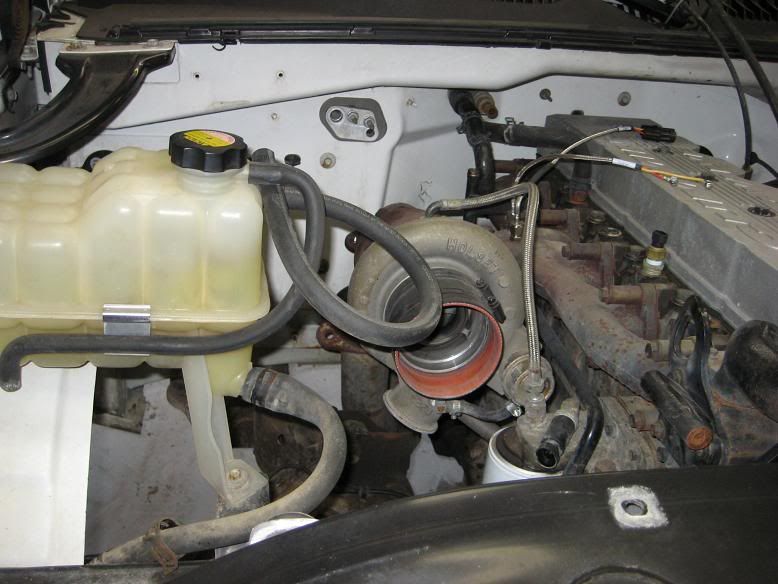
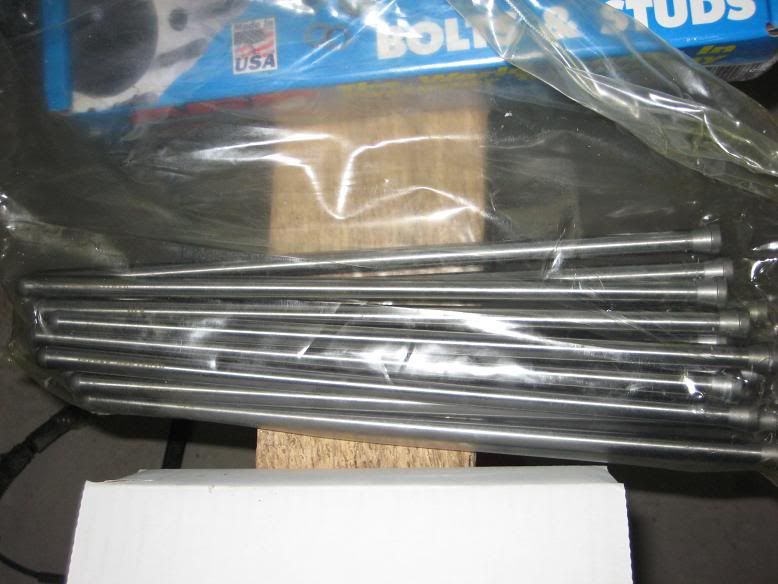
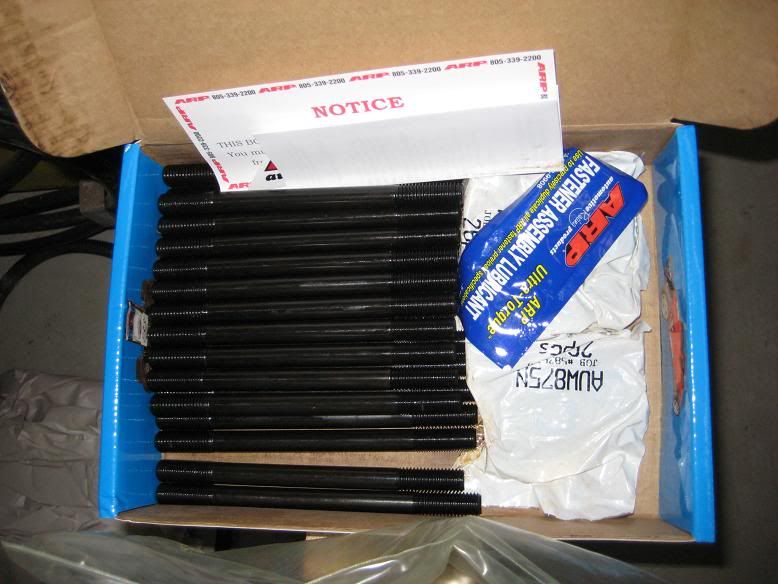
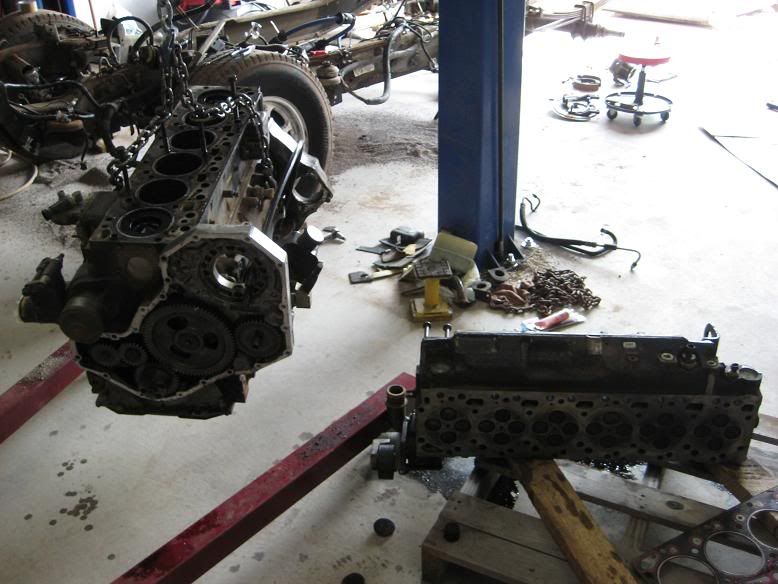
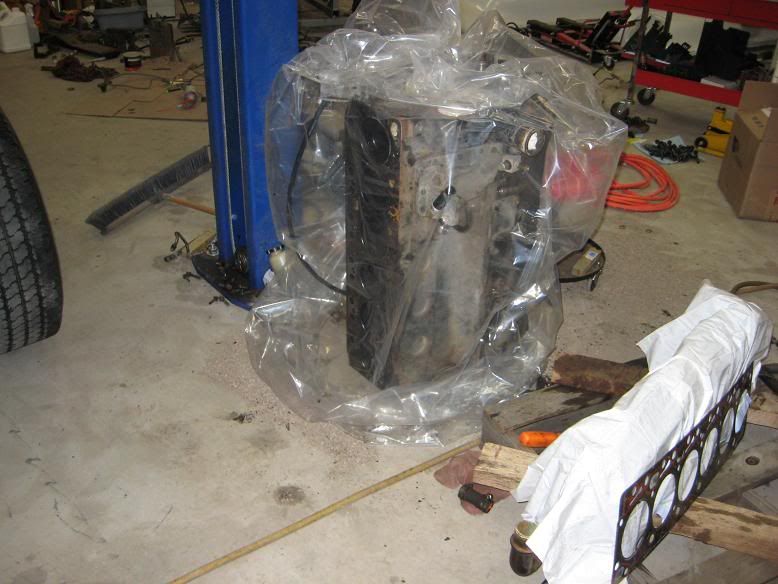
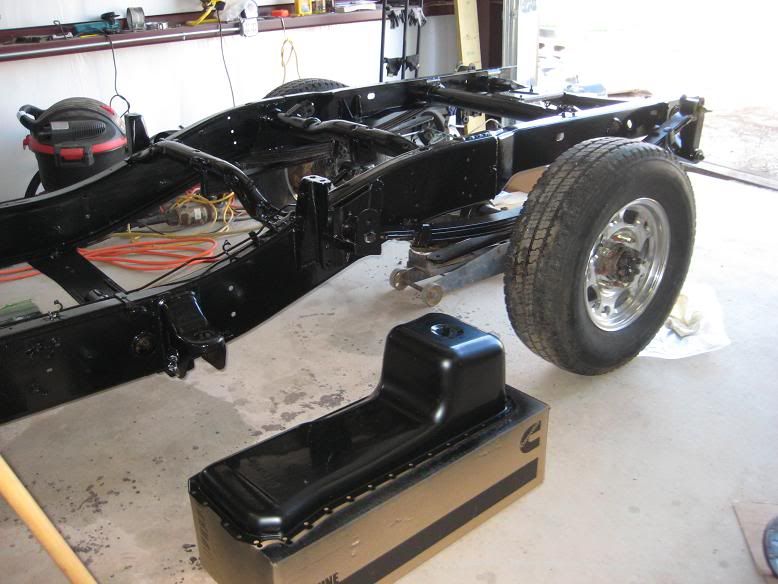
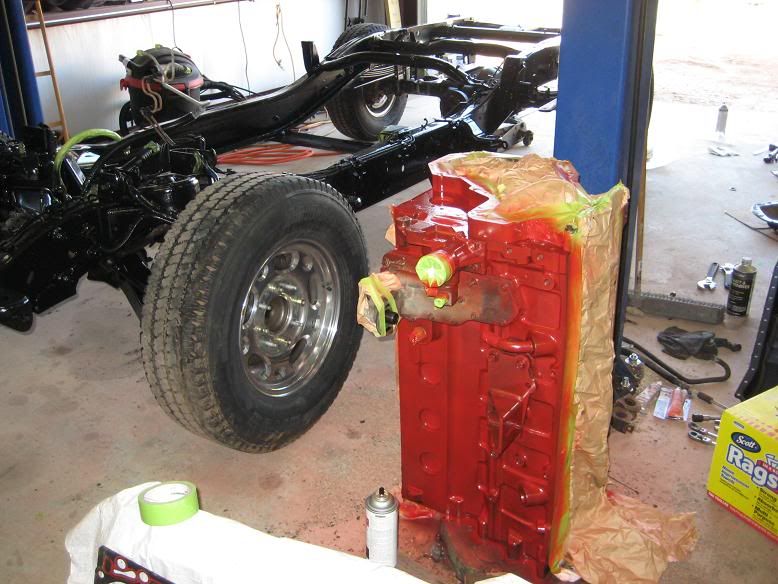
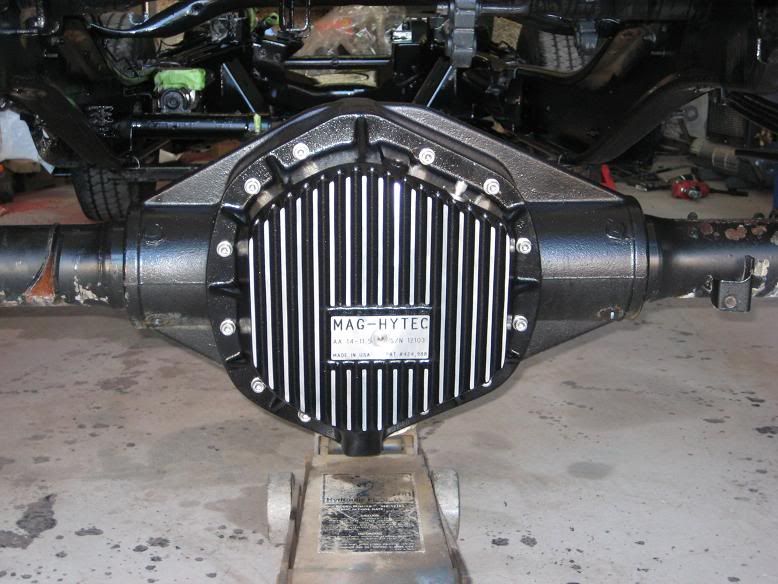
There are a few parts to the project. Short bed, McGauhy's 4" rear drop, Super Coils front 3700 pound coils, Allison Build, custom drive shaft, ARP studs, 110HP injectors, Garrett BB turbo, MBRP 4" turbo-back exhaust, new cab floor, Automatic steering column, complete LS interior with Katzkin leather, Adrenaline 4K tuning upgrade, enough B-Quiet to hear myself think in the cab, POR-15 the frame and most likely new 110LB springs and pushrods. I'm sure I forgot something.
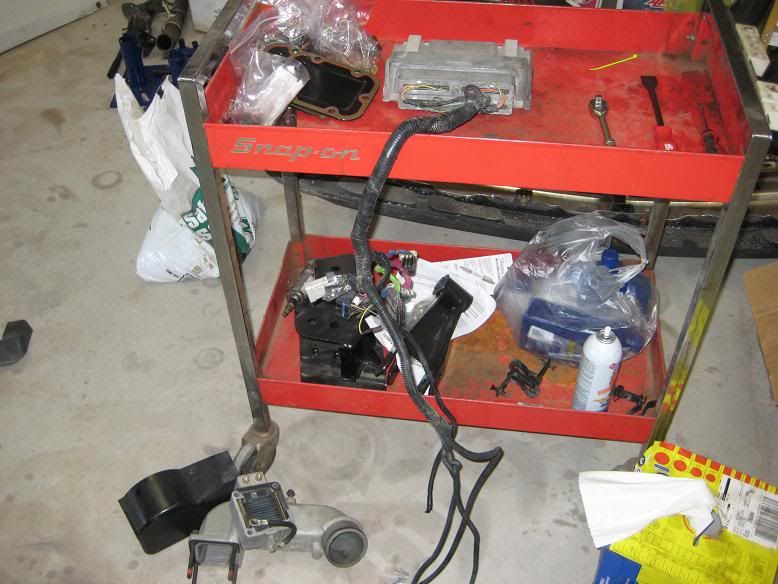
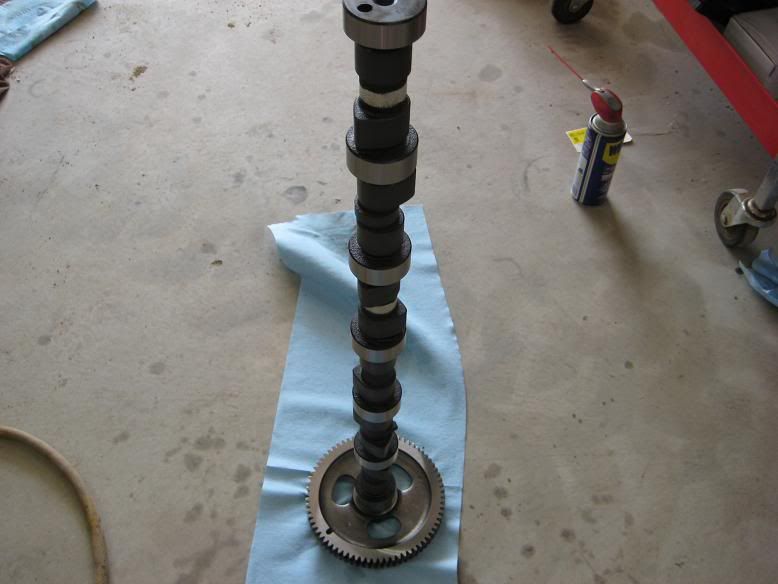
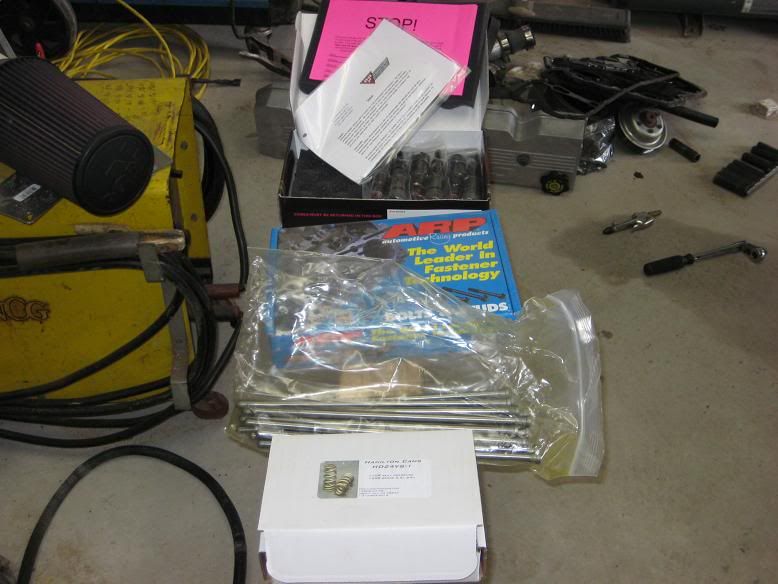
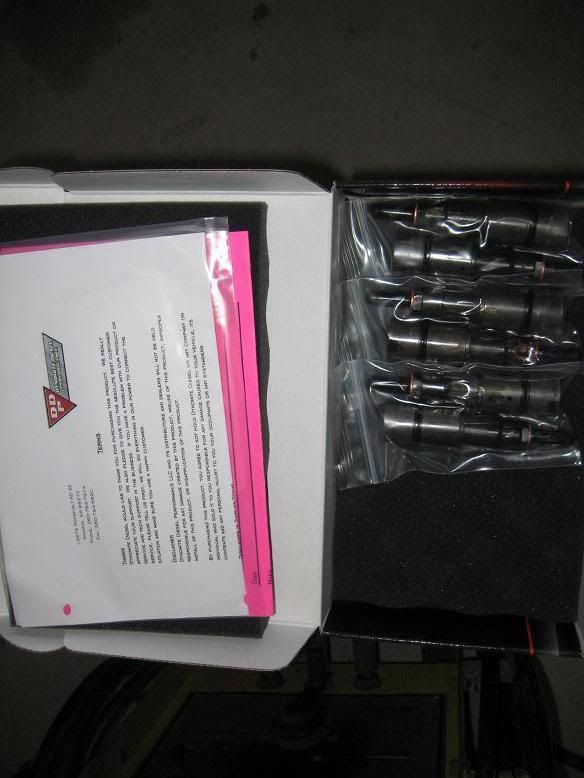
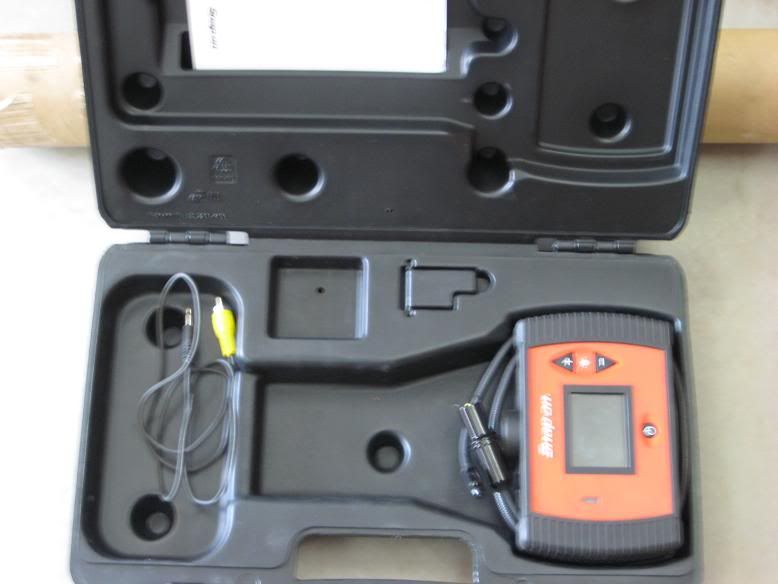
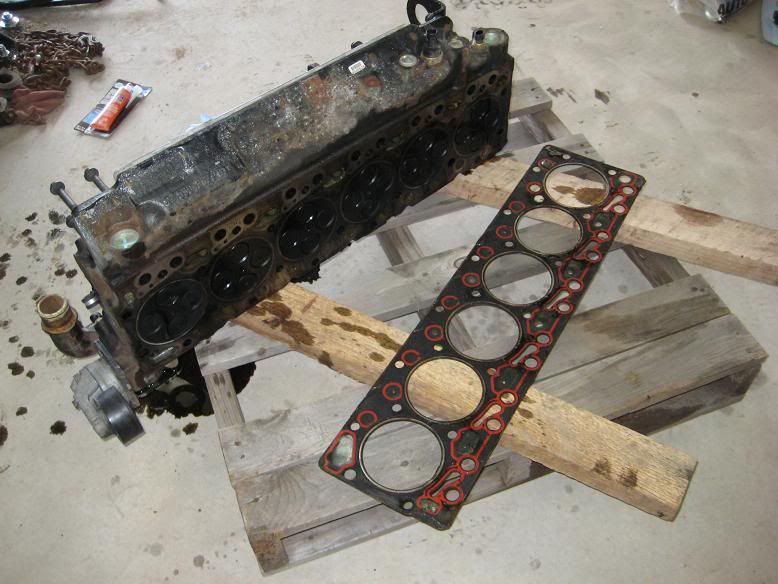
Parts!!
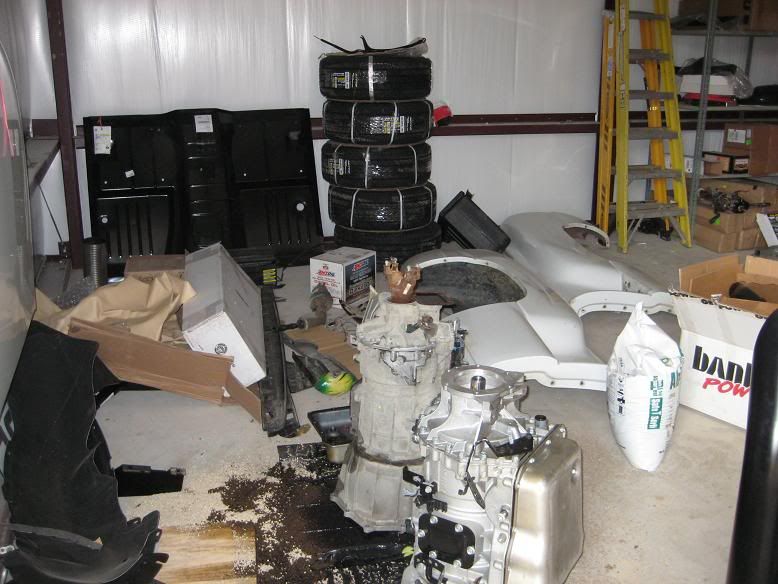
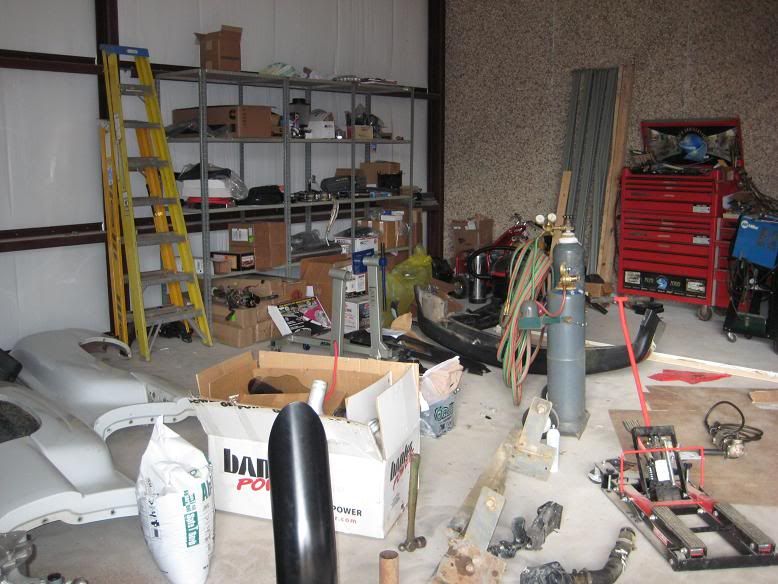
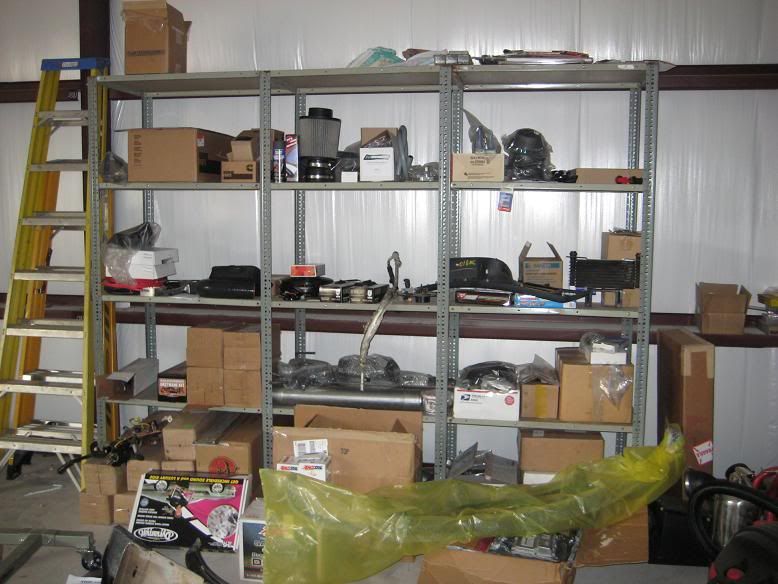
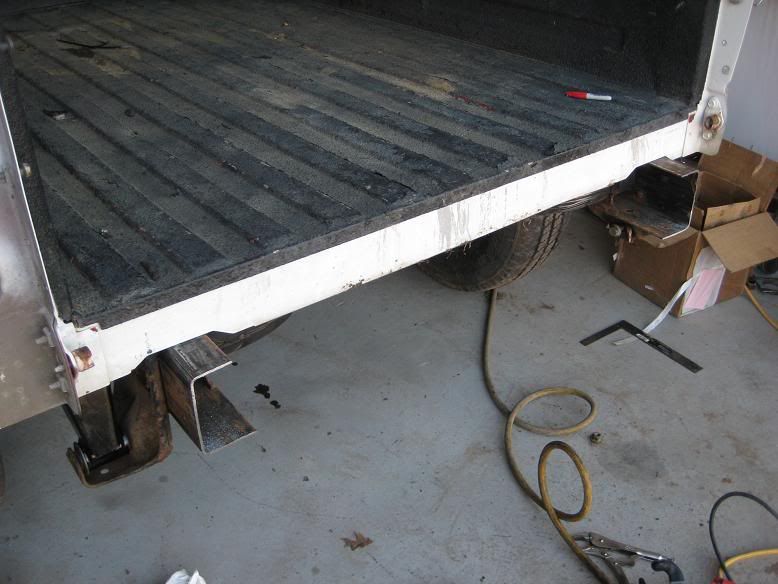
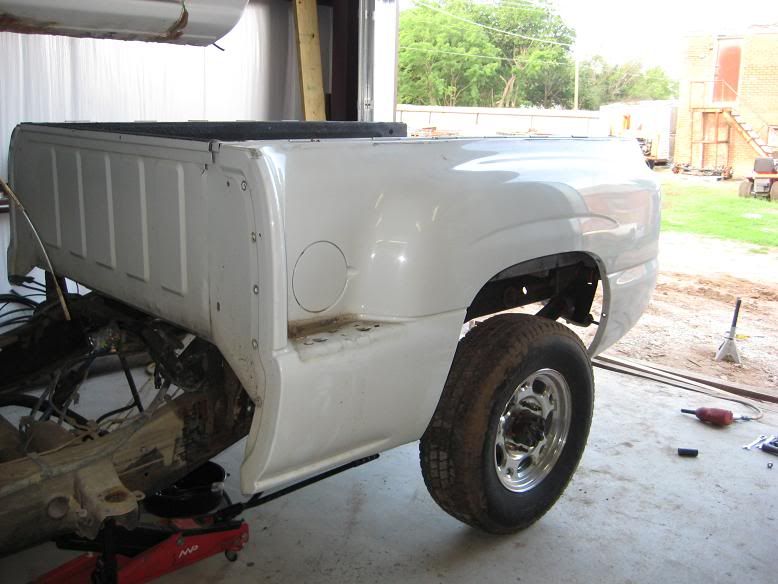
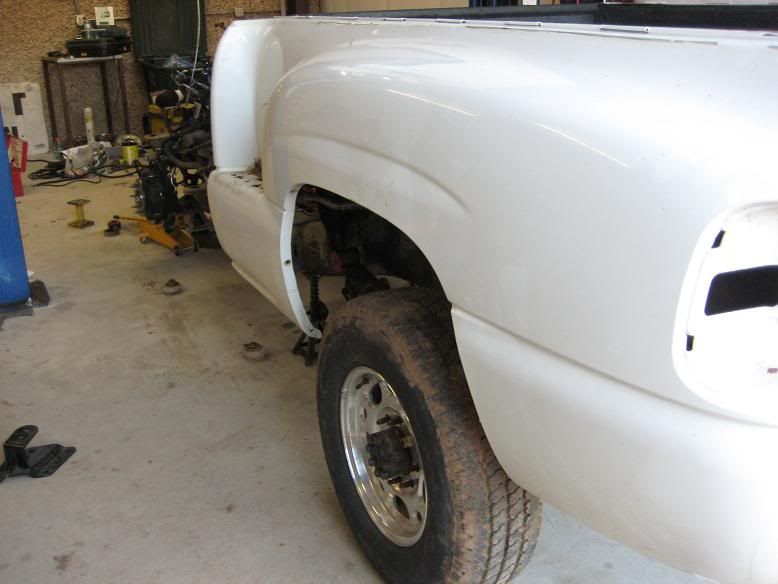
First up, short bed conversion! I will have to put some pictures of the new bed in later. I found a short bed step-side in summit white. I ended up getting with the step-side bumper and all for a song compared to what they are bringing. The drive to get it and back could have been better.
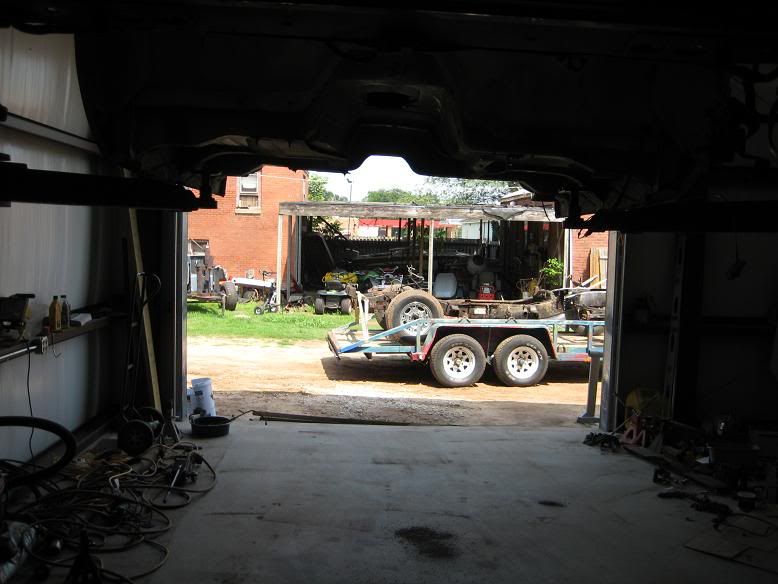
This is also the first project in our new shop.
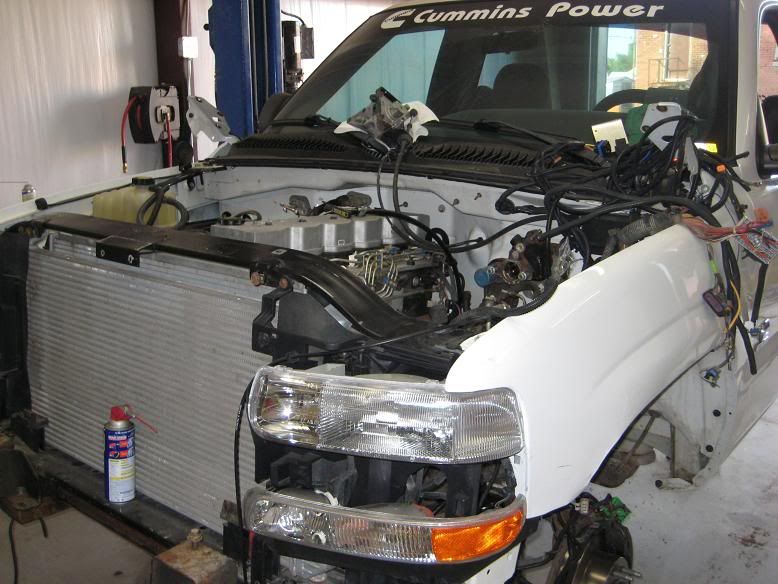
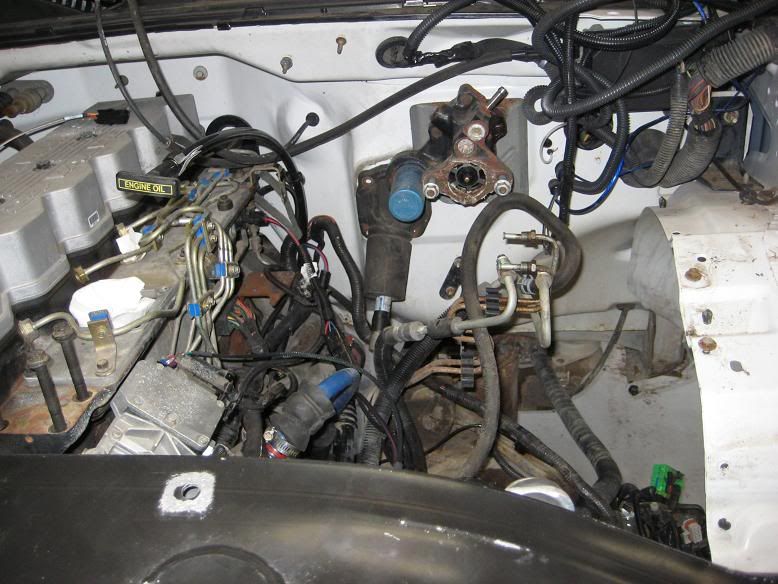
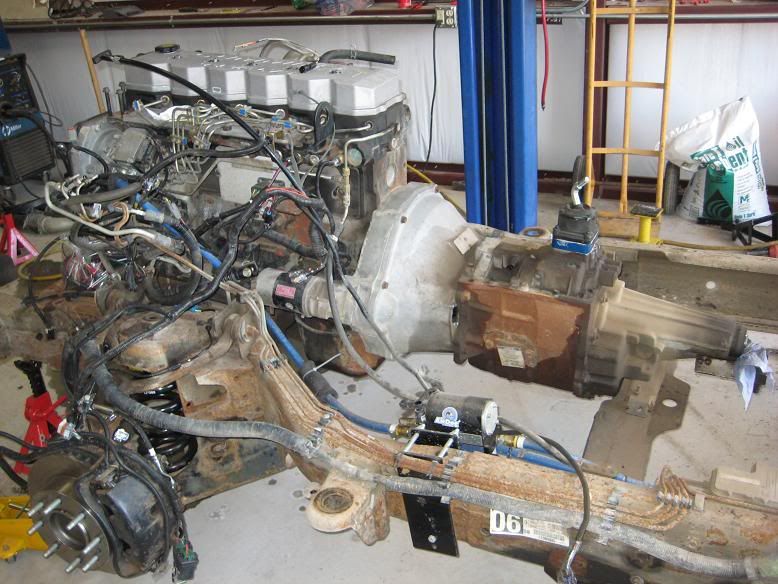
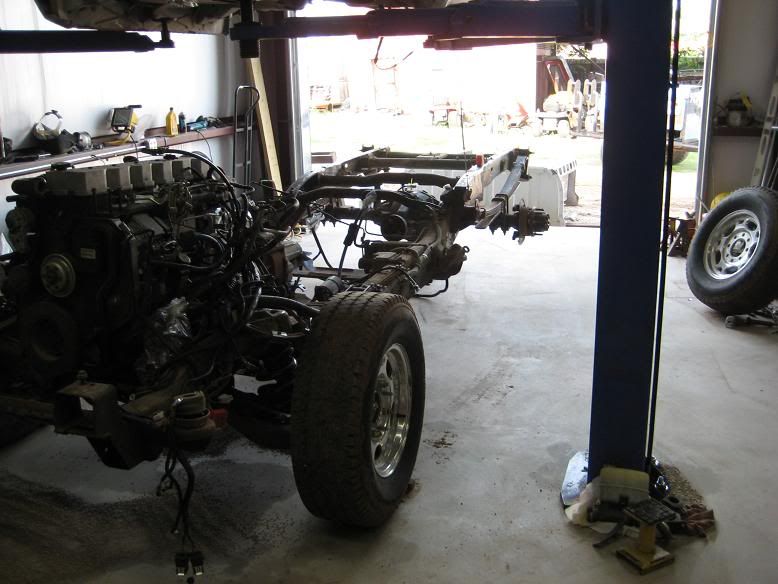
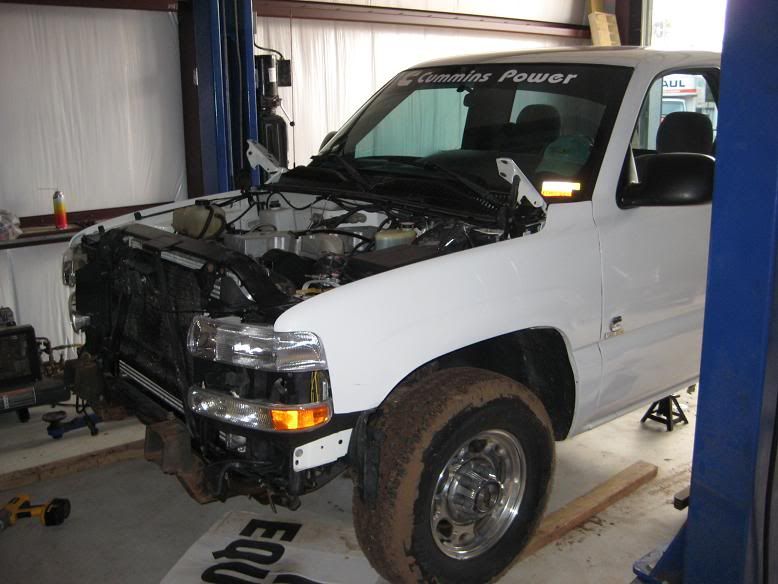
Hood and grill removed. Oh, I noticed the sway bar was broken in half! Those are so not cheap for what they are.
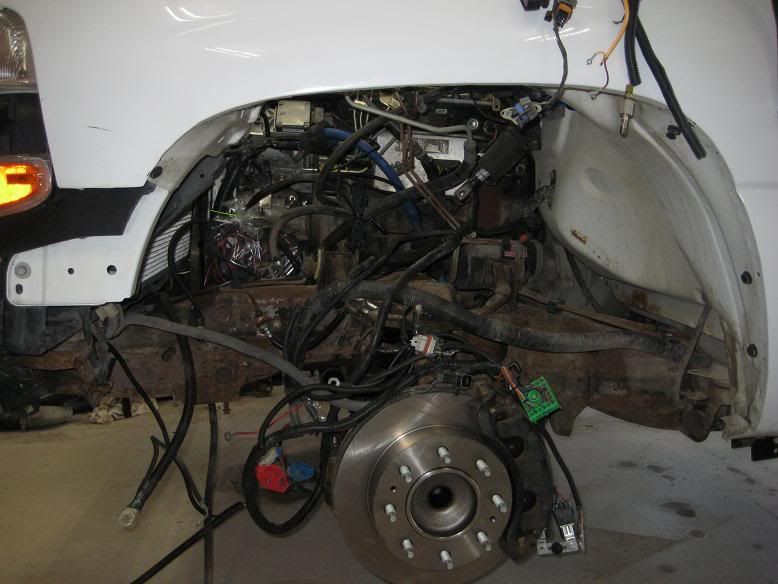
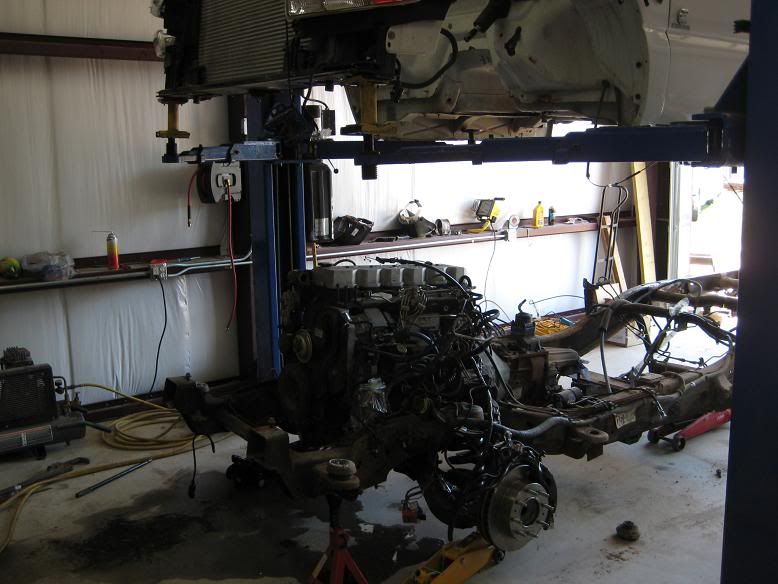
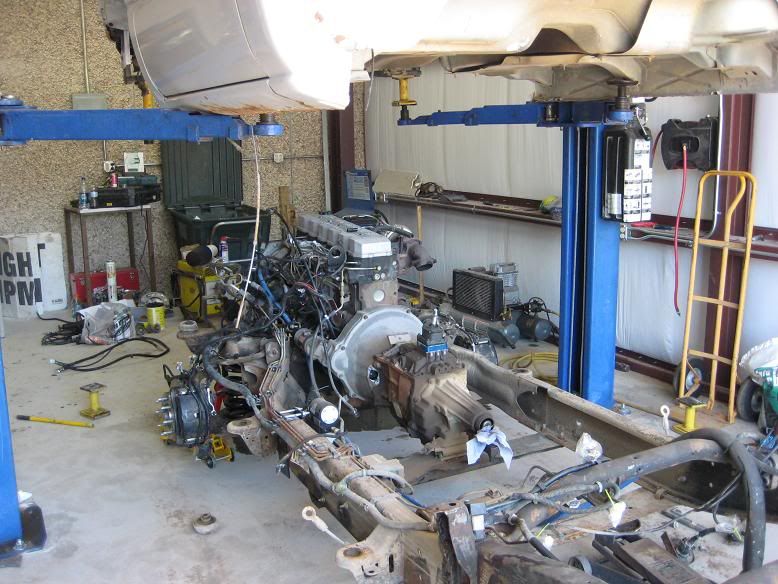
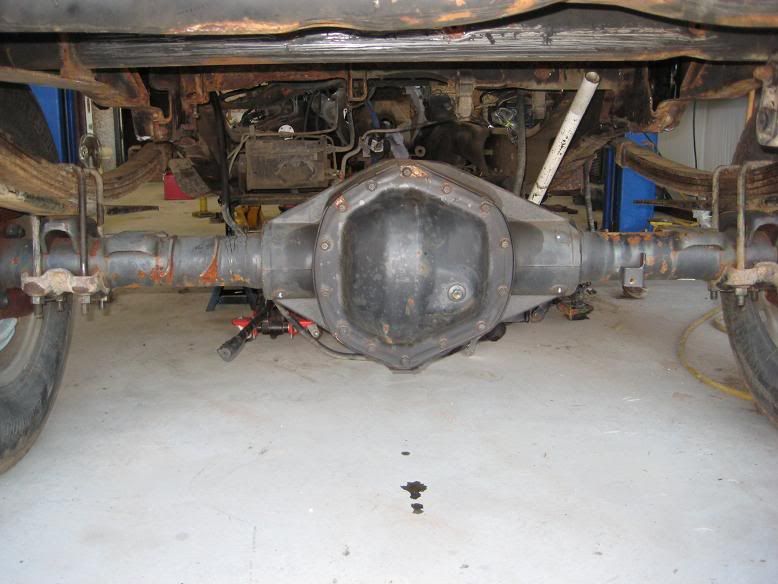
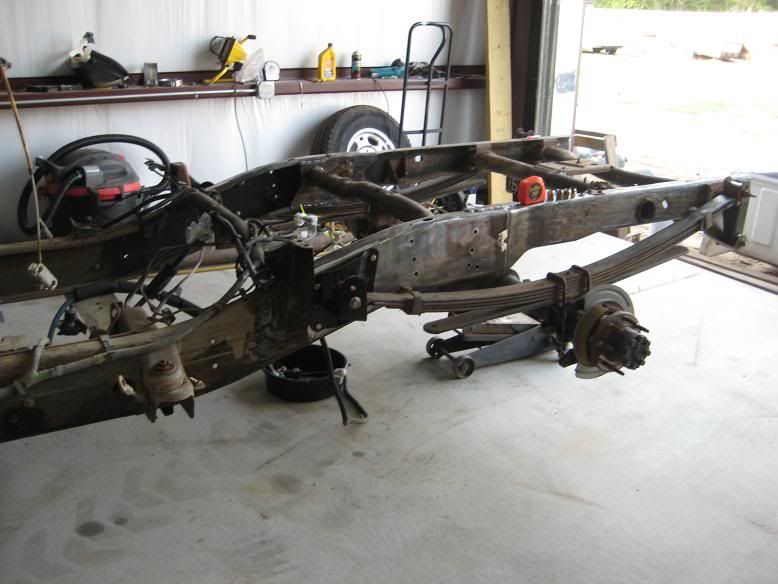
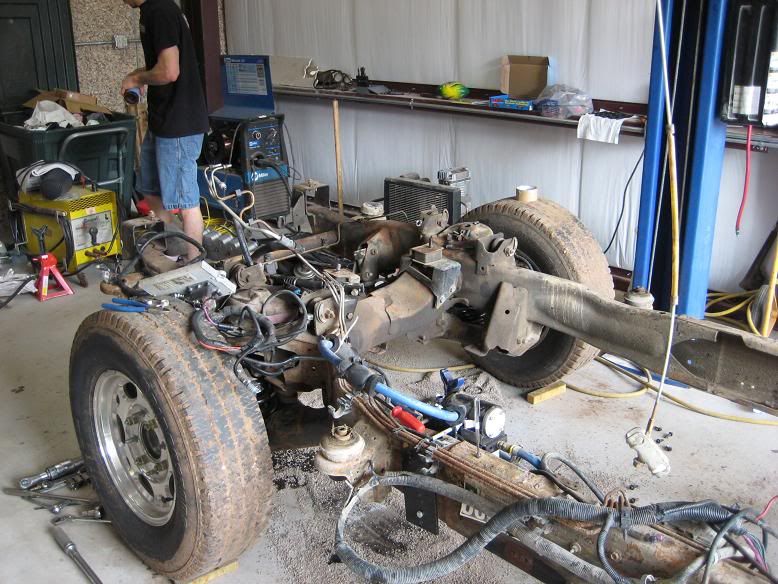
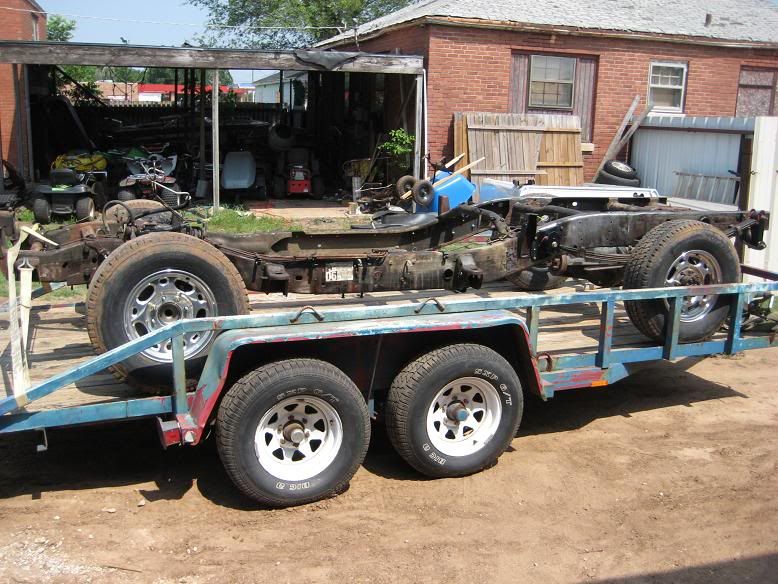
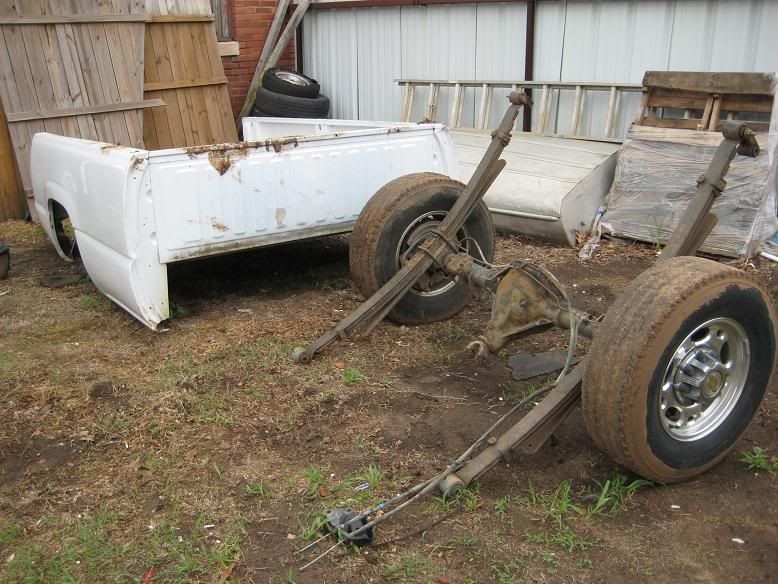
Bed, springs and axle removed.
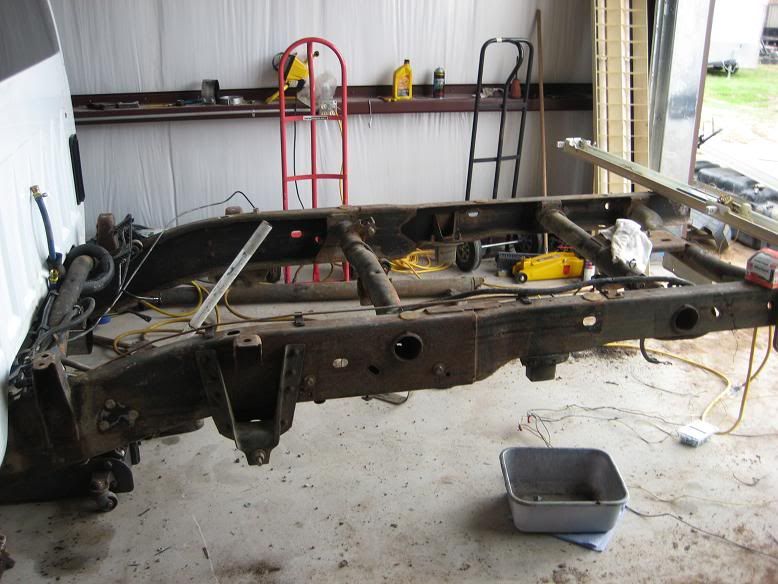
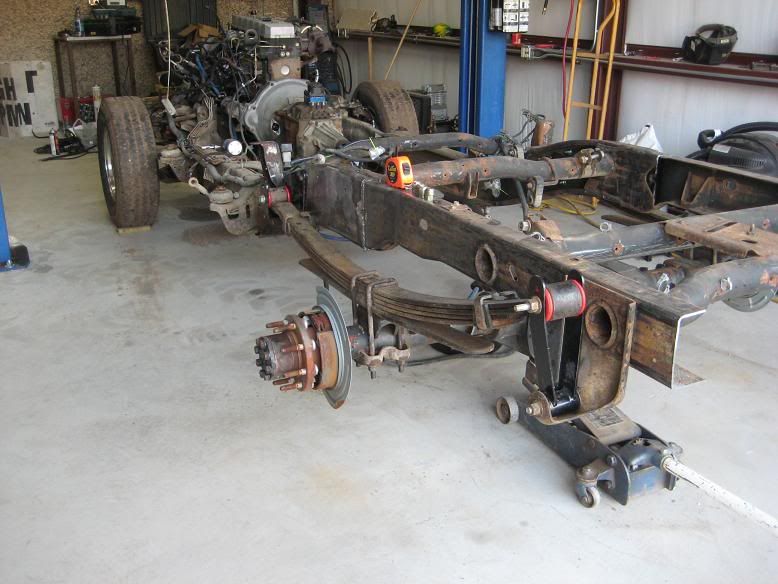
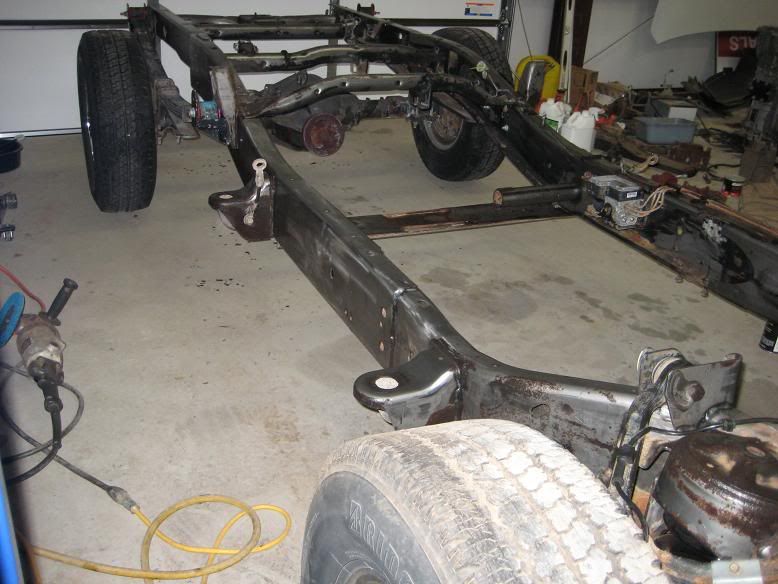
For those that have not removed the amazing wax crap GM was so kind to grace our frames with; BUY A MEDIA BLASTER! That junk fills pads and wheels like a champ. I spent 6 hours scraping and grinding the frame. I still have a lot to do. FWIW, the Marine Clean that POR-15 recommends cleans about as well as Dawn dish soap.
Getting the spring hangers off is a chore. There are eight rivets and it's a PITA to keep from getting the frame really hot while burning through them. The grinder and a big punch helped a lot. I still have to tackle one of the rear shackles as the sleeve and bolts are bonded to the bushing.
The cut is made 14" forward of the mid-section.
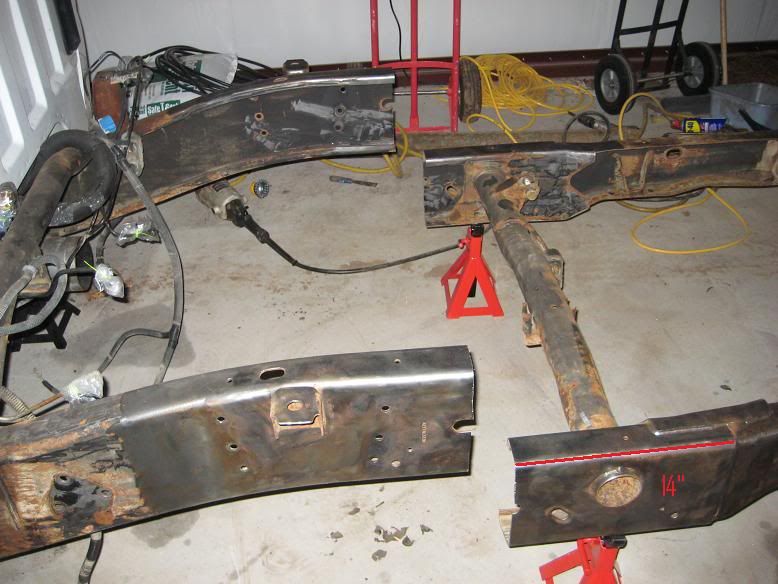
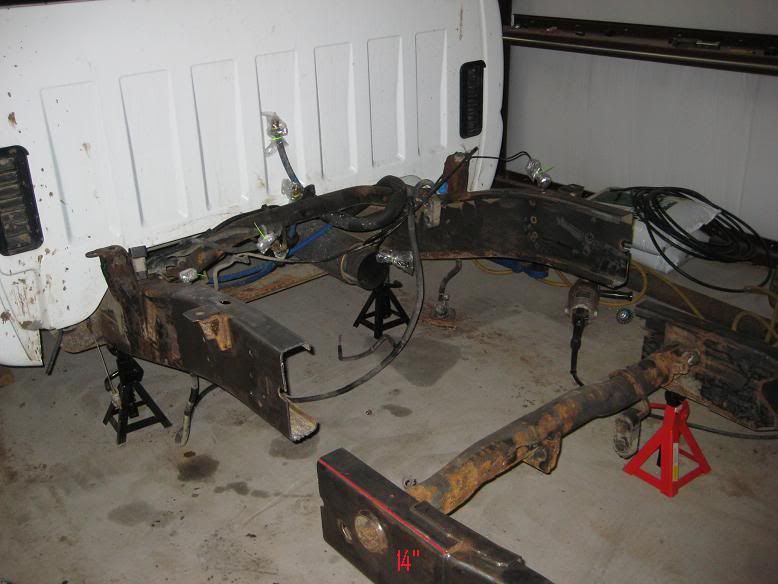
My favorite tool!
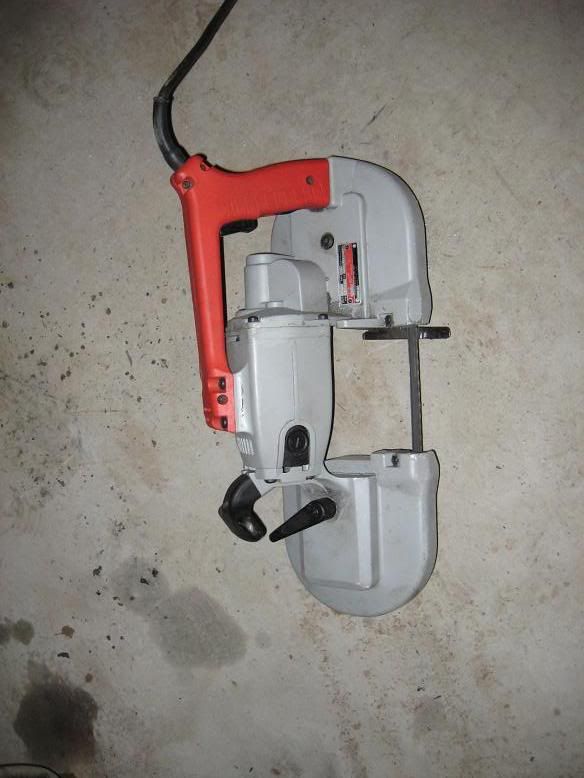
Yes, that is a Milwaukee Portable band saw. The cut is pretty clean for working on a frame.
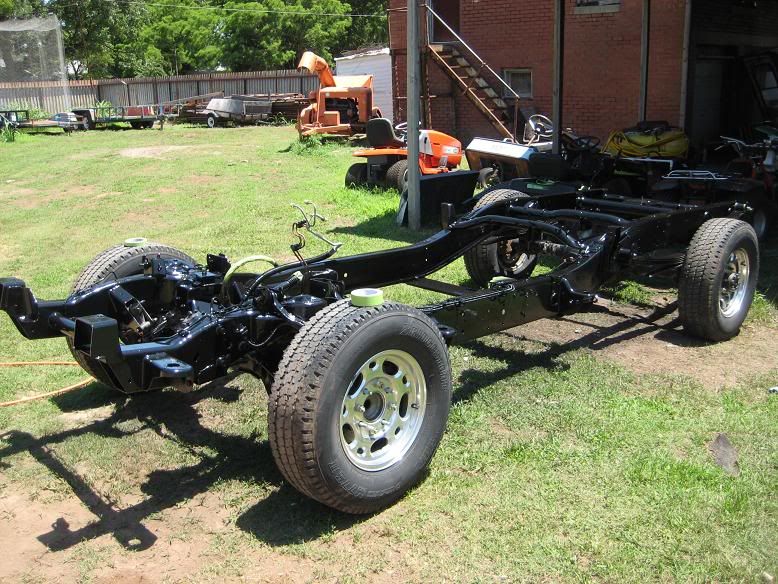
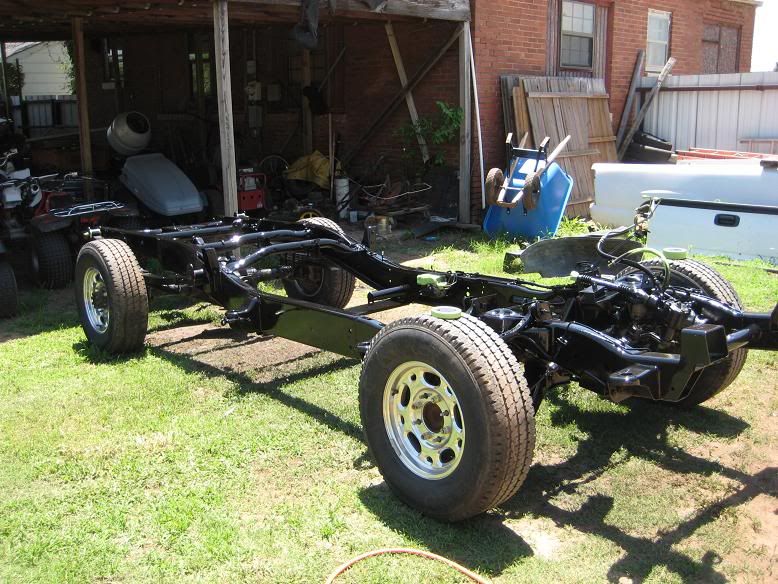
We put the frame back together today. I still need to cut the second row of bed mounts off to move them.
I used the 2500HD short bed conversion instructions. The process requires removing the factory splice in the frame. The mid-section, or splice, overlaps the front and rear sections and the tank and shock support runs through it.
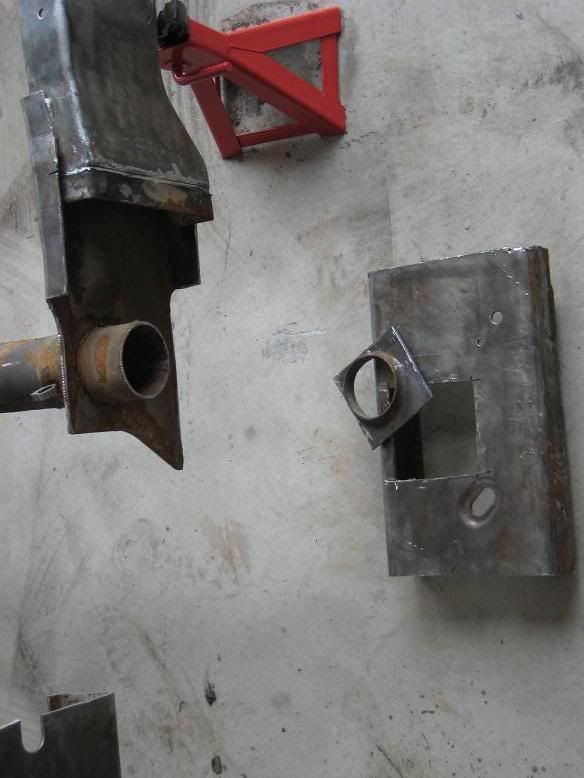
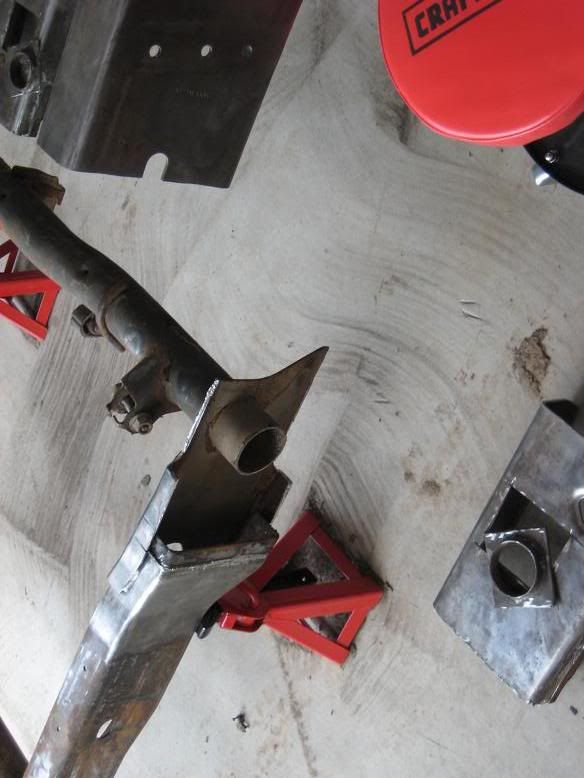
This is what it looks like when you cut the rest of the mid-section out. Not just a straight cut.
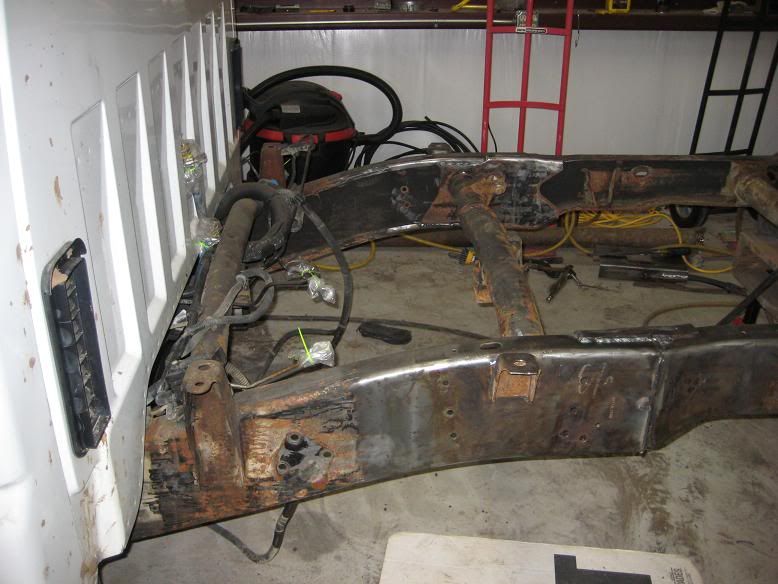
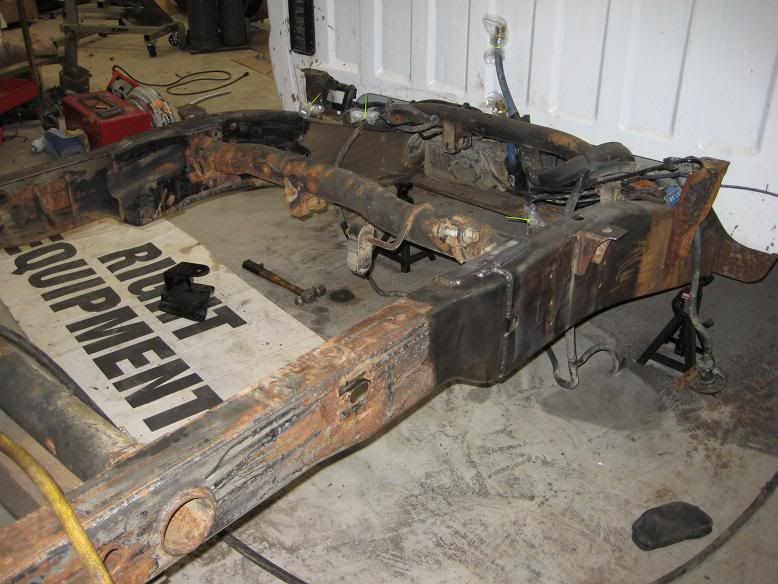
Then, with some help from a friend here, the frame was welded back together. You can see that we just took the splice out and made the short bed the same way the factory does.
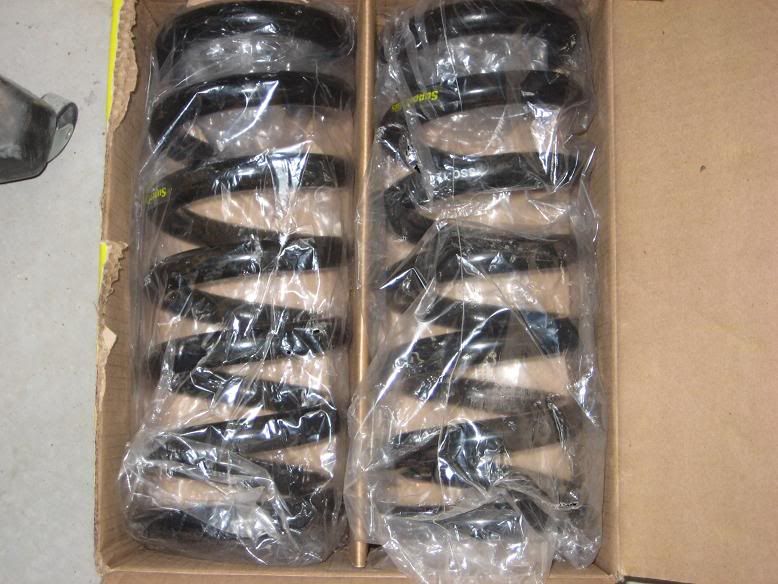
My new 3700# coil springs also came in today. As well as my Katzkin leather for both Chum and Slick.
My new 11.50" rear should be here Thursday. Thanks Tony.
There are a few parts to the project. Short bed, McGauhy's 4" rear drop, Super Coils front 3700 pound coils, Allison Build, custom drive shaft, ARP studs, 110HP injectors, Garrett BB turbo, MBRP 4" turbo-back exhaust, new cab floor, Automatic steering column, complete LS interior with Katzkin leather, Adrenaline 4K tuning upgrade, enough B-Quiet to hear myself think in the cab, POR-15 the frame and most likely new 110LB springs and pushrods. I'm sure I forgot something.
Parts!!


First up, short bed conversion! I will have to put some pictures of the new bed in later. I found a short bed step-side in summit white. I ended up getting with the step-side bumper and all for a song compared to what they are bringing. The drive to get it and back could have been better.
This is also the first project in our new shop.
Hood and grill removed. Oh, I noticed the sway bar was broken in half! Those are so not cheap for what they are.

Bed, springs and axle removed.


For those that have not removed the amazing wax crap GM was so kind to grace our frames with; BUY A MEDIA BLASTER! That junk fills pads and wheels like a champ. I spent 6 hours scraping and grinding the frame. I still have a lot to do. FWIW, the Marine Clean that POR-15 recommends cleans about as well as Dawn dish soap.
Getting the spring hangers off is a chore. There are eight rivets and it's a PITA to keep from getting the frame really hot while burning through them. The grinder and a big punch helped a lot. I still have to tackle one of the rear shackles as the sleeve and bolts are bonded to the bushing.
The cut is made 14" forward of the mid-section.


My favorite tool!

Yes, that is a Milwaukee Portable band saw. The cut is pretty clean for working on a frame.
We put the frame back together today. I still need to cut the second row of bed mounts off to move them.
I used the 2500HD short bed conversion instructions. The process requires removing the factory splice in the frame. The mid-section, or splice, overlaps the front and rear sections and the tank and shock support runs through it.
This is what it looks like when you cut the rest of the mid-section out. Not just a straight cut.


Then, with some help from a friend here, the frame was welded back together. You can see that we just took the splice out and made the short bed the same way the factory does.


My new 3700# coil springs also came in today. As well as my Katzkin leather for both Chum and Slick.

My new 11.50" rear should be here Thursday. Thanks Tony.


