Well long story short, kinda. I needed some injectors and I've had several other parts laying around for a build/re build, but unfortunately a full build just wasn't in the cards this time. So I yanked the motor out in January and over the past couple months I ran through it, and finally got around to putting it back in. It's not up and running yet as I'm still waiting on a few parts and some more time, as well as button up some things.
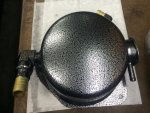
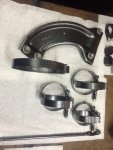
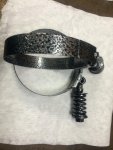
I'll list all that was done, but my main goal was install everything I had and reseal the whole motor. I also did lots of powder coating myself and had some hydro dipping done. So that definitely took some time.
At any rate I learned a lot and can't wait to yank the motor out again in the near future to do a full build:thumb: but for now this should hold up with some good tuning I hope
As far as what was done this time:
ARP head studs
Screw in injector cups (Thanks Scott :hug
(Which by the way these injector cups are the best piece's of mind I've installed, and not to mention they were a very nice looking piece, and can't wait to test them out. :thumb::thumb
SoCal injector hold downs
45 over injectors
Rebuilt my IHI turbo and did some porting and polishing (thank you Russ)
Installed a Batmo wheel
3" hot pipe
ProFab manifold
Home built up-pipes
ProFab intake horn
New Glow plugs
Low temp mishimoto thermostats for summer
Replaced 98% of the hardware with stainless
Reworked the engine wiring harness to help hide it
Relocated FICM
Hydro dipped turbos and piping
And
Lots and lots and lots of powder, needless to say my $50 oven got a workout over the last couple months
So with that said here's some pics, hope I can get them to load ok.
Attachments
-
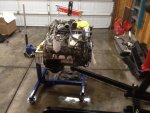 image-24.jpg97.5 KB · Views: 141
 -
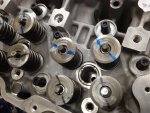 image-26.jpg119.9 KB · Views: 149
 -
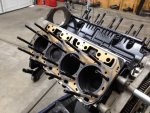 image-25.jpg131.7 KB · Views: 143
 -
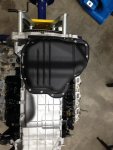 image-30.jpg89.7 KB · Views: 133
 -
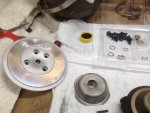 image-14.jpg94.5 KB · Views: 129
 -
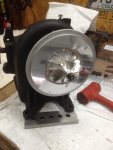 image-17.jpg77.1 KB · Views: 133
 -
 image-12.jpg126.9 KB · Views: 142
 -
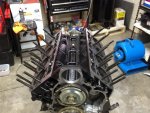 image-23.jpg127.5 KB · Views: 121
 -
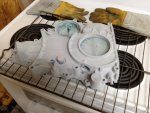 image-28.jpg96.6 KB · Views: 111
 -
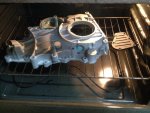 image-29.jpg103.8 KB · Views: 117
 -
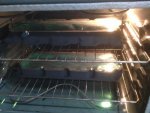 image-19.jpg98.5 KB · Views: 116
 -
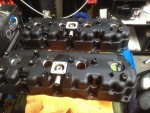 image-20.jpg109 KB · Views: 120
 -
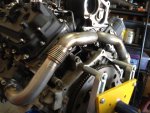 image-36.jpg91.8 KB · Views: 134
 -
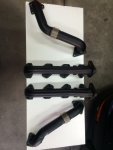 image-39.jpg60.7 KB · Views: 114
 -
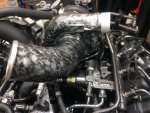 image-47.jpg130 KB · Views: 120
 -
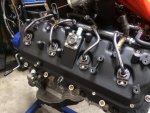 image-45.jpg114.3 KB · Views: 126
 -
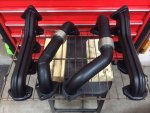 image-43.jpg103 KB · Views: 120
 -
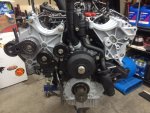 image-44.jpg113.3 KB · Views: 108
 -
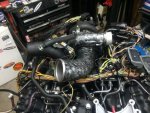 image-51.jpg139.2 KB · Views: 110
 -
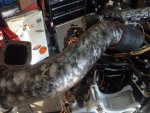 image-49.jpg101.7 KB · Views: 116
 -
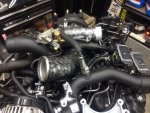 image-52.jpg128.2 KB · Views: 107
 -
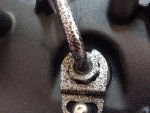 image-53.jpg134 KB · Views: 116
 -
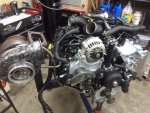 image-57.jpg128.7 KB · Views: 137
 -
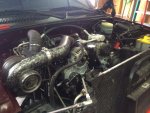 image-55.jpg117.9 KB · Views: 143
 -
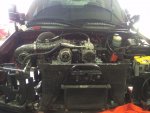 image-56.jpg104.3 KB · Views: 141
 -
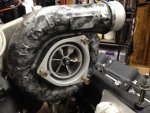 image-34.jpg110.8 KB · Views: 163
 -
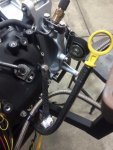 image-58.jpg104.1 KB · Views: 101
 -
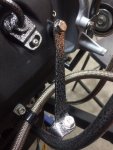 image-60.jpg110.5 KB · Views: 103
 -
 image-37.jpg108.5 KB · Views: 100
Last edited:


