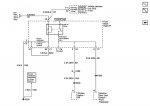
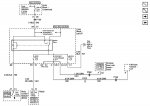
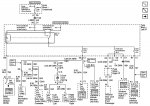
I wanted to get a high-amp Retained Accessory Power (RAP) source in the least ghetto method possible. I searched around online, and couldn't find a good guide, but I eventually figured out this method.
This replicates how GM supplies RAP to the sunroof. If you have a sunroof already, you will be able to splice in to the factory relay output and be done! See the attached schematic.
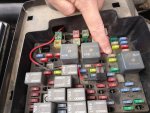
First, ensure your vehicle has the Sunroof fuse in the underhood fuse block!

Both my 2003's have it, despite not having a sunroof.
Tools & Parts Needed
The connector we need is C6 in the Right IP Fuse Block.

Pinouts


View attachment Fuse Block Right IP C6 Pinout.pdf
We only care about pins A, C, & D.
*If you need a ground for your accessories, you can add another ground wire here too, though it gets harder to crimp with more wires. I just grounded my toys elsewhere.


Install the new relay

I installed the relay in the factory location (#2 in the diagram above). It gets taped to the roof marker harness (if you have one) and simply tucked up along the A-pillar beside the glove box.
You can now attach your accessories to pin 87 on the relay, and they will turn on/off with the RAP circuit! You might consider changing the Sunroof fuse from 25A to something smaller that matches your needs better.
This replicates how GM supplies RAP to the sunroof. If you have a sunroof already, you will be able to splice in to the factory relay output and be done! See the attached schematic.
First, ensure your vehicle has the Sunroof fuse in the underhood fuse block!

Both my 2003's have it, despite not having a sunroof.
Tools & Parts Needed
- Connector: 12193929 (OEM part, green color) or 12193930 (black equivalent)
- If you have roof marker lights, you should already have this connector and can just add pins to it!
- These are hard to find, but I have a bag of the black ones. If you need one, PM me. Or raid a junkyard, all the colors should interchange.
- Terminals: 12129424 (3 needed)
- Mouser electronics and Amazon carry these
- Terminal crimper (or go nuts with some pliers)
- Universal relay & relay socket
- You can also use a GM relay & socket out of a junkyard
The connector we need is C6 in the Right IP Fuse Block.

Pinouts


View attachment Fuse Block Right IP C6 Pinout.pdf
We only care about pins A, C, & D.
- Pin A to relay pin 30
- This is battery power from the sunroof fuse
- Pin C* to relay pin 86
- This is a ground for the relay
- Pin D to relay pin 85
- This is the RAP trigger from the body computer to the relay coil
*If you need a ground for your accessories, you can add another ground wire here too, though it gets harder to crimp with more wires. I just grounded my toys elsewhere.


Install the new relay

I installed the relay in the factory location (#2 in the diagram above). It gets taped to the roof marker harness (if you have one) and simply tucked up along the A-pillar beside the glove box.
You can now attach your accessories to pin 87 on the relay, and they will turn on/off with the RAP circuit! You might consider changing the Sunroof fuse from 25A to something smaller that matches your needs better.
Attachments
-
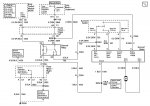 Power Sunroof Schematic.jpg154.6 KB · Views: 23
 -
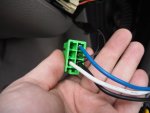 Fuse Block Right IP C6.jpg191.8 KB · Views: 21
 -
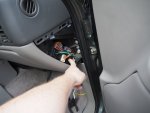 Fuse Block Right IP Location.jpg187.3 KB · Views: 26
 -
 Fuse Block Right IP Top View.gif37.2 KB · Views: 18
 -
 C6.gif8.7 KB · Views: 20
 -
Fuse Block Right IP C6 Pinout.pdf66.6 KB · Views: 9
-
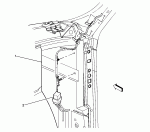 Right A-Pillar-Middle(c).gif29.8 KB · Views: 20
 -
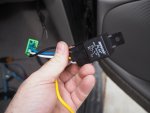 Relay & socket.jpg168.4 KB · Views: 19
 -
 Sunroof Fuse.jpg187.5 KB · Views: 27


