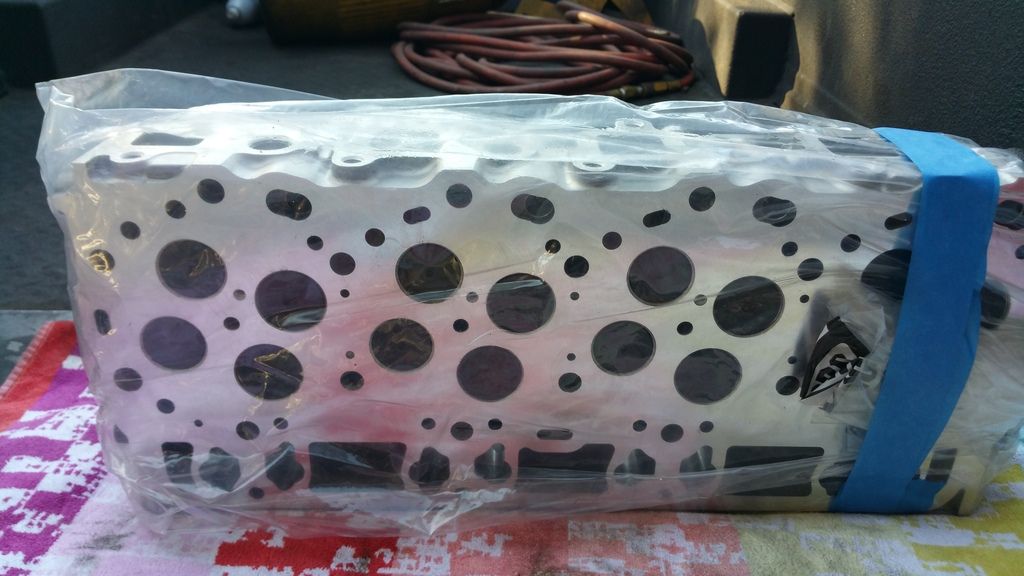
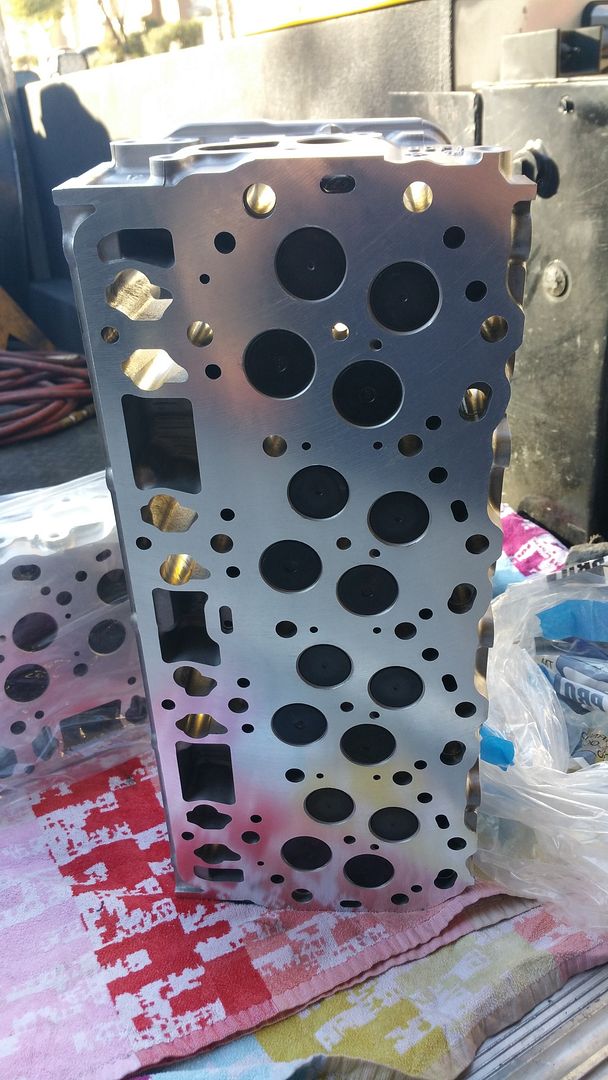
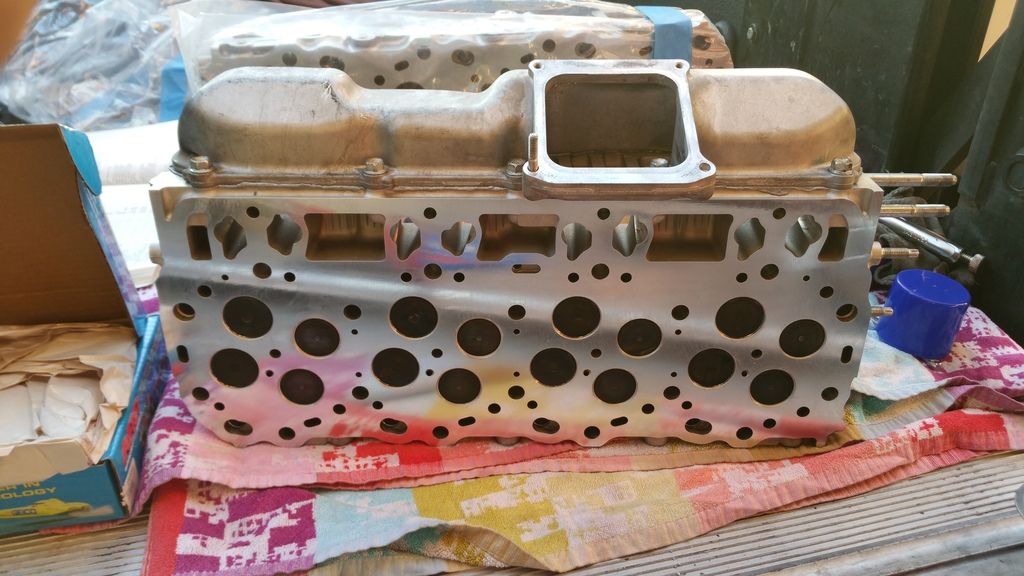
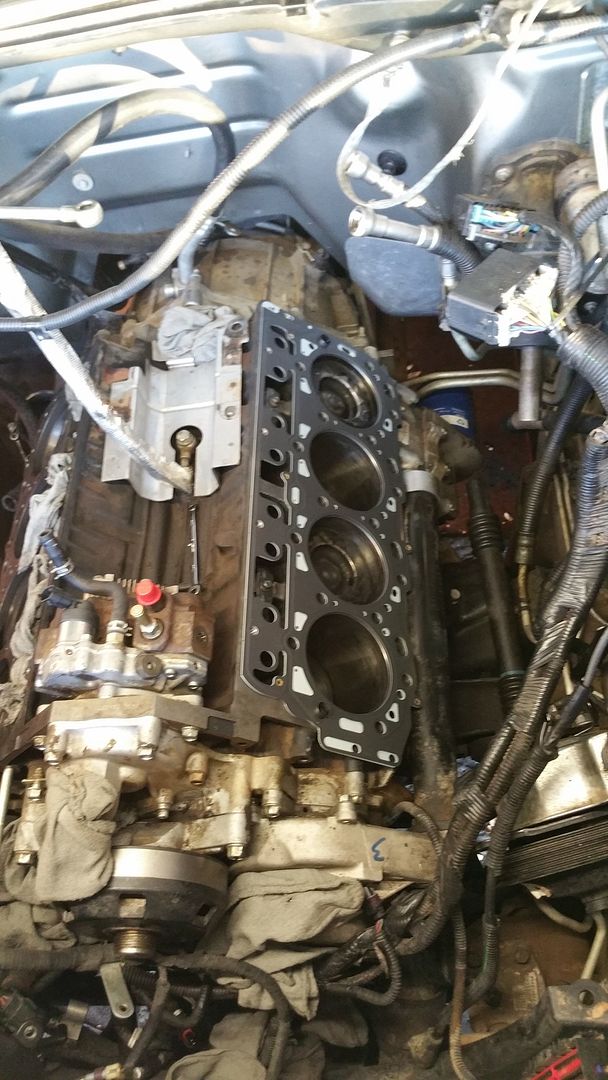
Headgaskets and a few upgrades

MadMax17

Member
Mar 26, 2015
66
0
6
maricopa, az
Hey guys, I've been lurking here for a long time but haven't posted much. I bought an 06 lbz in February, and have since put around 20000 miles on it and a couple upgrades.
I started getting a lot of pressure in my cooling system about a month ago, and got the dreaded hard upper hose in the mornings while the truck was cold. I deleted my egr cooler from the cooling system, had blocker plate but boost was still entering cooler, and still had a lot of pressure in the system. After finally accepting my fate I began tear down 2 weeks ago. Progress has been slow due to holidays and late nights at work but I figured I would post my progress up here and start a thread. Progress may be somewhat but I'm hoping it will be up and running the week after new years.

Parts list:
Grade C gaskets and upper gasket kit from Creatures of the night performance
ARP headstuds
LML manifold
New GM water pump - tig welding myself
New GM thermostats
New lbz FPR
New exhaust bolts and injector hold down bolts
SDP high flow y-bridge and cold/hot pipes

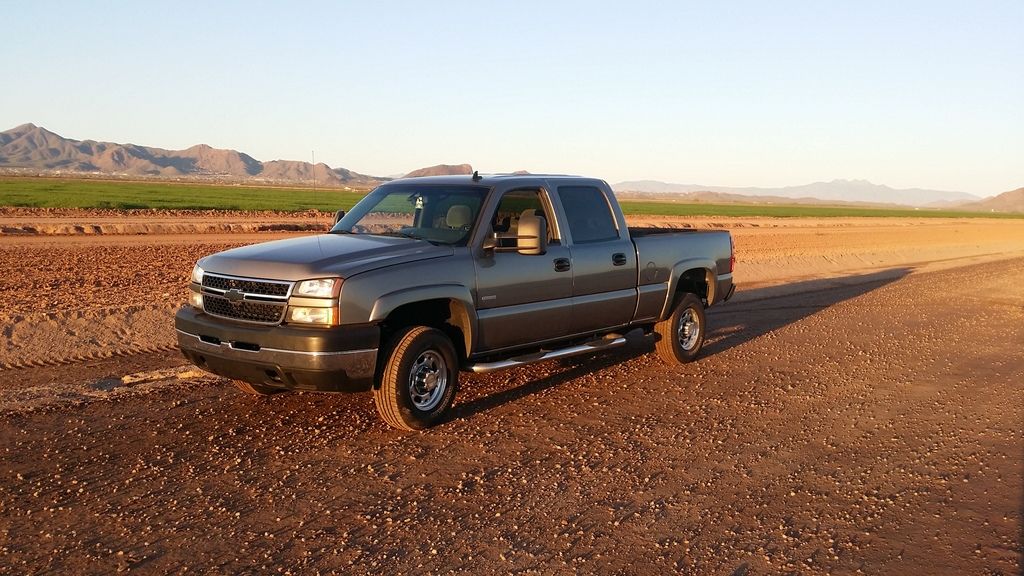
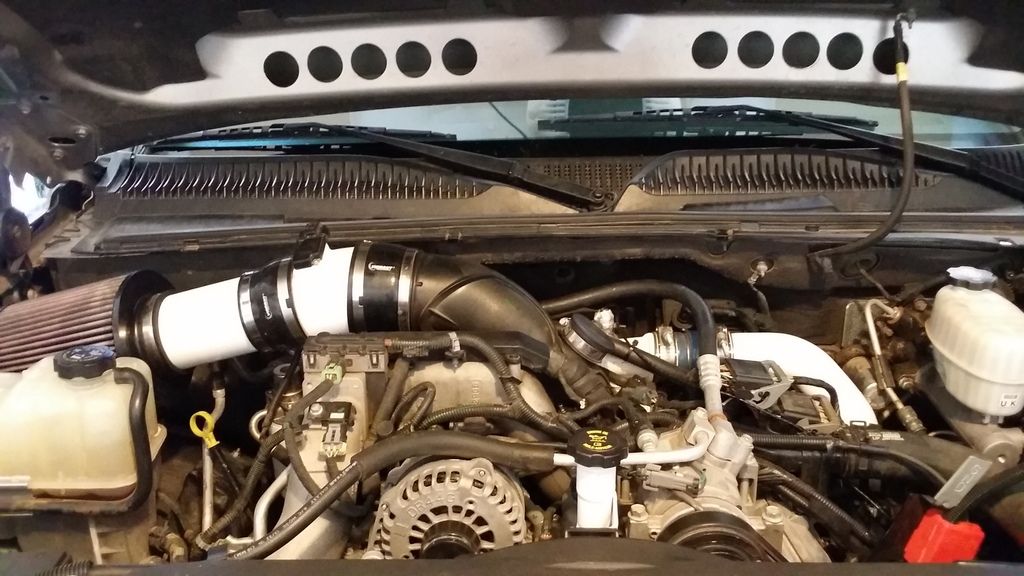
Here's a couple pics from when I got the truck


And a more current shot.


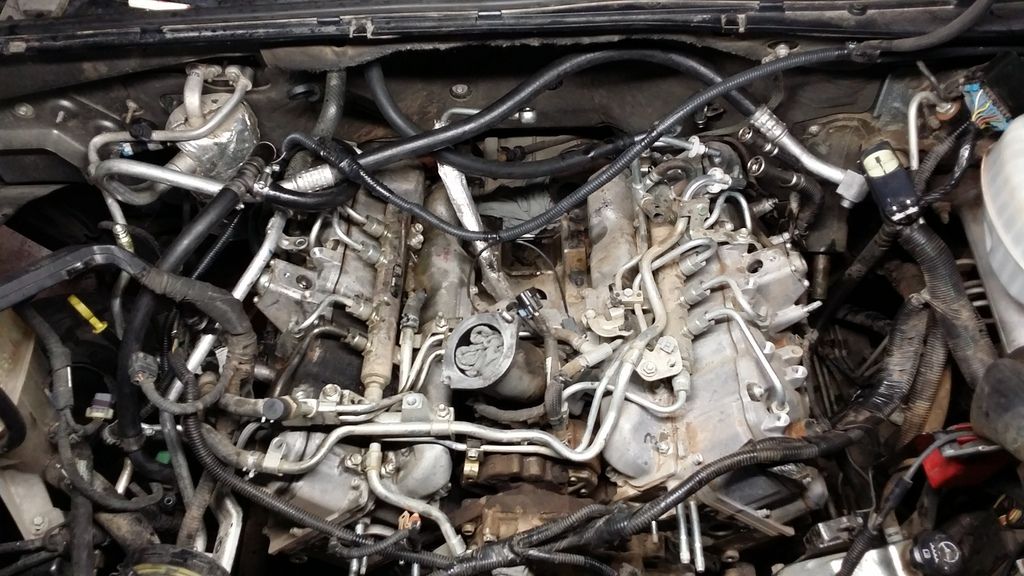
A shot of the engine bay before teardown

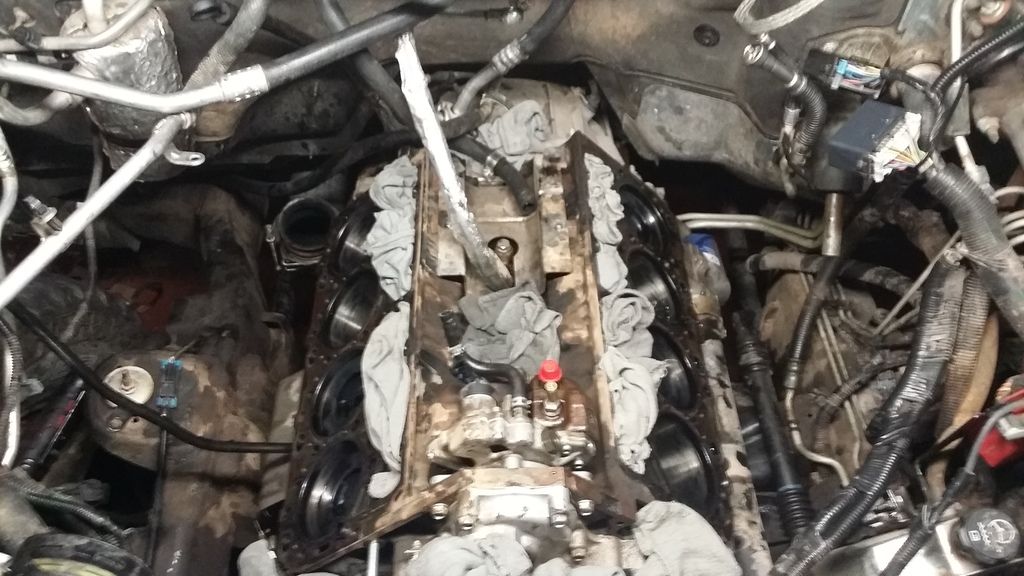
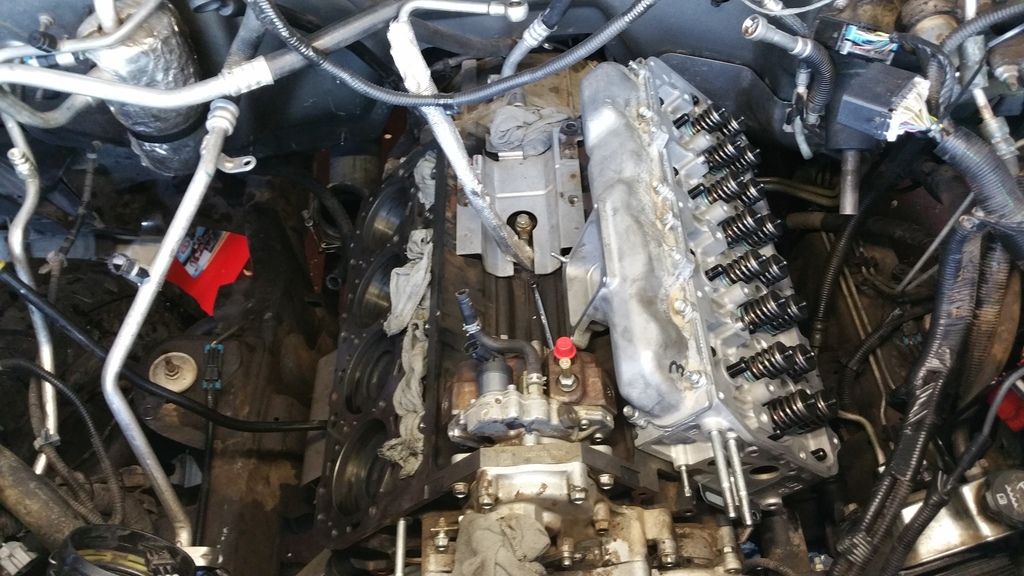
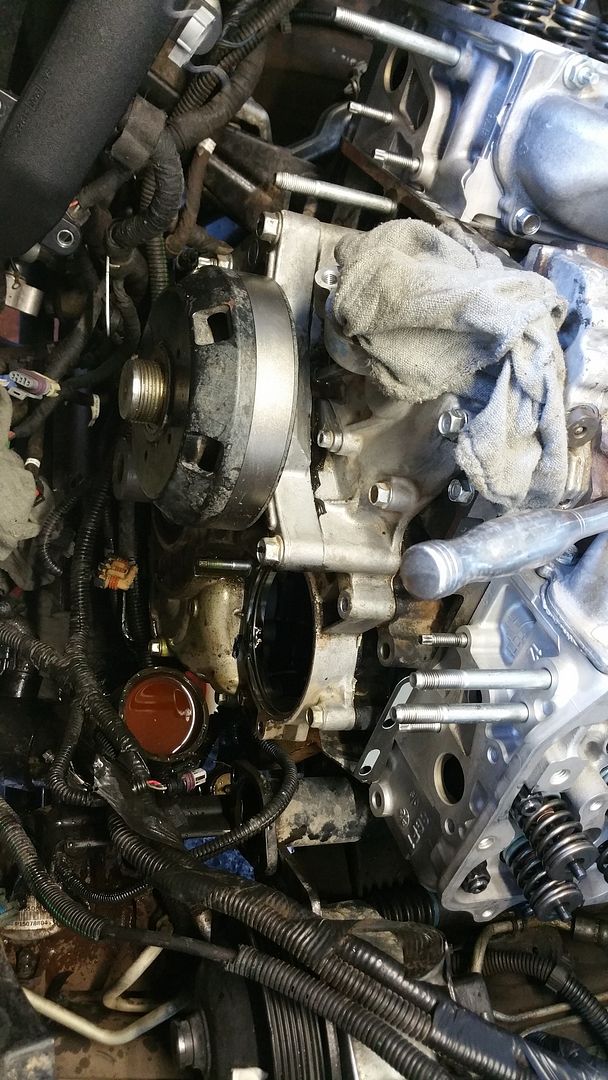
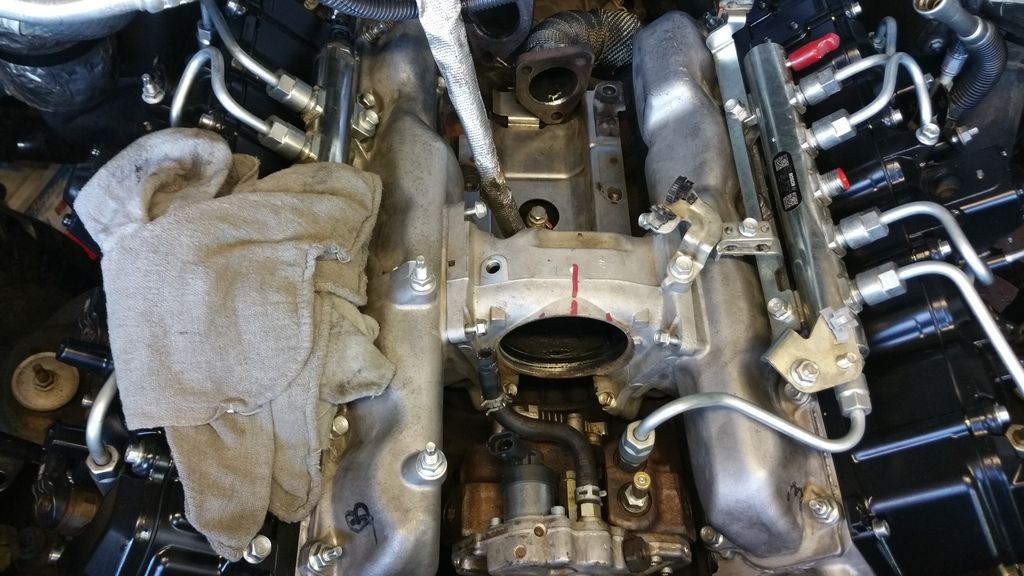
And the teardown begins
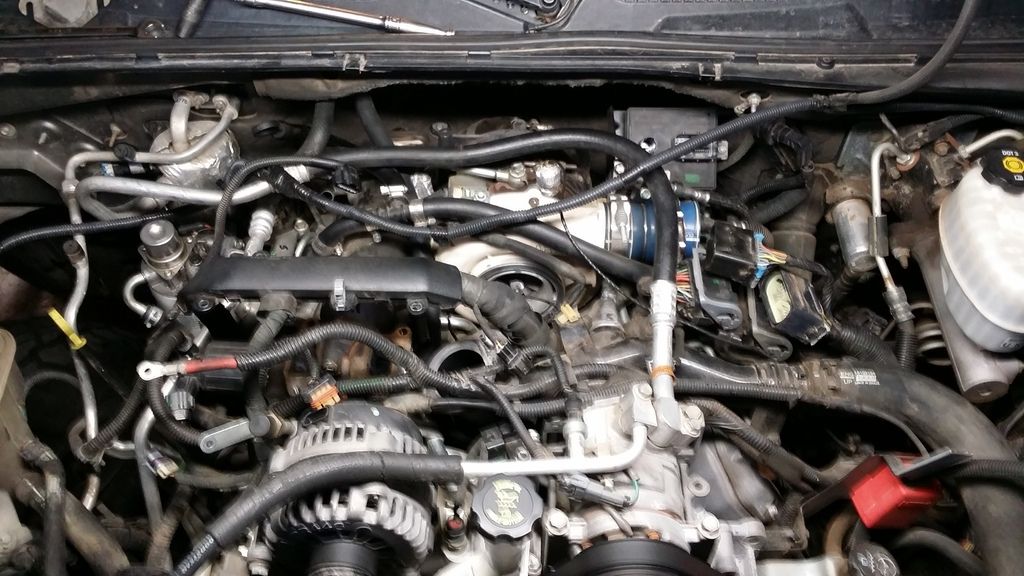

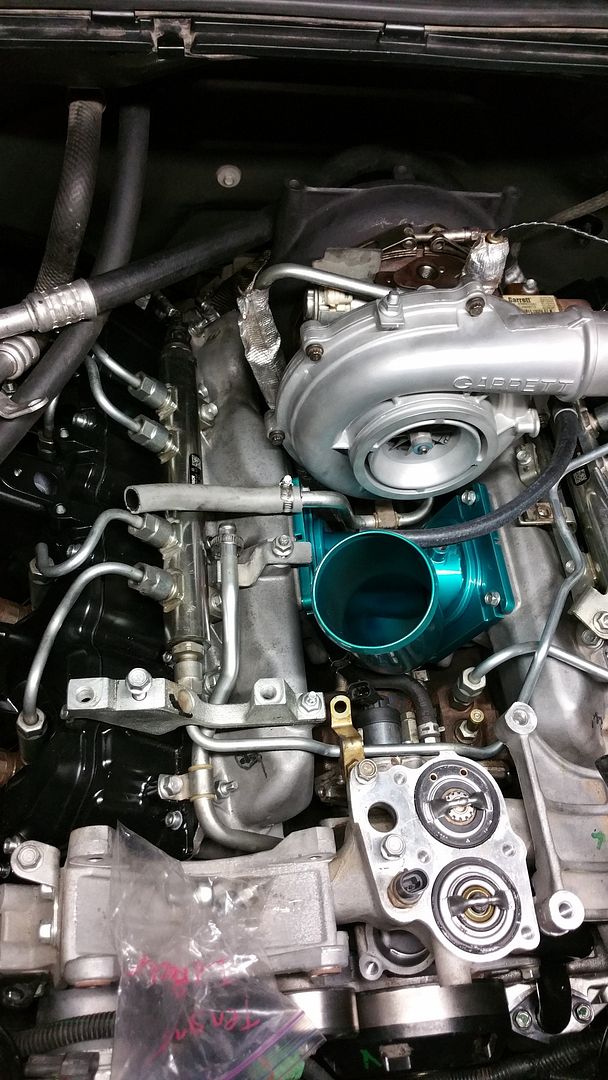
I pulled the turbo to finish porting and polishing the housings and clean the white paint off
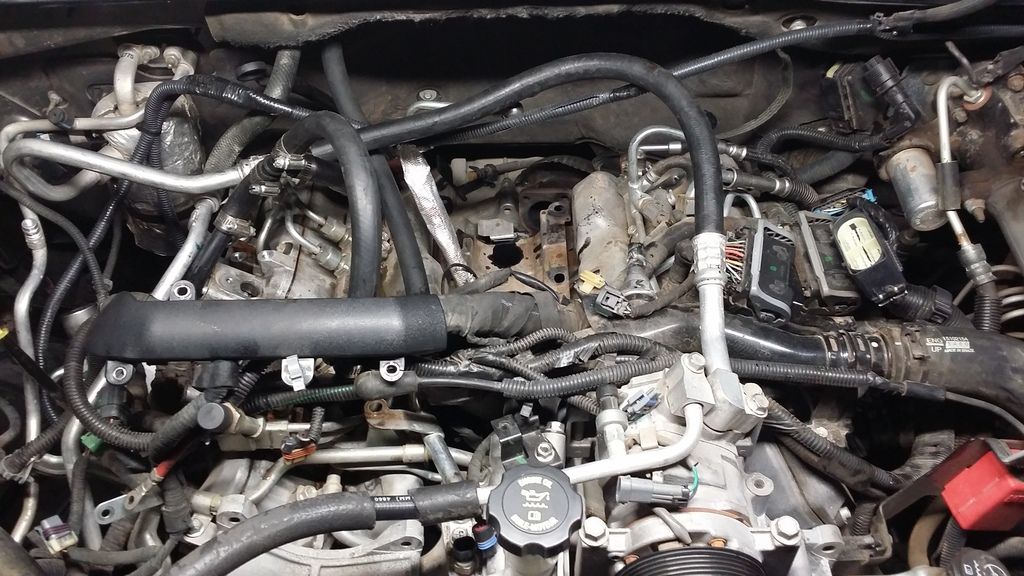


Egr gunk - I installed a blocker plate when I bought the truck at 98,500, truck is now at 118800, crazy how much is still in here
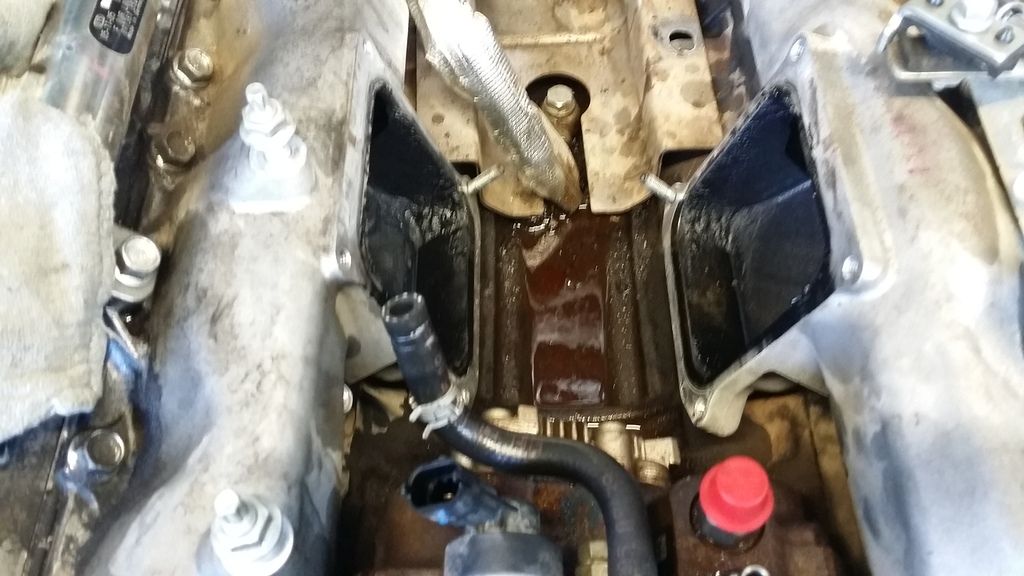
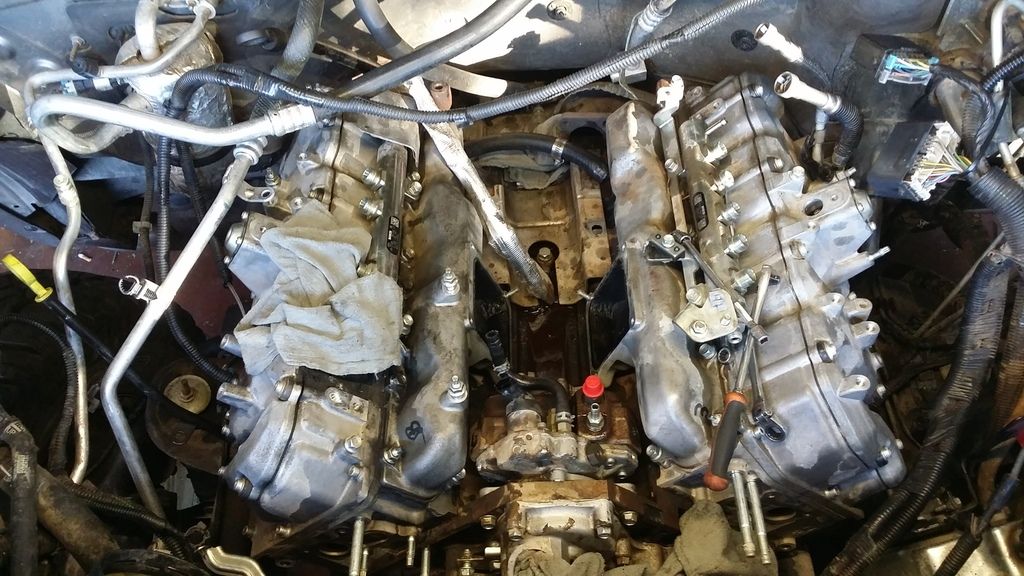
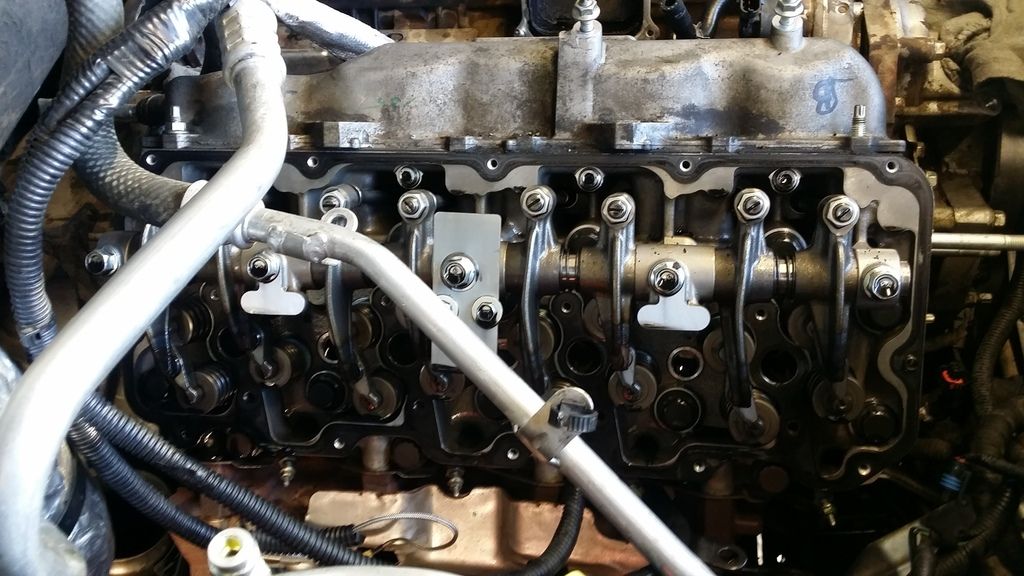


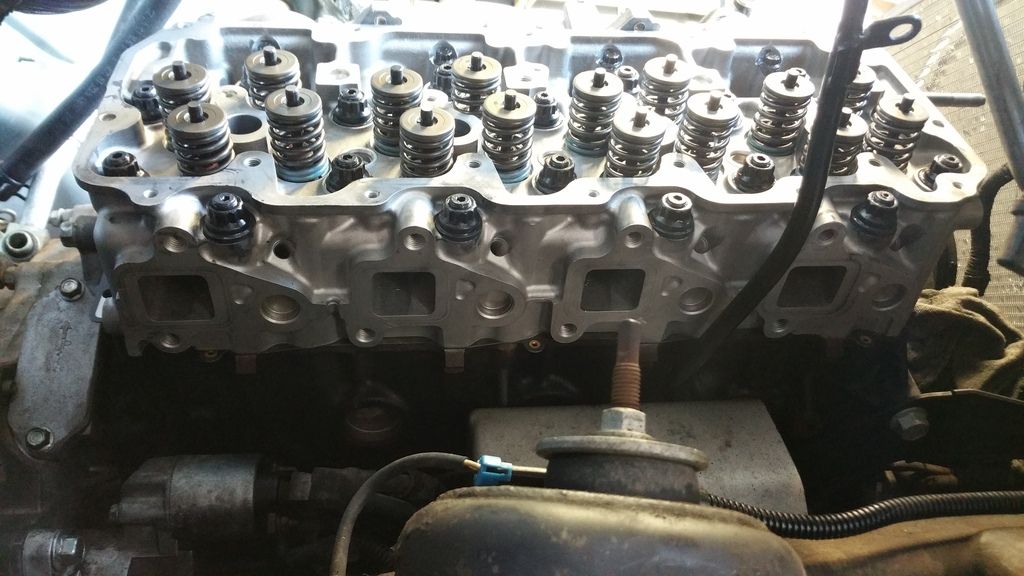
Finally got the first head off
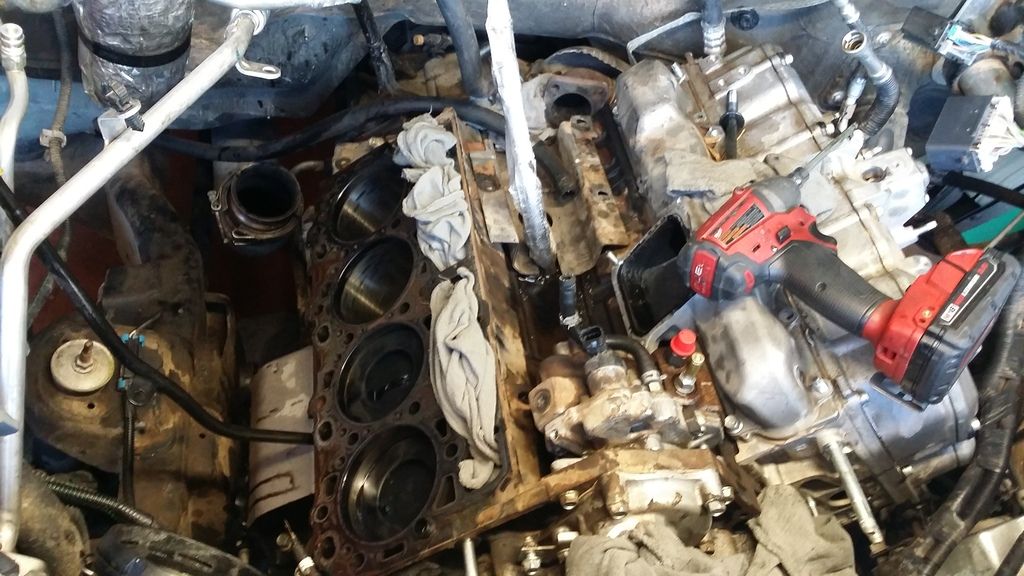


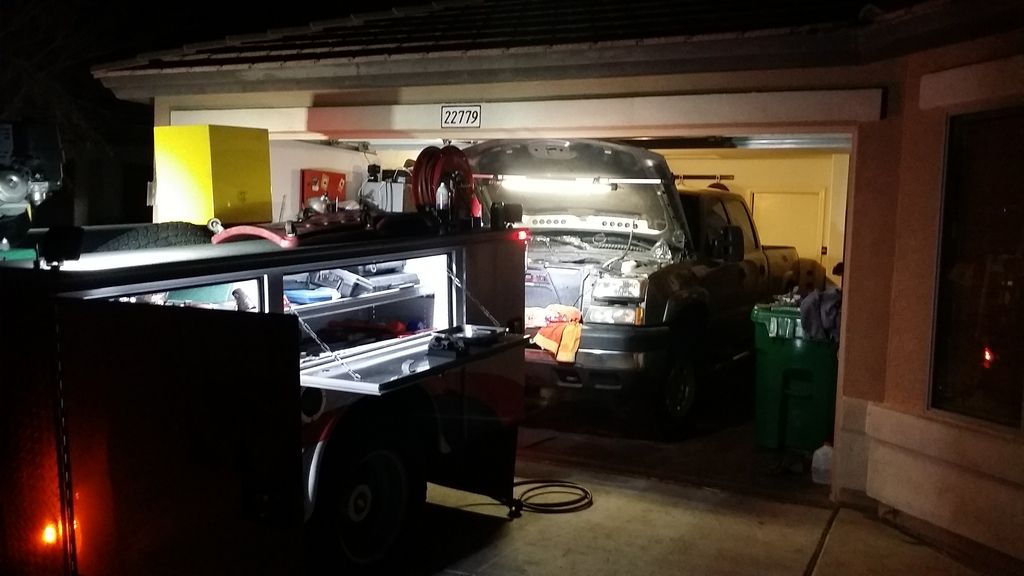
I've been doing all this out of a garage that is way too small for my truck as well, and working out of my service truck. The limited space deffinatly made this job a little more difficult, and has made working on anything else in the garage impossible.

Found gasket was leaking on #6 close to an exhaust valve right where the drivers side manifold kinks down. My truck had the old crimped style headgaskets as well.
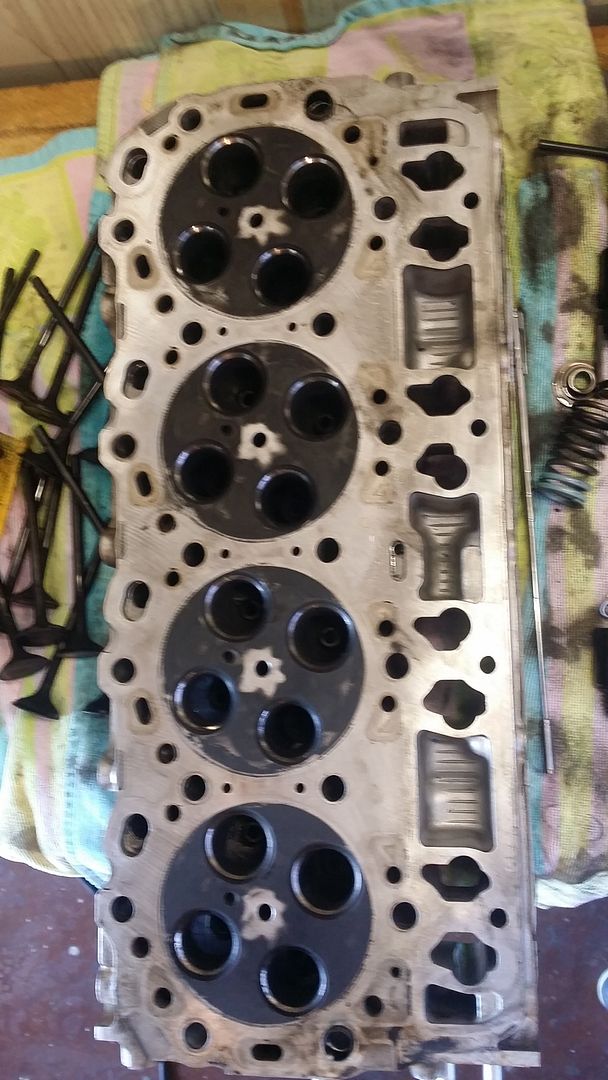

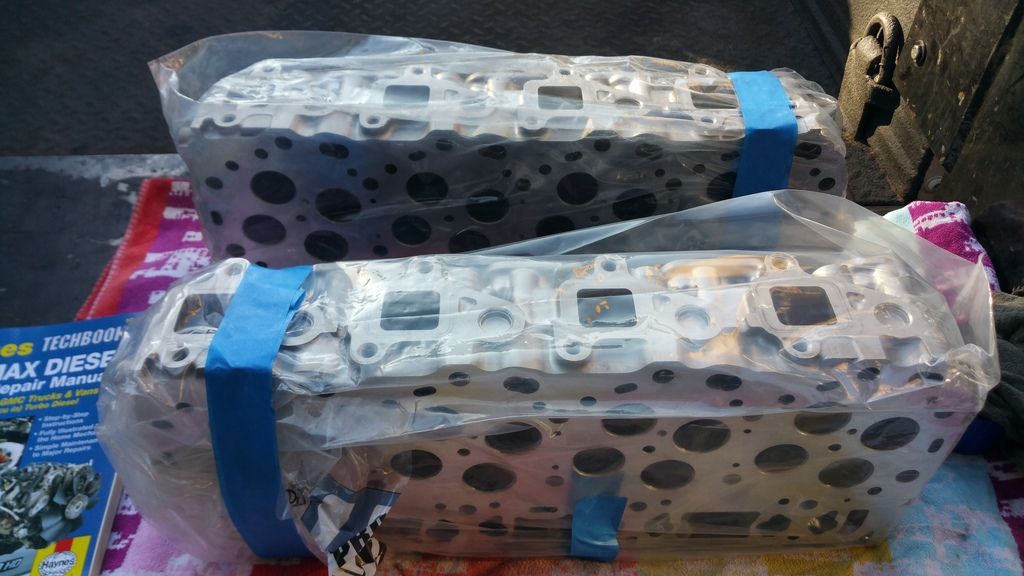
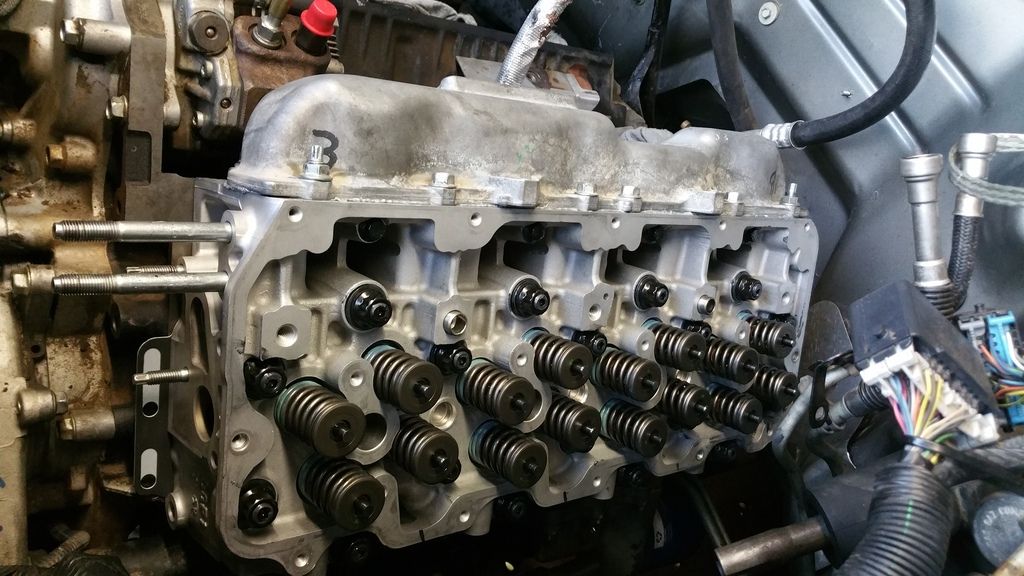
Cleaned up the heads and valves and found I have 1 bad valve guide. Its on cylinder 5 intake closest to the intake runner.(#23 in picture). Bringing the heads to get surfaced and get the guide replaced tomorrow then I will be doing the valve job myself.
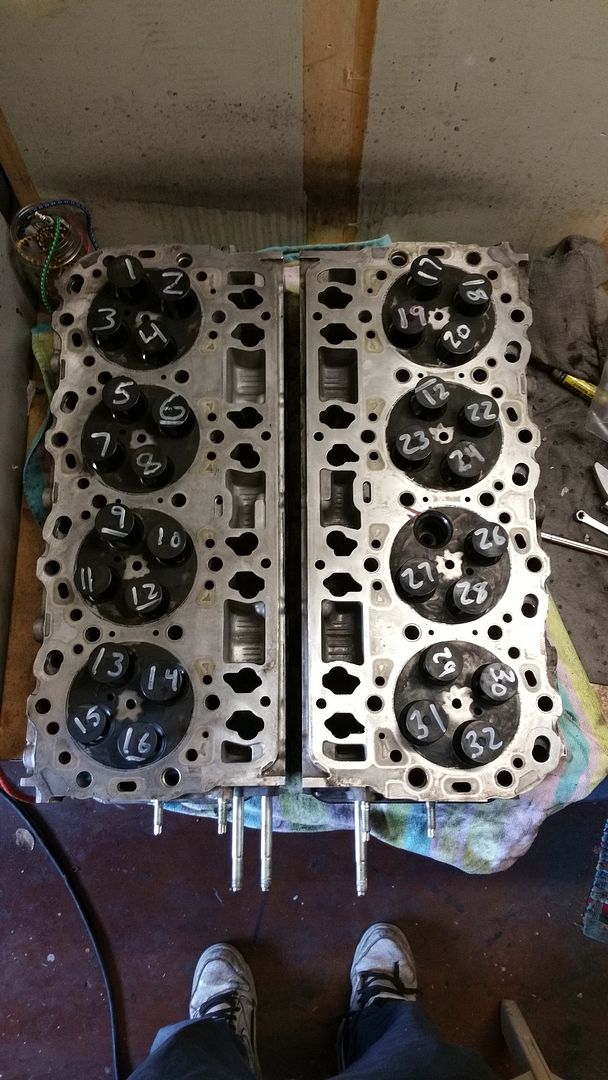


I will update with pictures as I go but it will most likely be the end of the week before any real progress happens. If anyone has anything that I should add while i'm here please feel free to chime in.
 
Last edited:

MadMax17

Member
Mar 26, 2015
66
0
6
maricopa, az
Yeah, seen a guy on here try it and had good results with IAT being pretty close to ambient so I tried it seeing I already had all the parts sitting around. you can't see by the picture but the second battery is in front of the coolant reservoir where the airbox used to be. I just cut up the battery tray and made a mount up front so it is still secure.
 

MadMax17

Member
Mar 26, 2015
66
0
6
maricopa, az
Made some progress today finally! I got the heads back from the machine shop, I decided to let them do the valve job also to speed things up. I was hoping to have more time to work today but I have all day tomorrow and sunday if needed to get it as close to done as possible before the parts from SDP show up.

Anyway, onto the pictures


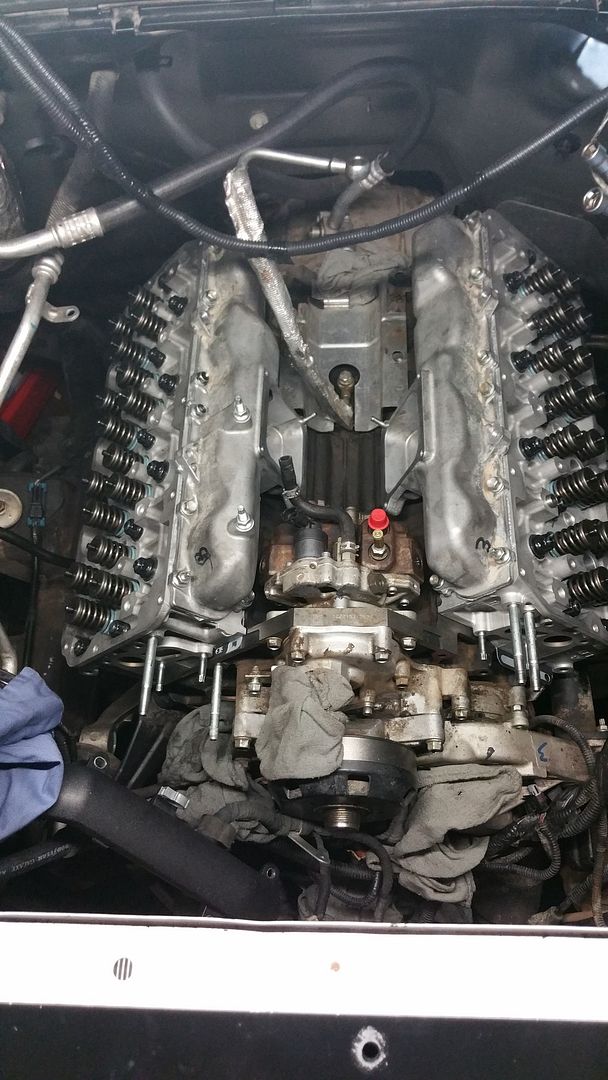
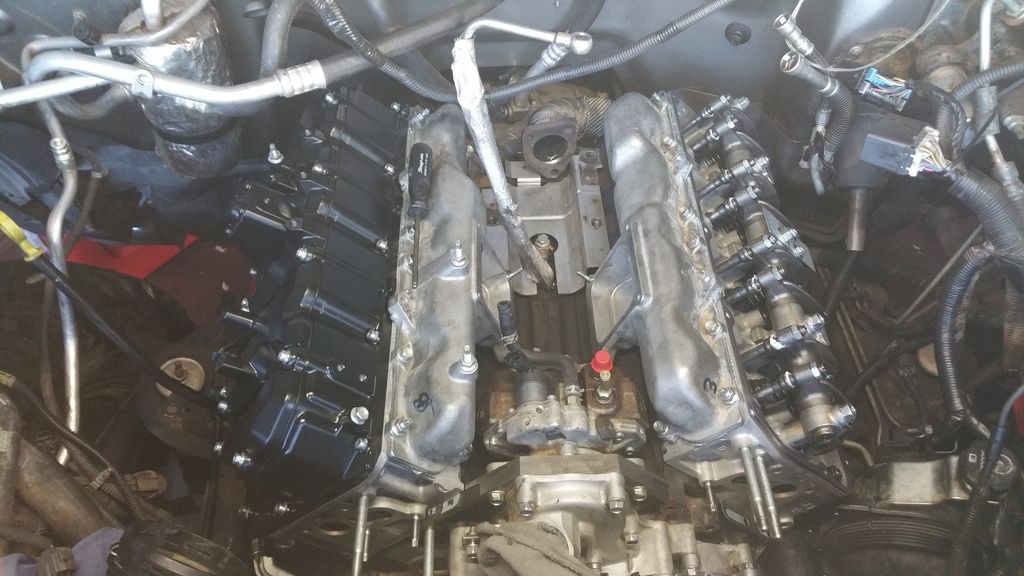
Installed and torqued the intake runners

Ran a bottom tap in all headbolt holes to clean them up and cleaned the deck surface again before installing the gaskets


I got them both torqued down right as it got dark, going to let them sit overnight and recheck torque in the morning.
 
Last edited:
MadMax17

Member
Mar 26, 2015
66
0
6
maricopa, az
More than I was hoping, they had to take .010 off in order to clean up the area where the gasket failed. I hope I don't have any issues with the y bridge fitting, I think it will be ok with the grade c's but I guess ill find out next week.
 

Harbin_22

Active member
Dec 4, 2010
3,858
7
38
Southern Indiana
More than I was hoping, they had to take .010 off in order to clean up the area where the gasket failed. I hope I don't have any issues with the y bridge fitting, I think it will be ok with the grade c's but I guess ill find out next week.

Just an FYI, I had trouble with my bridge after the block had been decked twice, and heads resurfaced, so they shaved .008 off the back side of my intake runners and it worked perfectly. Another note too, the tig welded water pumps still fail. IMO the only way that is a sure fix is Danville's pinned pump. Have 2 buddies that had wleded fail still and you see it all the time here. Just trying to save you some headache
 

MadMax17

Member
Mar 26, 2015
66
0
6
maricopa, az
For working room, would you say removing the turbo is worth it?

In my opinion, it was worth the extra room. It made it easier to make sure everything was clean while going together. That being said, I have previously removed my turbo around 10,000 miles ago to port it, so the bolts were not as tight as factory.
 

MadMax17

Member
Mar 26, 2015
66
0
6
maricopa, az
Just an FYI, I had trouble with my bridge after the block had been decked twice, and heads resurfaced, so they shaved .008 off the back side of my intake runners and it worked perfectly. Another note too, the tig welded water pumps still fail. IMO the only way that is a sure fix is Danville's pinned pump. Have 2 buddies that had wleded fail still and you see it all the time here. Just trying to save you some headache

Alright thank you for the info, I should've looked into that further before buying, I have 200 into the pump so i'm going to run it for now, I will probably change that out soon. Im going to see if i have problems with the y-bridge before machining anymore, hopefully using grade c's gained me enough clearance back that it will be ok.
 

MadMax17

Member
Mar 26, 2015
66
0
6
maricopa, az
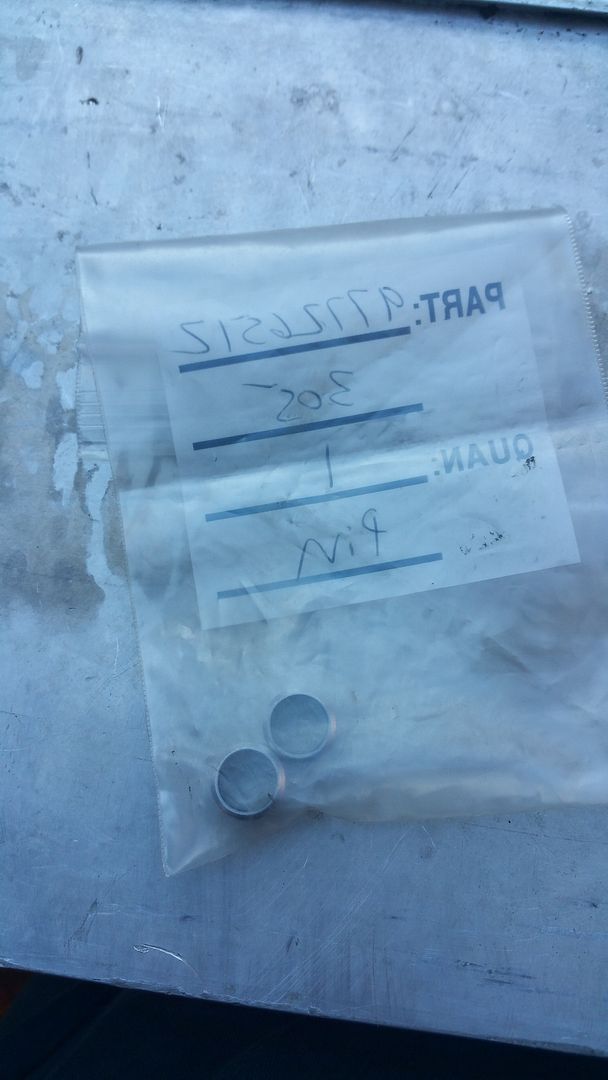
Made some good progress today but not as much as I wanted, halfway through the day, I found that the dowels for the rockers were missing for the passenger side head, I looked all over and had the machine shop look for them and we couldn't find them, I had to travel an hour to the closest dealer that had them. I'm going to finish all that I can tomorrow.

On to the pics.

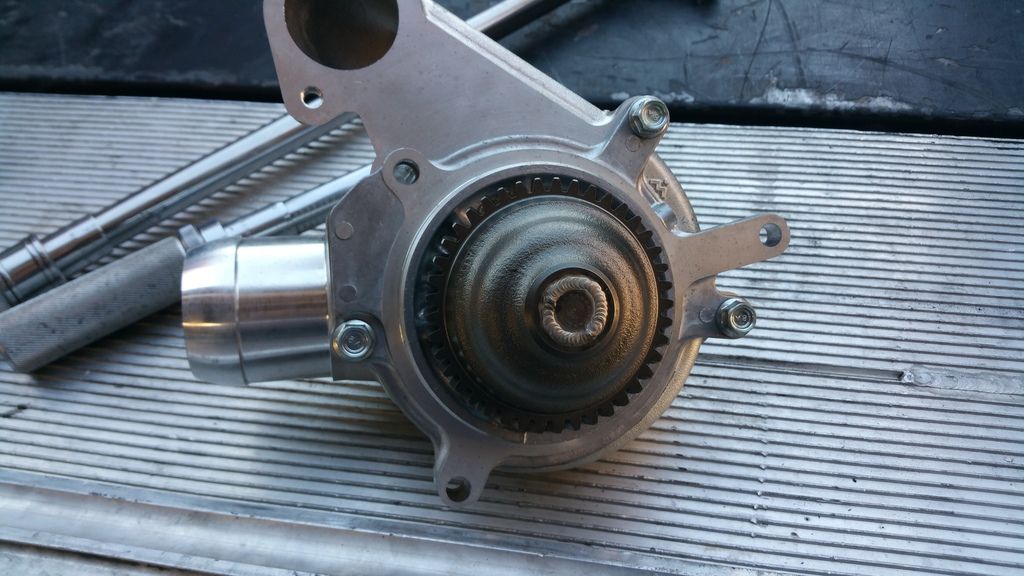
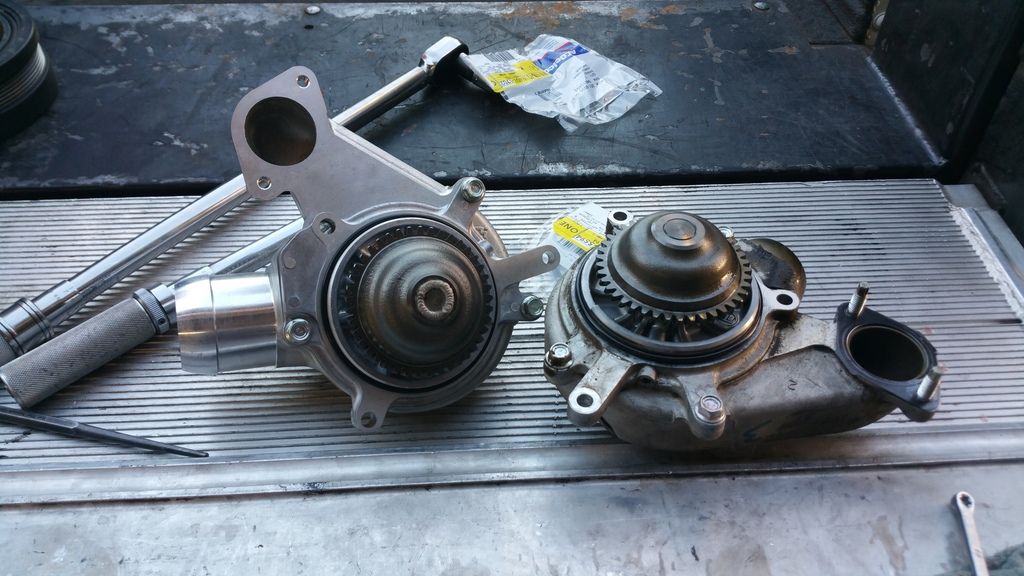
Welded my water pump the other day after work

After rechecking torque this morning

Old vs. New


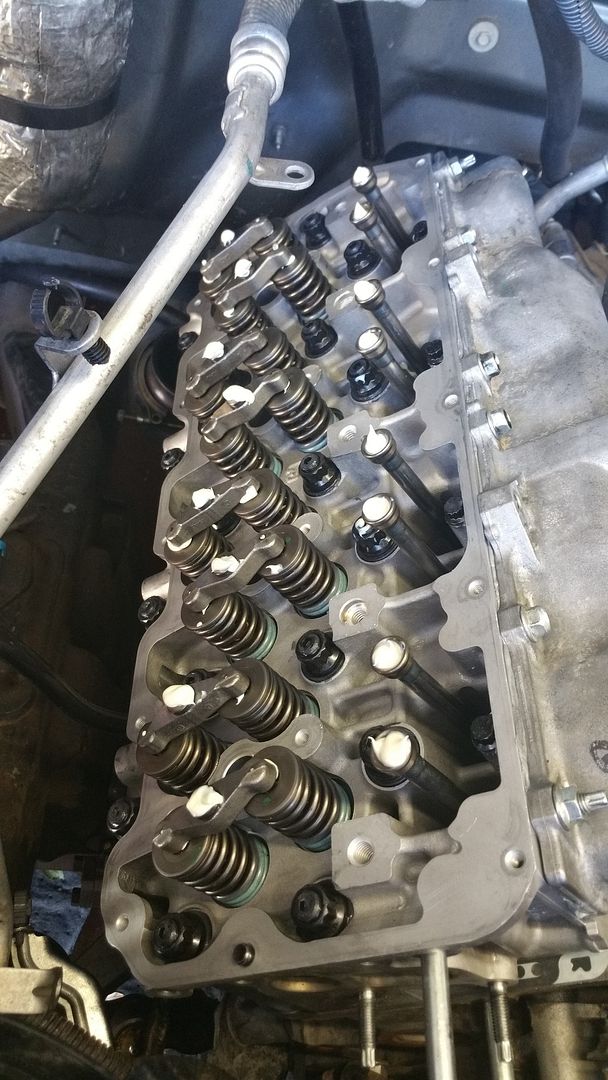
Setting pushrods and crossovers

The 2 dowels that cost me 2 hrs.

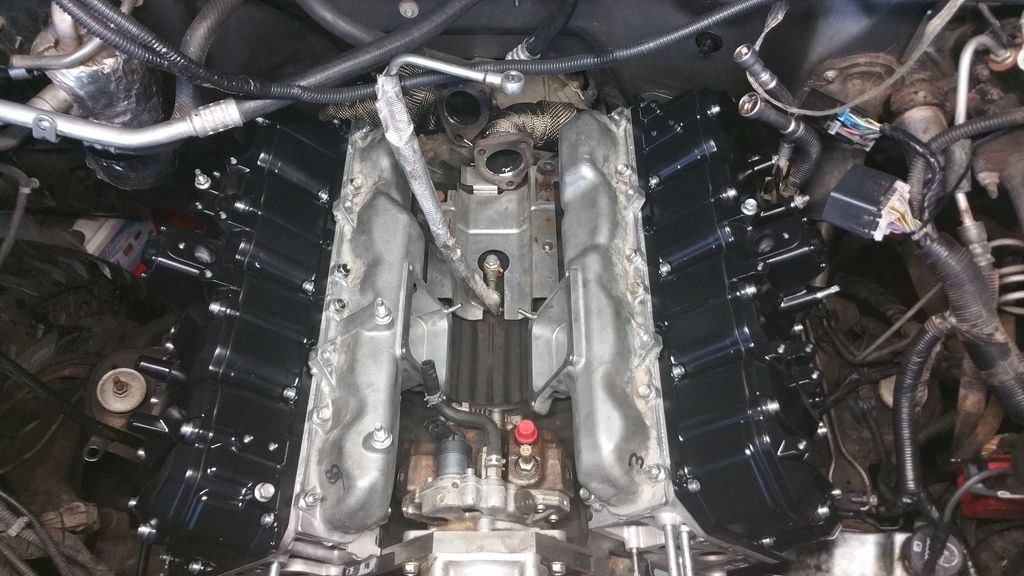
Adjusted the valves and installed the first valve cover, looks so much cleaner black.


This is where I stopped tonight, only a little left before I run out of work waiting for parts.
 

MadMax17

Member
Mar 26, 2015
66
0
6
maricopa, az
Looking good man.:thumb:
Thanks man!

Valve covers powder coated?

No I just painted them with engine enamel for now. If I ever do a full build with this truck I will powder them though.

Did you weld the other end of the water pump shaft?

I tacked it in 2 spots, it had a plastic impeller so I didn't want it to get too hot and melt. I tig'd the metal collar in the center of the impeller to the shaft. I didn't take any pictures of this however. hoping it holds up for a while, I haven't had an issue with my stock pump at this power level yet.
 

MadMax17

Member
Mar 26, 2015
66
0
6
maricopa, az
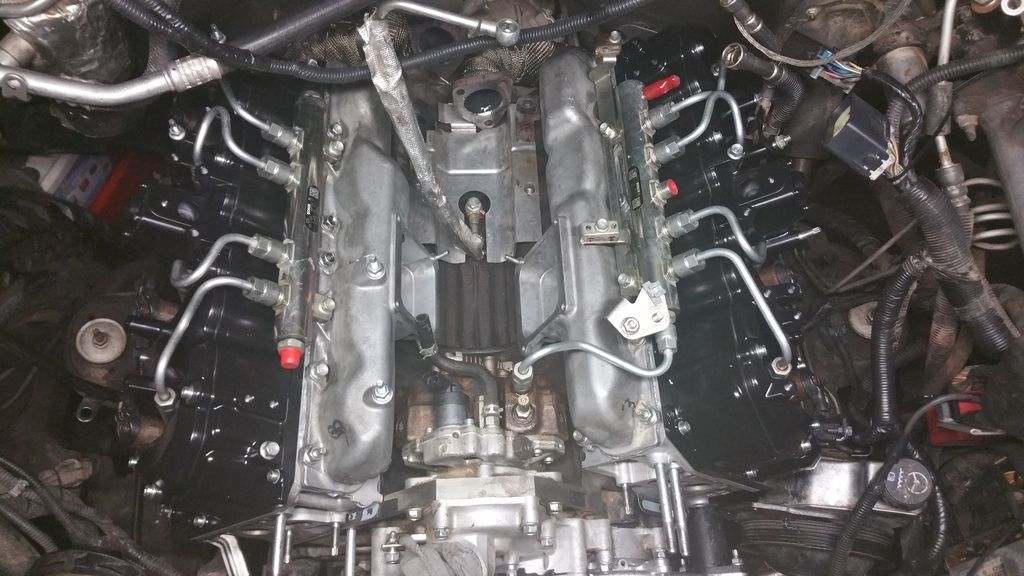
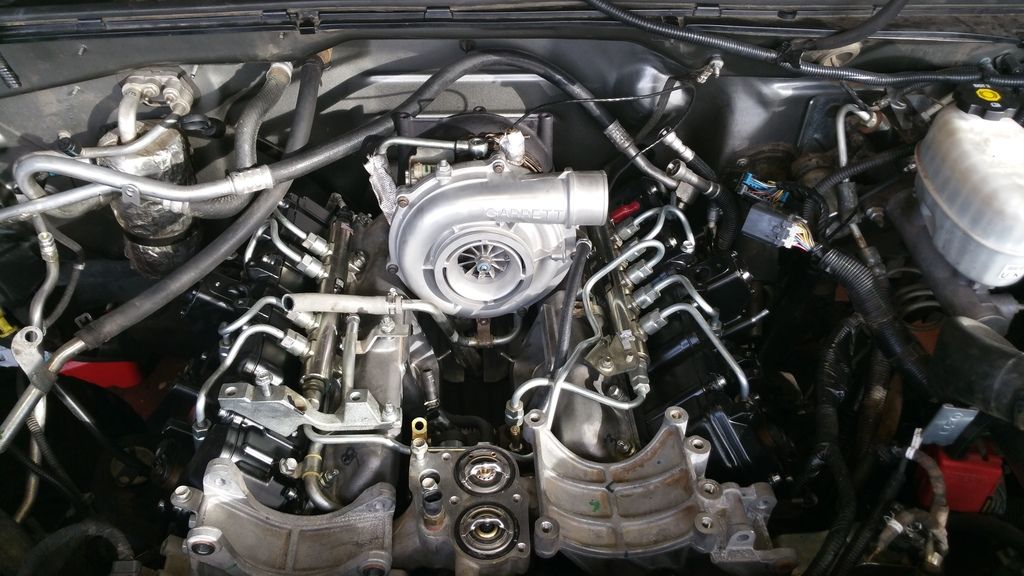
I got a little further today, I don't want to put too many things in the way of the bridge so install is quick and painless. I dropped the turbo into its spot but left everything unbolted so I can tilt it back for the rear bridge bolts. I got the manifolds installed and the front brackets for the alt and a/c compressor installed as well as the p/s pump.

I didn't take very many pictures today as progress was slow and minimal.

I test fit my old bridge this morning to make sure there wern't any fitment issues before going any further, the holes lined up fine after tightening the bottom bolts/nuts down.


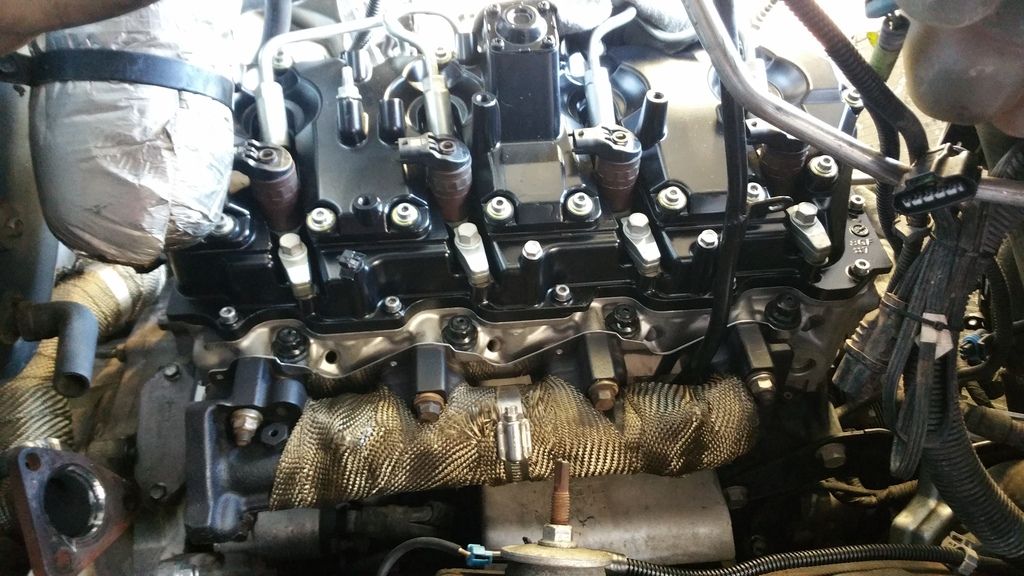
Got the exhuast manifolds installed and wrapped the passenger side.

This is where I quit today, Can't wait to hear it run soon!


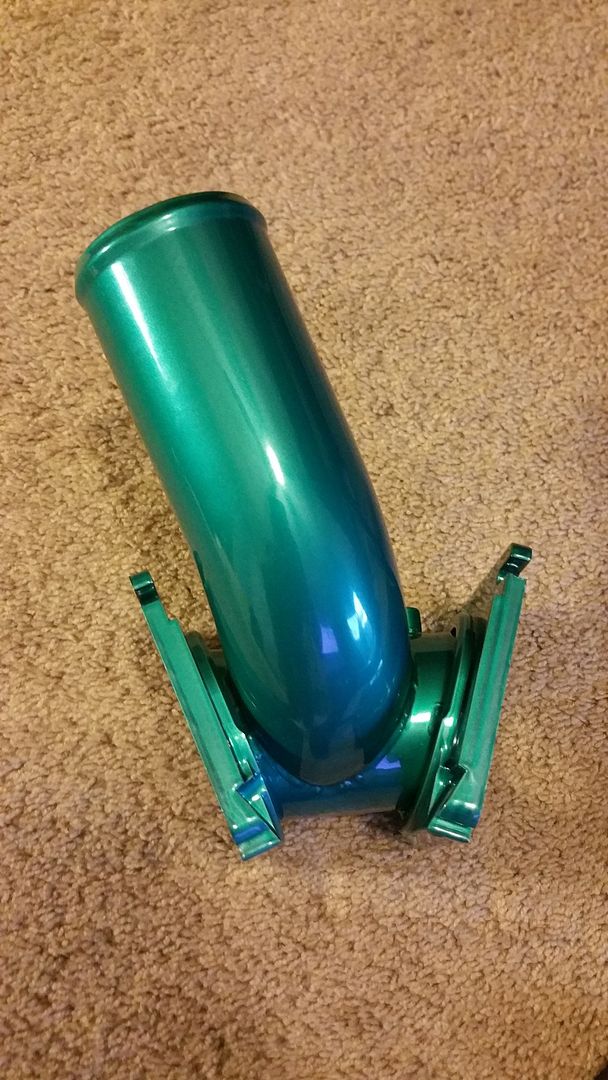
Scott says piping and bridge will be powdercoated tomorrow and should be shipped shortly after. I'm expecting wednesday or thursday delivery but most likely won't have time to finish until friday night or saturday.
 

MadMax17

Member
Mar 26, 2015
66
0
6
maricopa, az
Well I finally got this completed over the weekend and the truck rips! It runs the best and smoothest it ever has and pulls a lot harder. The piping from SDP really woke it up and changed the sound completely. This truck used to be pretty loud and clacky for a duramax but now idles quieter than my '15 LML service truck. I had to upgrade the shipping last wednesday or the piping and y-bridge wouldn't have arrived until today. I was very impressed with the kit from scott and would recommend it to anyone considering the upgrade.
Anyway, onto the pics!

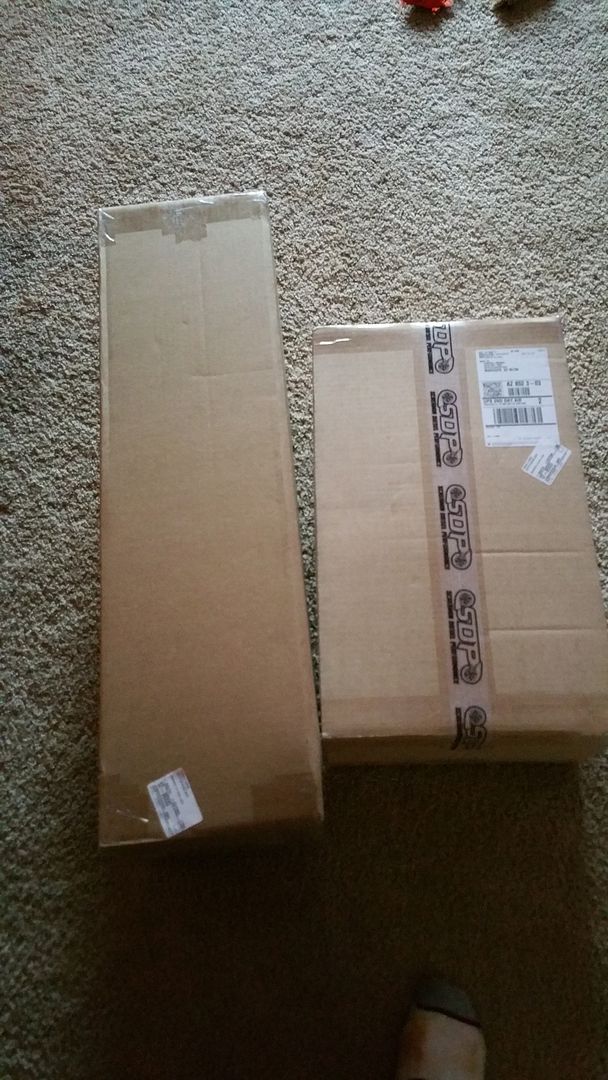
Had these waiting by the door when I got home from work friday night

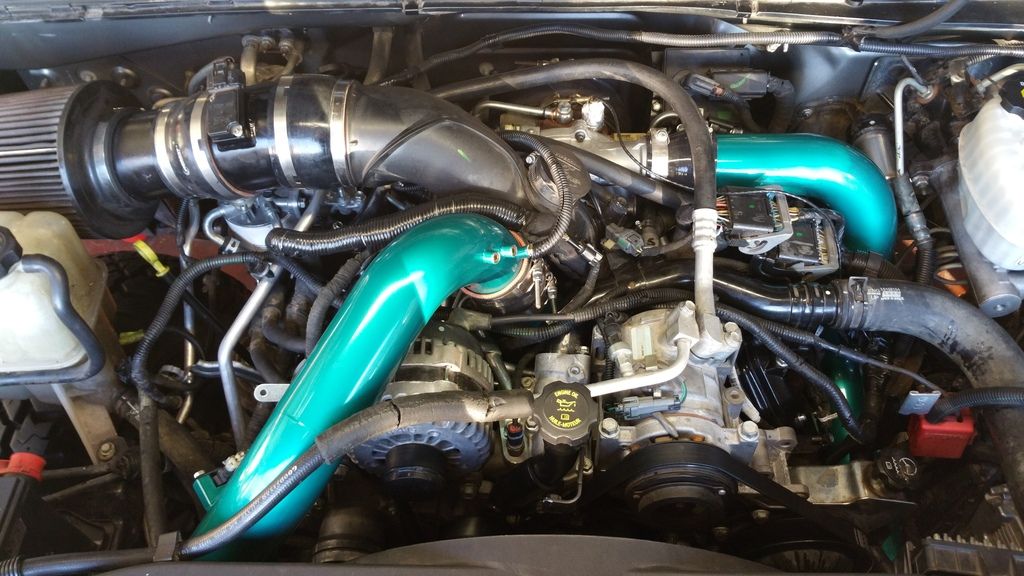
The color turned out awesome and better than expected!


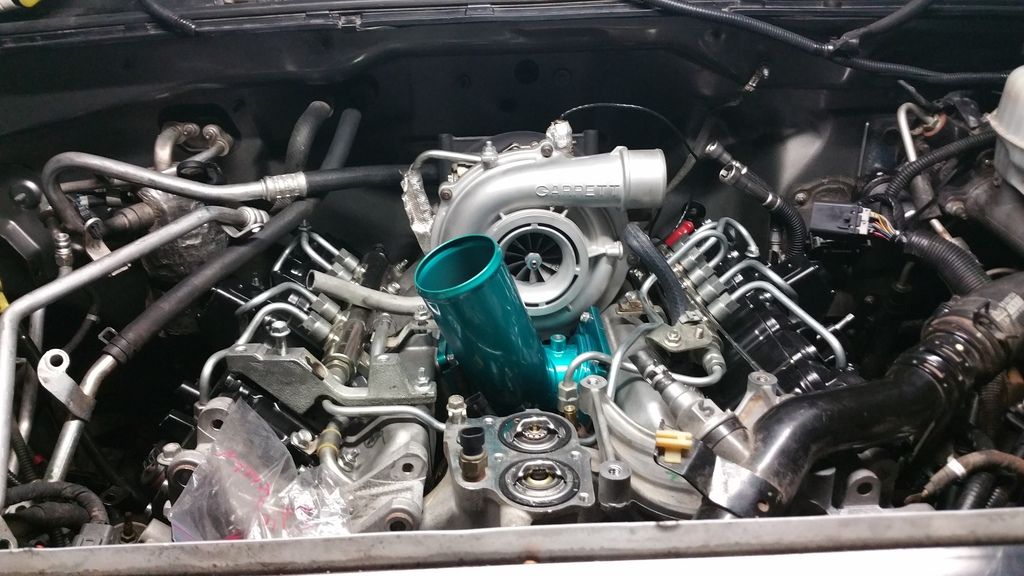
I put the bridge on friday night to make sure it would fit since the heads were milled so much and thankfully it slid right into place (after filing off powdercoat in the bolt/stud grooves.

Love the color!


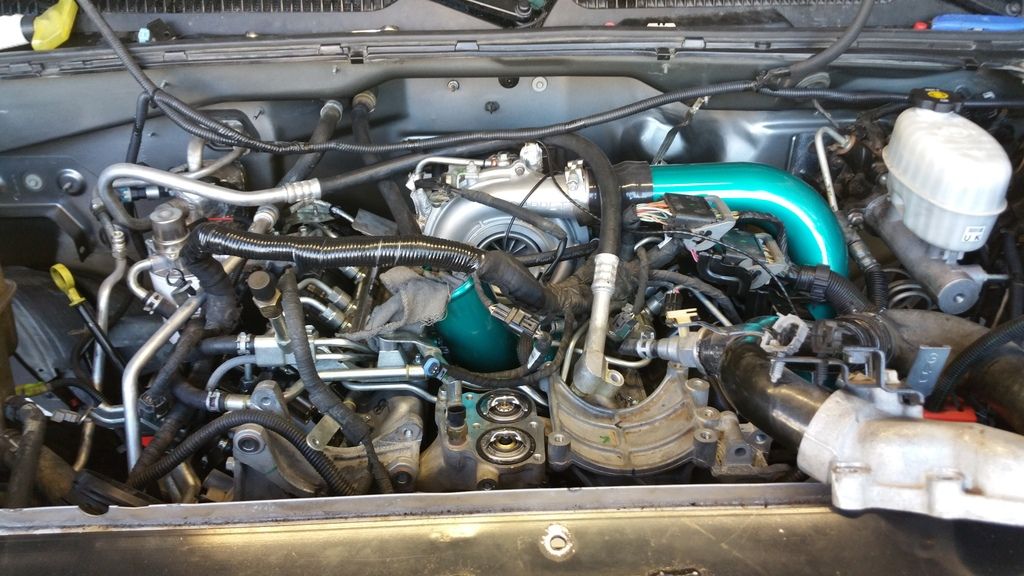
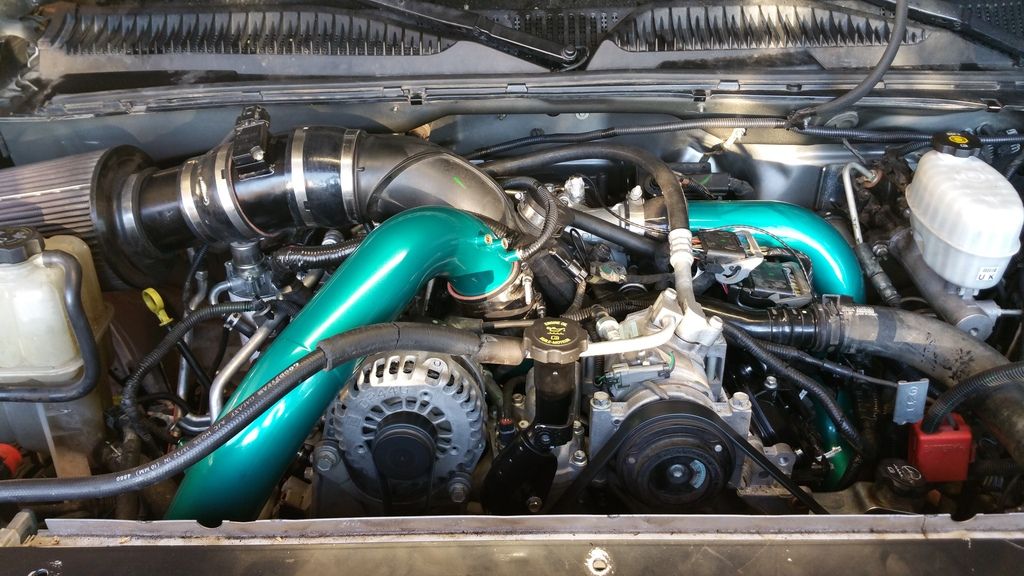
I did a terrible job taking pictures of the final assembly. I was too excited to get it going that I didn't waste time taking pictures.


This was when I thought I had it completed. I was just about to start priming the fuel system and cranking it over when I noticed a steady drip of water coming from the front of the truck. I was going to run it shortly then fix the leak but after adding the last gallon of distilled water, it was pouring out of the front. I found it was coming from the pipe that goes from the bottom of the thermostat housing down to the water pump, just about the worst leak possible. The pipe had not gone in squarly and the o-ring had gotten cut. I had to pull the water pump back out in order to remove the pipe enough to install a new o-ring. I had a new o-ring in and it completely back together in a little over an hour and started cranking.
I left the glow plugs out at first and cranked it for around 30 seconds total after priming the filter head. It was making a terrible screech that turned out to just be the compression leaving the glowplug hole and coming in contact with something causing the noise. I installed the glowplugs and it fired right up after around 10 seconds. I heat cycled it once in the driveway while checking for leaks and let it cool overnight. Sunday morning I let it warm up and took it out for a drive. I'm still in the process of rescaling my MAF and turbo vane position tables but everything feels so much smoother now!
I only got to take it for an hour drive or so before washing it and finishing a few small details. Now i'm on call for work this week and probably won't have much time to drive or mess with it this week.
I will try to get some videos up later in the week or over the weekend.
Still not happy with all the chaos under the hood. I'm going to clean up the wiring a lot in the future and build a nicer intake setup soon.
 

1TRIKHD

Country boy Limo.
Sep 15, 2015
1,692
388
83
P.N.W
Man that looks good. I want to gets Scott's Y bridge and hot and cold side pipes.:thumb: