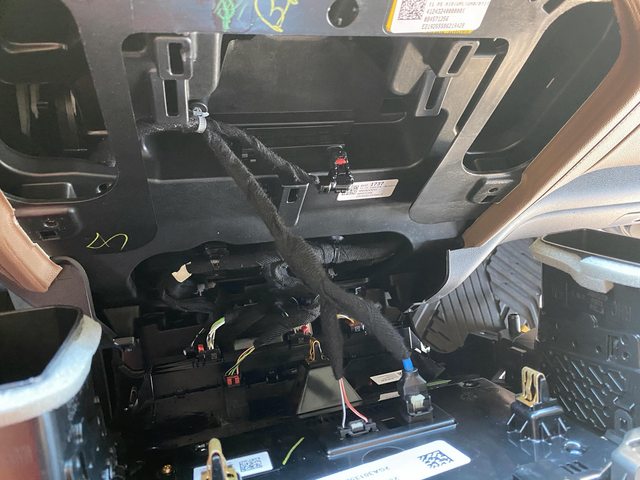
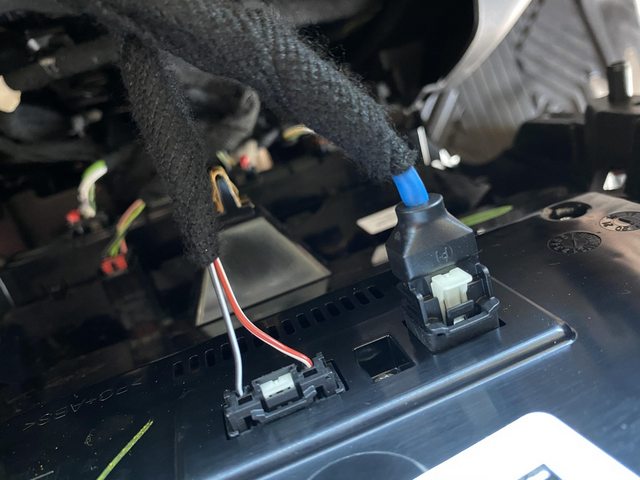
There is nothing out there I found with a step by step on how to remove the radio/display unit from the dash on these new 2020 Chevy/GMC 2500HD or 3500HD. After some deep searching and messing with the tearing apart my trucks interior, I figured I would do a write up on how to do this IF you have the full center console. If you have a bench seat, it’s much simpler and straight forward. GM decided the center console trucks needed to be a pain in the butt to remove the radio. I personally wasn’t in there to find radio stuff but instead was looking for the computers like OnStar and the radio amp (which are not there, amp is behind the rear seat, still looking for the OnStar comp). Anyhow, let’s get on with removal/install.
Getting Started
Getting to the head unit/switches/inverter plug/usb plug and so on, on a full center console truck, you have to take the center console apart. There are a few tricky parts that have to come out in a certain series so nothing breaks as you remove things.
- Tools needed to remove the radio:
- T10 torx screw driver or socket driver
- 9/32 socket w/ 1/4 drive ratchet and short extension
- plastic trim removal tool (this will help ensure you don’t mar up your pretty interior parts)
- tough fingers and low fear to yank on plastic parts
Pulling Trim Off
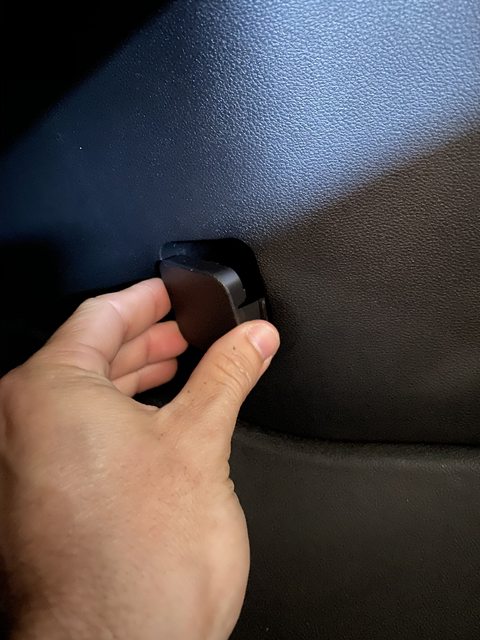
Starting on the driver side, look down by the throttle pedal and locate a little square plug that is 1.5″ by 1.5″ in the plastic trim, remove this with your plastic trim removal tool. You don’t have to have one of these removal tools but it helps keep you from messing up plastic interior parts. You will need a thin piece of something to help aid in parts removal throughout this.
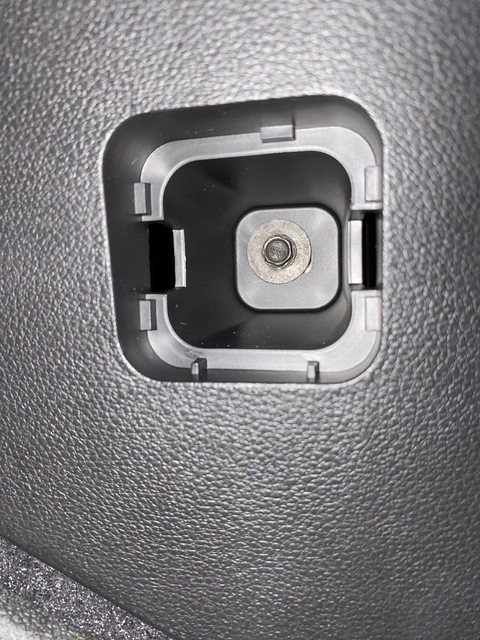
Under the cap is a 9/32 bolt that must be removed. Proceed by removing it.
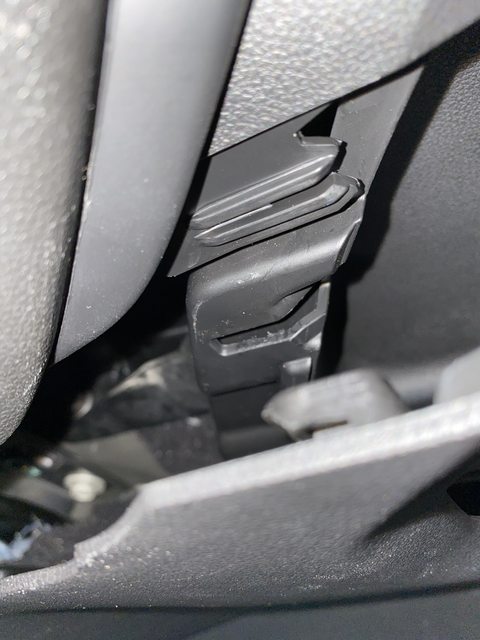
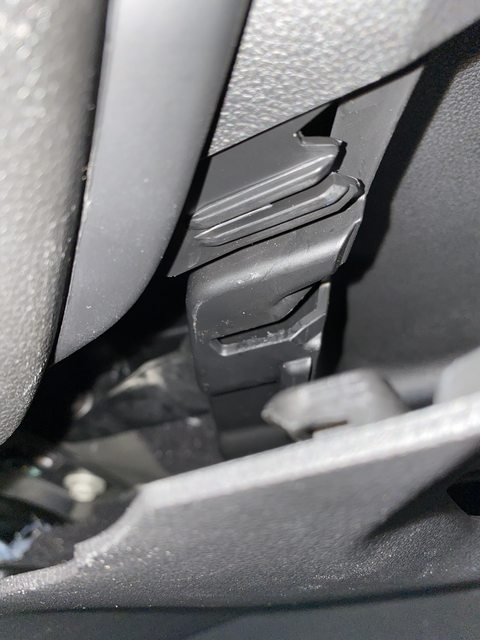
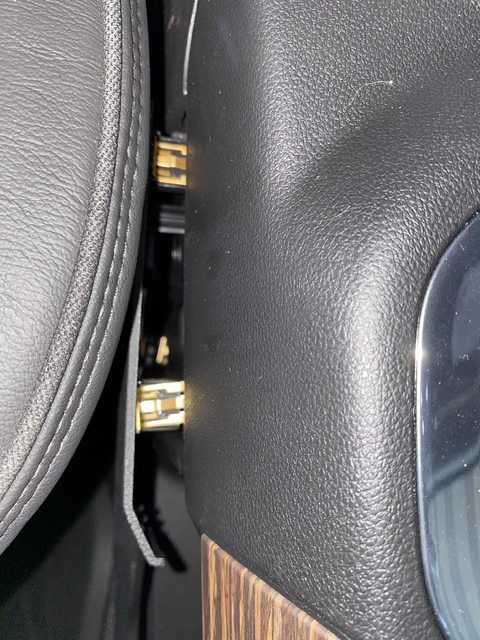
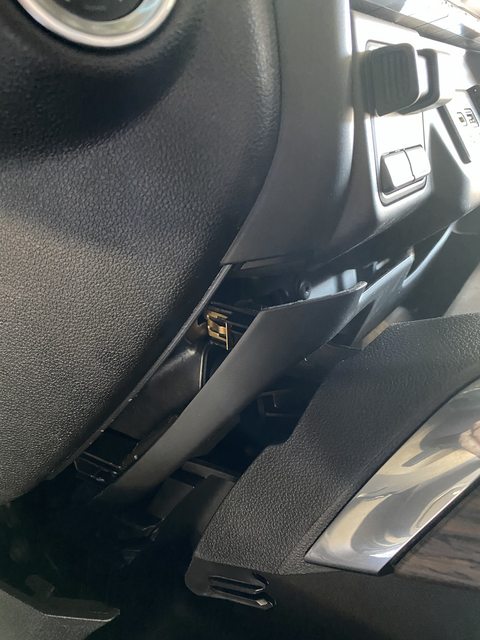
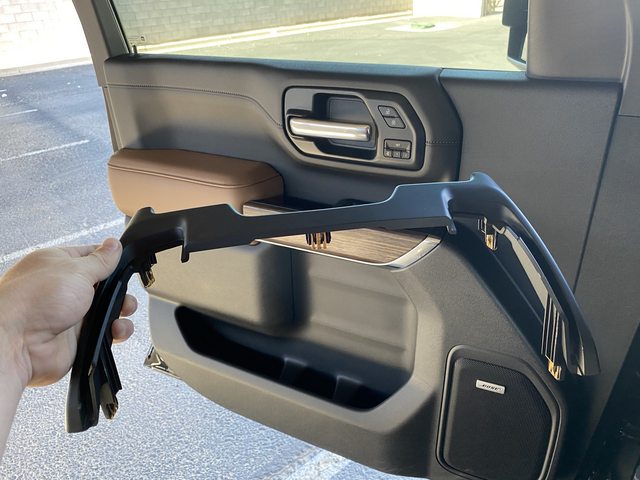
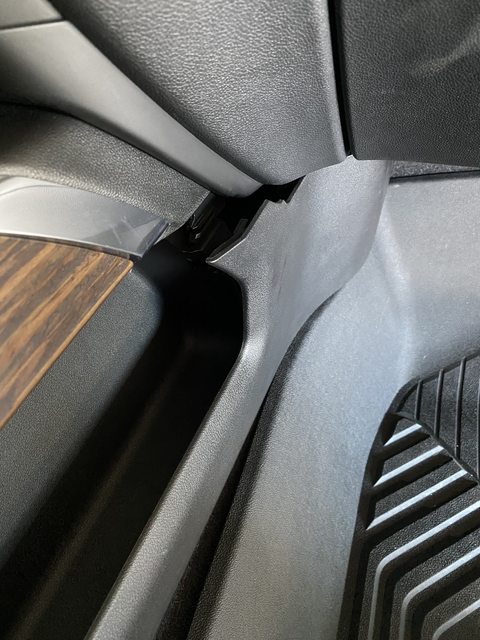
Now comes the fun part, pulling on the plastic trim to get the clips to pop out. Take your time and run your fingers up under the trim to feel where the clips are and pull as close to them as you can. It will help to keep from stretching the plastic and creating distortion. You will need a good hard tug to get them to pop. There is an area near the front that is slid into the center console to hold the trim in place, just pull the trim back and it will pop out.
Keep pulling that trim all the way back past the cup holder area. You may have to move your seat all the way back to do so. We are not fully removing the trim but need to get the top two clips but the cup holder popped out.
Now move to the passenger side and repeat. There is no bolt that needs to be removed; you can just start pulling the trim to pop the clips out.
Cup Holder Comes Out
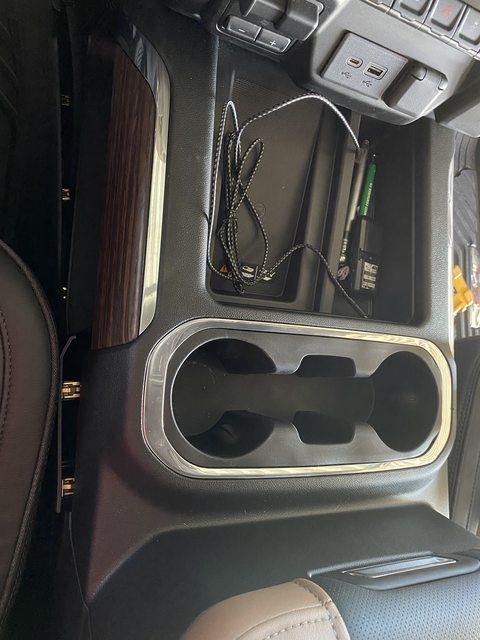
Next comes removal of the cup holder. Start by opening the center console. At the very front edge of the console, there are two clips that need to be popped up. Use your trim removal tool to get under the trim and pop each side up. As you can see, in using a metal bracket I’ve used for trim stuff but not recommended, very easy to put a scratch or gouge into the plastic
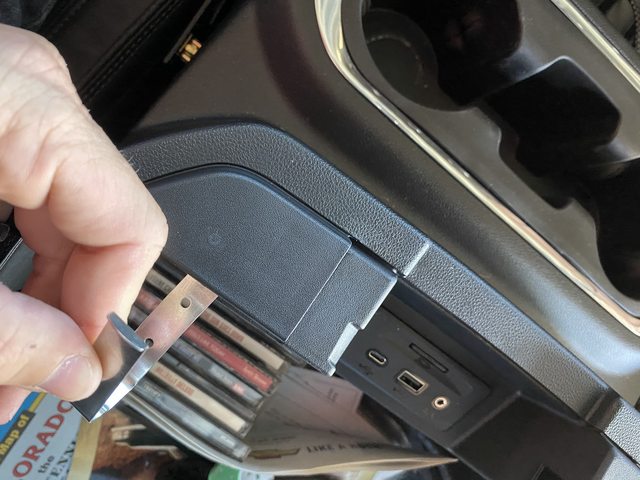
Once you get those popped up, get your fingers under the trim there and pull up decently hard, the whole center cup holder area will pop up. Underneath it is two electrical connections that will need to be removed so the whole section can be removed. They can be difficult to undo so take your time with them.
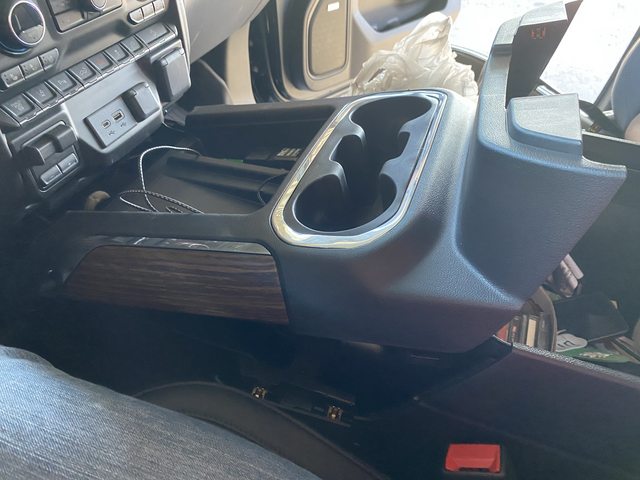
With that out of the way, we can attack the little trim piece under the radio. It’s maybe 1″ to 1.5″ wide in areas. There are 5 clips that can be seen in the picture below. It must come off to gain access to two bolts.
The Head Unit
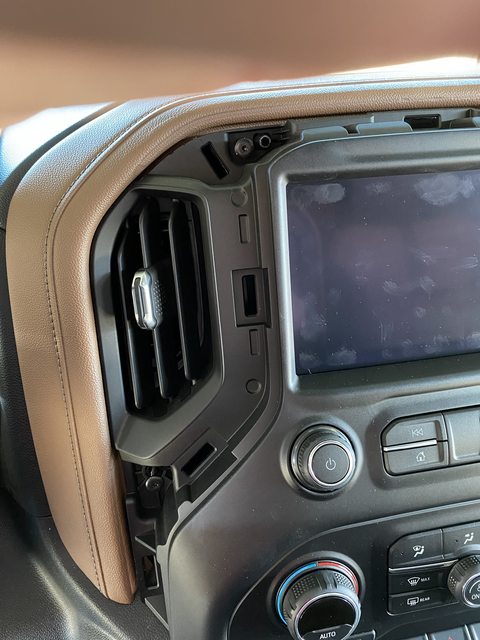
The next step is finally getting to radio head unit removal. You can now pull off the chrome or painted trim piece surrounding the display screen and vents. This gives you access to the bolts that hold the whole unit in.
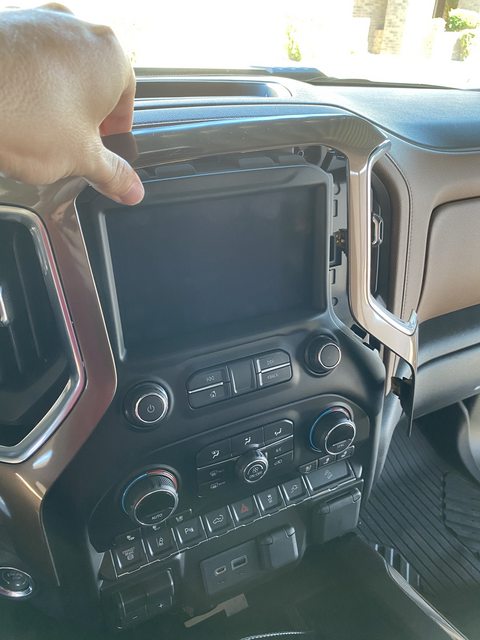
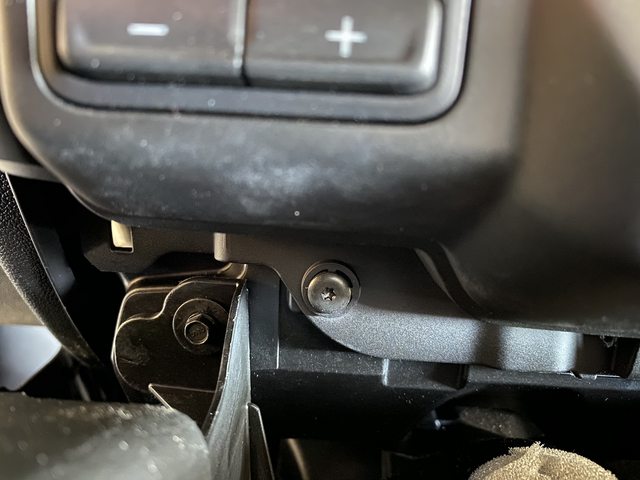
There will be a total of 6 bolts that need removal. These take the T10 Torx to remove. 4 are easily seen, the last two are a little hidden under the trailer brake/inverter plug area.
When those are removed, I grab the very top edge of the radio stack and give it a good yank. It all pops out meaning the display unit, HVAC controls, switches and trailer brake/usb/inverter plug is all one unit. Here is where you can start some electrical plug disconnections. They all have safety catches on them, some white, some red. Take your time and pop them out before trying to depress the tabs that hold each connection in.
With it free from the dash, you will need to pull the bottom out till it stops, tilt the top of the unit down and then pull forward. There is a large alignment tab at the very bottom of the unit that will hold the unit in until tilted just right. At this point, you now have the display unit free from the dash!
Re-Install
Do what you need to do and then start the process in reverse to put everything back together. The hardest part of installing everything will be to get the side console trim piece to slide back into the top console slot. Take your time and bend the side trim piece to get into the lock, don’t snap it all back into place as it will be very close to impossible to put back together then
